Conference Website Inspiration and Setup

Estimated reading time:
1 minute
Creating conference schedules just became easier than ever with the introduction of our new product, Event Schedule Manager. Manage Sessions, Speakers, Sponsors, Tracks, and other event details from within WordPress. Check out our blog post to learn more.
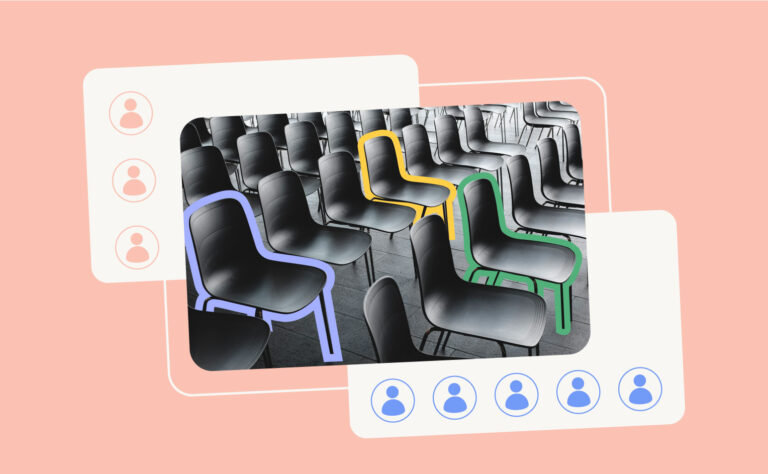
Believe it or not, setting up a conference online requires just as much planning (if not more!) as coordinating one in person. Without seeing attendees IRL (in real life), you’ll need to ensure that they can register for and engage with your content before, during, and after your conference. Virtually, you can do this by keeping comments enabled during your livestream and assigning a moderator to catch any critical questions and comments that your attendees may have throughout the conference.
The best way to get started is to create the perfect virtual venue with our Virtual Events add-on. This plugin comes with all of the bells and whistles you need to make your conference a success, and we’re continually adding new features. But before we get ahead of ourselves, let’s take a look at how to configure your WordPress site accordingly so that you are set up for success.
With Virtual Events, you’re only a few clicks away from integrations with Zoom, Facebook, YouTube Live, and Webex. Easily embed your online meetings directly onto your WordPress website and automatically send your attendees the links they need to find your meetings and webinars.
So let’s get started!
Create your conference center website
This article assumes that you already know how to add a calendar to your WordPress site using The Events Calendar. Think of your main calendar page as the hub for all of your conference events. Then use each single event page as an individual conference room.
This may seem like a lot, but don’t worry, we’ve got you covered! We’ll walk you through all of the steps you need to design a custom conference website from start to finish using WordPress.
We’ve chosen the Kadence theme and its starter templates, as they make it simple to get your website started in minutes. With its beautiful plug-and-play features, you’ll have a full or one-page conference website ready in a few clicks. But don’t worry if you’ve already chosen another WordPress theme, as this tutorial can apply to any other theme as well.
Install WordPress
Since you’ll be creating your conference center website on WordPress, the logical first step in this process is to install WordPress. If you’re an advanced user, go ahead and install WordPress on your local environment. If that all sounds a bit too complicated for you, don’t worry, we’ll show you our favorite options to get you up and running. We’d recommend installing WordPress through a hosting provider to get you started. A hosting service is a place on the Internet that will “host” your website. With most hosting companies, you’ll find an easy WordPress setup and other features to hold your hand through the website creation and maintenance process.
If you choose to go with a hosting provider, we recommend Nexcess. If you’re interested, you can get a WP hosting plan here. Otherwise, simply use the hosting provider of your choice. You can follow this tutorial to install WordPress with Nexcess. Once you’re set-up, you can begin to install your theme.
Install and activate the Kadence theme
We’ll show you how to install and activate the Kadence theme here, but the process for installing any WordPress theme is pretty much the same. So you’ll need to follow these same steps, regardless of what WordPress theme you’re using.
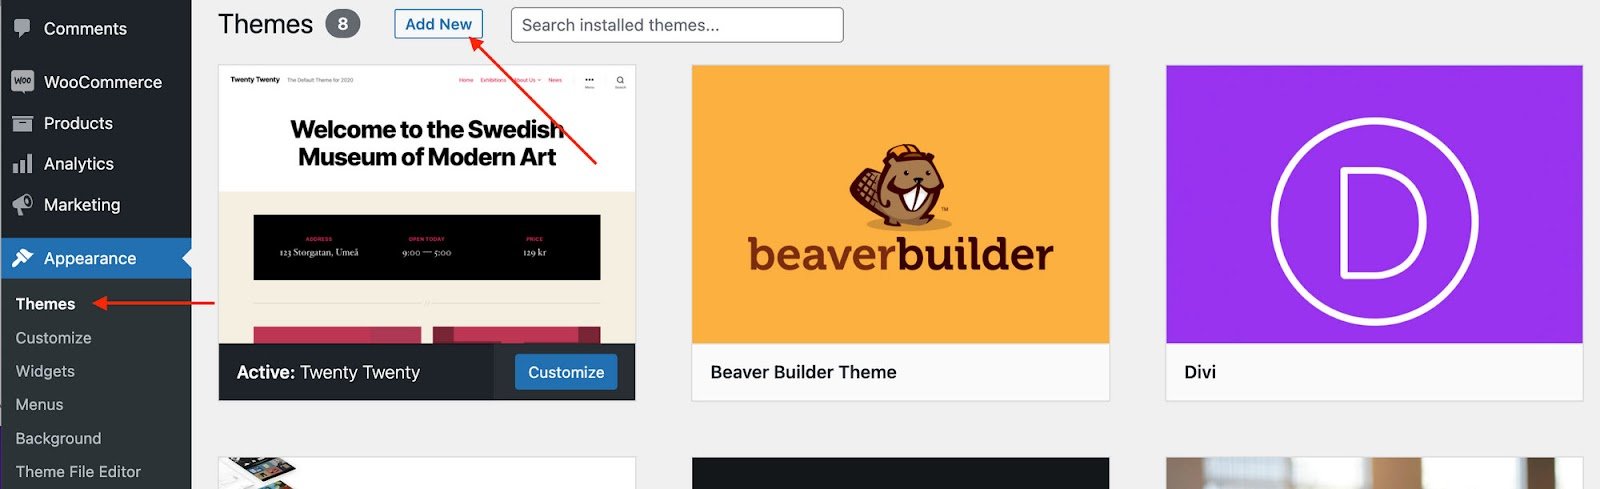
To find the Kadence theme, head over to your WordPress Dashboard, go to Appearance > Themes, and click Add New.
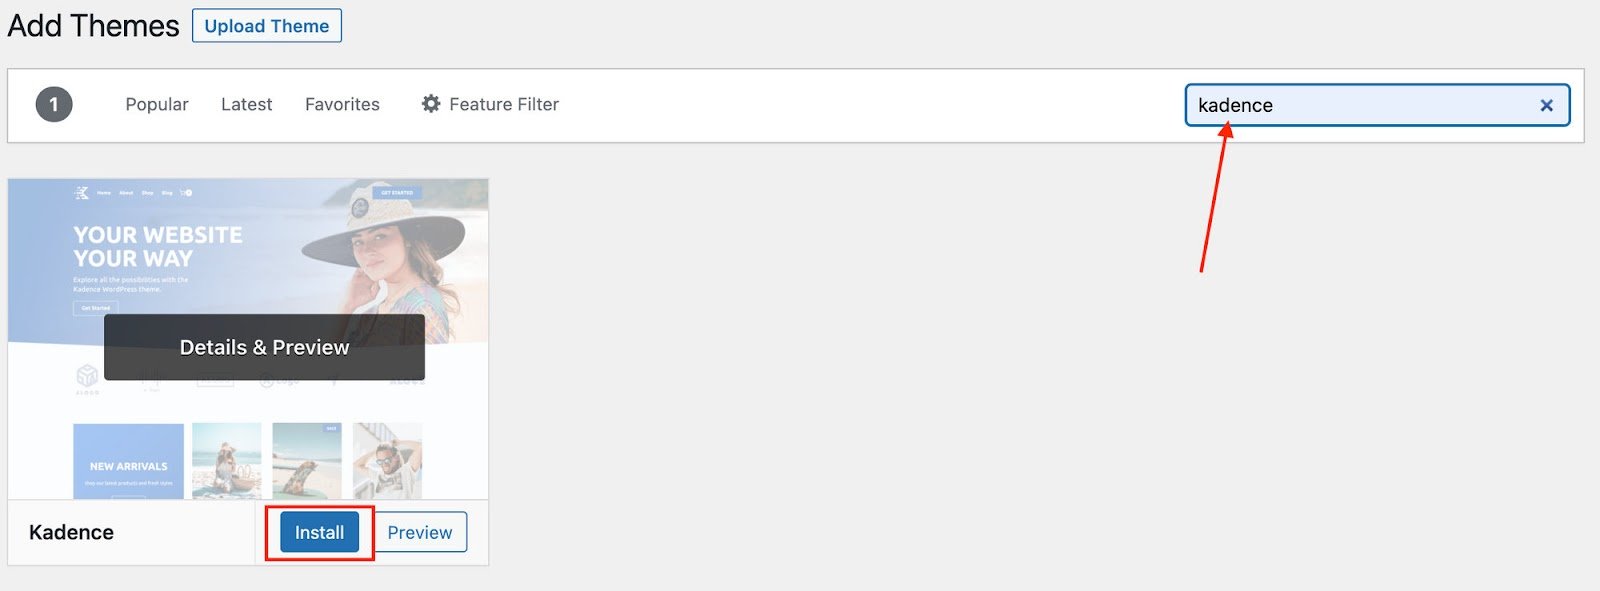
In the Search themes box, type in Kadence. Once you see the theme, select Install and then Activate.
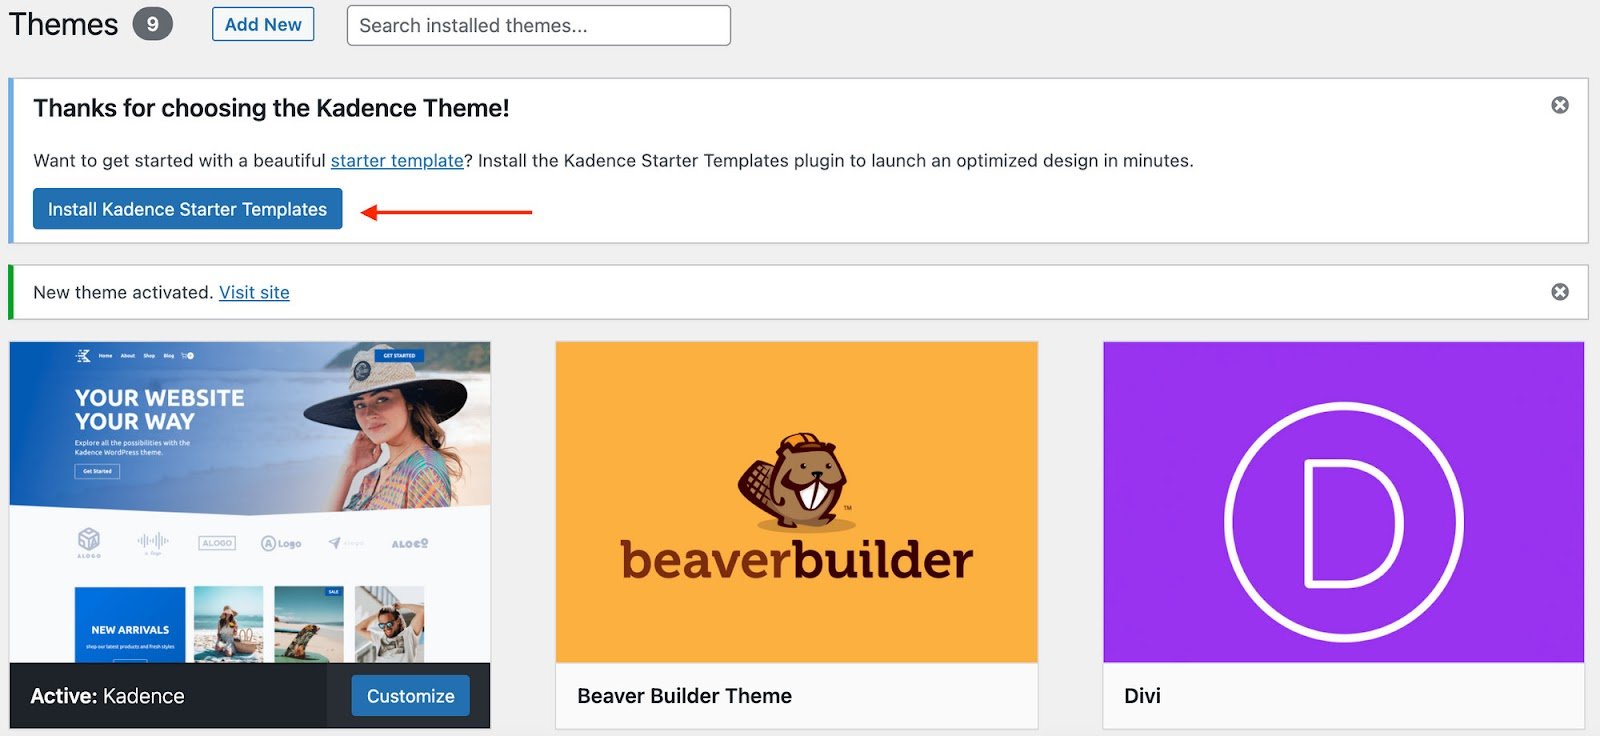
Next, you’ll be prompted to add the Kadence Starter Templates, so go ahead and click that button.
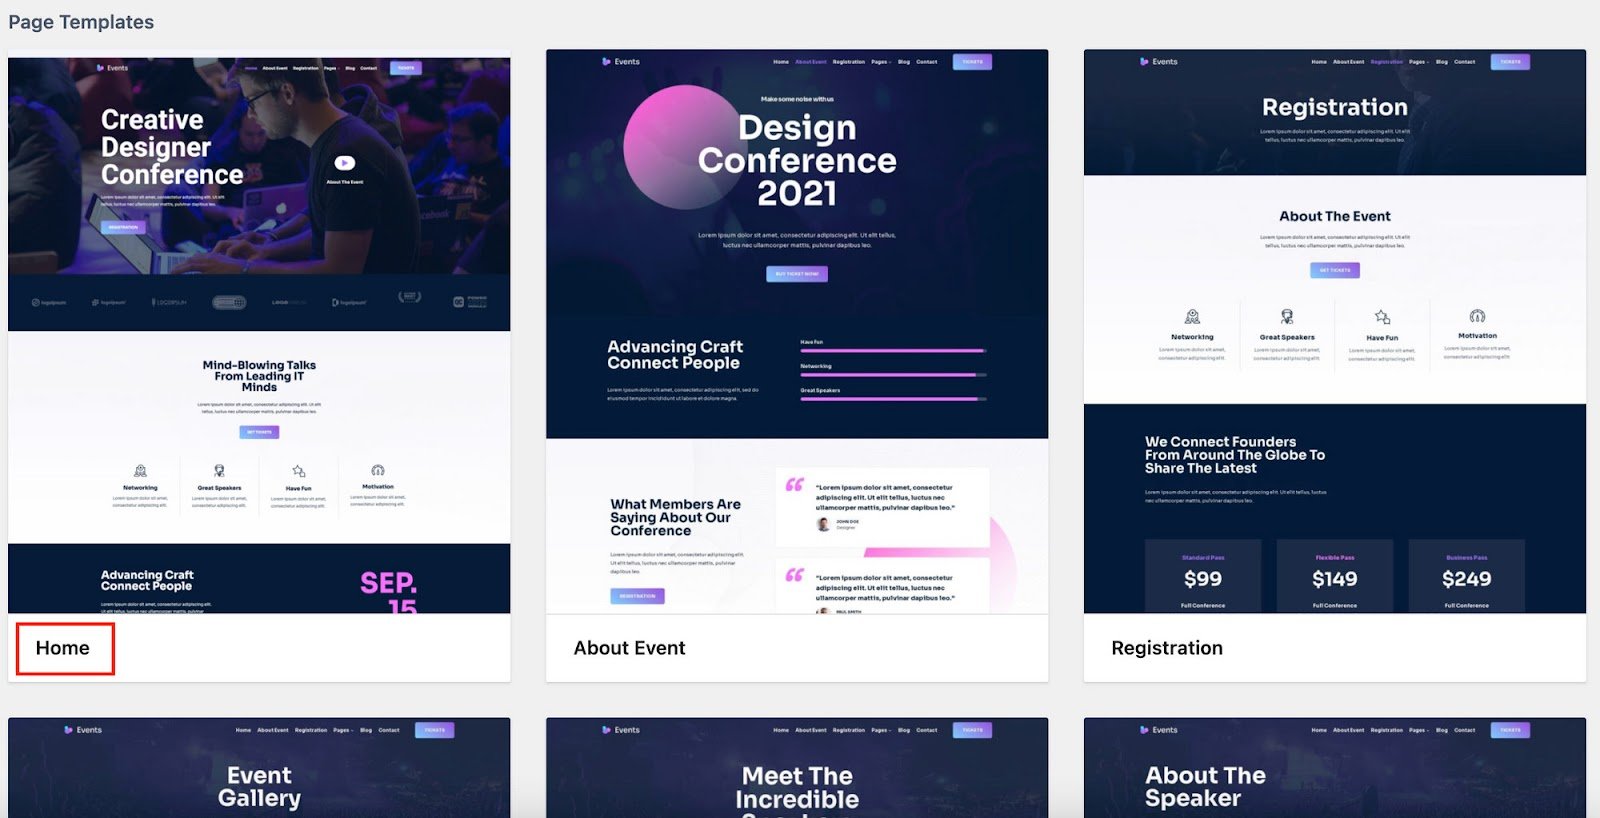
All of Kadence’s starter templates will now be available for your website. We’ve chosen the “Events” starter template for our conference website.
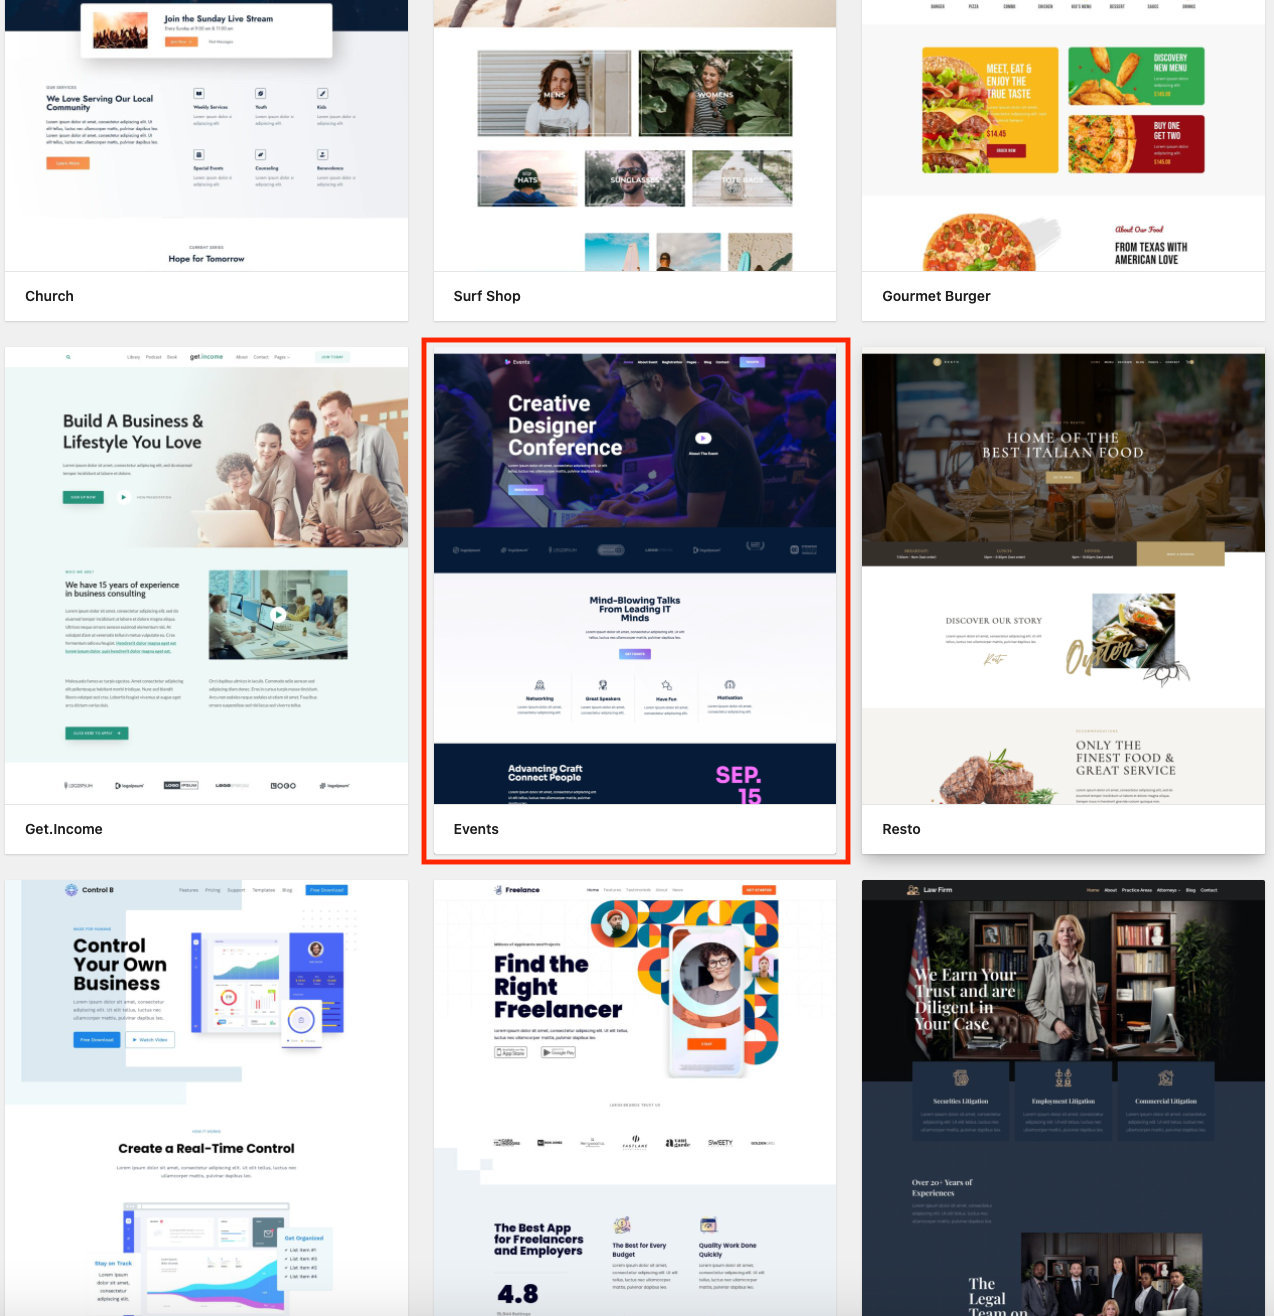
Click on the template, choose your color scheme and font family (which you can always change later), and select the Single Page option.

You’ll see several page template options appear. Choose the Home option.
Enter your email address in the prompt and select Subscribe and Start Importing to add the page to your website. If additional plugins are needed for this starter template to work correctly, Kadence will automatically install them for you. Once it’s done importing, you can select Finish and view the page.
It may not look like a conference website yet, but with a few additions and customizations, you’ll see things start to take shape very quickly.
Customize the content
The next step in this process is to change the content provided on the page so that the website becomes your own. To begin editing the page, click on Edit Page at the top of the admin toolbar.
The Kadence theme has a Design Library with stock images that you can use throughout your web page. Also important are the Page Settings and Kadence Blocks Controls at the top. These will help you control your page’s layout, add columns, and alter other elements on the page.
The Kadence Starter Template that we’ve chosen is well-equipped with what you need for a conference website, but you’ll want to make text changes and add your content, conference titles, and event information.
Add your main conference page
Now that your homepage is up and running, you’ll want to utilize the event feature with The Events Calendar to create your main conference page. This is the landing page where prospective attendees can register for and purchase tickets to your conference.
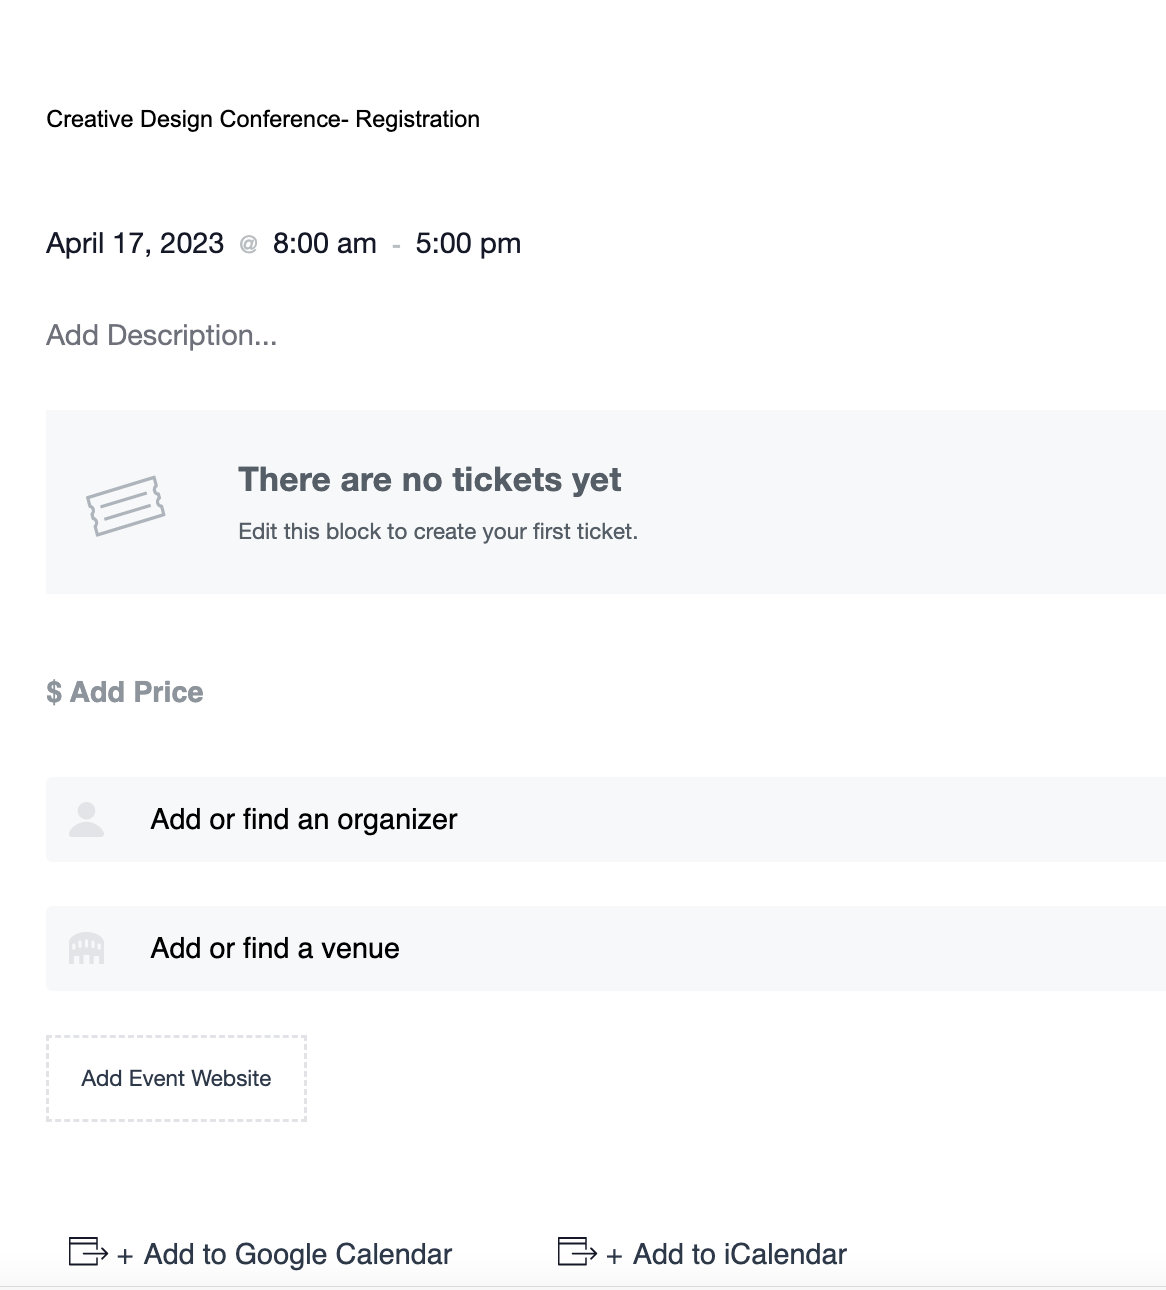
To do this, head over to Events > Add New in the WordPress Dashboard. You’ll see prompts to fill in the information, including the conference’s title, date and time, organizer, and venue. This is also the place to add your conference registration.
Install Event Tickets
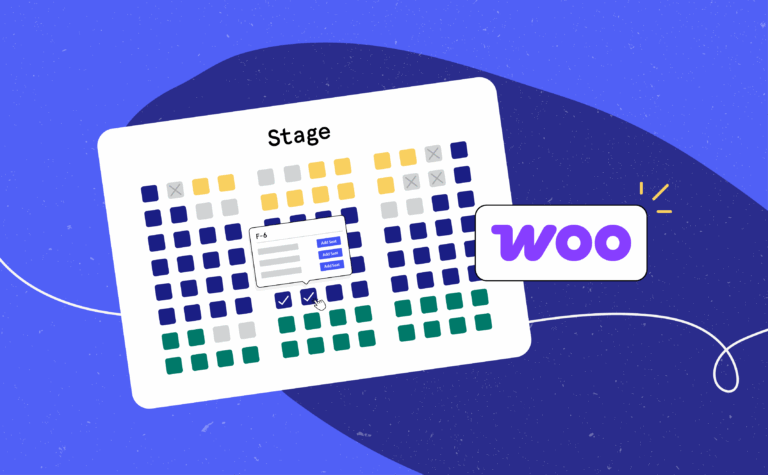
To add tickets or registrations to your conference, you’ll also need our Event Tickets plugin. Don’t worry, it’s free, and it comes with a built-in ecommerce solution that easily integrates with PayPal and Stripe. If you’d like additional ecommerce options, like WooCommerce and Easy Digital Downloads, as well as custom registration fields, we’d recommend upgrading to our premium Event Tickets Plus plugin.
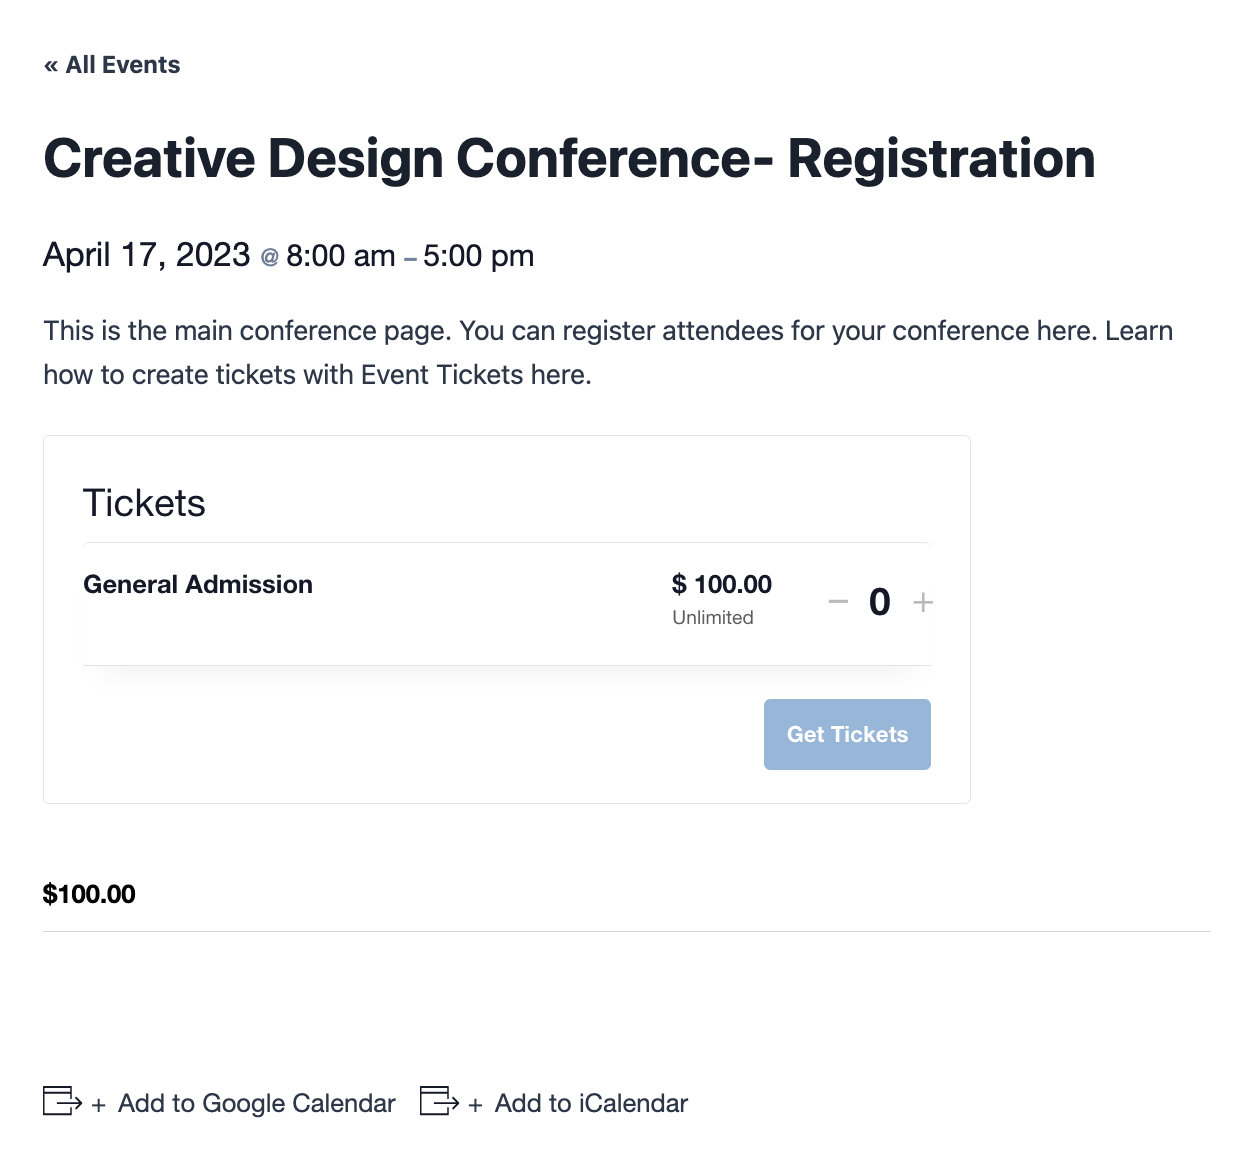
Once you install Event Tickets, you’ll automatically see a ticket block available so that you can create your conference website ticket.
Create pages for your speakers
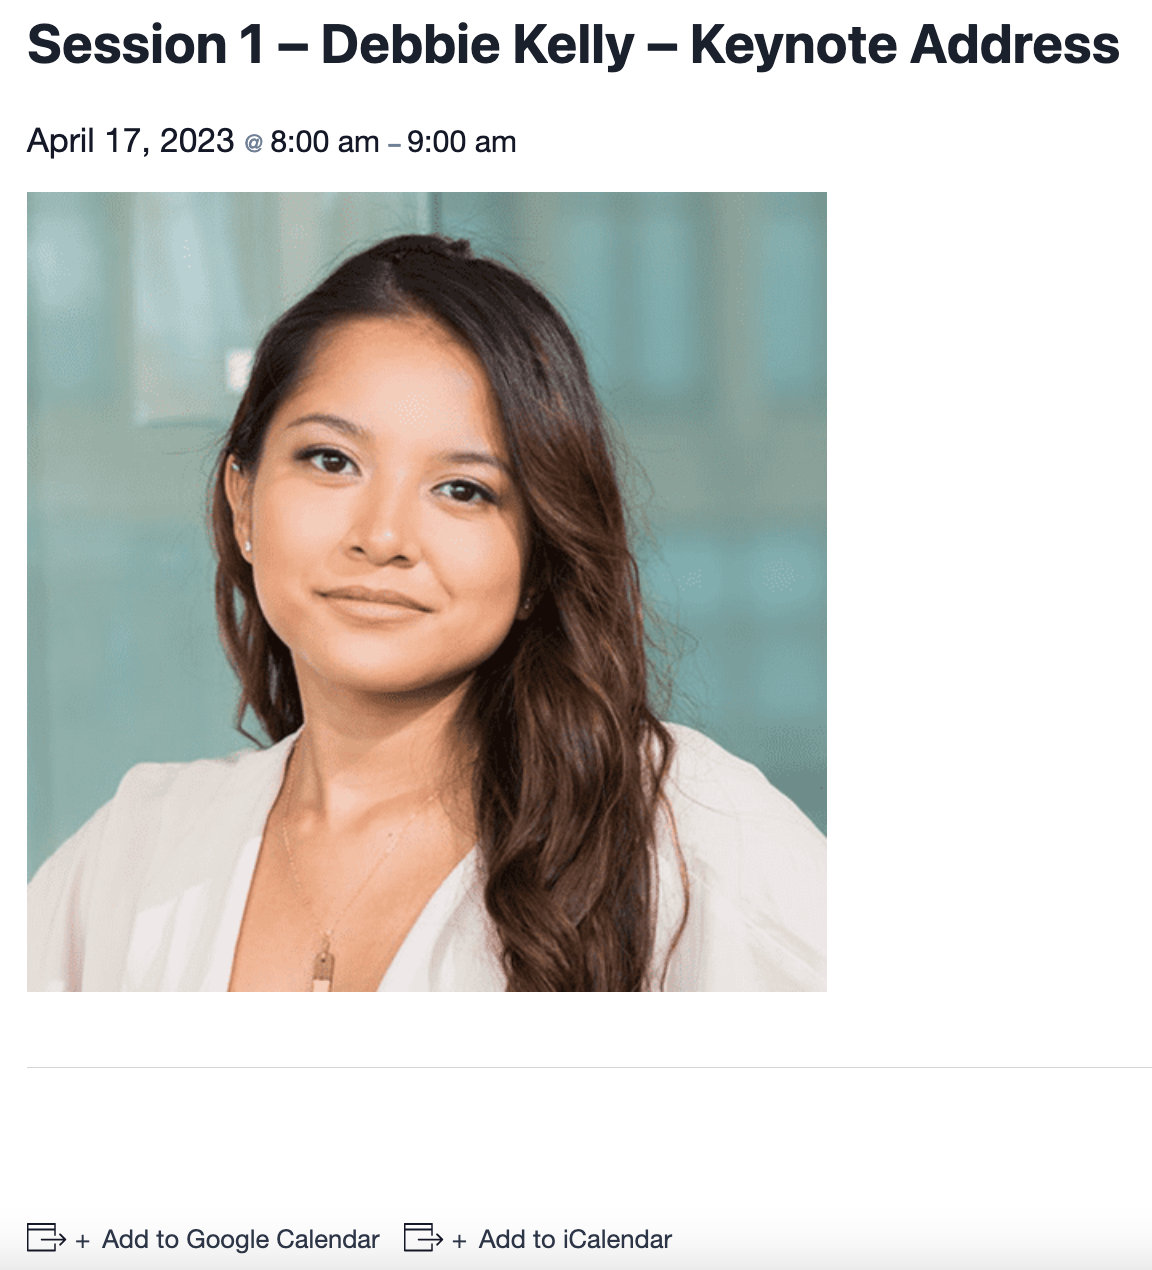
Next, you’ll want to create individual event pages for each of your conference speakers. You’ll use the same process as you used to create your main conference registration page. So head back over to Events > Add New in the WordPress Dashboard to make your first session. Use your speaker’s name to title your page. Include a description of the event, date and time, and information about where the event will take place. Repeat this process for each of your speakers.
Use different locations or links for each of your speakers to take place simultaneously. If you have more than one track for your speakers throughout your conference, you can simply use the same time for each of your speakers to create two separate conference “rooms.” In the same vein, if you have speakers one after another, use individual events for each one.
Add lots of links
Next, add links so that people know how to access your conference. You can choose whether you’d like to host your conference over Zoom, Facebook Live, YouTube Live, or Webex, and embed a link directly on your event page with our Virtual Events plugin.
There are many options regarding how to display your conference links so that attendees know where they are going. By showing your link directly on the event page, users will have easy access to your conference so that they don’t get lost. Alternatively, if you’d prefer only to provide access to your conference once users purchase tickets, you can also opt to do that.
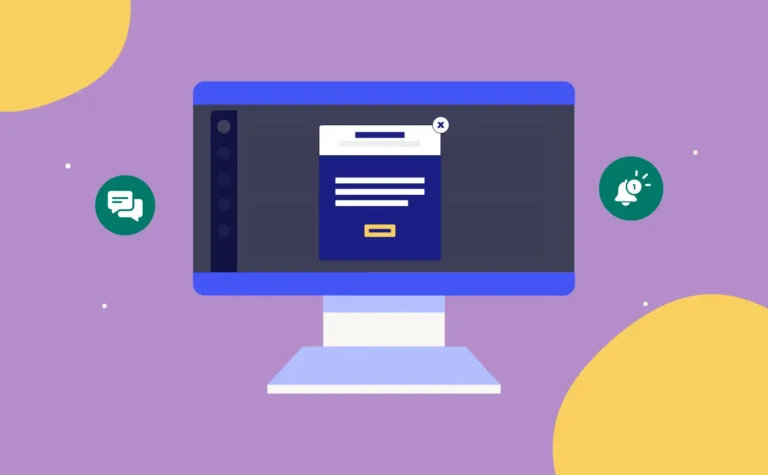
Once they’re in, decide if you’d like to keep chat enabled on your platform of choice. Doing so would allow users to comment throughout the conference. In this case, we’d recommend assigning a moderator so that the speaker isn’t presenting while also managing comments and questions.
Feel free to turn off this feature if you’d like to keep viewers’ attention focused on the speaker. To engage in the conversation before and after the conference, consider using a community tool like BuddyBoss or a P2P chat plugin like Rumble Chat to add chat and discussion as part of your virtual conference.
Bonus Points
Now that you’ve created your conference sessions, your conference website is functional and ready to accept registrations. But there are a few “nice-to-haves” that you can implement on your website to make it even better.
To start, you can use our handy relabeler extension to replace the word “event” with “conference” or “session” throughout your WordPress site. This will help drive the point home that this is a conference and add another layer of professionalism to your website.
In addition, we’d recommend utilizing Event Categories for each of your conferences. This will allow you to set up individual calendars and schedules on unique category pages, which can be especially useful if you have speakers on multiple tracks. In this case, you can set a separate category for each track and create individual pages for each of your tracks. Attendees can then visit each page separately to get a sense of what is going on at any given time.
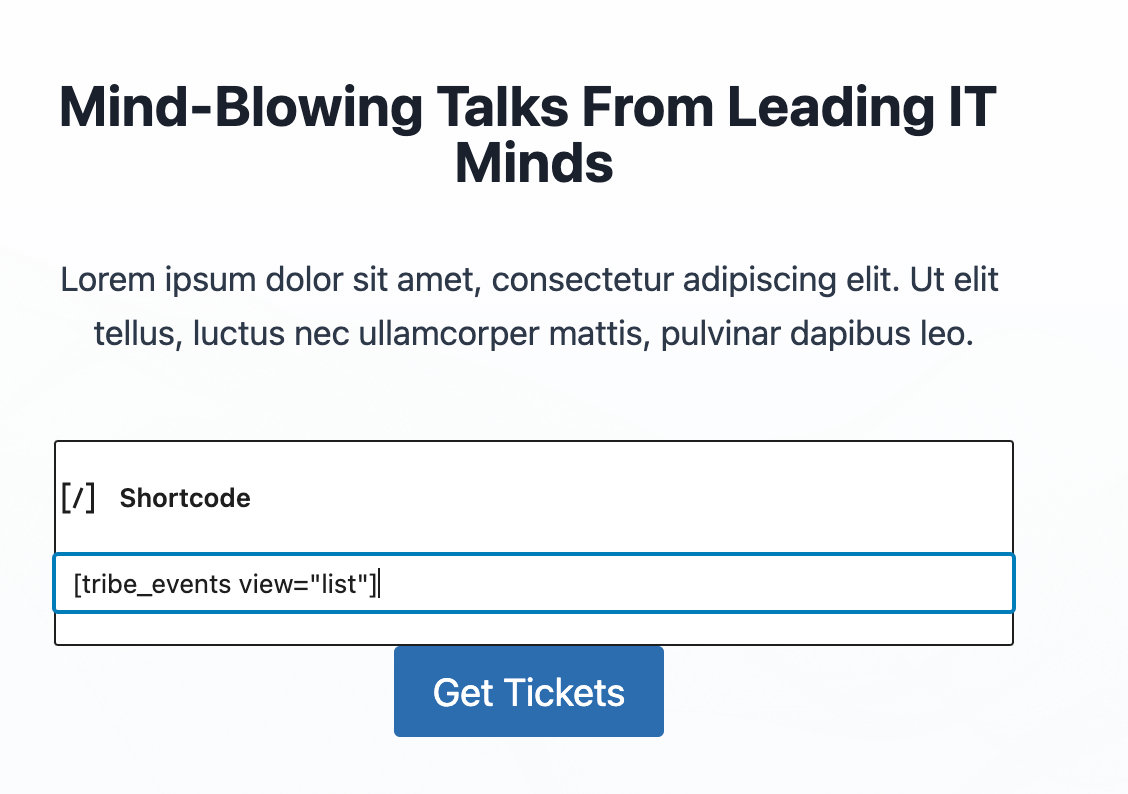
You can also add your calendar to your homepage as well. Simply add a shortcode block and use the [tribe_events] shortcode. From there, you can add attributes to select the calendar view, category, or a number of other options.
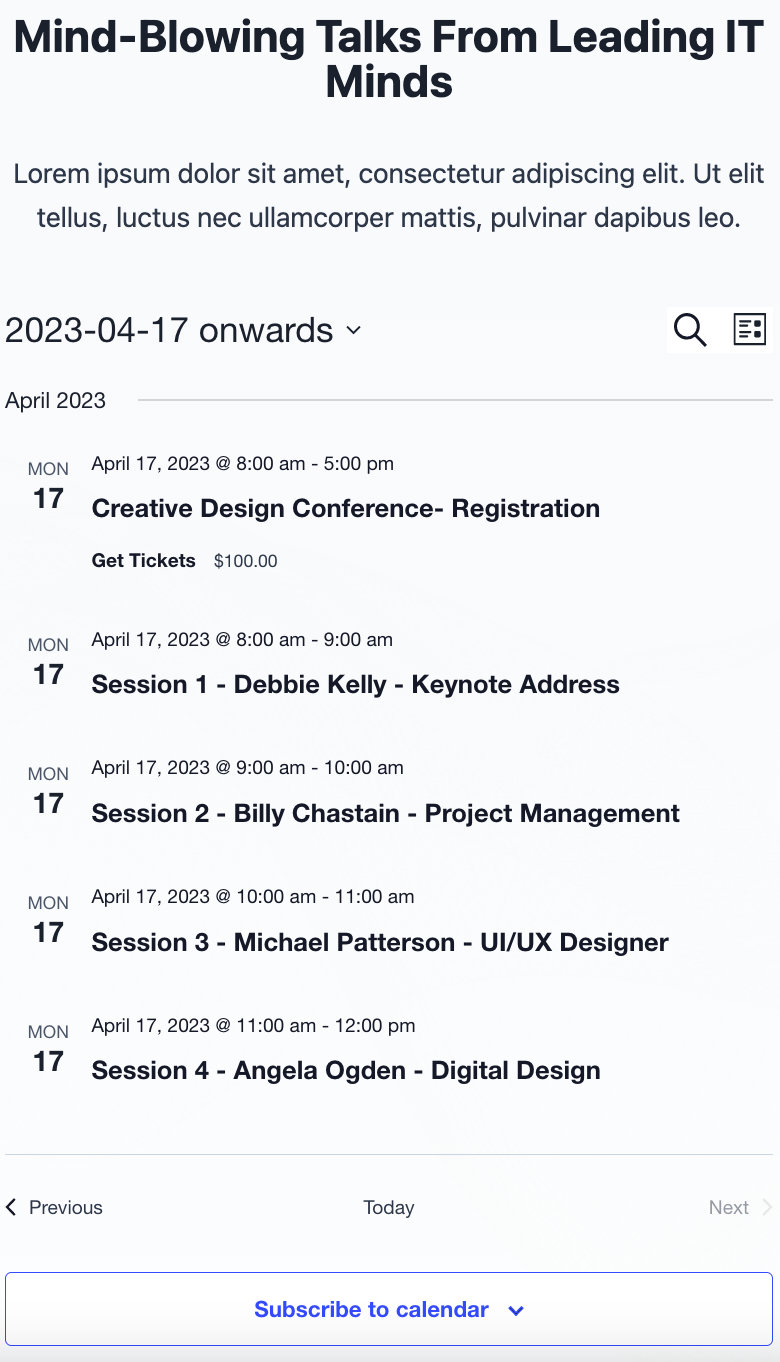
Once you add the rest of your content, on the frontend of your site, you’ll see something like this:
Virtual Events for the win
And that’s it! You’ve now created your conference website.
Creating a conference event website on WordPress is easy with Virtual Events. With it, you can seamlessly add online meetings and webinars, integrate with your favorite online meeting tools, and highlight events as virtual and hybrid right on your WordPress calendar.

Jaime
View author page