Welcome to the wonderful world of The Events Calendar! You’re probably reading this because you’ve either downloaded one of our plugins or purchased the paid add-ons and are ready to unleash their powerful calendar features.
Before You Begin
To follow this guide, you will need:
- Administrator access to your WordPress dashboard.
- For premium plugins, the
.zipfile downloaded from your account. - For manual installation, your website’s FTP/SFTP or hosting control panel login credentials.
Let’s get right to it. There are two ways to go about it.
The automated way
Free plugins
Installing The Events Calendar and Event Tickets is exactly like installing any other plugin from the WordPress Plugin Directory. That means you can install them directly from the WordPress admin.
To do that, log into WordPress, navigate to the Plugins screen, and click the “Add New” button. That opens up a screen where you can search for the plugin.
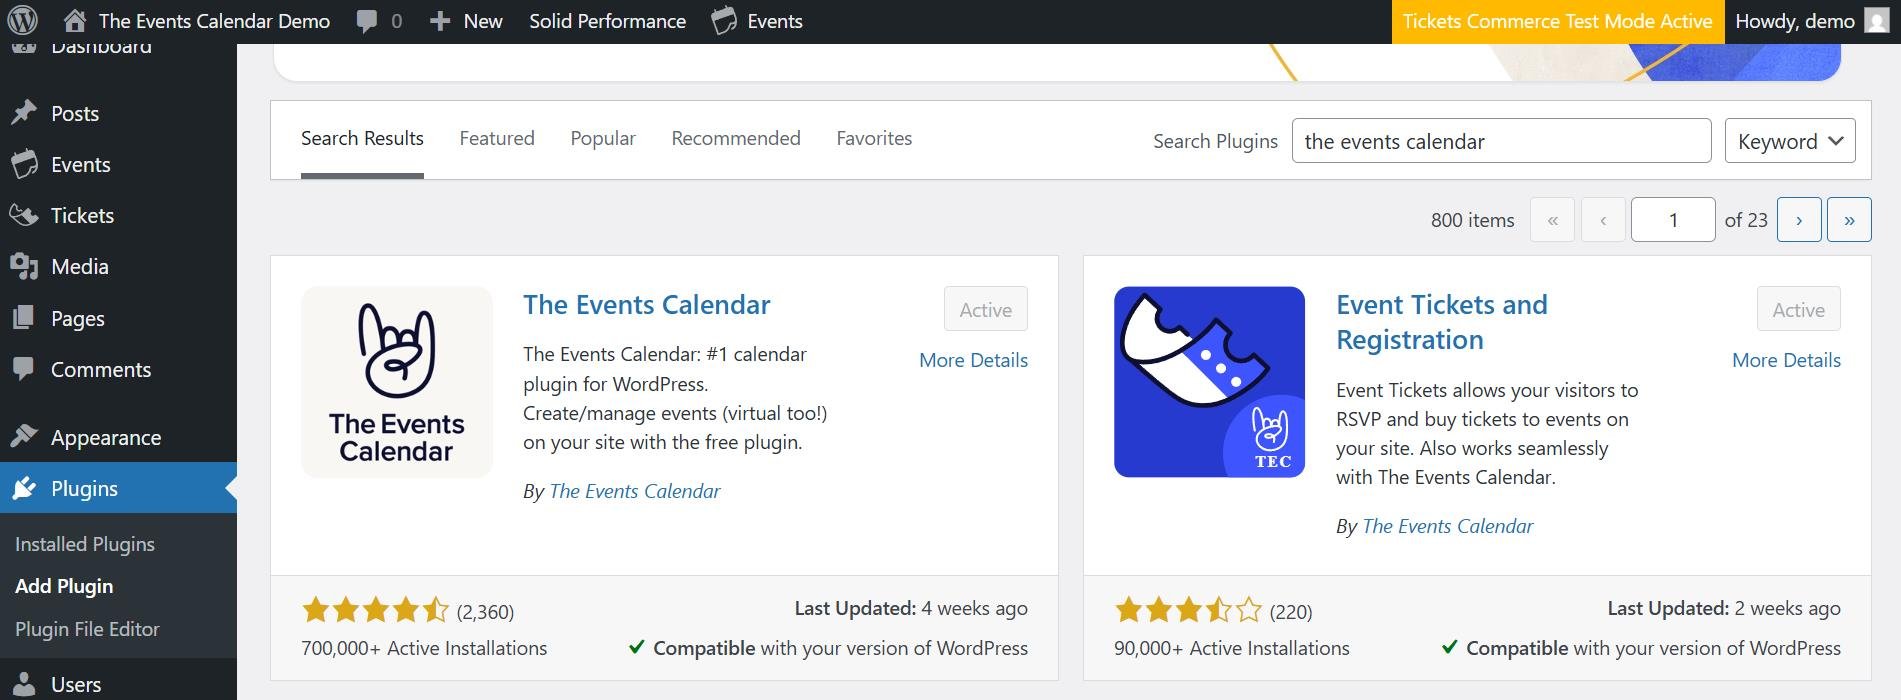
Click the “Install Plugin” button and WordPress will get to work. Once it’s done, you will have the option to activate the plugin to begin using it.
Premium plugins
Installing premium plugins which you have downloaded and are available as a zip file is very similar. These are the steps to follow in this case:
- Navigate to Plugins > Add New > Upload Plugin > Choose File.
- Select the zip file you have downloaded from our site.
- Click “Install Now” and once that is done click on “Activate”.
When downloading the files, some computers will decompress (or “unzip”) the ZIP file into a folder. For uploading to WordPress, plugins must be in the zipped format. If you see a folder with the plugin name instead of a .zip file, right click the folder and select Compress to re-pack the folder into a format for uploading.
The manual way
The other way to install a plugin to WordPress is a little more hands on because it requires you to have access to access your website’s server.
The first thing to do is download a copy of the plugin. You can find The Events Calendar and Event Tickets for free on the WordPress Plugin Directory. Click the “Download” button and a ZIP file containing the plugin will save to your computer.
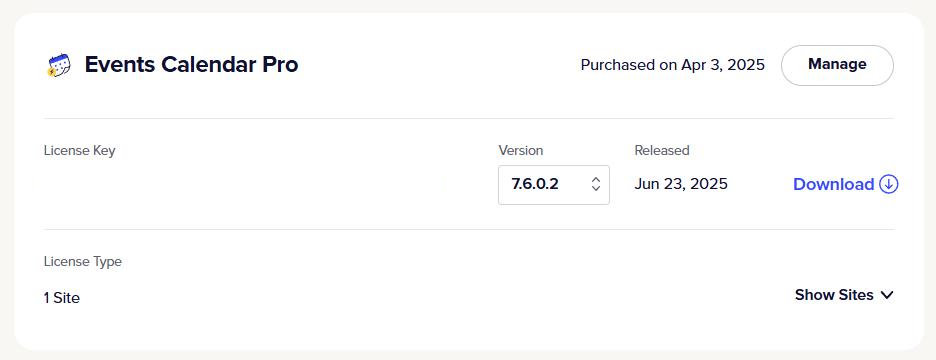
If you purchased any of our premium add-ons for either The Events Calendar or Event Tickets, you can download them by logging into your account on our site and heading over to the Downloads & Licenses screen.
When downloading the files, some computers will decompress (or “unzip”) the ZIP file for you. That’s perfectly fine. If you’re computer does not do this, then you will want to do it yourself by double-clicking the ZIP file. The decompressed folder is what you need.
OK, now that you have the plugins you want to install, the next step is to upload them to the server where WordPress is installed. The most common way to access your server is by using an FTP application. That allows you to log into a server and manage files just like you do right from your computer’s desktop. FileZilla (Windows/macOS) and Transmit (macOS) are two popular options. You’ll need to get the login information for your server from your host.
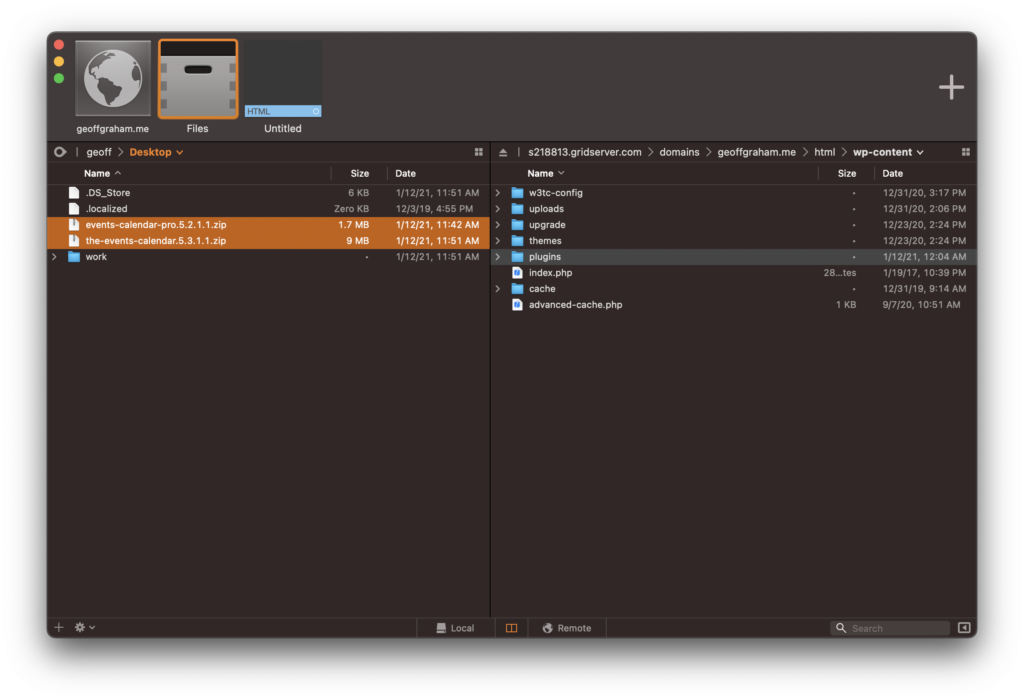
Once you’re logged into your server, locate where WordPress is installed, then navigate to the wp-content/plugins folder. Then, simply drag the decompressed plugin folders to that plugins folder.
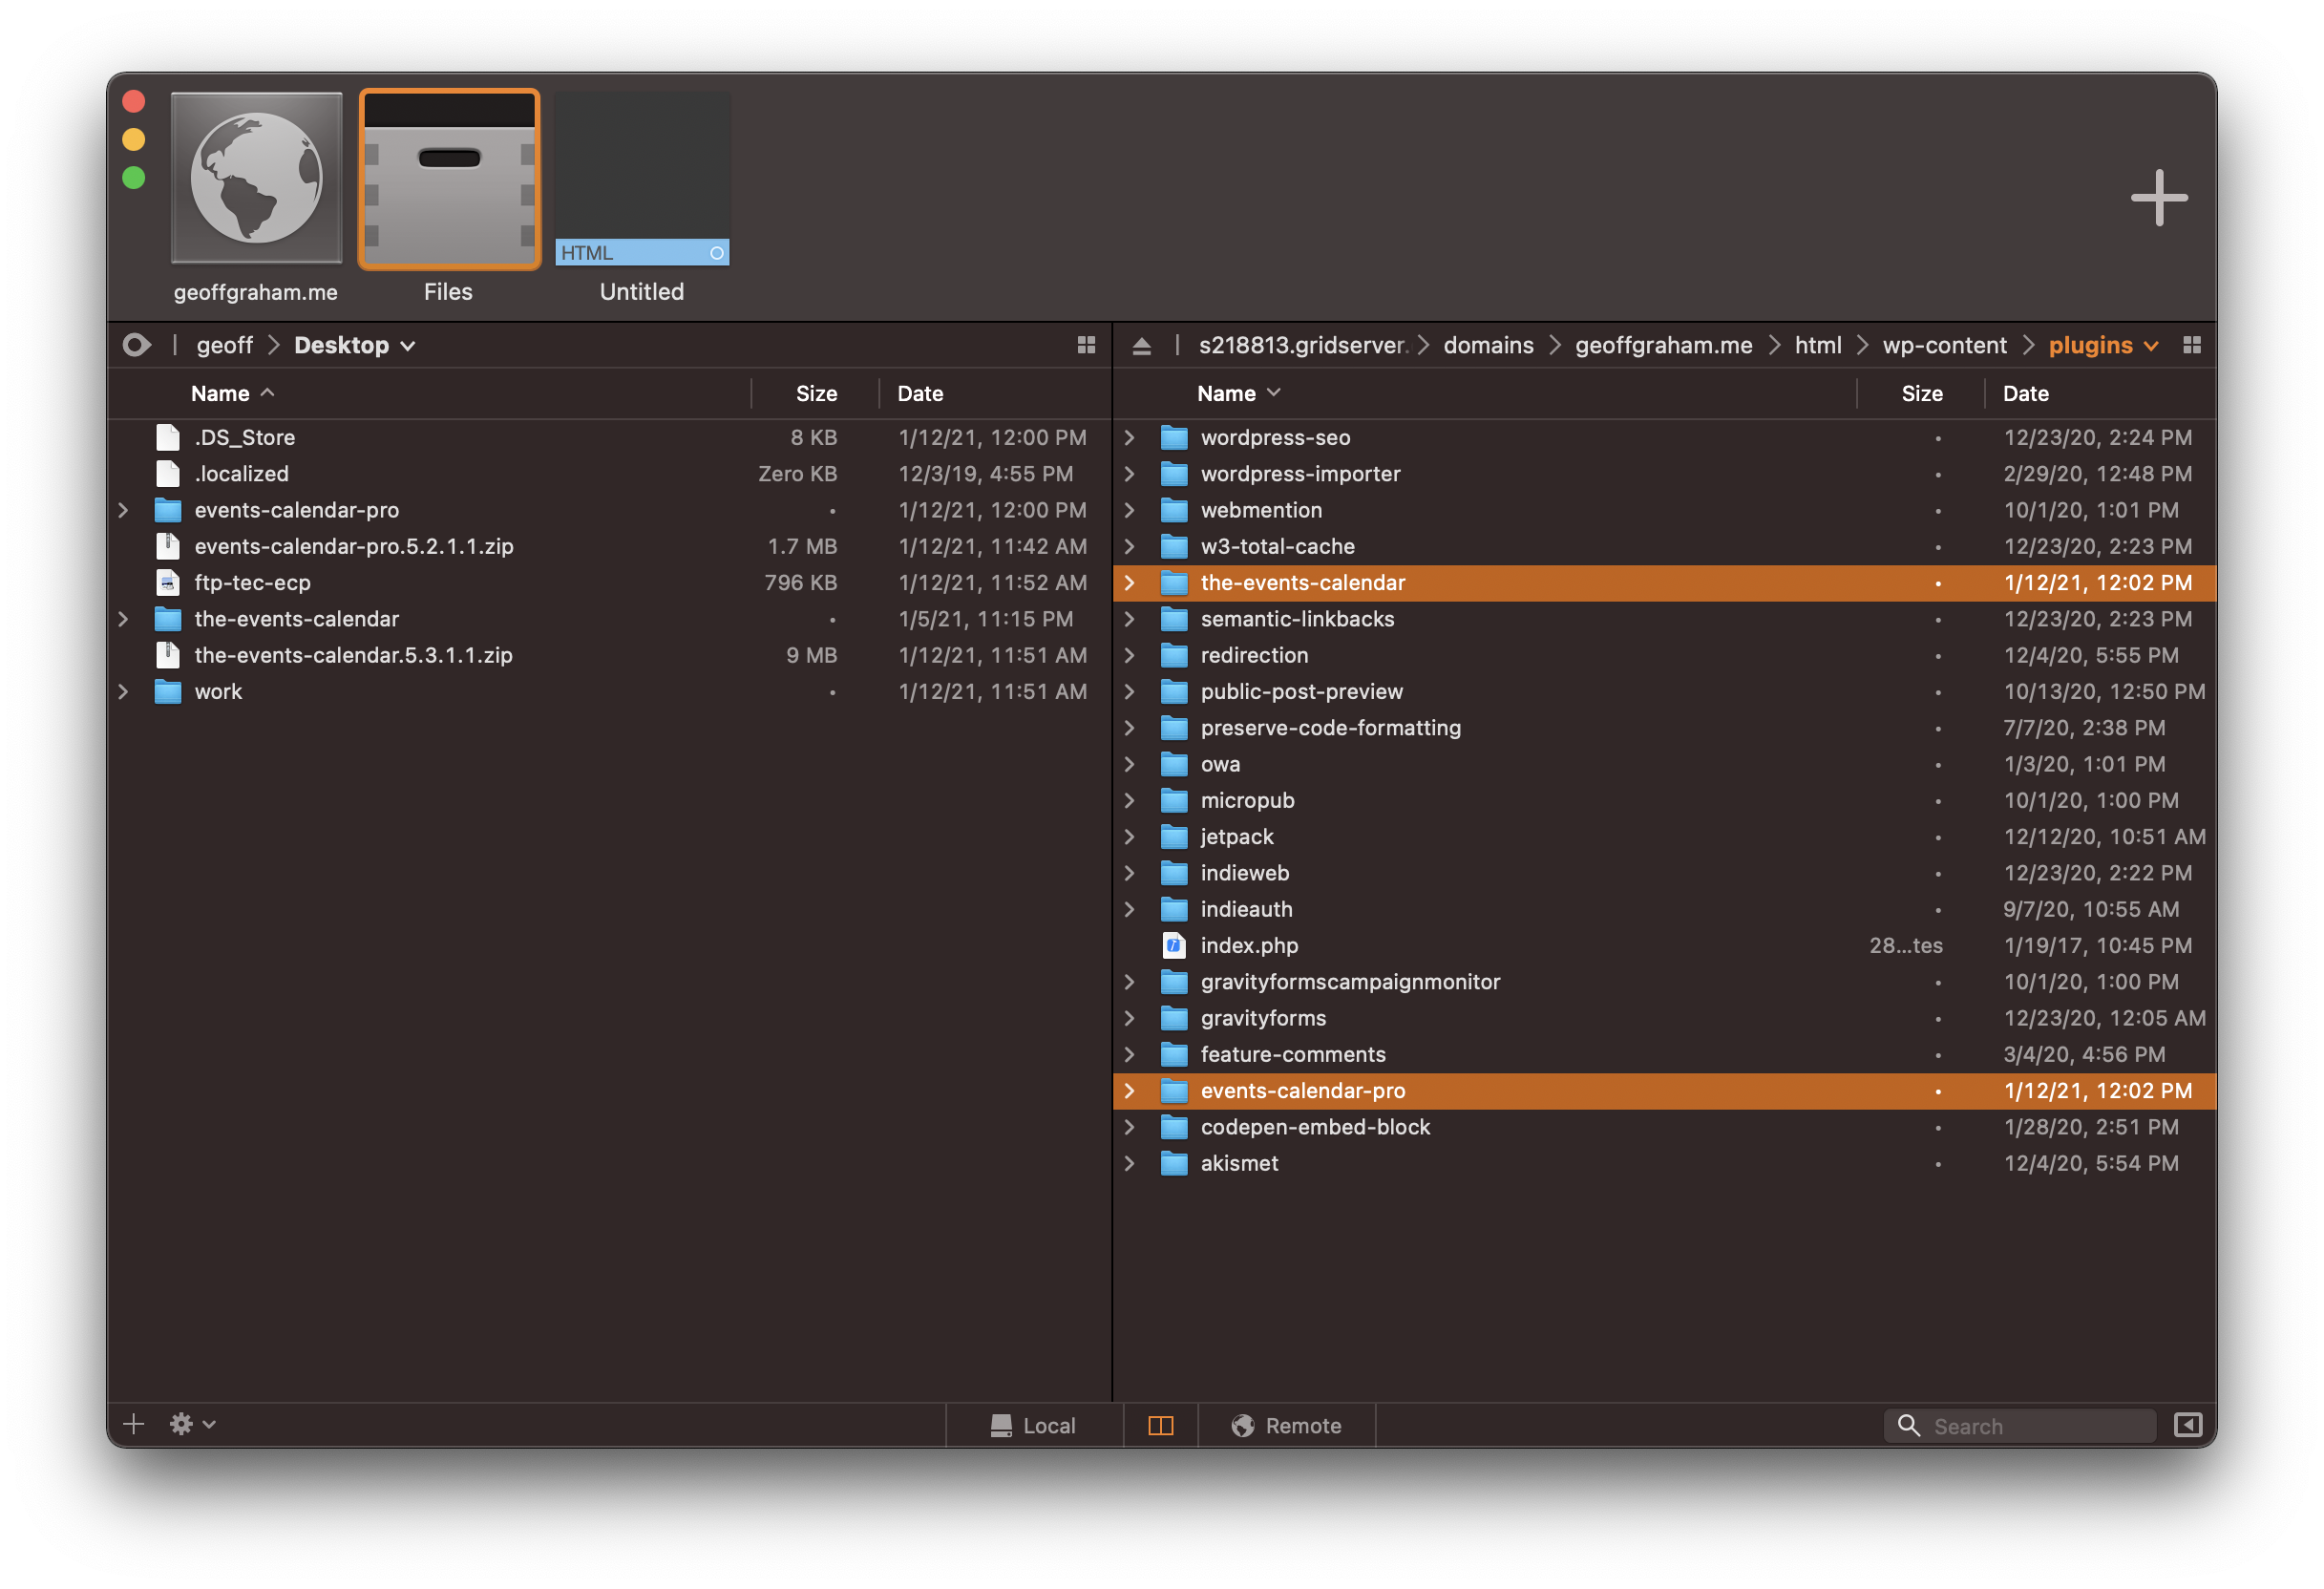
wp-content/plugins folder.There’s just one last thing to do, and it’s easy: activate the plugins. That means logging into WordPress, navigating to the Plugins screen and clicking the “Activate” link for each installed plugin.
