How to Sell Tickets on WordPress

Estimated reading time:
1 minute
You’ve planned a great event, and you have your guest list ready to go. Now, how do you go about selling tickets so guests can register? You could use a third-party platform like Eventbrite, but we have a better idea: WordPress and the free Event Tickets plugin!
By adding Event Tickets to your WordPress site, you can:
- Increase ticket revenue with no additional fees
- View and manage your attendees in one place
- Keep users on your site
- Track ticket sales right from your WordPress dashboard
Plus, with Event Tickets, you don’t have to worry about fees associated with third-party sites. As a result, you’ll recuperate your overhead costs more quickly.
In this article, we cover how you can start selling event tickets on WordPress:
Step 1: Install Event Tickets
Step 2: Configure your settings
Step 3: Create your first ticket
Let’s dive in.
Step 1: Install Event Tickets
The first step to selling event tickets is to download a plugin to do it! With Event Tickets, you can add tickets to any WordPress page or post. You can find Event Tickets by searching for it in your WordPress Dashboard under Plugins > Add Plugin.
Once you have installed and activated Event Tickets, you can create a ticket for any custom post type.
Pro tip: If you’d like additional features like an integration with WooCommerce, custom registration forms, and advanced widgets, you’ll want to upgrade to Event Tickets Plus.
Step 2: Configure your settings
Before you can sell your event tickets, there are some settings to get familiar with.
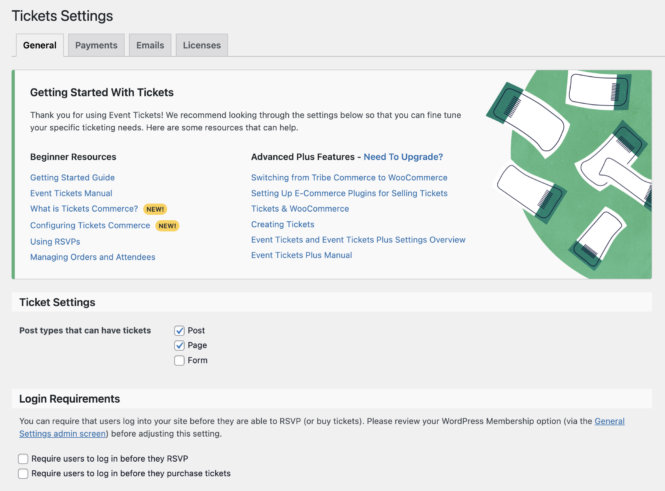
- Post types that can have tickets: Choose from posts, pages, or forms. You may also see Event if you use The Events Calendar or Custom Post Types.
- Login requirements: You can choose whether visitors need to be logged in to register or purchase tickets.
Once your settings are set to your liking, visit the Payments tab so you can start selling tickets and collecting payments. Enable Tickets Commerce and click Save Changes.
You have two payment gateway options: Stripe or PayPal. Choose your preferred gateway and follow the prompts to get connected.
Now, any ticket payments will go directly to your Stripe or PayPal account!
Pro tip: To use WooCommerce or another payment gateway, upgrade to Event Tickets Plus.
Step 3: Create your first ticket
Now, you can create tickets and start selling them in no time.
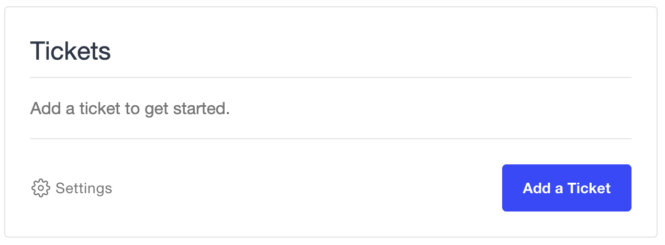
First, navigate to the page, post, or event where you want to create a ticket. Use the block editor to find the Tickets block by searching for it. Then, add a ticket.
Pro tip: If you add a ticket to an event post type with The Events Calendar and Events Calendar Pro, this block will be displayed on that page by default.
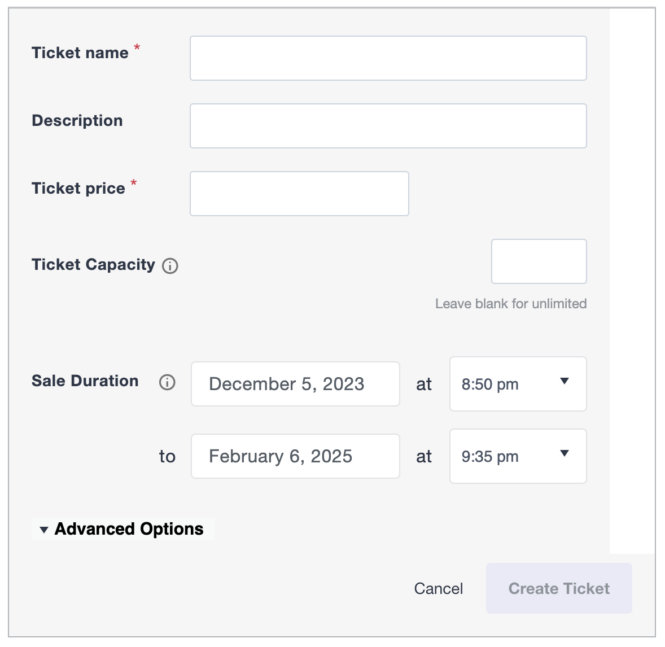
As you can see, there are options to add a ticket title, price, and a ticket capacity option that allows you to share the number of remaining tickets. You can also select a Sale Duration and add attendee information to collect.
Make sure you click Create Ticket first and then publish the page or post. It’ll look something like this:
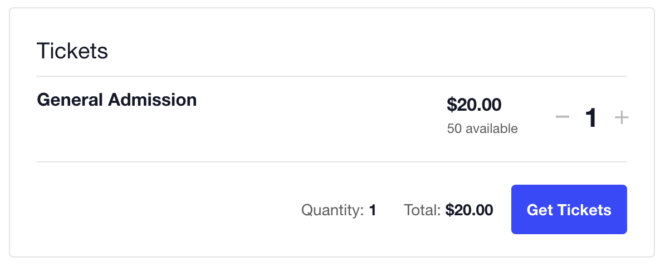
You can revisit that ticket from the Attendees tab on the backend, where you can track sales and see who’s coming to your event.
Next steps
Once your tickets are live, you can start implementing selling strategies to get them sold quickly. Here are some to try:
- Offer early-bird discounts
- Invest in paid advertising
- Use social media and email marketing
To expand the functionality of Event Tickets, upgrade to Event Tickets Plus. You’ll unlock additional features that allow you to:
- Use shortcodes to place ticket information anywhere on your website
- Customize the email template that attendees receive
- Manage orders and attendees
Start selling tickets with The Events Calendar
If you’re ready to start selling event tickets on WordPress, you can do so in three easy steps with Event Tickets from The Events Calendar. All you need to do is install it, configure some settings, and create your first ticket!
Want to try it for yourself? Install Event Tickets for free now, or check out Event Tickets Plus for additional features and functionality!

Jaime
View author page