Create a Custom RSVP Website in WordPress

Estimated reading time:
1 minute
If you’ve ever planned an event before, you understand that collecting RSVPs can be a bit tedious. You may have even grown tired of using cookie-cutter online registration forms and RSVP solutions that are cluttered with advertising. Anything that detracts or complicates the process may result in fewer confirmed RSVPs.
Wouldn’t it be nice if instead, you could offer potential attendees a private and focused RSVP experience? The good news is that there’s a simple, straightforward way to create a custom RSVP website using WordPress and the Event Tickets Plugin.
Creating a personalized and custom RSVP website is one way to stand out. Offering an exclusive form created just for attendees makes you and your event seem polished and professional.
Ready to find out more? Below, we’ll guide you through how Event Tickets RSVPs work and the process of creating a custom RSVP form right in WordPress by using the Event Tickets plugin.
Using The Event Tickets Plugin for RSVP
Event Tickets is a free WordPress plugin that enables anyone with a WordPress website the ability to sell tickets and/or collect RSVPs to events. It also has the functionality to sell tickets, collect registrations, and manage attendees for your in-person or virtual events.
Additionally, Event Tickets is built to work out of the box. Just install the plugin, configure your settings, and start creating custom tickets in minutes. Though the Event Tickets plugin can be used to sell tickets, there may be times when you don’t need to sell tickets or charge a price for an event but would still like to have a list of people attending. This is where the RSVP ticket type comes in.
Instead of buying a ticket, entering payment, and going through a checkout process, the RSVP ticket option allows users to simply select a quantity for how many spots are available for RSVP, enter their name and email address, and confirm that they will be attending the event. This feature is especially useful for those events that require an RVSP but not a purchase to attend – like a wedding, which we’ll highlight below.
A Custom Wedding RSVP Website Example
Let’s walk through the steps to create an RSVP website using WordPress. In this scenario, we’ll show you how to design a custom wedding RSVP site from scratch.
We’ve chosen the Kadence theme and its starter templates, as they make it simple to get your website started in minutes. With beautiful plug-and-play features, you’ll have a full or one-page RSVP wedding website ready in a few clicks. But don’t worry if you’ve already chosen another theme, as this tutorial can apply to any other theme as well.
Install WordPress
The first step in this process is to install WordPress. If you’re an advanced user, go ahead and install WordPress on your local environment. If that all sounds a bit too complicated for you, don’t worry, we’ve got you covered. To get you started, we’d recommend installing WordPress through a hosting provider. A hosting service is a place on the Internet that will “host” your website. With most hosting companies, you’ll find an easy WordPress setup and other features to hold your hand through the website creation and maintenance process.
If you choose to go with a hosting provider, we recommend Nexcess. If you’re interested, you can get a WP hosting plan here. Otherwise, simply use the hosting provider of your choice. You can follow this tutorial to install WordPress with Nexcess. Once you’re set up, you can begin to install your theme.
Install and activate the Kadence theme
We’ll show you how to install and activate the Kadence theme here, but the process for installing any WordPress theme is pretty much the same. So you’ll need to follow these same steps, regardless of what WordPress theme you’re using.
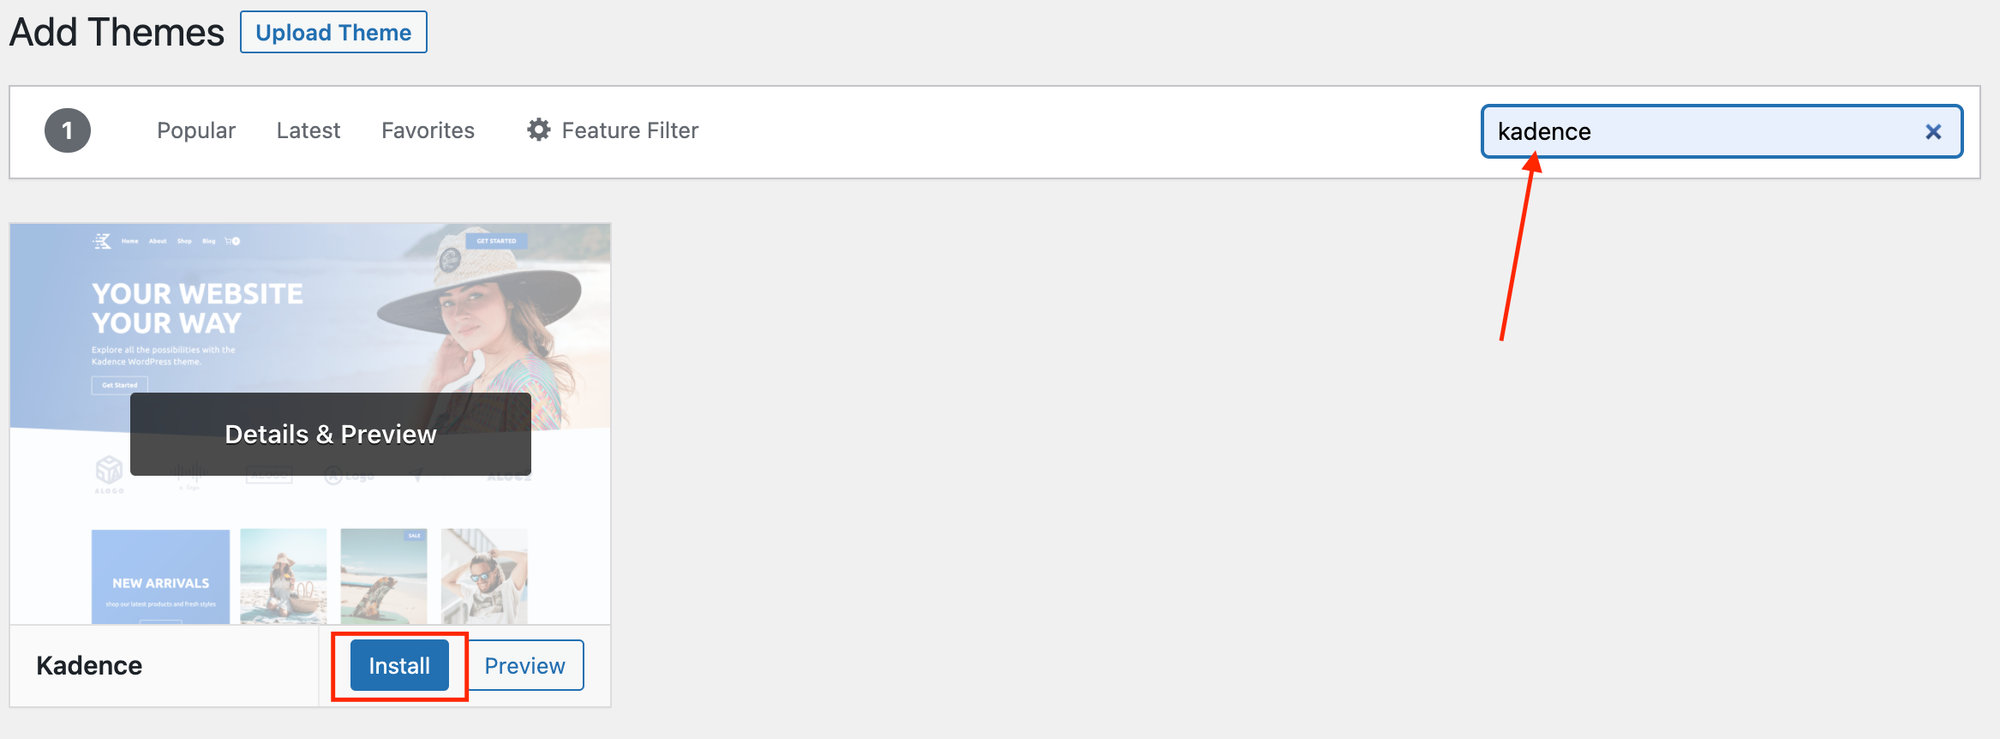
To find the Kadence theme, head over to your WordPress Dashboard, go to Appearance > Themes, and click Add New.

In the Search themes box, type in Kadence. Once you see the theme, select Install and then Activate.
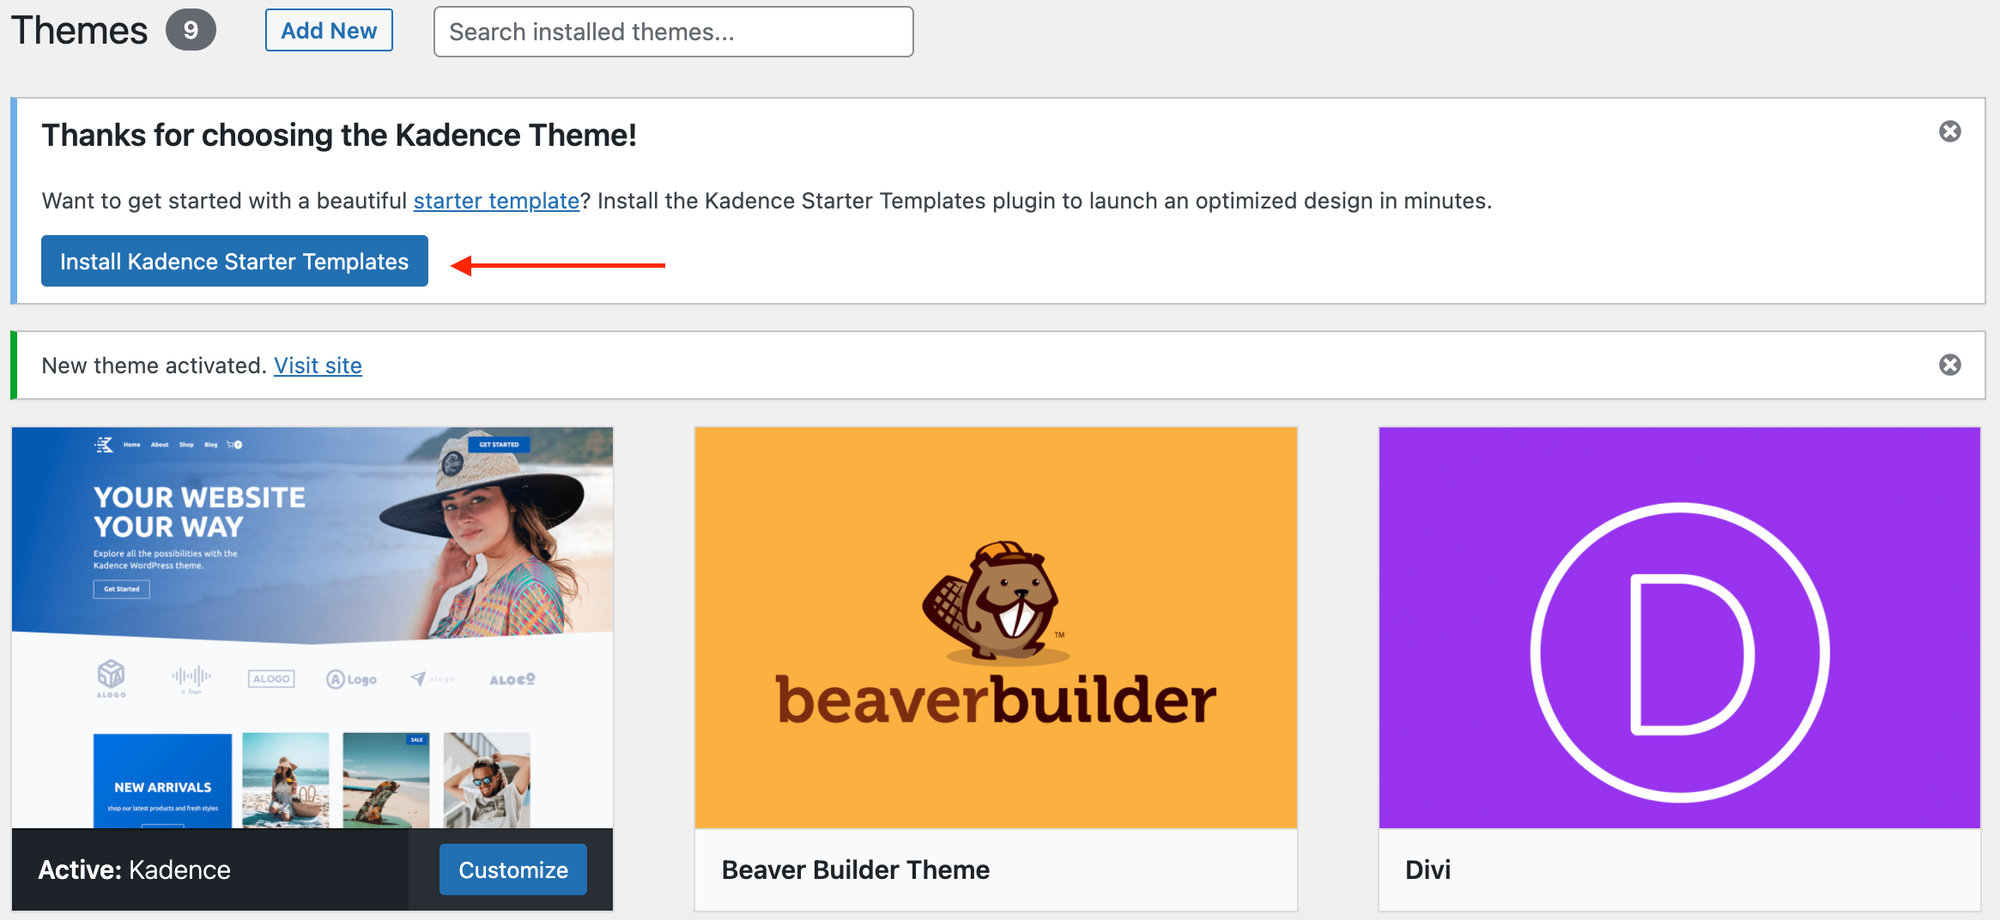
Next, you’ll be prompted to add the Kadence Starter Templates, so go ahead and click that button.
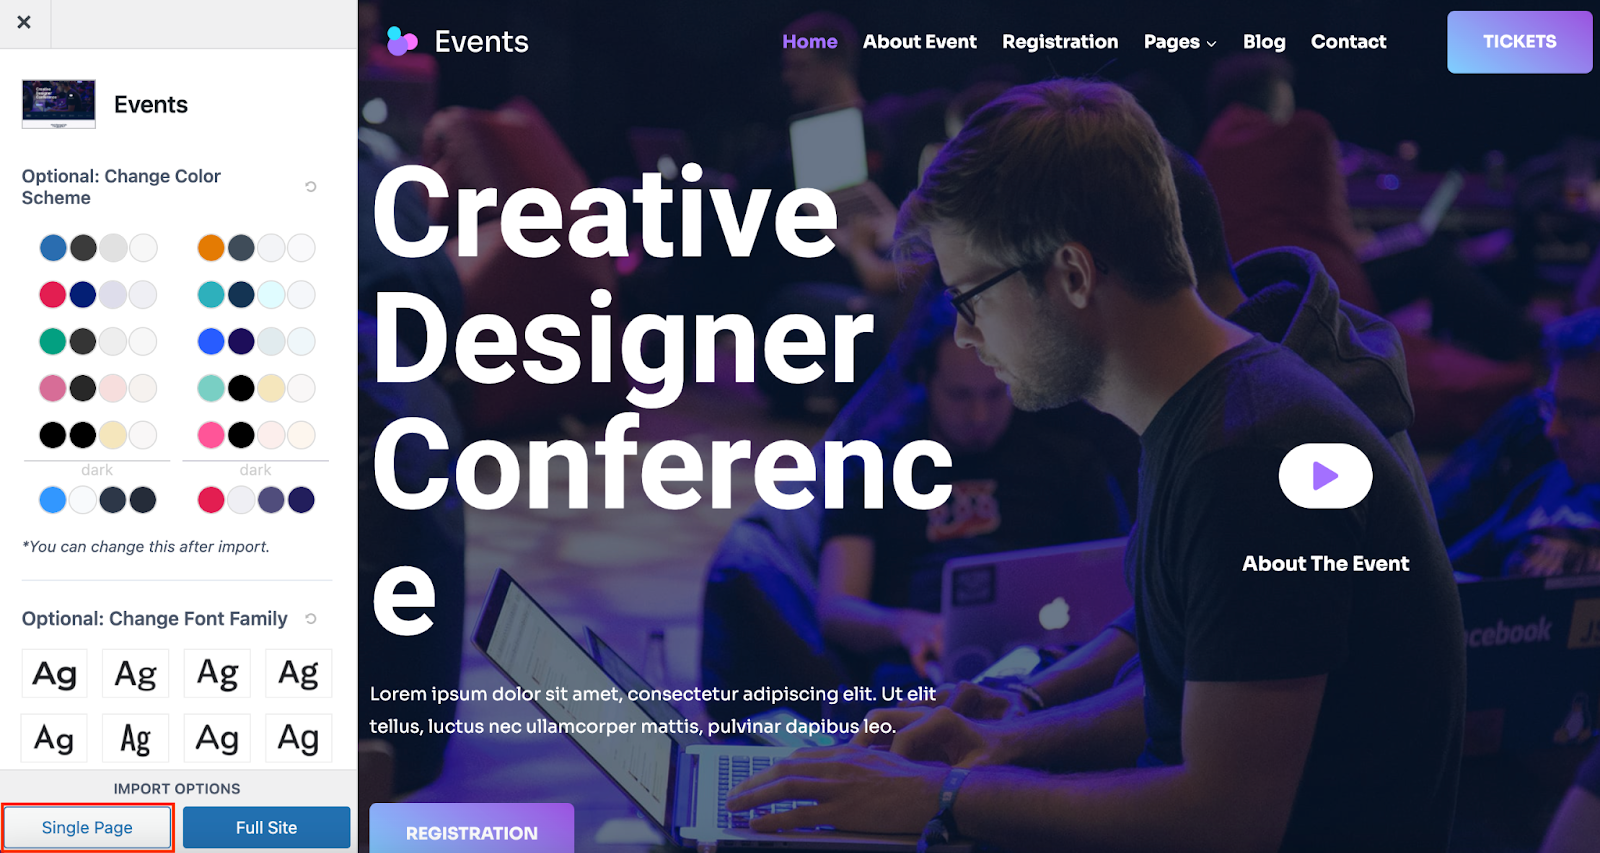
All of Kadence’s starter templates will now be available for your website. For a wedding RSVP website, we’ve chosen the “Events” starter template.

Click on the template, choose your color scheme and font family (which you can always change later), and select the Single Page option.
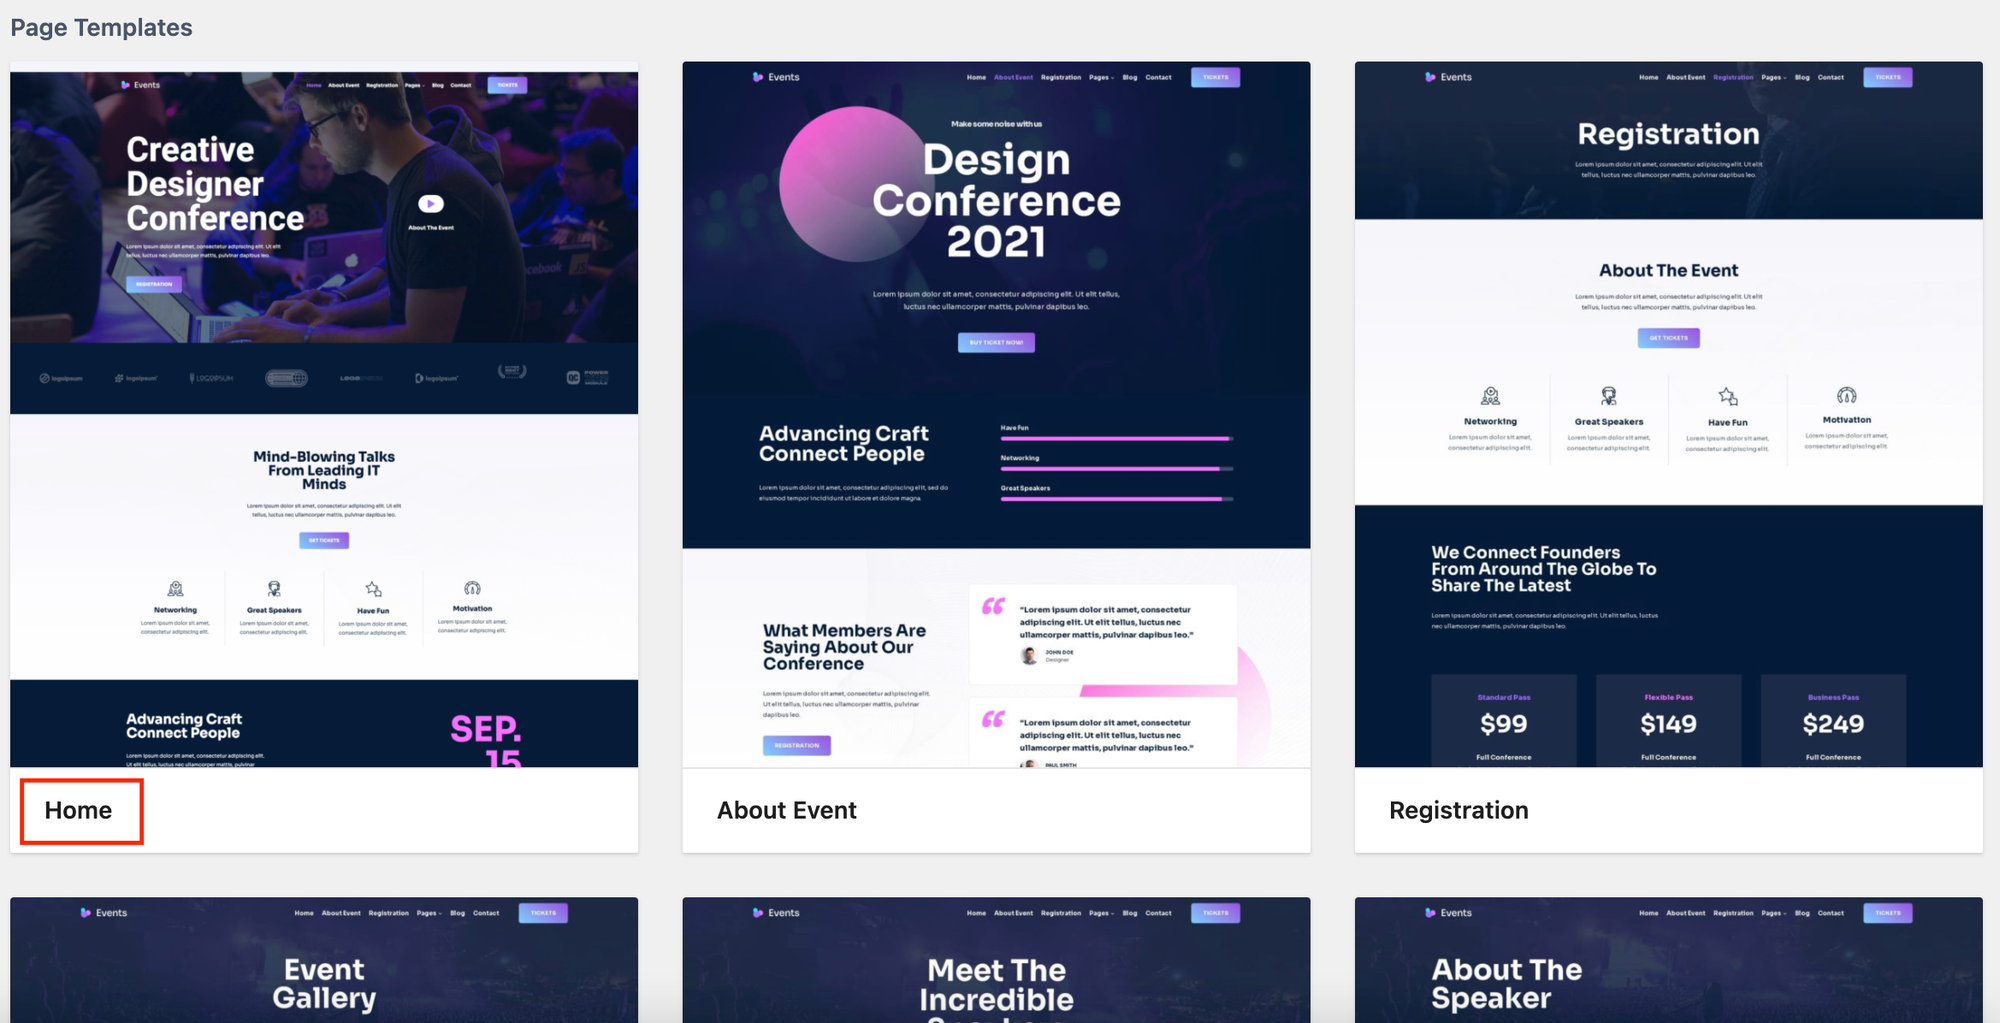
You’ll see a number of page template options appear. Choose the Home option.
Enter your email address in the prompt and select Subscribe and Start Importing to add the page to your website. If additional plugins are needed for this starter template to work properly, Kadence will automatically install them for you. Once it’s done importing, you can select Finish and view the page.
It may not look like a wedding website yet, but with a few additions and customizations, you’ll see things start to take shape very quickly.
Install Event Tickets
The next thing you’ll need on your website is your RSVP form. To add this functionality, simply install the free Event Tickets plugin. To install a free WordPress plugin, go to Plugins > Add New and use the search bar to find the plugin that you’re looking for. From there, select Install Now, and then after the installation is complete, select Activate.
For more information on installing free and premium plugins, check out this Knowledgebase article or watch this video:
Make the site your own
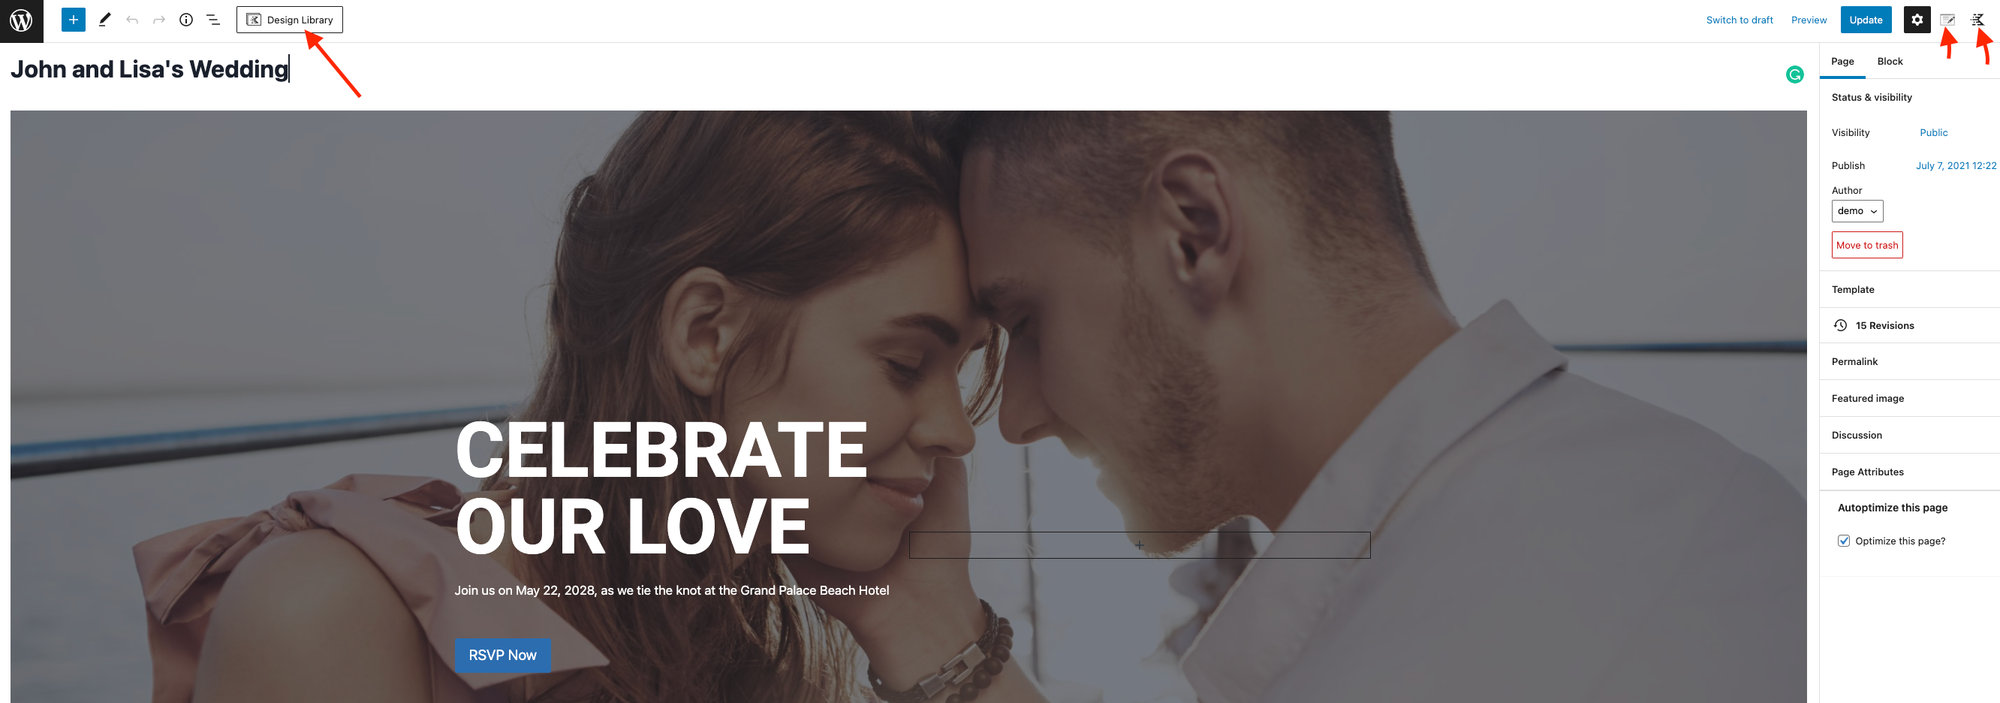
The next step in this process is to change the content provided on the page so that the website becomes your own. To begin editing the page, click on Edit Page at the top of the admin toolbar.
Change the page title to something like “John and Lisa’s Wedding”. You can upload a photo of the couple for your header image and change the text as well. The Kadence theme also comes with a Design Library with stock images to use throughout your web page. Also important are the Page Settings and Kadence Blocks Controls at the top. These will help you to control the layout of your page, add columns, and alter other elements on the page.
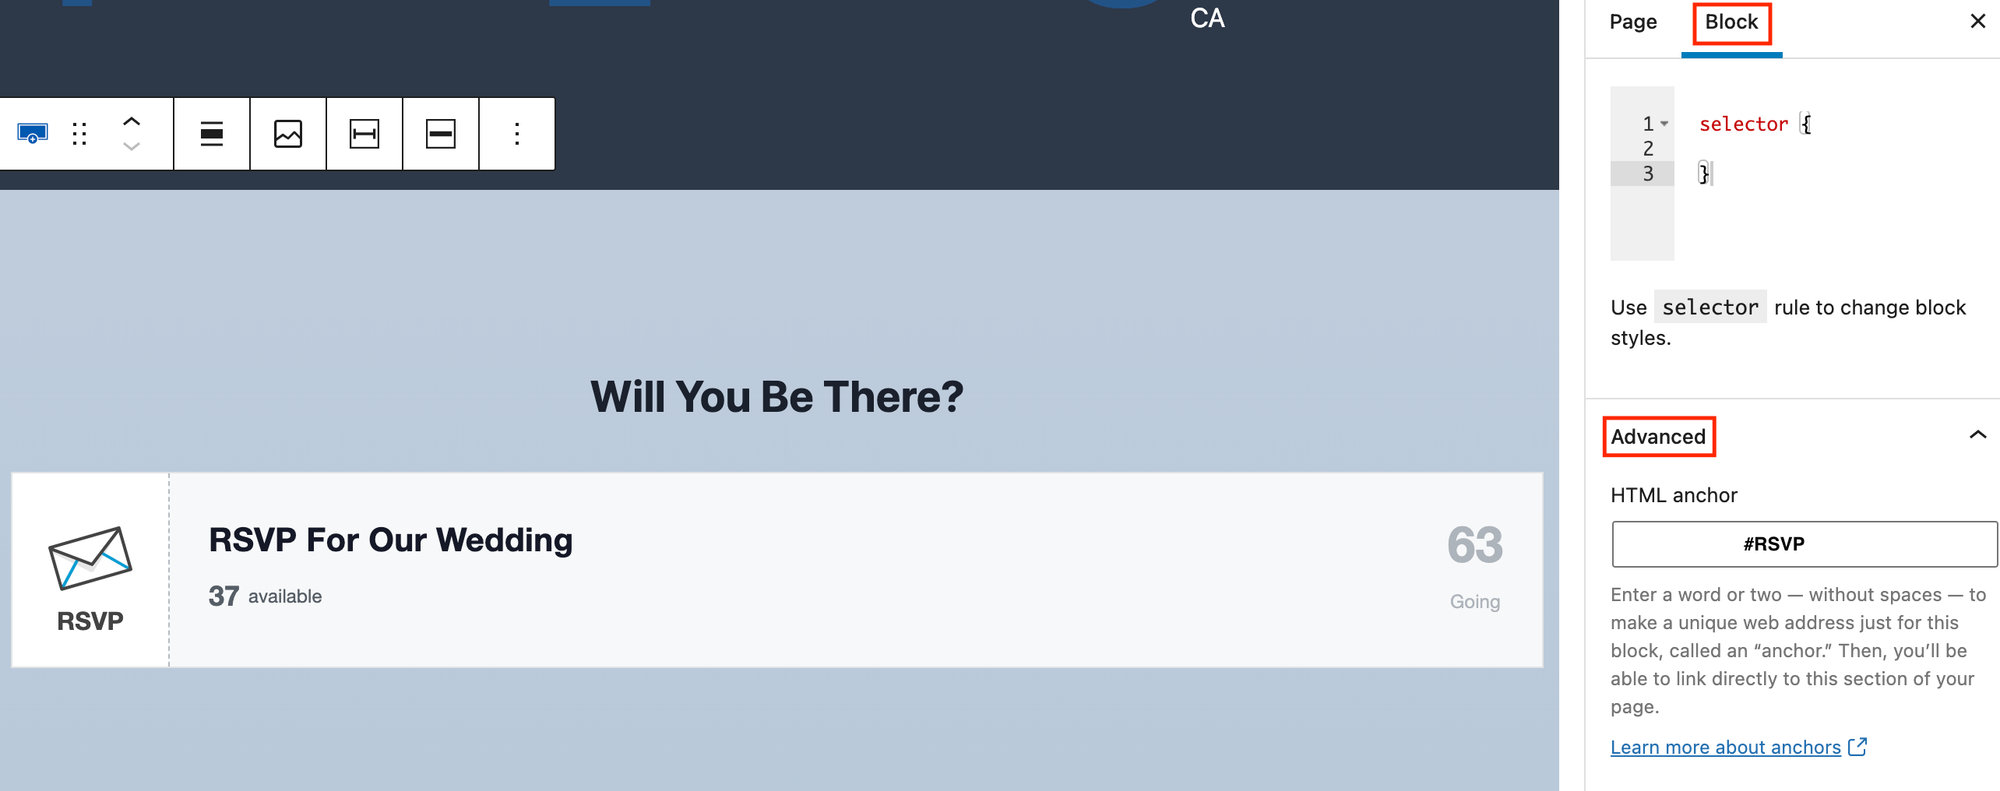
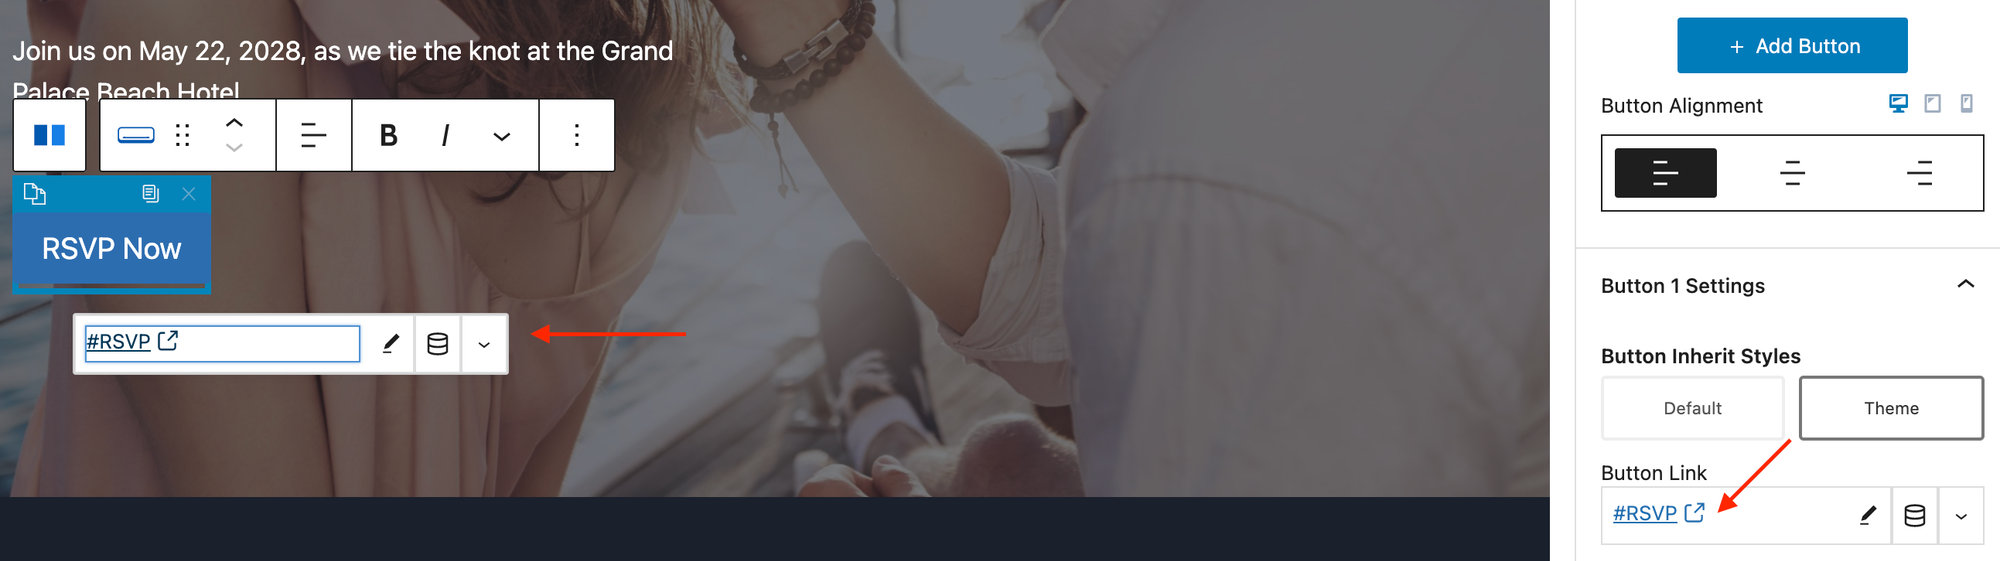
You can also replace the Registration button with a link to your RSVP. Change the word “Registration” to “RSVP”. Once you create your RSVP at the bottom of the page, you can add a link to it there. This way, by clicking on the RSVP Now button, your guests will hop down to the bottom of the page to your RSVP with an anchor link.
To generate an anchor link, select the block where the RSVP is located. Find the Block settings in the right-hand sidebar, and expand the Advanced tab. That is where you can add your HTML anchor. Be sure to start with a hashtag, so it’ll be something like #RSVP.
Now head back up to your button and add your anchor link there.
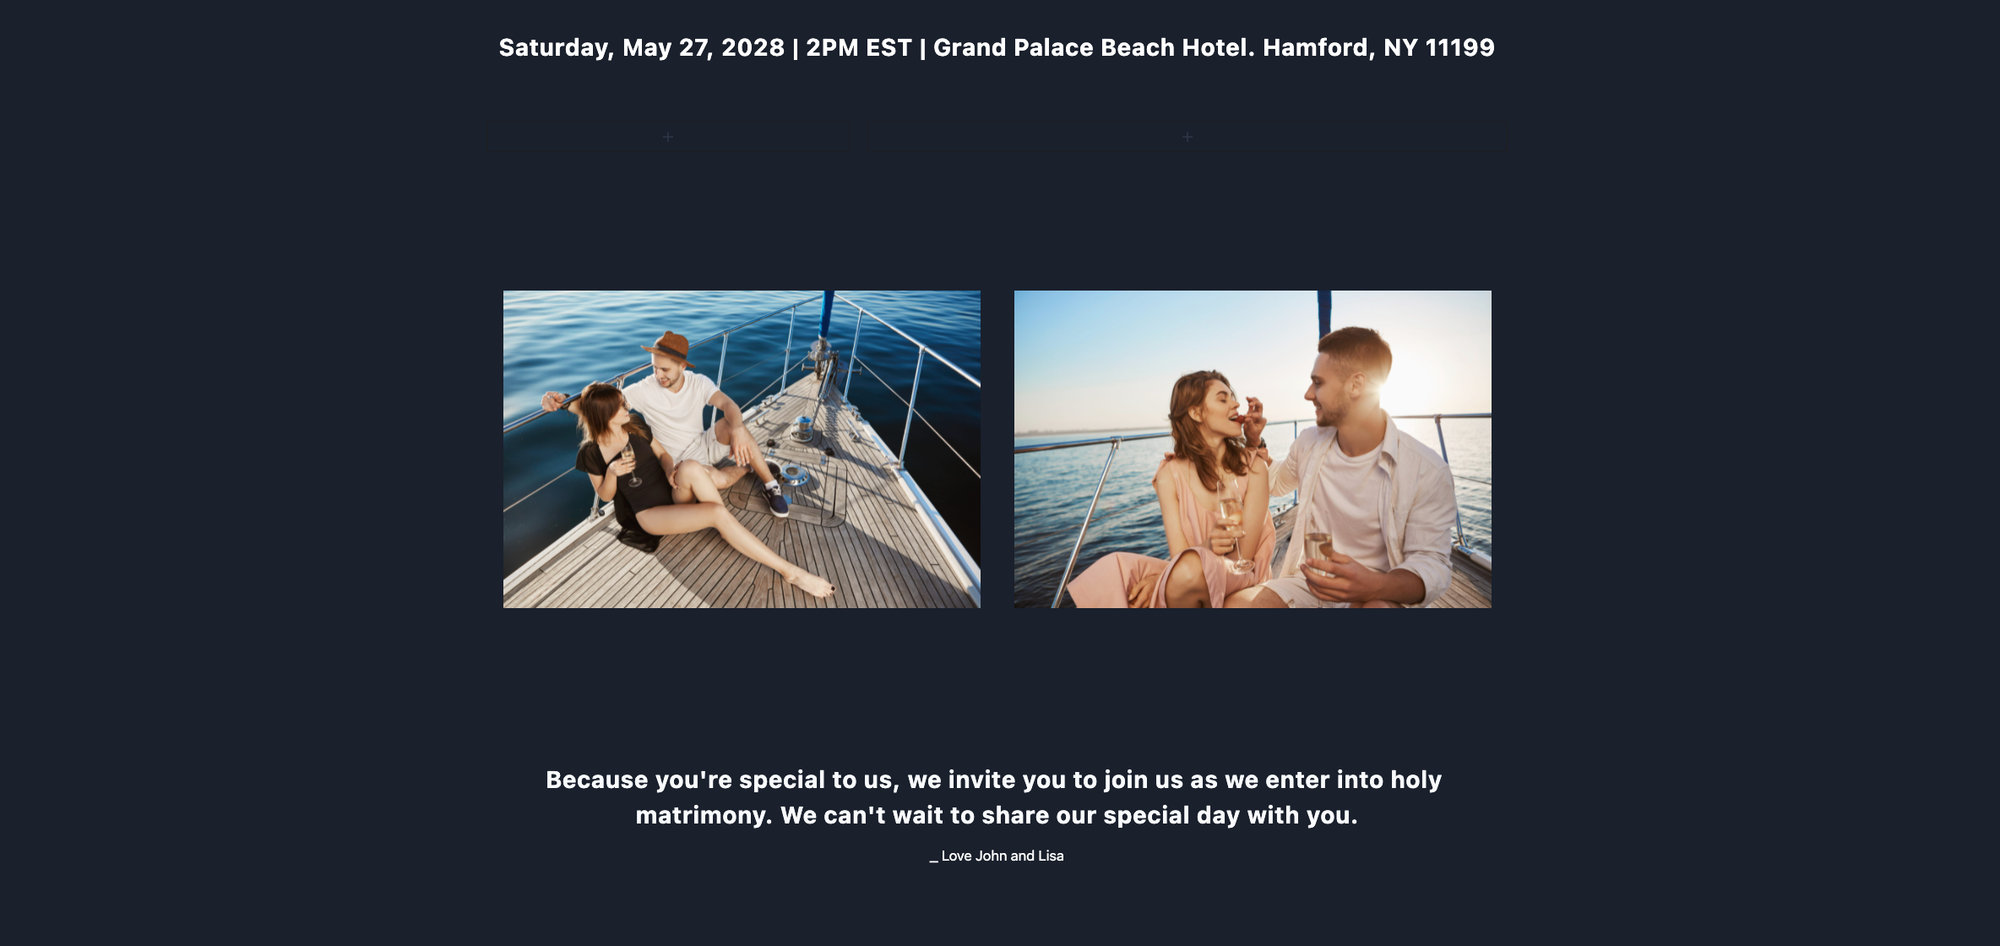
Begin replacing the content on the next panel with more personal images and a bit of text.
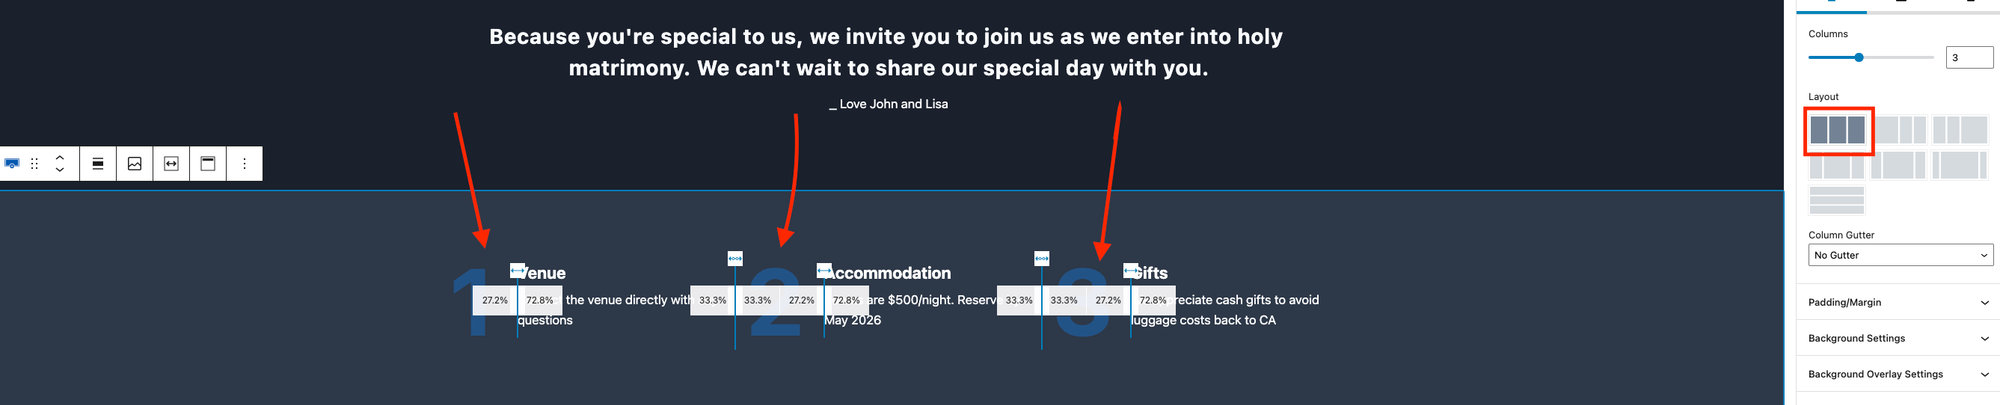
For the next panel, you’ll see a three-column layout that includes all of the necessary information for the wedding guests. Make sure to list details about the venue, accommodations, and gifts.
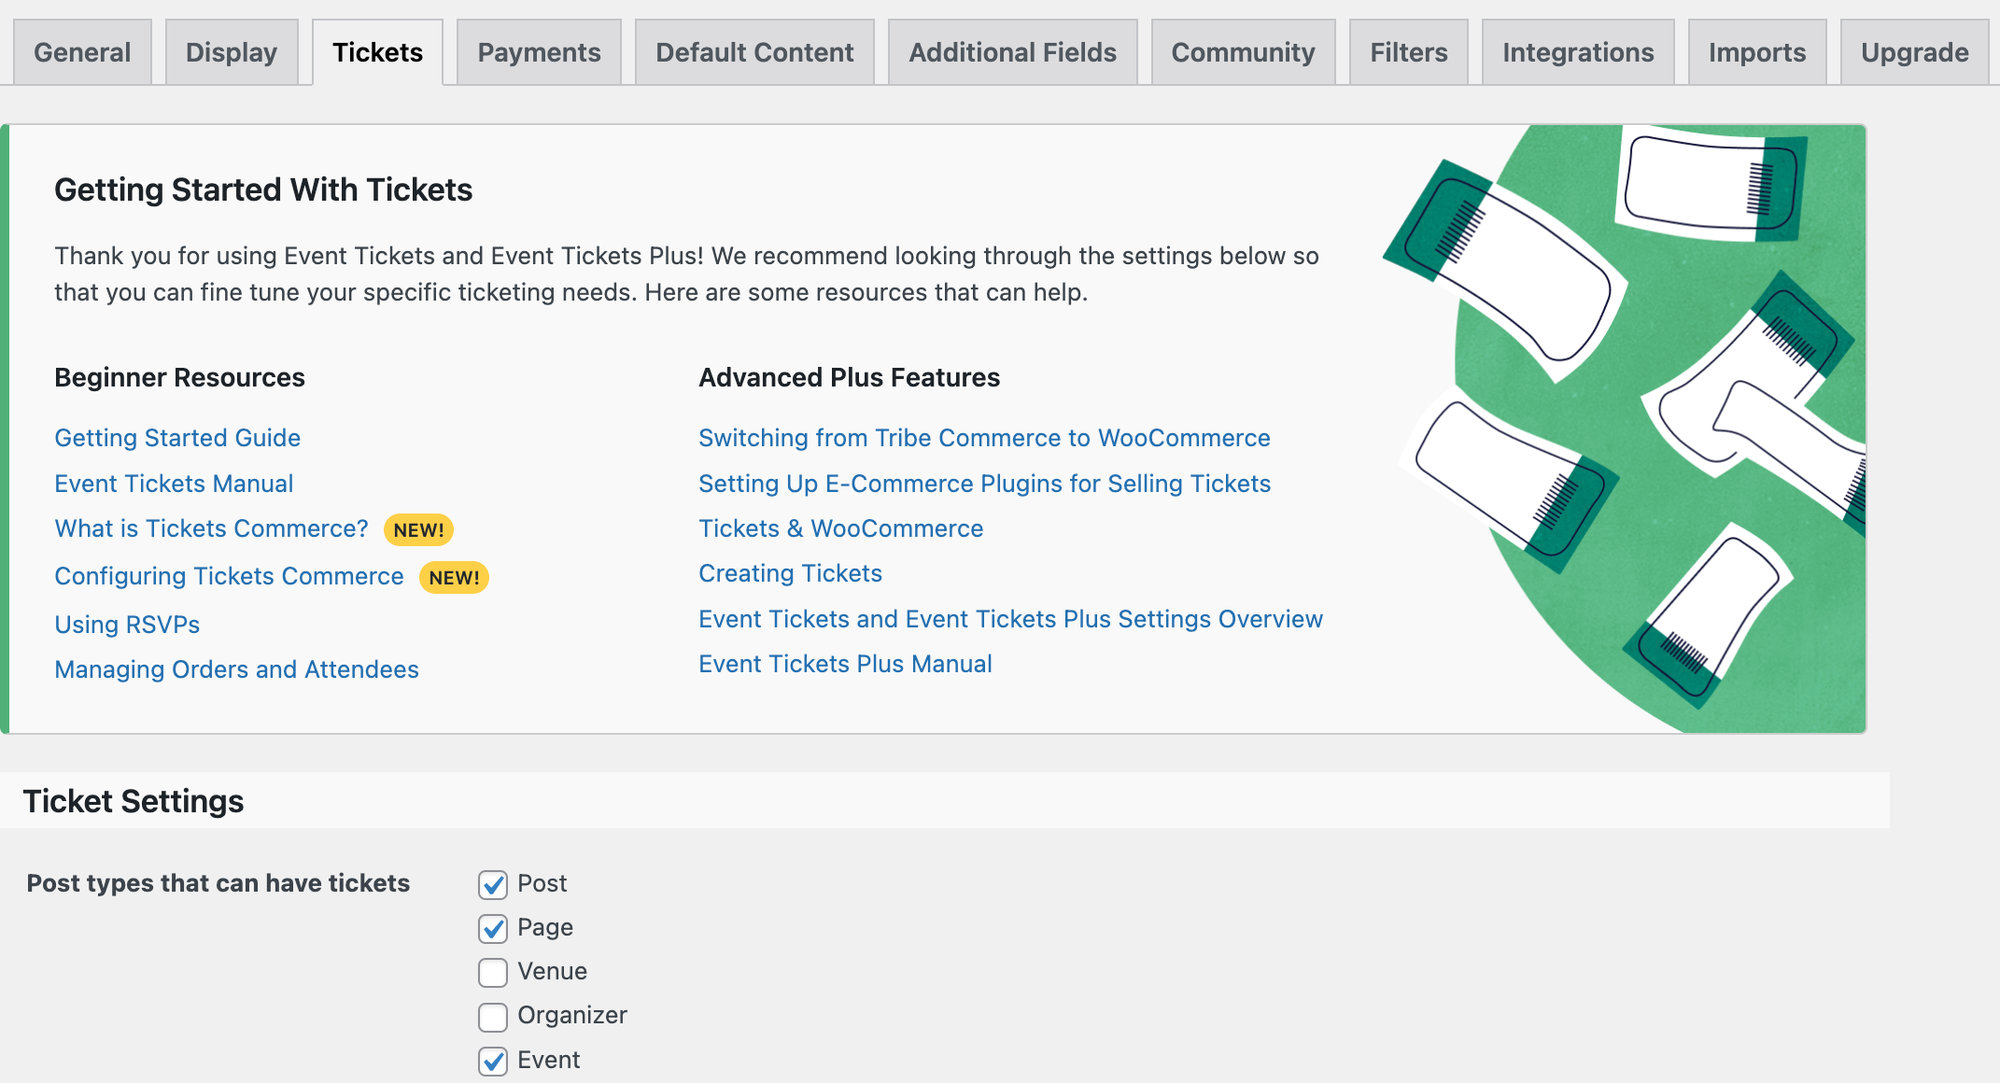
Lastly, it’s time to add an RSVP to the page. To add an RSVP, you’ll use Event Tickets. Start off by heading over to Events Settings > Tickets and enable Posts and Pages under Post types that can have tickets.
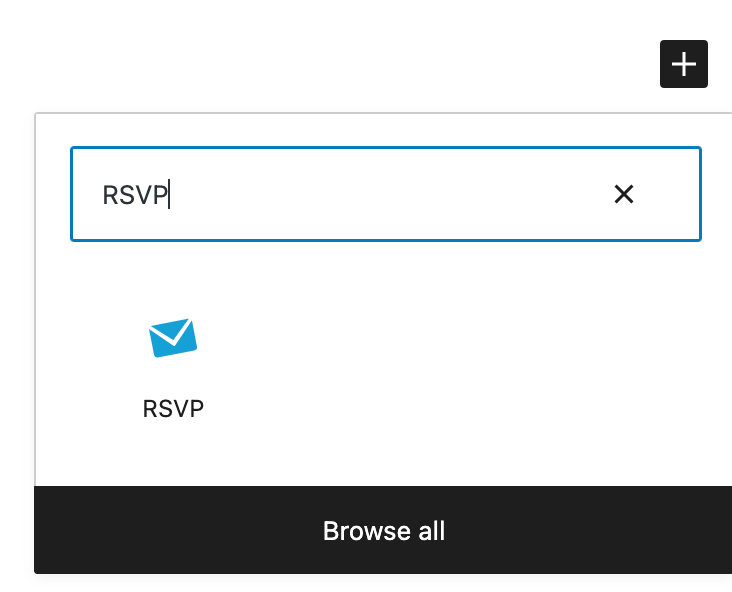
Go back to your event page and click the + sign at the bottom to add a block. Search for the RSVP block and click on it.
Next, add in all of your RSVP information, including the capacity, if you’d like to enable the “Not Going” response, and the time frame in which attendees can respond. You can even add attendee information with Event Tickets Plus. Collect additional details, like food choices, transportation needs, and plus-one guests.
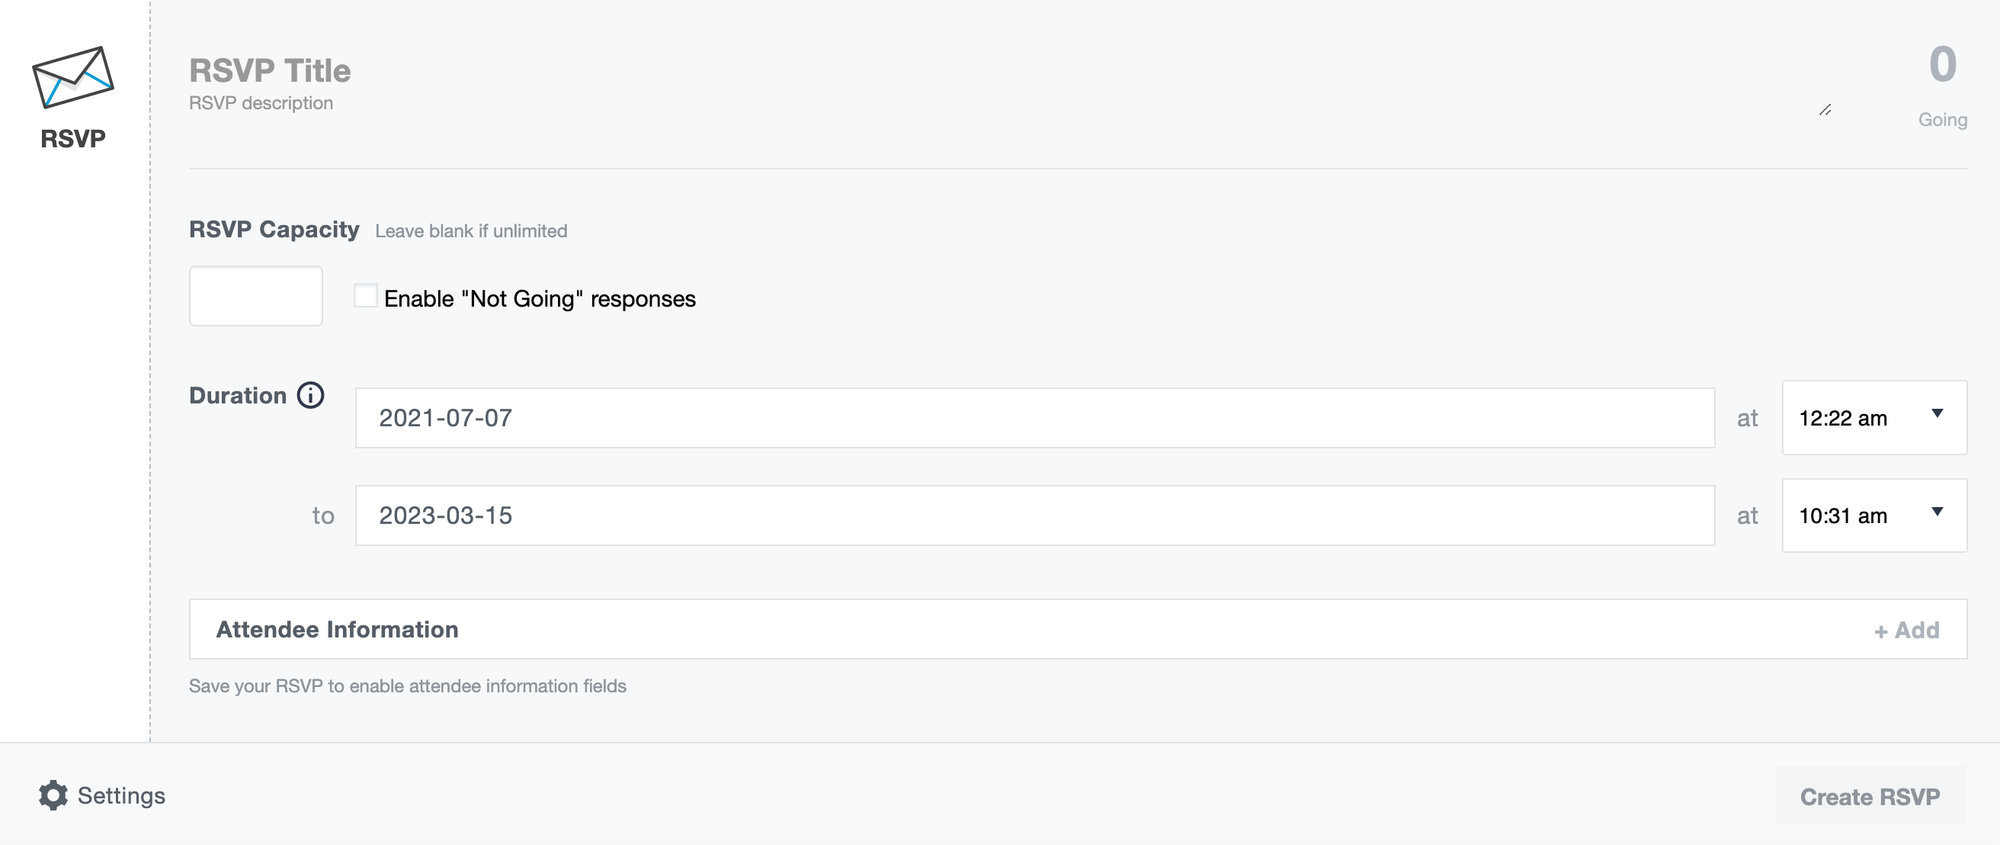
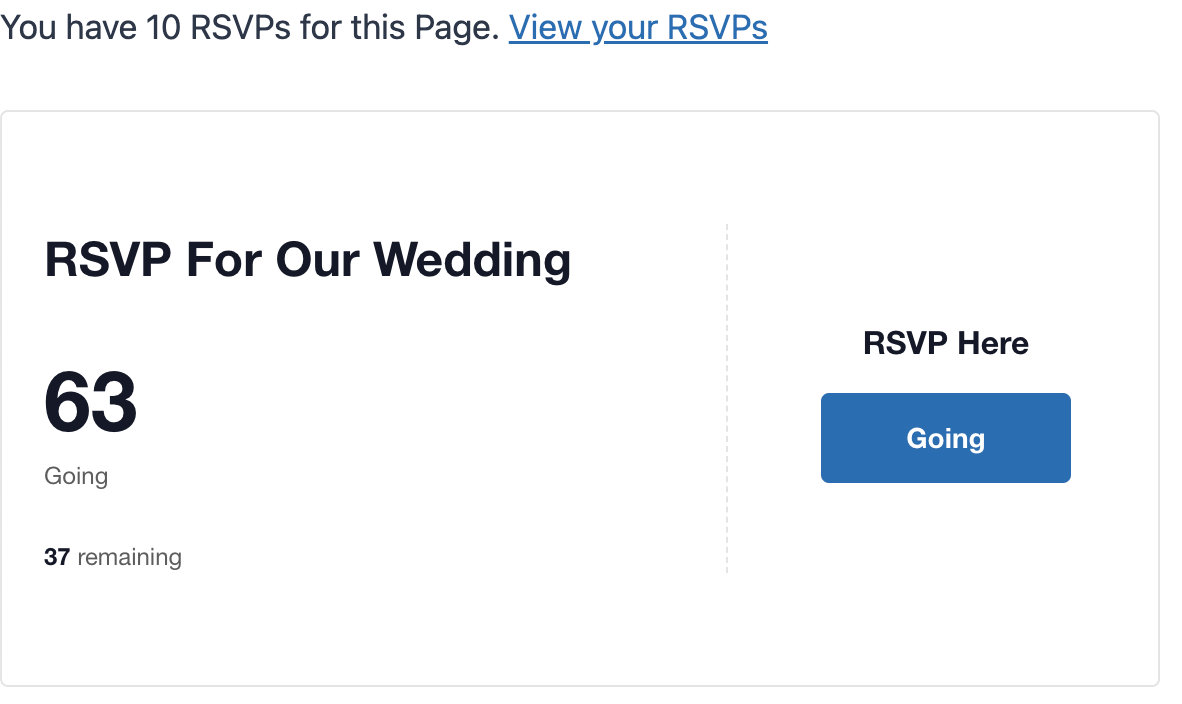
Once you are finished, be sure to click Create RSVP before you update the page. Now your page is complete! Here is how your RSVP will look on the front end:
Other Example Use Cases
Although we’ve applied this demonstration to a wedding website, you can take these concepts to create a custom RSVP website for any type of event. You would simply customize the content and imagery tailored to the specific event you want to collect RSVPs to.
For example, custom RSVP websites work well for:
- Birthday parties
- Church events
- Conferences that don’t require a fee
- Religious gatherings
- Funerals or memorials
- Author signings or readings
- Corporate trainings or lunches
- Family or school reunions
- Graduations
- Holiday events
The possibilities are endless! Which event will you use for your next RSVP website?
Add Custom Event Email Marketing
Gathering custom RSVPs isn’t the only way to gather information from attendees. The Events Calendar team has provided Promoter, a product that allows you to communicate with event guests via custom event email marketing. Promoter is a great way to send custom and automated email reminders without any third-party branding and confusing advertisements. Guests will appreciate the custom experience that begins with RSVPs and continues through email communications. Here is a rundown of some of Promoter’s most useful features to pair with your RSVP website:
- Promote new events: Send email alerts when events are announced to build excitement and encourage RSVPs.
- Create personalized messages: Personalize emails with fields for name, ticket details and price, and more.
- Automated Marketing: You can fill in your logo and brand colors for automatic marketing and branding in each message you send.
- Schedule messages with Shortcuts: schedule pre-written messages to go out during common event touchpoints, such as an RSVP confirmation and before the event begins. Put several shortcuts together to create an entire email campaign!
- Dynamic Content: Merge tags dynamically fill in content (like Event Title) so you don’t have to re-write emails each time.
- Timeline: Get a birds-eye view of your complete event marketing by using the Timeline view.
Summary
Whether your event is big or small, thousands are using Event Tickets to collect RSVPs for their in-person and virtual events.
Collecting RSVPs is a crucial part of your event-planning process. Having a headcount is how you plan for success and make sure you’re well prepared to deliver. Plus, with this walkthrough handy, you’re ready to create any RSVP page for any event using WordPress.
Join the elites who use custom solutions by creating your event RSVP website in WordPress.
If you aren’t familiar with Event Tickets or its RSVP functionality, check out our Getting Started Guide. For more help, explore our knowledgebase for useful tips.
If you’re ready to start building your custom WordPress site with Event Tickets, download the free plugin today and begin collecting RSVPs for your most valued events!

Jaime
View author page