Automating Event Promotion With Zapier
Estimated reading time:
1 minute
Introducing Event Automator: our latest innovation that allows you to connect your favorite third-party apps and tools with Zapier to help you automate your event and ticketing processes. Learn more in our blog post.
Are you taking advantage of Zapier to automate your event promotion?
If not, this post is definitely worth the read.
Zapi-what?
Zapier is essentially an app-to-app automation system. It works by triggering an action in one app based on a trigger in a different app. For example, when a new custom post type is published in WordPress (trigger), a new post is also created and published on Twitter (action).
If you’re the person in charge of helping promote your event, I can already see your grin – Zapier opens up huge opportunities for automating event promotion. Best of all? It’s free to a certain extent. At the time of this publication date, Zapier offers a free plan that includes 100 tasks per month for up to 5 Zaps running every 15 minutes. Paid plans start at $20/month.
Transparency FTW: We have zero affiliation with Zapier. We just like sharing things that may be helpful for our users.
Automating Event Promotion With Zapier
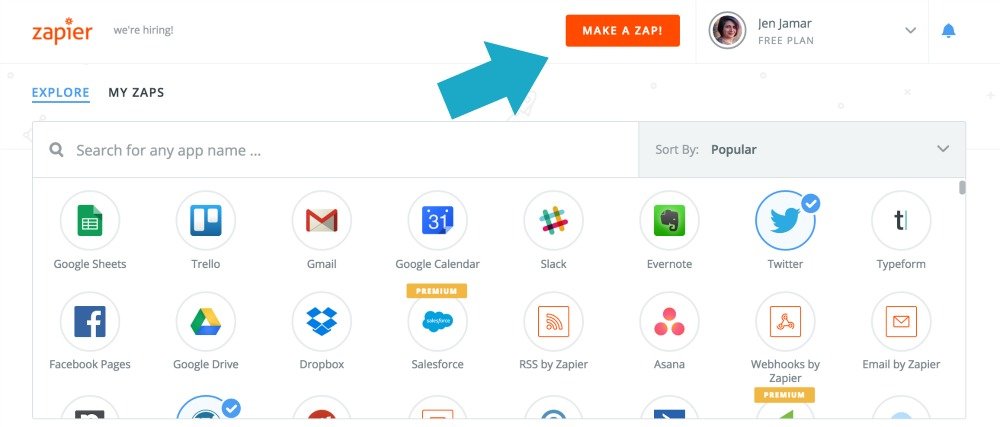
We’ll start with some basic event promotion by setting up Zapier to automatically send a tweet every time a new event is added to your calendar. First, you’ll need to create a free Zapier account, then click the “Make a Zap!” button at the top of the screen.
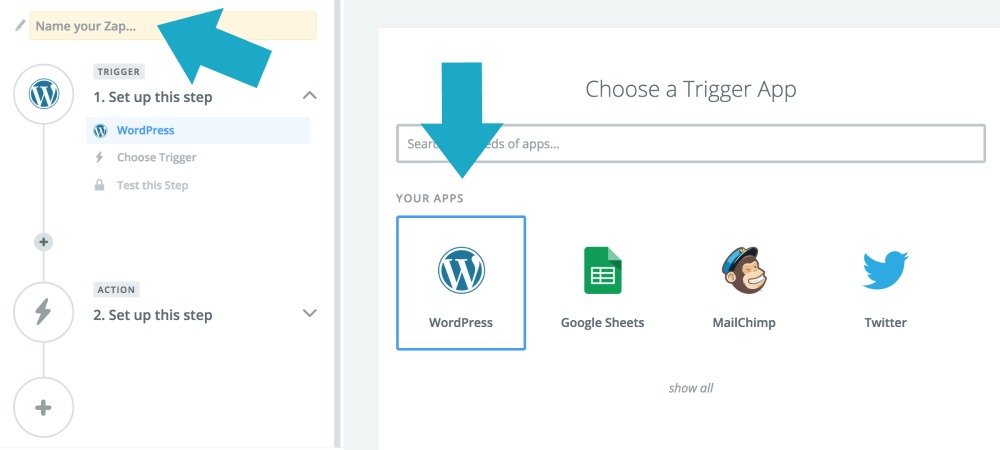
Next, you’ll choose your “Trigger” – the app where you are pulling information from based on an action you define. If you don’t see the WordPress logo, use the Search box to pull it up, then click on the icon.
Tip: You can name your zap by clicking the pencil icon in the upper left of the screen. This is super helpful when you’re running multiple zaps and want to make a change to one later on.
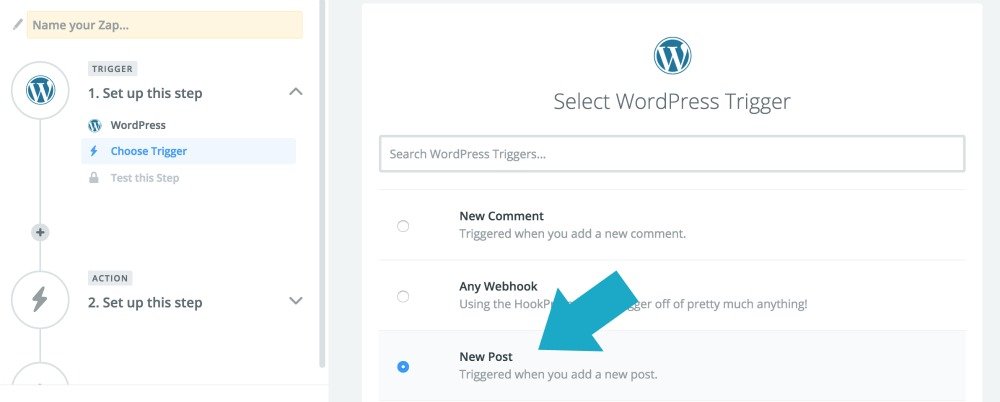
By default, the most common triggers for the app you selected are shown. If you don’t see “New Post” right away after selecting WordPress as your appClick to expand the list to see more options, then select “New Post” for your trigger.
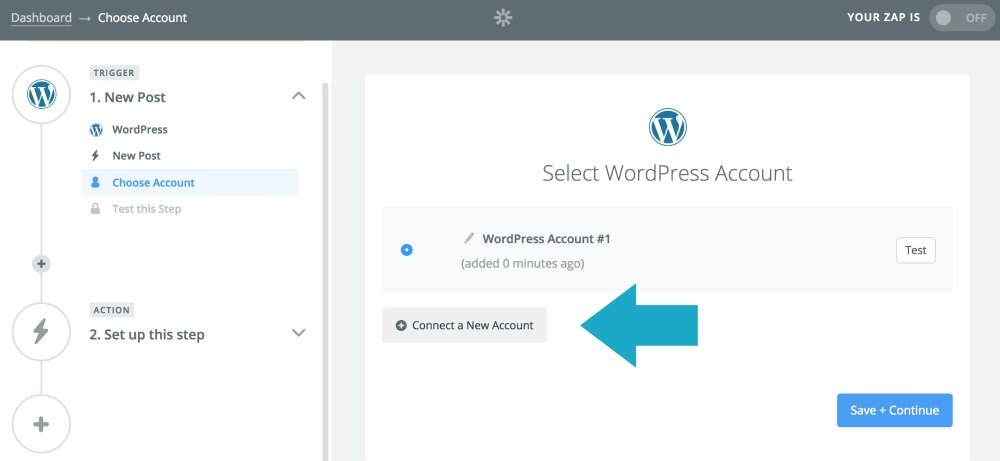
After you select the trigger, you’ll be prompted to select which WordPress account you want to use for this Zap. If you already have a WordPress account connected to Zapier, you’ll see it displayed in your Zapier dashboard. If not, you can click the “Connect a New Account” button to add your account.
Tip: To maintain the security of your site, we recommend creating a new user with the editor role and using those credentials to connect to Zapier.
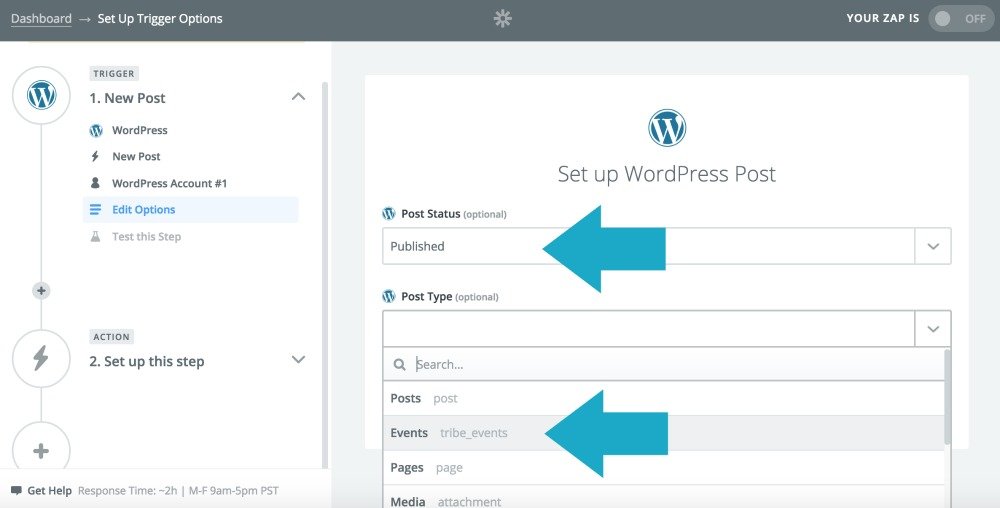
Now that you’ve got your WordPress account connected, you can select which post status will be used for your trigger, as well as which post type. Since we’re building this zap to promote new events on Twitter, we’re going to use the “Published” post status and the “Events” post type.
Once you’ve got your Trigger set up, you can add your Action.
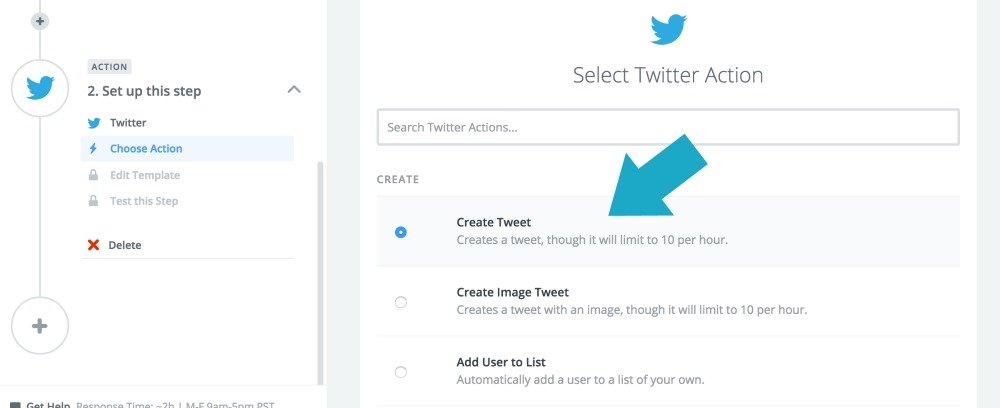
Select Twitter as the Action app, then select “Create Tweet” as the action, and connect the Twitter account you want your tweets sent from.
Tip: If you use featured images for your events, you may prefer to use Create Image Tweet for this step.
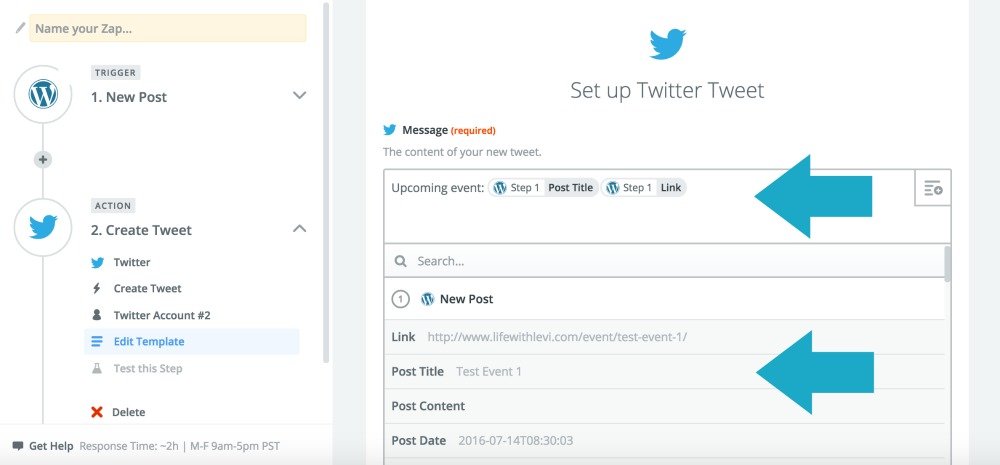
After you’ve connected your Twitter account, you can use the Edit Template to set up any text and links you want to include in your automated tweets.
Once you save and test to confirm your Zap is working correctly, you’ll all set to turn it on. Congrats – you just created your first Zap!
Your Zap will run automatically, checking every 15 minutes for new events published on your calendar to tweet out to your followers.
More Event Promotion Automation With Zapier
Automatically tweeting new events added to your calendar is just the tip of the iceberg when it comes to what you can do with Zapier.
More useful Zaps for events:
- Share new events to Facebook (WordPress to Facebook)
- Queue new event posts for promotion in Buffer (WordPress to Buffer)
- Catalog your past events in a Google spreadsheet (WordPress to Google Sheets)
- Notify your Slack team when new Community Events are submitted for approval (WordPress to Slack)
With over 500 applications available to connect on Zapier, there are loads of integrations you can use to automate your event promotion. If you’re using WooCommerce to sell event tickets, there are some more additional Zaps you can set up using the WooCommerce Zapier add-on.
- Send a tweet thanking attendees for their ticket purchase (WooCommerce to Twitter)
- Add attendee emails to a MailChimp email list (WooCommerce to MailChimp)
- Send a waiver form to attendees after their ticket purchase (WooCommerce to Gmail)
And did I mention we’re just scratching the surface?
Advanced Zapier Event Integrations
Zapier is not limited to a single action in each Zap. You can create a sequence of Zaps (called a Multi-Step Zap) that combine actions into a full-on automation sequence.
Let’s say you regularly get comments from your community on your calendar with questions about your events. You want to respond to them in a timely fashion, so you set up Multi-Step Zap that does ALL of the following each time a new comment is posted (Trigger).
- Automatically update your to-do list with a reminder to review new comments (WordPress to Asana)
- Add a due date for the to-do list task by creating a Google Calendar event (Asana to Google Calendar)
- Add the comment to a Google spreadsheet with a link so you can easily find it when you’re ready to reply (WordPress to Google Sheets)
Boom – you just created a pretty powerful automation sequence to make sure you’re responding to user comments and questions on a regular basis.
Of course, Zapier isn’t only limited to events. You can use Zapier to create all sorts of integrations and workflows. You can explore more WordPress Zaps on their site, or share your favorite Zaps in the comments with us below.

Jaime
View author page