Managing Zoom from your WordPress Dashboard
Estimated reading time:
1 minute
Did you know you can connect Zoom to The Events Calendar and manage it right from WordPress? In this set-up guide, we’ll be running on WordPress with the following plugins:
- The Events Calendar (Free)
- Virtual Events add-on for The Events Calendar (Premium)
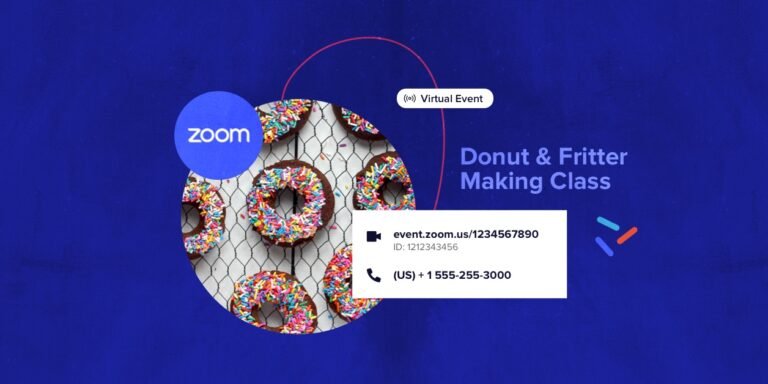
The Virtual Events plugin lets you connect your Zoom account to The Events Calendar and create unique Zoom meetings and webinars right from the event editor. Connecting your Zoom account is easy and only requires a few quick steps; this Knowledgebase article walks you through it.
After connecting your account and refreshing your connection, you’re ready to start managing Zoom by creating calls and webinars from your event editor. You also have a few different privacy options for your Zoom events.
Protect Zoom link, only accessible via RSVP
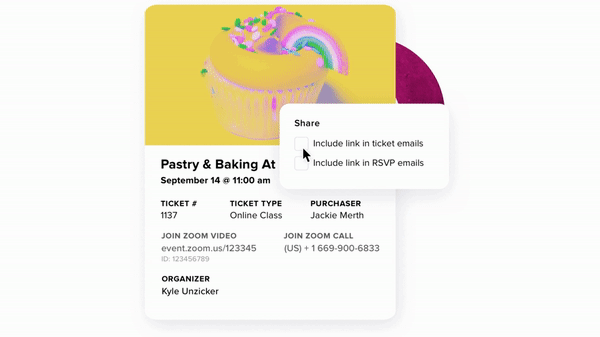
In this set-up, we’ll have the Virtual Events add-on automatically generate our Zoom link, but we don’t want the Zoom link to be publicly accessible at all. In this example, we’re also using Event Tickets (free WordPress plugin for RSVP & tickets) to manage RSVPS. With these settings, Virtual Events will automatically add the Zoom link to the RSVP confirmation email that goes out to every attendee.
Hide Zoom link behind a button
You can choose to hide the Zoom link behind a button on your event page with these settings in the Virtual Events add-on.
Publish Zoom link

If you’re looking to just publish your Zoom link directly on your event page, that’s another option. First, be sure you’re aware of security issues that may arise from this method. Follow these settings to publish your Zoom link publicly.

Streaming a Zoom meeting or webinar
If you want to keep people on your event page, you can set up your Zoom account to simultaneously livestream to either YouTube or Facebook Live. Embed the YouTube or Facebook livestream URL on your event page, and your event will stream right on your website via the embed.

Jaime
View author page