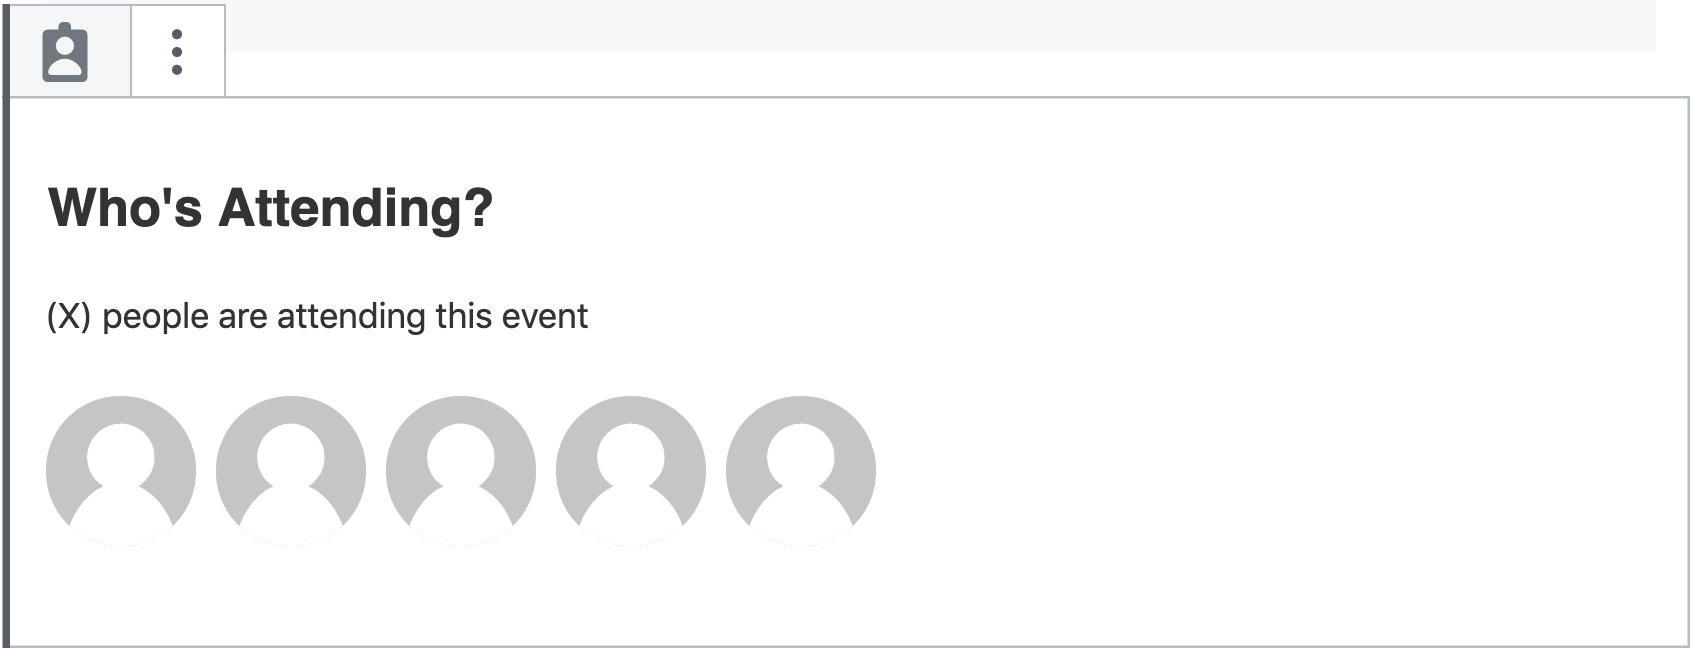
The Public Attendee List powers the Who’s Attending feature on your event page while using Event Tickets Plus, but it can do much more. It is a list of all of the attendees for an event, allowing you and others to see who is attending the event. This is powered by the API, which is public. You can learn more about APIs in our REST API article.
We have combined the end-user permissions for the full Public Attendee List and the Who’s Attending block. At this time, we do provide a way for users to opt-out from these.
Viewing attendees
In Classic Editor mode, select Settings from the Tickets meta box then choose the option to Show attendees list on event page.
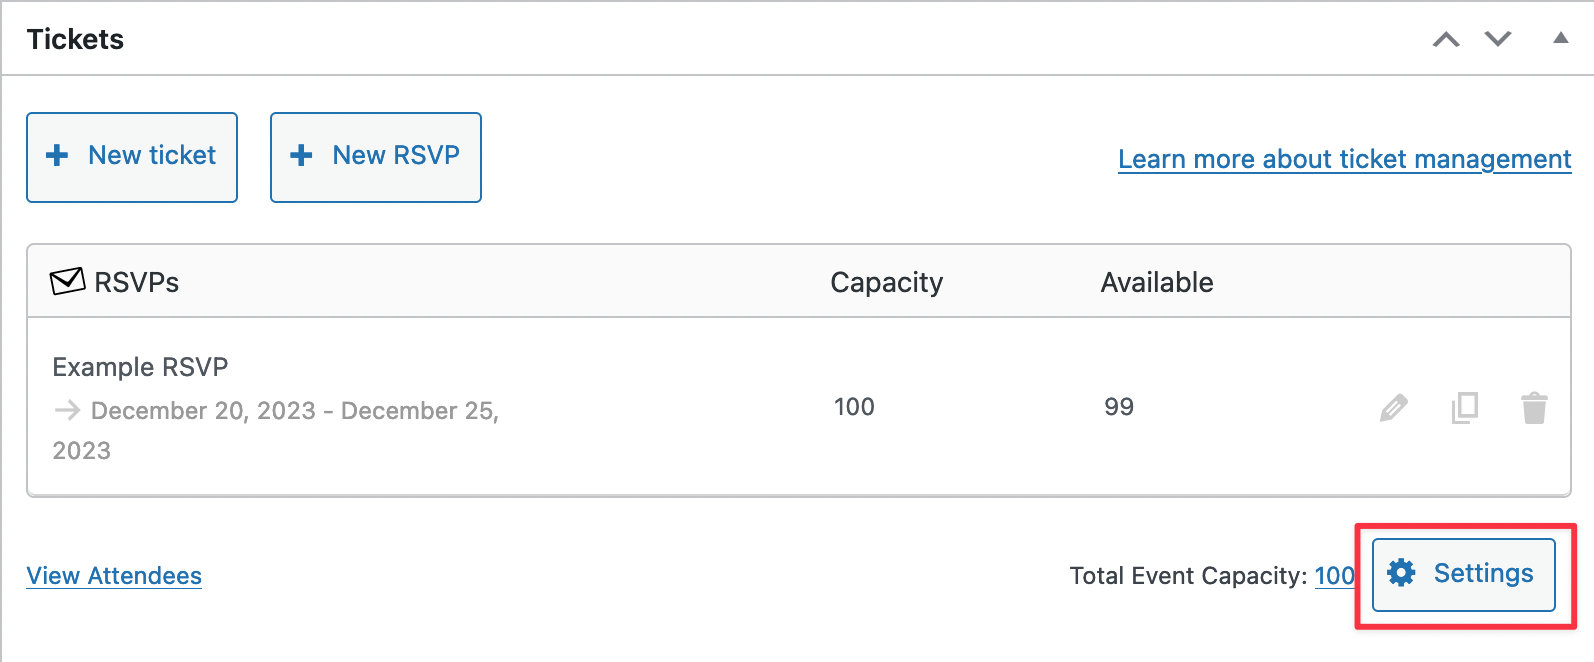

If you have enabled the WordPress Block editor (a.k.a Gutenberg), you will add the Attendee List to your event, page, or post using the Ticket block.

Note: If the user opts out of being displayed on the Who’s Attending/Attendee List, they will be displayed as anonymous in the Who’s Attending block.
Note: If you are using Event Tickets Plus with WooCommerce then avatars will only show up for WooCommerce orders that are “Complete”.
Displaying attendees
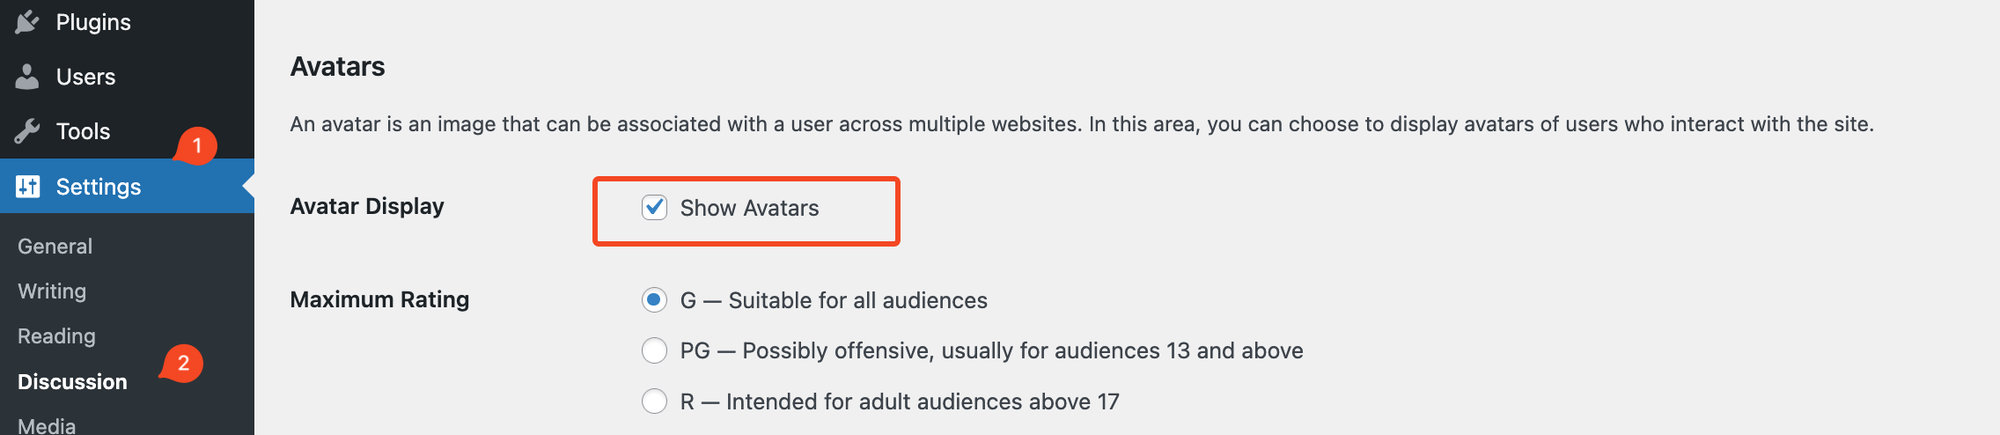
Important: For the Avatars to display, you need to have Avatars enabled in Settings > Discussion
Once the attendee list has been enabled, visitors are able to opt into being displayed on the list during registration. You are able to display the attendees who have opted in in a variety of ways.
Some WordPress themes and plugins provide custom solutions to display attendees within widgets and sidebars. You could also integrate this with your own mobile app, other content management systems, and more.
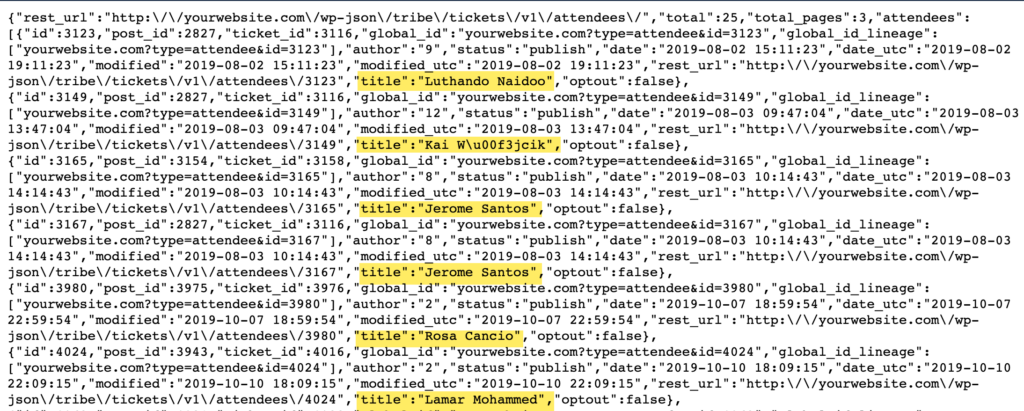
To access all attendee registrations that are publicly available for all events on your site, go to this link on your own website:
[yoursite.com]/wp-json/tribe/tickets/v1/attendees/
To access all attendee registrations that are publicly available for just a single ticket within an event, this is the link you can use:
[yoursite.com]/wp-json/tribe/tickets/v1/attendees/260
That number at the end of the URL coordinates with the Ticket ID. To find that, go to Events from the WordPress dashboard. Mouse over the attendees list (or get there while editing the single event).
The Public Attendee API can be used in a variety of ways. Developers may use it to make their own widgets or other ways of displaying publicly available attendees.
One of the things to remember is that the Public Attendee API, as all WordPress APIs, is public. So all user data is publicly accessible.
Note: For users to appear within the Public Attendees API, the Who’s Attending/Attendee List must be enabled on published tickets AND the end purchaser must uncheck the opt-out prompt within Event Tickets 4.12+.
Opting out of the attendee list
To be shown in the public attendee results, users will need to uncheck the box, allowing themselves to be publicly visible as attending the event. We have made the default option to be opt-out to comply more closely with GDPR, California Customer Privacy Act, and similar best practices.
Hiding the attendee list option
Note: If you use the Who’s Attending feature on your site, but hide the opt-out question, users will be hidden from the Public Attendee List.
Since Event Tickets Plus 4.11.2, both Classic and Block users will see an opt-out form below tickets on the front end of their website. Previously, this feature was only displayed within the RSVP Block (not Classic mode).

Note: You can hide the opt-out form so users do not need to opt-in or opt-out of being displayed in the list. However, this makes complying with GDPR and other policies more complex. Proceed with caution.
Add this CSS snippet to your theme’s styles (or use a style override) to hide the option:
.tribe-tickets-attendees-list-optout--wrapper {
    display: none !important;
}
It’s also possible to hide the option using the tribe_tickets_plus_hide_attendees_list_optout filter in your functions.php file or as a separate plugin.
add_filter( 'tribe_tickets_plus_hide_attendees_list_optout', '__return_true' );
You can find the functions for Tickets and RSVPs in their respective repositories.
User permissions
It’s possible to set permissions that restrict which user accounts are able to view and manage attendee lists in WordPress. For example, you can use the tribe_manage_attendees capability to grant access to, say, the Editor, Administrator, and Super Administrator roles. The WordPress developer guide has more information on setting up user roles and permissions. You can find the full list of tickets capabilities see our guide: Editing User Roles and Permissions.
Bear in mind, if you are creating accounts for staff to check attendees in, we recommend that they have Contributor level permissions. This means that if they need to switch to manually checking guests in, they may not have access to see all attendees.