Just starting out with Event Schedule Manager? These steps will help you get set up and ready to rock an awesome calendar. Follow the links for detailed tutorials.
Install the Plugin
If you have purchased a license for Event Schedule Manager, you’ll find the download in your account on the Downloads & Licenses screen.
Your downloaded plugin will be packaged in a .zip file. Depending on your browser settings, the file may automatically unzip for you.
Register Your Site
While on the Downloads and Licenses screen, note the Show Sites button. Clicking that displays the sites that are set up to use Event Schedule Manager. If you’re registering your plugin’s license key for the first time, you won’t see any sites listed, and you’ll have to register one to enable automatic updates and support features.
The Downloads and Licenses screen you are on displays your license key. Click it to copy it to your computer’s clipboard automatically, then head to your site’s WordPress admin. Open up Event Schedule Manager settings by going to Event Schedule Manager → Settings and enter your copied license key in the Event Schedule Manager license key field.

Basic Configuration
If you know which page or post your event schedule will live on, enter the Schedule Page URL here. If not, you can come back and add it later.
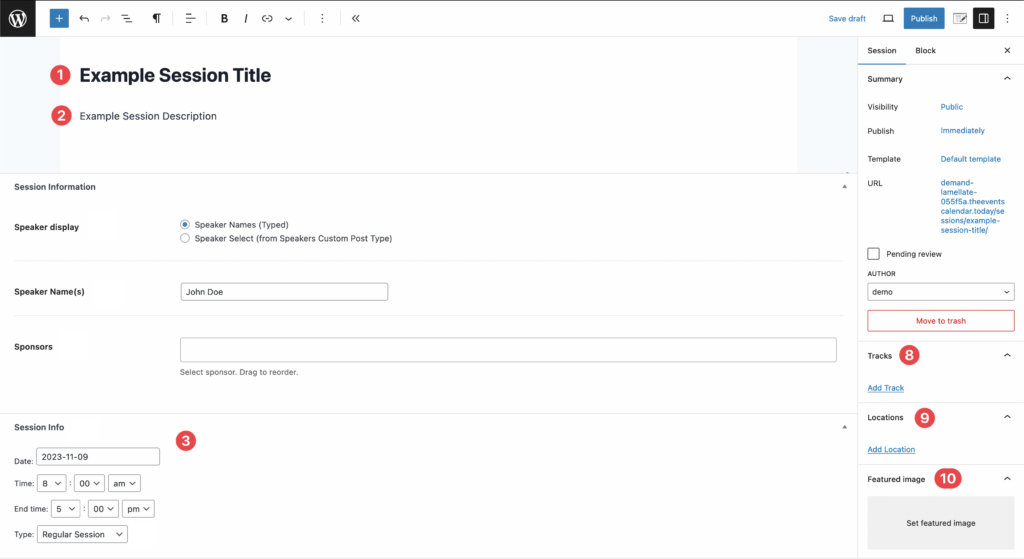
Create Your First Session
Let’s create the simplest session possible. To do that, you will need to define a session’s 3 basic fields.
- The title of the Session
- The Session’s description
- The date and time a session will take place
Once you’ve created your first session, you can create your Schedule.
- Use the [tec_schedule] shortcode on a page or post (you can customize the shortcode).
- You can also display a schedule using the Schedule block.
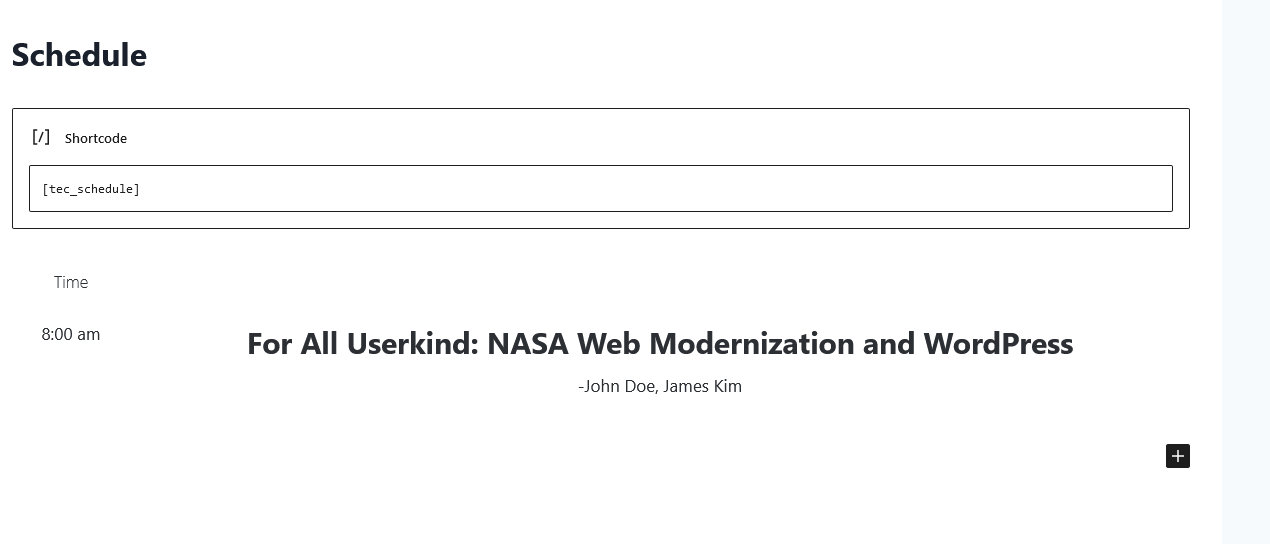
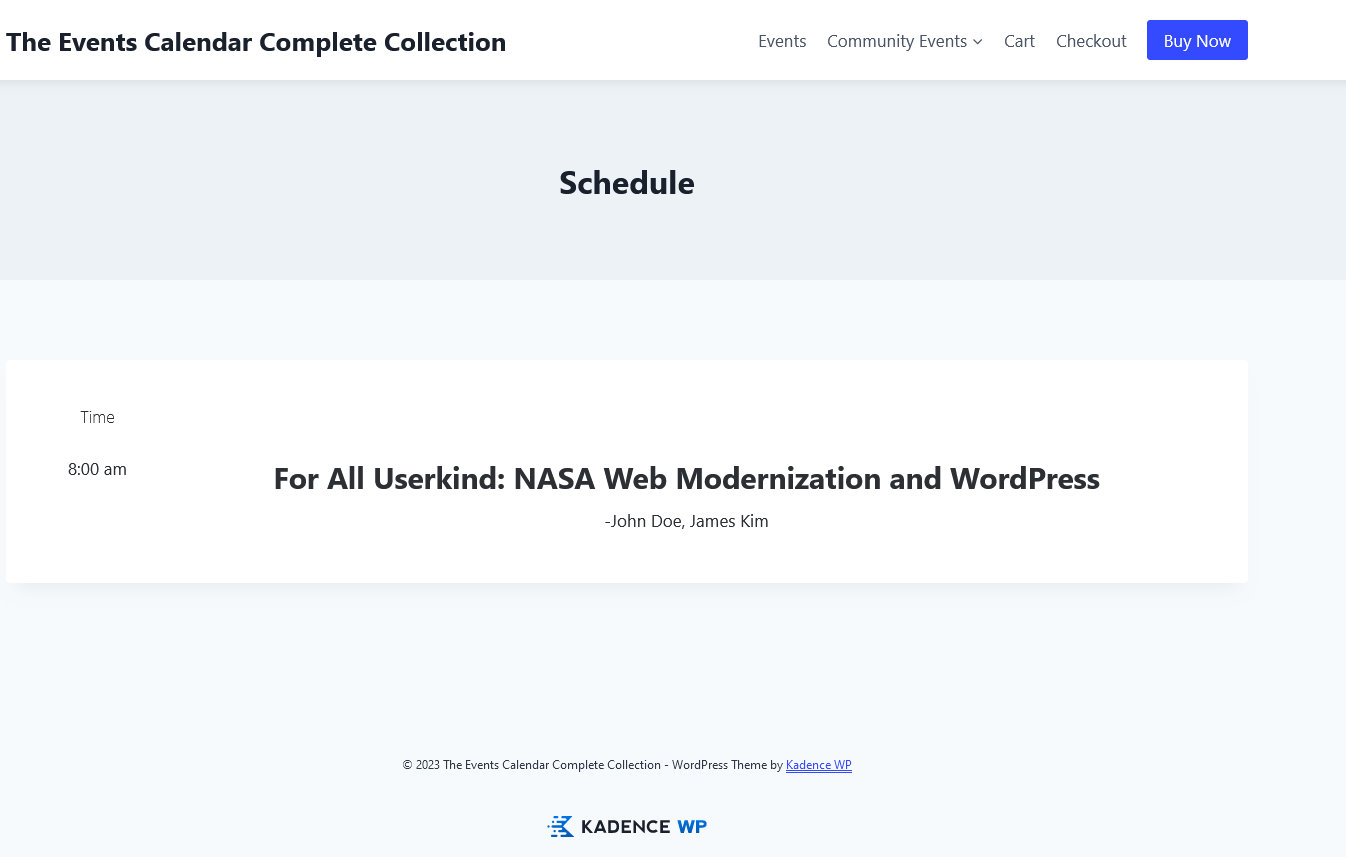
Hurrah! Your first schedule is now up and running! You can stop there or further tailor things with the options below.
- Bring Sessions to the next level with multiple tracks, locations, and sublocations.
- Add Speakers to your schedule.
- Got Sponsors?
- Shortcodes and Custom Fields (Schedule, Speakers, and Sponsors)
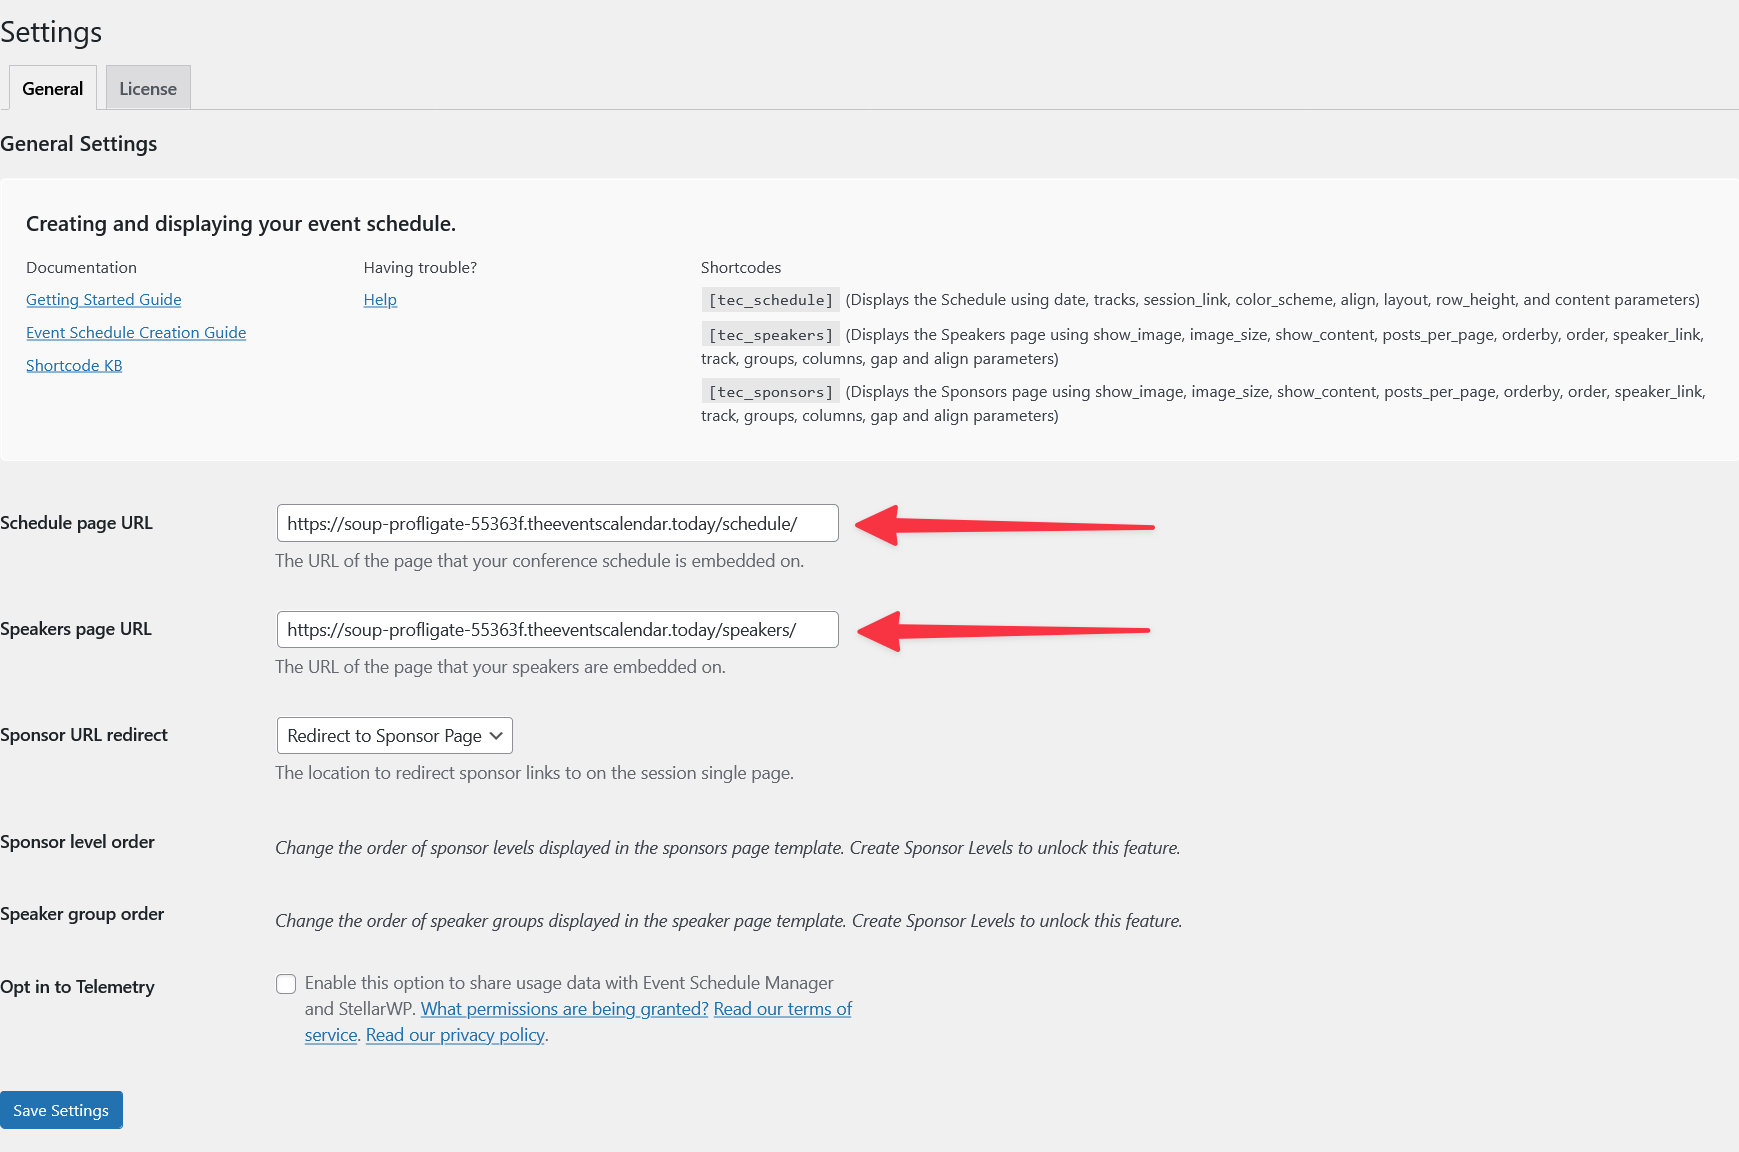
Settings Reference
Event Schedule Manager’s settings, found under Event Schedule Manager → Settings, let you control where your schedule, speakers, and sponsors are displayed, and how certain elements are ordered. Here’s a quick reference for the main options under General Settings.
Schedule Page URL
The URL of the page or post where your conference schedule is embedded. Enter the full URL in the text field.
Speakers Page URL
The URL of the page where your speakers are displayed. Enter the full URL in the text field. This is used anywhere Event Schedule Manager links back to your speakers page.
Sponsor URL Redirect
Controls how sponsor links behave when someone clicks one. Select your preferred behavior from the dropdown.
Sponsor Level Order
Controls the order in which sponsor levels are displayed on the sponsors page template (for example, Platinum before Gold, Gold before Silver). Drag items in the list to reorder them.
Speaker Group Order
Controls the order in which speaker groups are displayed on the speakers page template. Drag items in the list to reorder them.