This article covers everything involved in creating, styling, sending, and monitoring messages in Promoter — from configuring your email template through to reading the results after a message is sent.
Scheduled Messages
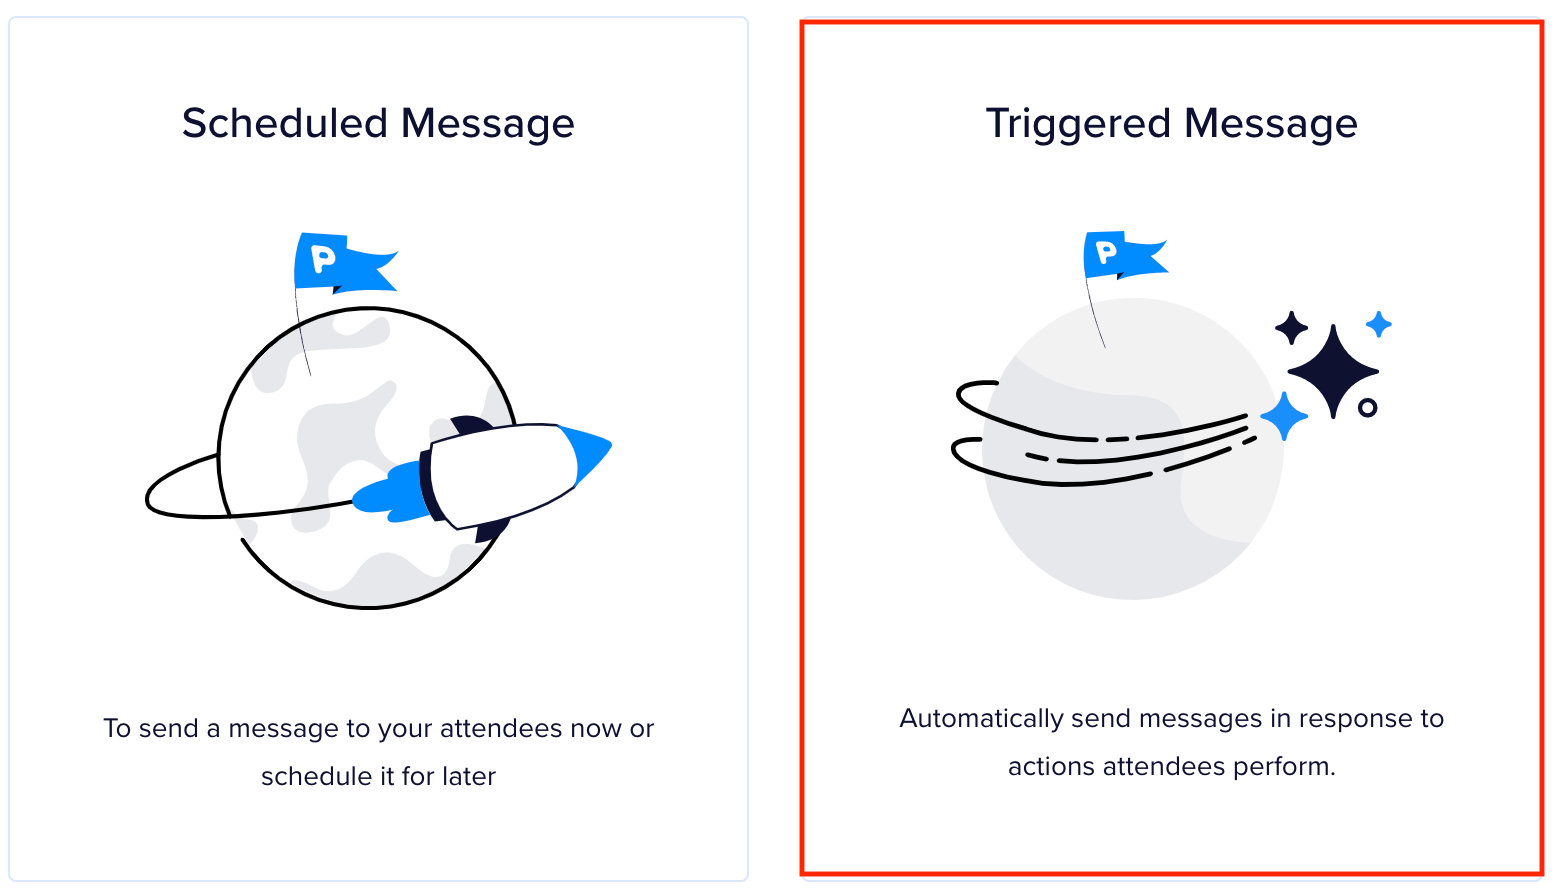
Click into the event you want to create a message for, then click the Create Message button. You’ll be presented with two options: a scheduled message and a trigger-based message. Select Scheduled Message.

The message editor will open. Work through the following fields:
Admin Title
Enter an internal title for the message. This is recommended but not required — it helps you identify messages in the event dashboard.

Audience
Choose who will receive this message. The dropdown lets you select one or more audiences:
- The attendee lists for this event (people who purchased a ticket or registered for the event)
- The attendee lists of other events
- Your custom lists

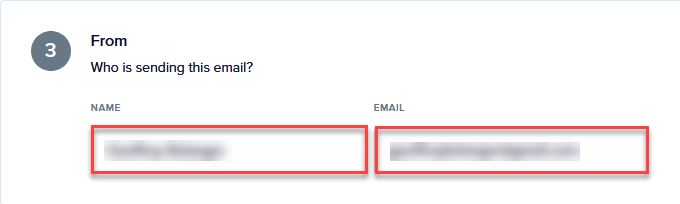
Sender
Set the name and email address that appears in the reply-to line of the email. By default this uses the name and email of your Promoter account.
💡 If you are using your own domain for sending emails, the “From” email is taken from your Mail Delivery Settings, while the “Reply-To” email defaults to your Promoter account email.
Message Content
Enter the subject line and body of the email. You can style the message, create hyperlinks, add buttons, and insert images.

Merge Tags
Use merge tags to insert dynamic content — such as the attendee’s name or the event title — directly into your message. See the Merge Tags guide for the full list of available tags.
Schedule
Once you’ve created a message and are ready to send it, you have two options.
Schedule for Later
To queue a message for a specific date and time, set the date and time you want it to go out and click Schedule.

Once emails enter the queue at the email-sending service, the exact send time is handled by that service. On occasion there can be minor delays, but on average sending is fast.
Send Immediately
Click the Send Now button to send the message right away.

After clicking Send Now, you still need to confirm before the message actually goes out — this prevents accidental sends. Select Yes from the “Send This Message” dropdown and click Confirm.
Cancel a Scheduled Message
Scheduled messages can be canceled any time before they are sent.
- From the Events dashboard, click on the event.

- Click the title of the scheduled message you want to cancel.
- Scroll to the bottom of the message detail and click Cancel Scheduling. This immediately removes the schedule and returns the message to Draft status.

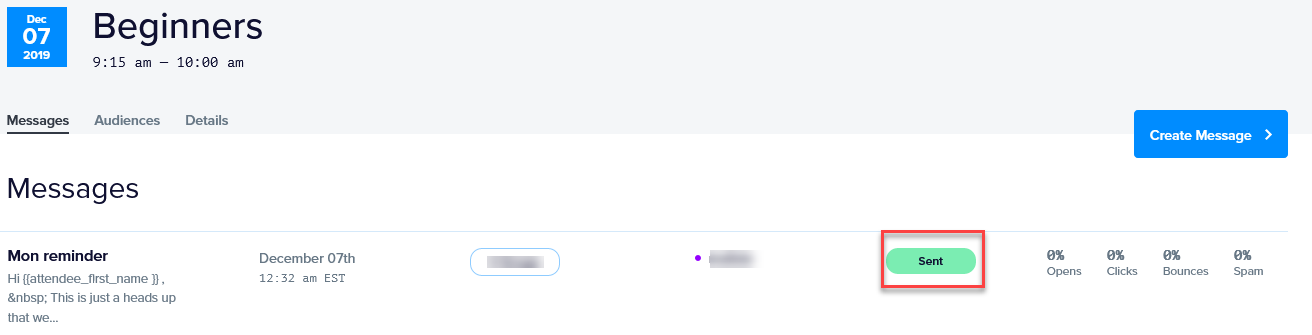
Message Statuses
Scheduled messages have four possible statuses:
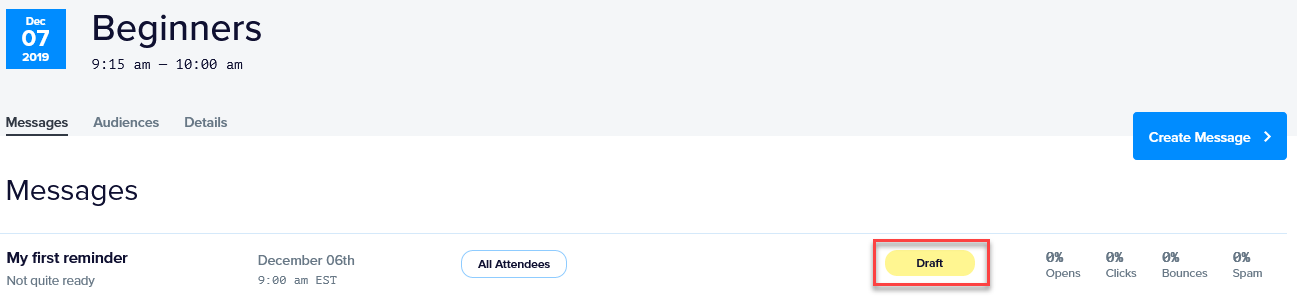
- Draft — The message has been saved but not yet sent or scheduled. You can return to it at any time to continue editing.
- Scheduled — The message is queued to be sent at the chosen date and time.

- Processing — The message is actively being sent to the selected audiences and lists. Depending on the size of the audience, it may remain in this status for a short while.

- Sent — The message has been sent successfully. You can celebrate 🙂
Triggered Messages
Wouldn’t it be nice if there was a way to automatically send a message to an attendee that performs a specific action (e.g.: purchases a ticket)? If that piques your interest, then Promoter’s triggered messages featured might be for you. Triggered messages are messages that are sent when some action takes place, letting Promoter handle the heavy lifting for you.
Let’s see how it works.
First, click and select the event that you’d like to add a triggered message to. You’ll then see options to create a new message or create a trigger. Go ahead and select the Triggered Message option.
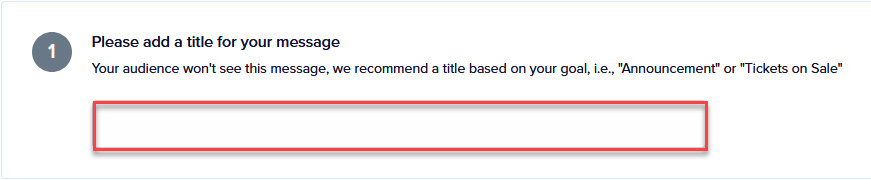
Title
Promoter will ask you to add a title for the message. This is for your eyes only to help you distinguish it from other messages. Your recipients will not see it.
Select a Trigger
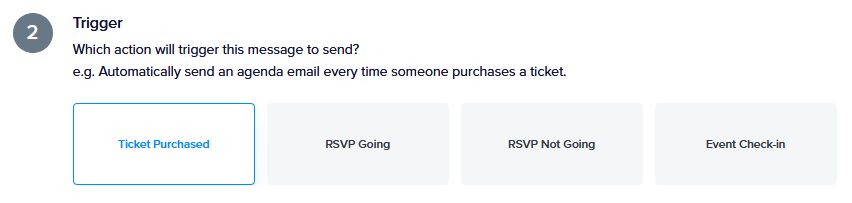
Next up, Promoter needs to know when it should send the message. There are currently four options to choose from:
- Ticket purchased: Sends a message to the purchaser as soon as the attendee is created in The Events Calendar. This applies to tickets created in WordPress with Tribe Commerce or Event Tickets Plus. Note, the triggered message will only be sent to the purchaser. It will NOT be sent to any additional attendees.
- Event Check-in: Sends a message as soon as the attendee checks into the event. This is kind of a neat way to welcome guests to the event or send them a note that gives them what they need to enjoy the event. The message is sent to the purchaser.
- RSVP Going: Sends a message when an attendee RSVPs that they are going to the event.
- RSVP Not Going: Sends a message when an attendee RSVPs that they are not going to the event.
Note that only one trigger can be assigned to a message. It’s also worth noting that triggered messages do not replace the transactional emails that Event Tickets and Event Tickets Plus send confirming their registration.
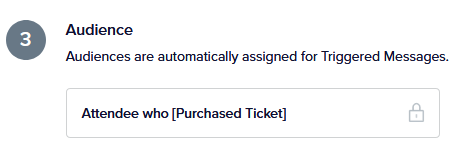
Once you select a Trigger, Promoter will automatically select the appropriate audience for you.
Customize Your Message
There are a couple of options to do this.
The first is to use one of the pre-written content shortcut messages in Promoter.

This will expedite the process by populating the subject line and body content for you instead of having to write it yourself. Oh, and you can even create your own content shortcuts!
The second option is to manually write a message. In this case, you will enter the subject line and the content for the message. You can style the message, create hyperlinks, add buttons and insert images in the content area.
💡 Pro tip: you can use merge tags (dynamically populated content)
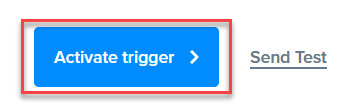
Activate the Triggered Message
Once everything is configured, it’s time to click the “Activate trigger” button and let Promoter handle things from there!
Viewing Triggered Messages
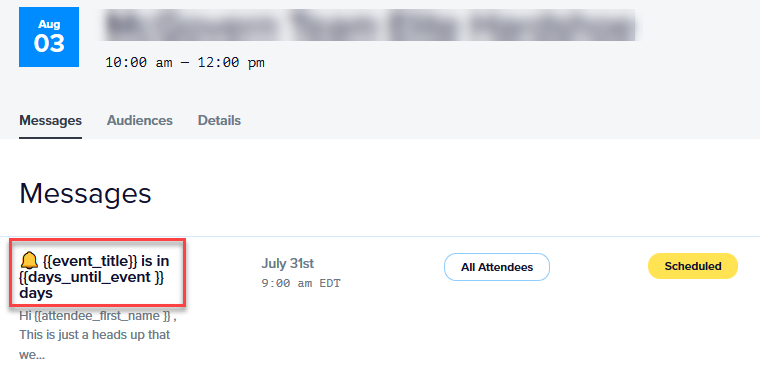
There are a couple of different ways to see all of your triggered messages in Promoter. The first is in the Messages section of the event.
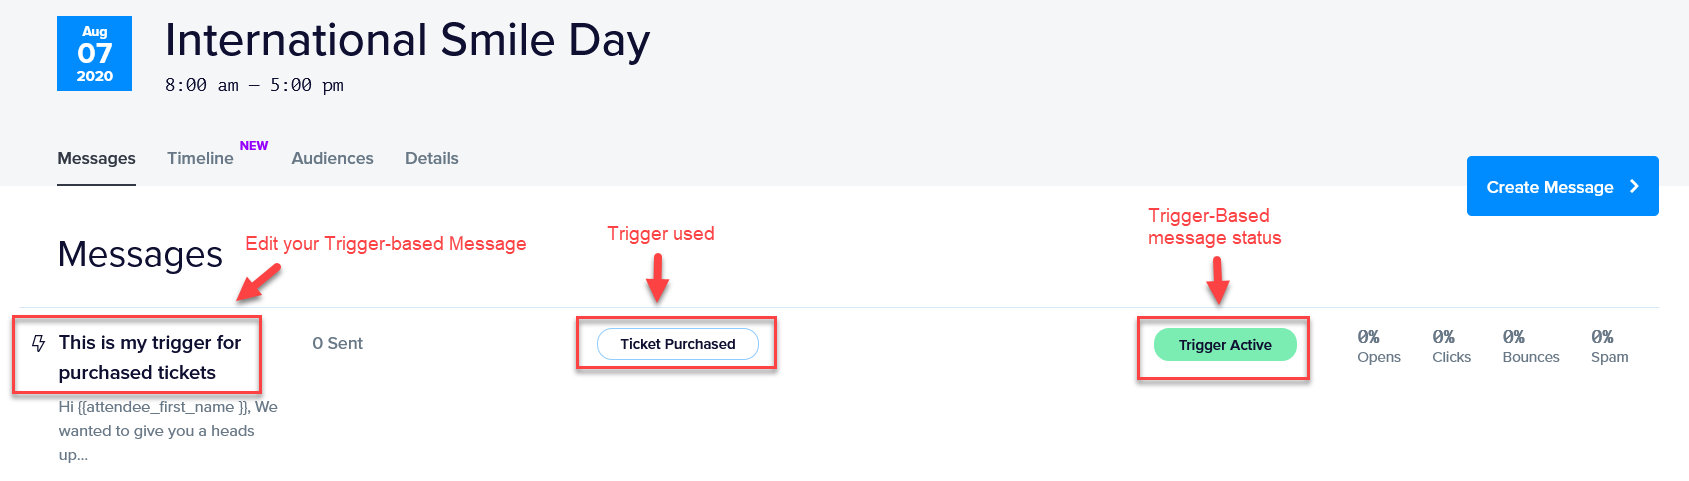
Trigger-based messages are easy to recognize as they have a little lightning icon next to them. You can edit or deactivate a trigger by clicking on the message title.
The second way to view your triggered messages is in the Timeline section of the event. This provides visualization for when emails are scheduled to send for the selected event.
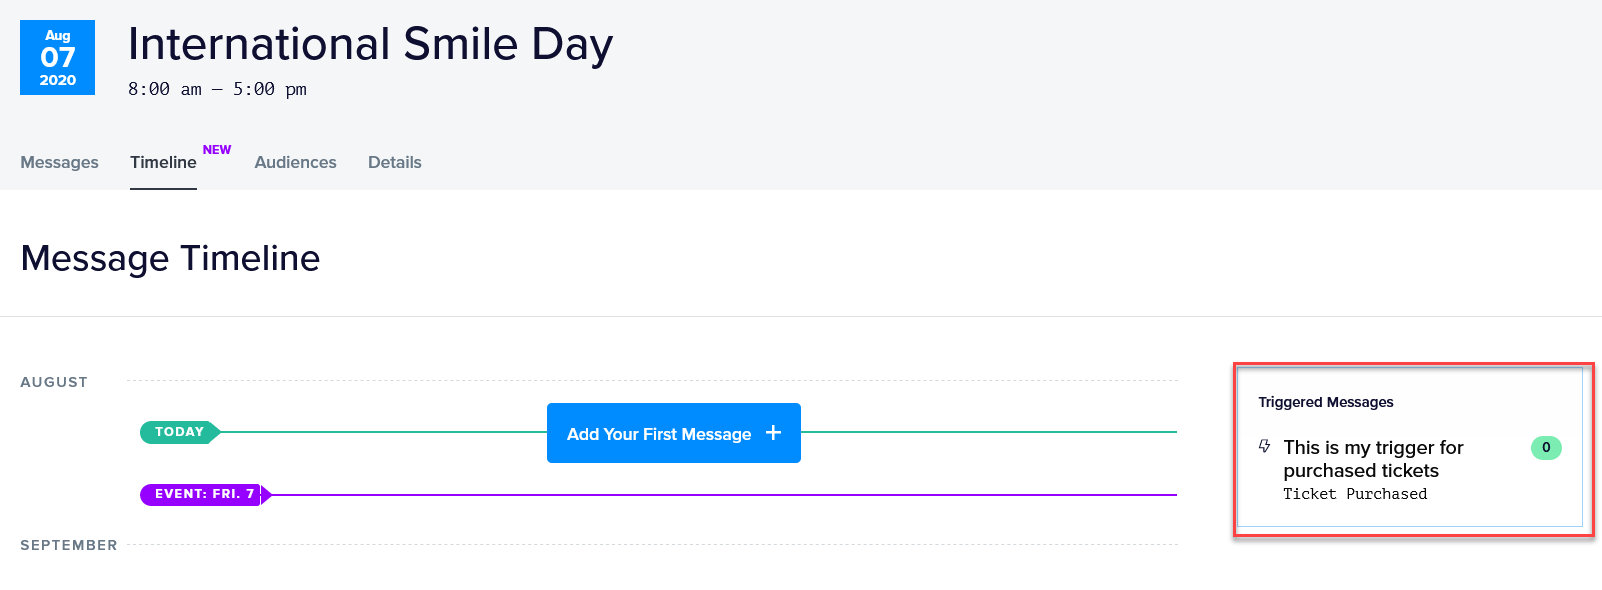
The number in the little circle next to the name of a triggered message indicates the number of times the message has been sent for the selected event.
Message Statuses
Triggered messages have two possible statuses:
- Trigger Active — Promoter will automatically send the message to any attendee who performs the associated trigger action. For example, if the trigger is set to “Ticket Purchased,” the message is sent to every attendee who buys a ticket while the trigger is active.
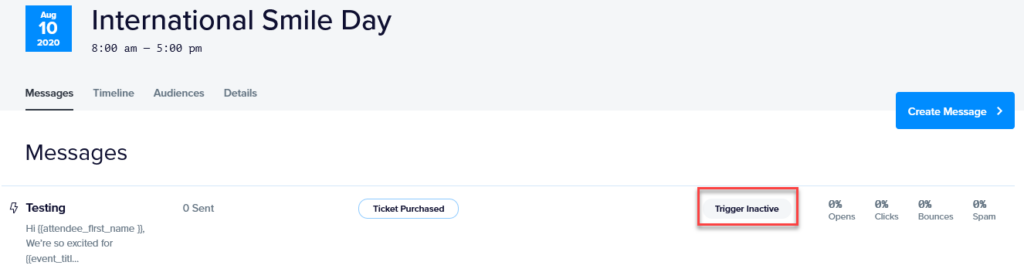

- Trigger Inactive — Promoter will not send the message while this status is set. Use this to temporarily pause a triggered message without deleting it. 💡 Triggered messages are not retroactive. Attendees who performed the trigger action while the message was set to Trigger Inactive will not receive the message when it is switched back to Trigger Active.
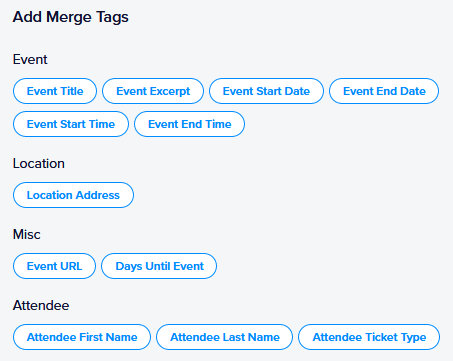
Merge Tags
Merge tags are dynamic fields that allow you to customize the content of a message. For example, let’s say that you want to include the first name of the attendee, the title of the event and the number of days left until the event begins in your message. You can simply use the “Attendee First Name”, “Event Title” and “Days Until Event” merge tags to do so. As the message is sent out, each merge tag will be dynamically replaced with the desired information.
Merge tags are available for every aspect of an event: Event details, Virtual Event, Venue Details, Tickets information, Attendee Data, etc. Merge Tags are located to the right of the message subject line and message body.
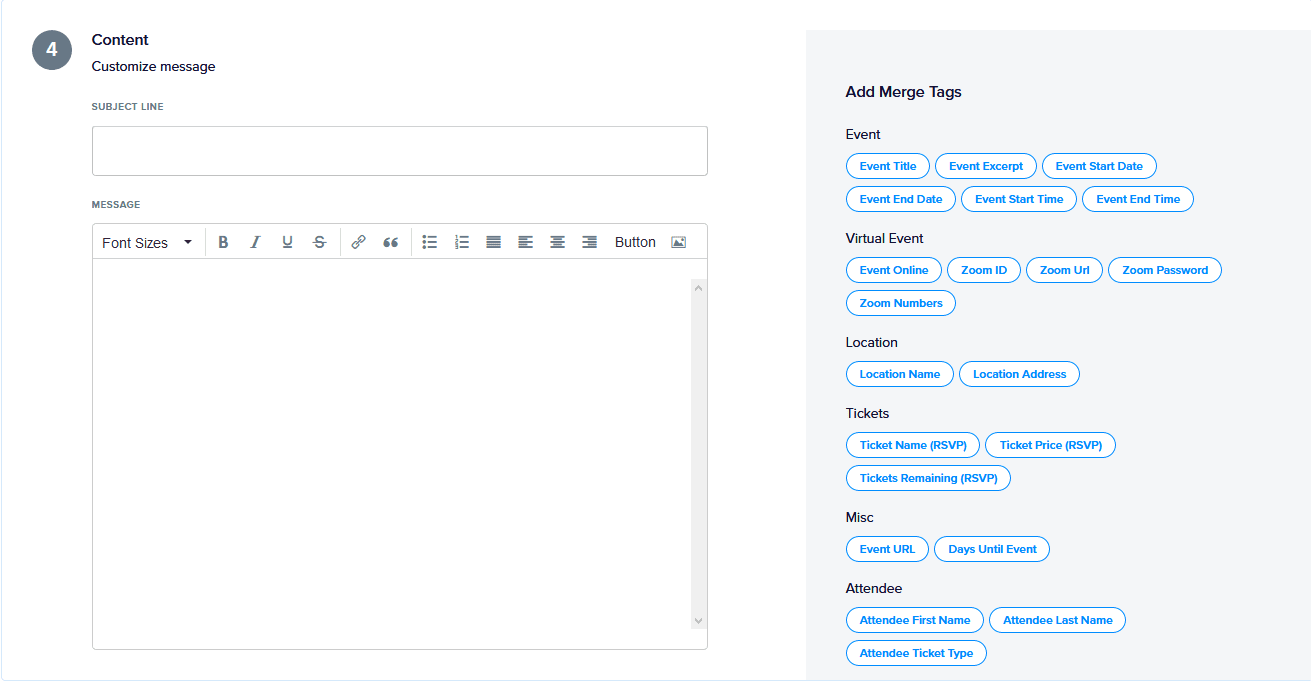
To add a merge tag to a message, place the cursor exactly where you want the tag to appear in the message and click on the desired tag. The merge tag will now display in the message editor.
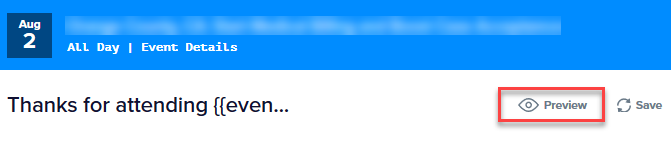
Previewing Merge Tags
It’s always a good idea to preview a message to make sure everything looks good.
Use the Preview link at the top of the Message Editor to see what your message will look like. Merge tags will be replaced by brackets to give you a sense of where the data will go.
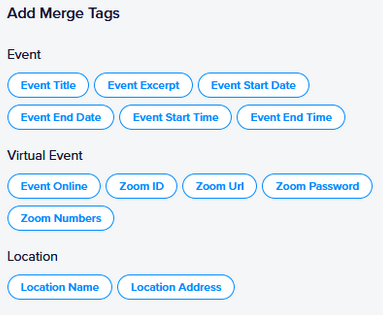
Events Merge Tags
The merge tags in this section include details about the event you are sending a message for.
| Merge Tag | Description |
|---|---|
| Event Title | Adds the title of the event to the message. |
| Event Excerpt | Includes the WordPress excerpt for the event. If no excerpt is defined for the event, this tag will use the excerpt automatically generated by WordPress. |
| Event Start Date | Adds the date the event is scheduled to begin. E.g. July 15 |
| Event Start Time | Adds the time of day that the event is scheduled to begin. E.g. 10:00 a.m. |
| Event End Date | Adds the date the event is scheduled to end. E.g. July 16 |
| Event End Time | Adds the time of day that the event is scheduled to begin. E.g. 10:00 a.m. |
| Event URL | Adds the web address (URL) of the event to the message. E.g. your-website.com/link-to-event |
Location (Venue)
The merge tags in this section provide details about the location of the event.
| Merge Tag | Description |
|---|---|
| Location Name | Displays the name of the venue, if one is available. |
| Venue Address | Displays the physical address of the location, as provided by the site. |
Virtual Events
| Merge Tag | Description |
|---|---|
| Event Online | Adds “Livestream” when you have a virtual event. |
| Zoom ID | Adds the Zoom ID of your Virtual Event. E.g. 657 082 0943 |
| Zoom URL | Adds the Zoom URL of your Virtual Event. E.g. https://zoom.us/j/6590830921?pwd=ODNORDBVK5JwdDE3Unp2RnUrc2hqdz06 |
| Zoom Password | Adds the Zoom password of your Virtual Event. E.g. opensesame |
| Zoom Numbers | Adds the Zoom phone numbers. E.g. +1 301 715 8592 US (Germantown) +1 312 626 6799 US (Chicago), etc.. |
| Video URL | Adds the URL to your live event (e.g.: FB live or Youtube – https://www.youtube.com/watch?v=b5ANAR7bIZA) |
Tickets Merge Tags
The merge tags in this section contain information about the tickets created for the event using the Event Tickets and/or Event Tickets Plus plugin.
If you have several tickets for an event, each ticket will get dedicated merge tags. For example, if you have one ticket called Early Bird and another ticket called General Admission, you will have the following options for the Ticket Name merge tag:
- Ticket Name (Early Bird)
- Ticket Name (General Admission)
| Merge Tag | Description |
|---|---|
| Buy Now Link | Adds a direct link to the ticket form on the event page of your website. |
| Ticket Name | Adds the name of the ticket. |
| Ticket Price |
Displays the price of a ticket for the event. Important note: the currency is not included in the output. As such, you will want to make sure to include it before or after the merge tag, depending on the currency. |
| Tickets Remaining |
Displays the quantity of tickets that are left to purchase for the event for a particular ticket. For example, if you have a ticket that has 100 tickets available and 90 tickets have been purchased, once the message is sent the merge tag will be dynamically replaced by “10” in the message. |
Attendees
The merge tags in this section provide details about the attendee receiving the sent message.
| Merge Tag | Description |
|---|---|
| Attendee First Name | Adds the first name of the attendee receiving the message. |
| Attendee Last Name | Adds the last name of the attendee receiving the message. |
| Attendee Email | Adds the email address of the attendee receiving the message. |
| Attendee Ticket Type | Adds the name of the ticket the attendee has purchased. For example, if the attendee purchased a ticket called “General Admission,” then that will be the name that is displayed in the message. |
Note: At this time, Event Tickets does not have merged tags enabled, so the name field contains both the first and last names by default. However, once your contacts are in Promoter, you will have access to merge tags for first and last names separately.
Delete a Message
To permanently delete a message, click the Delete link at the top of the message editor and confirm when prompted.
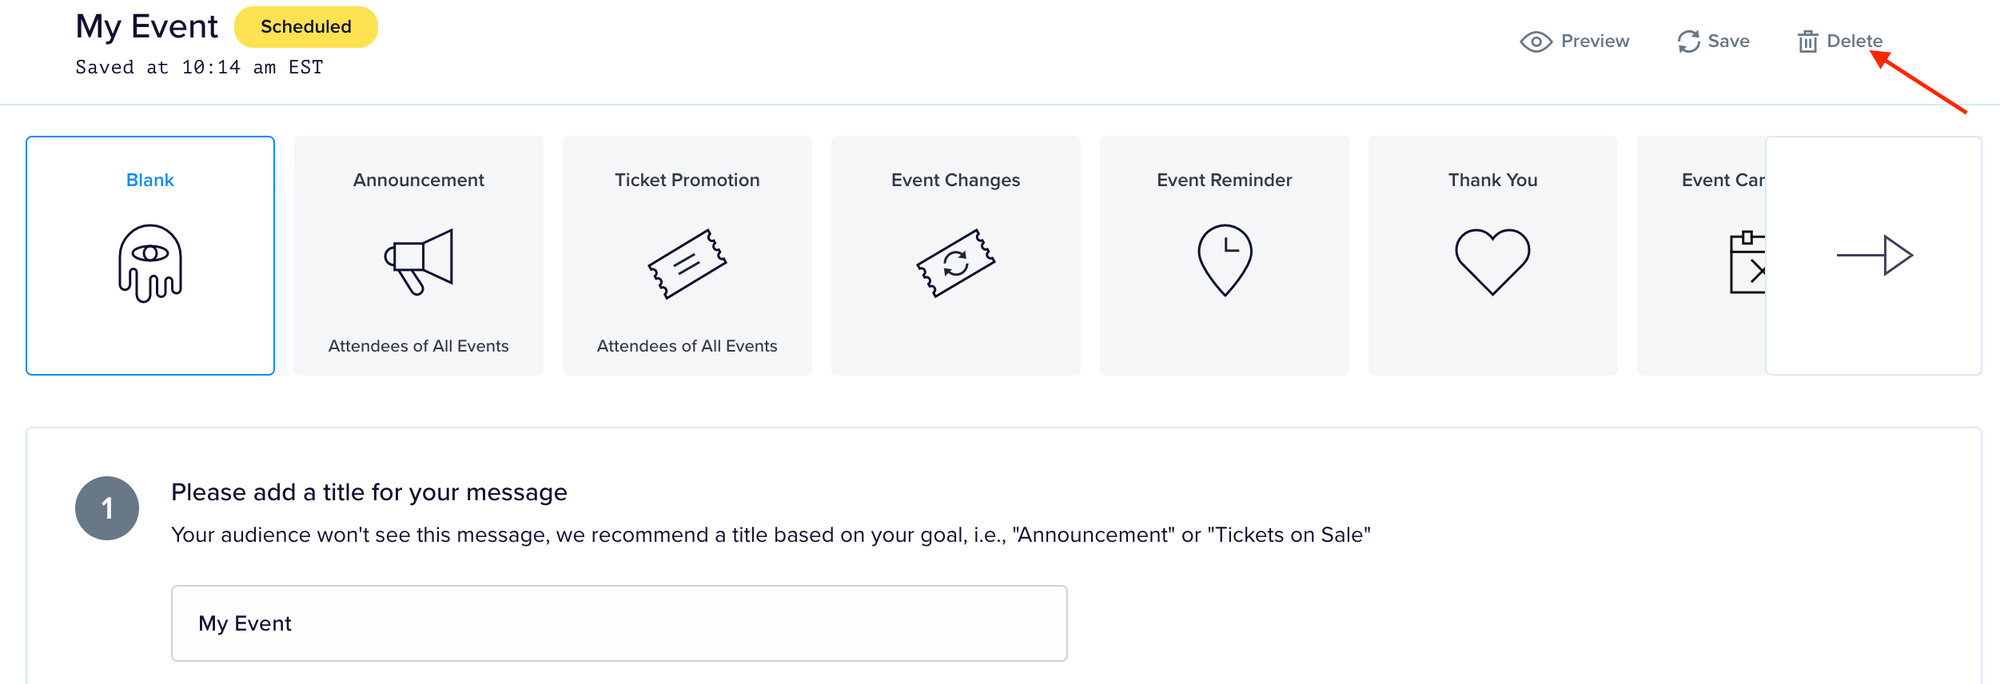
⚠️ Deletion is permanent and cannot be undone. If you only need to stop the message from going out rather than remove it entirely, use Cancel Scheduling instead.
Message Reports
Promoter tracks how many times emails have been opened and how many times links inside them have been clicked. The event-level view shows aggregate totals across all messages sent for that event.
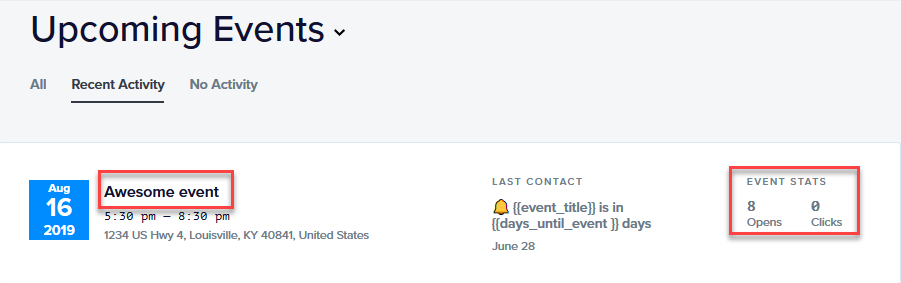
Click into the event title to see a report broken down by individual message.
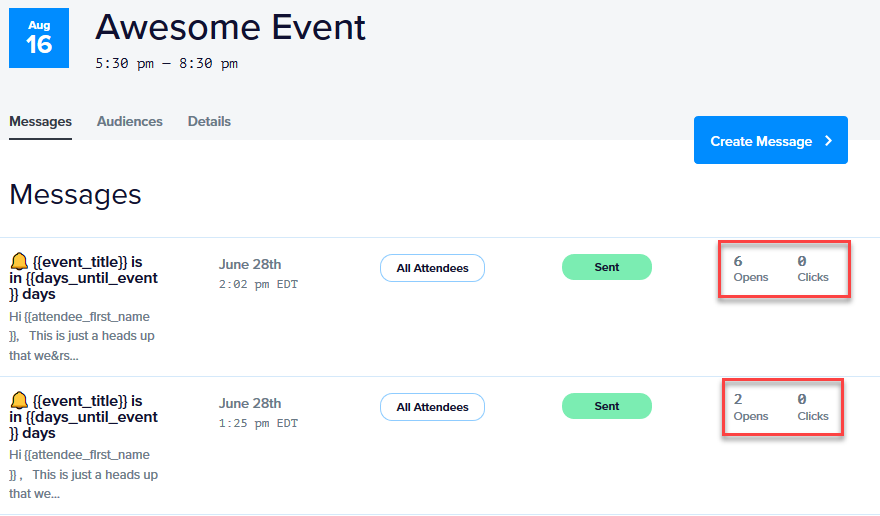
For more on how Promoter tracks link clicks — including why links change appearance in received emails and how to disable tracking — see Promoter Tracking Links.
How to Test Promoter Messages Before Sending
Ensuring that your email communications to event attendees are correctly formatted and fully functional is crucial. Despite previews and test emails often providing a good indication of how your message will appear, some issues may only become apparent in the actual emails received by attendees.
This guide outlines a straightforward method for testing Promoter emails, allowing you to experience them just as an attendee would.
Step 1: Creating an Unofficial Test Email
Before sending the official email to your attendees, it’s advisable to conduct a test with an “unofficial” version of your email. This process involves the following steps:
- Create a Custom List in Promoter: Start by creating a Promoter custom list. Add only the recipients you wish to test the email with, ensuring this list is exclusively used for testing purposes.
- Duplicate the Scheduled Message: Identify the scheduled message you intend to test. Duplicate this message and select your newly created custom list as the sole recipient. It is crucial to ensure that this message is only sent to the custom list to prevent accidental dispatch to your entire attendee list.
- Incorporate Test Links: To effectively test the “Clicks” tracking functionality, include test links within your email. This step is vital to ensure all links within your email are functioning correctly and tracking engagement as intended.
- Send the Test Email: Once you have completed the setup, click the “Send Now” button. Await the arrival of the email in your designated mailbox to proceed with the evaluation.
Step 2: Evaluating the Test Email
Upon receiving the test email, conduct a thorough inspection to assess its appearance and functionality:
- Check Email Formatting: Examine the email’s layout, text formatting, and visual elements to ensure everything displays as expected across different devices and email clients.
- Verify Link Functionality: Click on all links within the email to confirm they are working correctly and directing to the intended destinations.
Step 3: Troubleshooting
If, during your evaluation, you encounter issues with link functionality or other aspects of the email, immediate action is required:
- Contact Support: Reach out to the Help Desk for assistance in resolving any detected problems. Provide detailed information about the issues encountered to facilitate a swift resolution.
By following these steps, you can confidently test your Promoter emails, ensuring they meet your standards and provide your attendees with a seamless and engaging experience.