When updating or installing The Events Calendar or our other plugins, you might encounter a frustrating error message: “Destination Folder Already Exists.” This common WordPress issue can halt your progress, and it can happen for any plugin and theme, not just ours. But don’t worry—it’s easier to resolve than you might think. In this guide, we’ll walk you through why this error occurs and provide step-by-step instructions to fix it quickly, so you can get back to managing your site without a hitch.
“Destination Folder Already Exists” error in WordPress
This error occurs when you are trying to install a WordPress theme or plugin. WordPress extracts your plugin or theme’s zip file into a folder named after the file itself.
If a folder with the same name already exists, then WordPress cannot complete the installation, and you’ll see the following error message:
Destination folder already exists. /home/user/example.com/wp-content/plugins/theeventscalendar/
Plugin install failed.
As the first line of defense, go ahead and visit your themes or plugins page to see if you have already installed the plugin or theme.
If it isn’t already installed, then this could mean two things:
1. The plugin folder remains after an attempt to delete the plugin failed.
2. A destination folder was created and left empty due to an interrupted installation session.
Either way, a folder exists with the same name as the theme or plugin you are trying to install. This folder is stopping WordPress from completing the installation.
Now that we understand the error, let’s see how to solve it!
Solving the error
This error can be solved in one of two ways.
Solving the “Destination Folder Already Exists” Error with FTP
- Connect via FTP: Use an FTP client like FileZilla to connect to your site. Log in with your FTP credentials.
- Navigate to the Folder: Go to
wp-content > pluginsorwp-content > themesand locate the folder causing the error. - Rename or Delete the Folder: Rename the folder (e.g.,
plugin-name-backup) or delete it if you no longer need the files. - Reinstall: Go back to your WordPress dashboard to reinstall the plugin or theme through your dashboard.
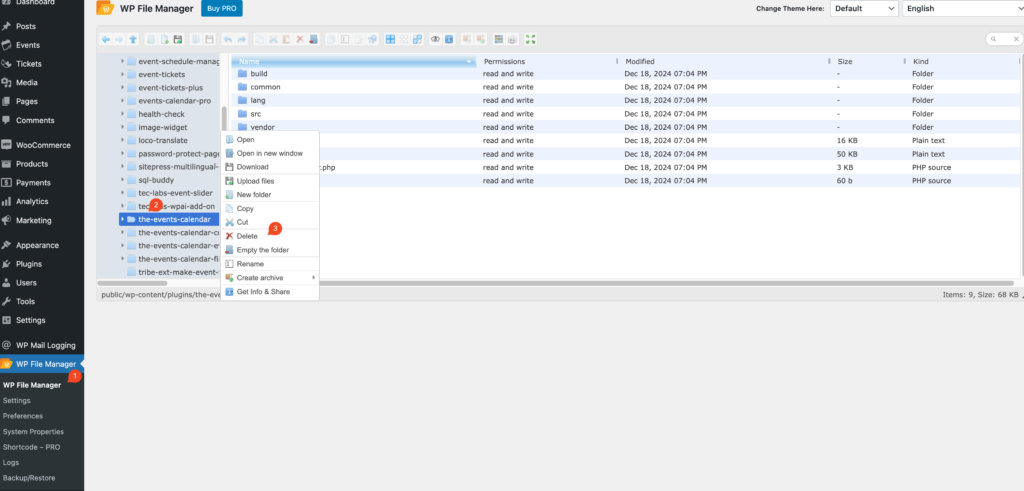
Solving the Error with a File Manager Plugin
- Install a File Manager Plugin: If you don’t have FTP access, install a plugin like File Manager from your WordPress dashboard.
- Access the File System: Open the File Manager plugin and navigate to
wp-content > pluginsorwp-content > themes. - Rename or Delete the Folder: Find the conflicting folder and either rename it or delete it directly through the plugin interface.
- Reinstall: Once the folder is removed, reinstall the plugin or theme through your dashboard.
After you’re finished with this, we suggest you remove the File Manager plugin of your choice if you don’t intend to use it for other tasks.