This article addresses possible issues with checking attendees in via QR code and/or the Event Tickets Plus App.
Common Issues
- One of the steps was missed during the setup related to the app.
- The person or persons who are scanning QR codes at your events must be logged into your WordPress site with sufficient permissions to check-in users.
- The WooCommerce order status for a ticket purchase was not set to “Complete”
- If you are working offline, ensure that you have synced your events and attendees while connected to the internet before going offline. Only tickets included in your last sync will be available for offline check-in.
App Error Messages
Sometimes, things don’t work out exactly as expected. These are the error messages you might encounter:
Please verify your API key is correctly entered on the settings page.
Check your API key to ensure it matches the key on your WordPress installation. Confirm that The Events Calendar REST API is not blocked or disabled. Make sure the site is not on a local server, password protected, or otherwise inaccessible.
Scan failed, try again
Something failed with the scan. Either it’s not loading correctly, or your WordPress site is not available.
Camera permission is not granted
You’ll need to allow the app to have camera permissions. Go to another screen and then come back to the scanner to have permission asked for again if you click deny.
This attendee’s ticket is not authorized to be Checked in
If you see this message, it means the order in WooCommerce is still “Processing” and will need to be changed to “Completed”. This can be done manually, on a per-ticket basis, or you can use this plugin to automatically complete orders upon purchase: https://woocommerce.com/products/woocommerce-order-status-control/
“App is offline” Banner
This isn’t an error, but a helpful indicator. When you see a small banner at the top of the app showing “App is offline” and your last sync time, it means you’re working without an internet connection, but can still check in previously synced attendees.
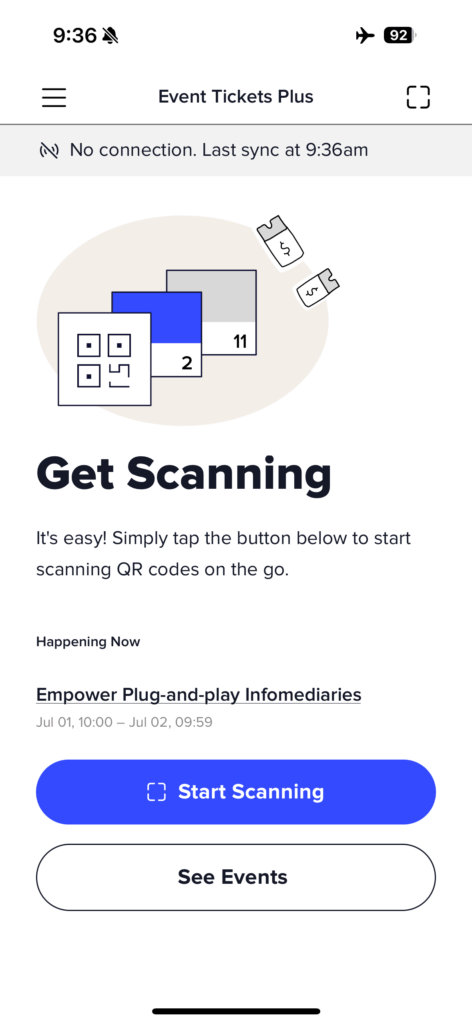
💡Tip: If you’re getting frequent connection errors in an area with weak internet, try turning on airplane mode and working entirely offline to avoid intermittent connection issues.
Server-Side Caching Blocking API Requests
What happens when the ET+ App is unable to recognize the REST API? In the vast majority of cases, this is due to shared hosting environmental limitations and/or server settings. The likely cause of the error at this point would be that the host is not exposing the ticket check-in endpoint on their WP install properly.
The failure is when the response from the server is not JSON. Some hosting environments use aggressive server-side caching, which can interfere with the WordPress REST API. When this happens, the API calls required for check-ins may be blocked or return unexpected responses.
💡 Note: This is not a bug or breakage in the performance of the ET+ QR Code App.
We are currently working on building a debug option to check the server response. We’ll also be adjusting the error messaging within the App and within Event > Settings. The release date is TBD.
The Fix: Exclude the WP API and Event Endpoints from Caching
To ensure the ET+ check-in system works correctly, you need to exclude the following endpoints from caching:
/wp-json/
/wp-json/tribe/(.*)- Check Your Caching Plugin or Server Settings
- If you’re using a caching plugin like WP Rocket, W3 Total Cache, or WP Super Cache, look for an option to exclude specific URLs.
- Also applicable with server-side caching or setting, like WP Engine, LiteSpeed, SiteGround.
- Add
/wp-json/and/wp-json/tribe/(.*)to the exclusion list.
- Contact Your Hosting Provider
- If you’re unsure whether server-side caching is affecting the API, ask your hosting provider to whitelist the
wp-jsonendpoints from caching.
- If you’re unsure whether server-side caching is affecting the API, ask your hosting provider to whitelist the
Once caching is excluded for these endpoints, the ET+ App should be able to process check-ins properly.
Issues with Offline Check-in
If you can’t use offline check-in at all, check these requirements:
- You must have both The Events Calendar and Event Tickets Plus installed
- Offline check-in only works for sites using The Events Calendar alongside Event Tickets (ET) and Event Tickets Plus (ET+)
- If you only have Event Tickets and Event Tickets Plus without The Events Calendar, offline functionality will not be available
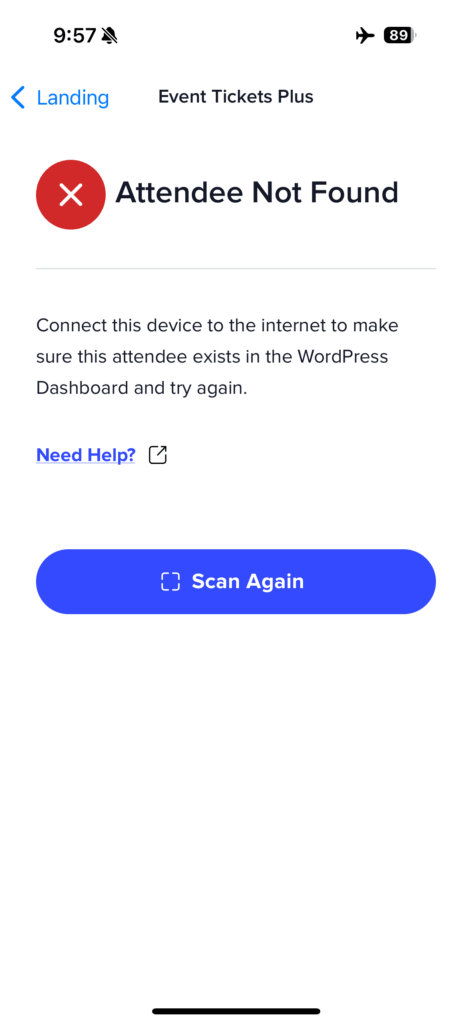
“Attendee Not Found” Errors While Offline
This typically happens when:
- The ticket was purchased after your last sync with the server
- The attendee data wasn’t included in your offline sync
- Solution: Connect to the internet and let the app sync, then try the check-in again
App Won’t Sync When Back Online
- If the app shows sync errors when you reconnect to the internet:
- Close and reopen the app to trigger a fresh sync attempt
- Check your internet connection strength
- If the error persists, try switching between WiFi and cellular data
- Contact support if sync failures continue after trying these steps
Intermittent Connection Issues
- If you’re in an area with weak or spotty internet service:
- Recommended solution: Turn on airplane mode and work entirely offline
- This prevents failed API requests that can cause check-in errors
- Remember to sync when you return to a stable internet connection
💡Tip: Before heading to a location with poor internet connectivity, always open the app while connected to ensure your latest event and attendee data are synced to your device.
“No Attendees Found” Error with WooCommerce
Issue:
While the Event Ticket Plus application allows event check-ins via QR code, searching for attendees by name fails with the message:
“We can’t find any attendees matching that name. Try again!”
What’s going wrong?
WooCommerce’s High-Performance Order Storage (HPOS) disrupts the sync of orders and attendees with Event Tickets Plus. Attendee records may not sync to the app when HPOS is active, preventing name searching.
How to fix it:
- In your WP dashboard, go to WooCommerce → Settings → Advanced → Features.
- Under Order data storage, switch from HPOS to WordPress posts storage (legacy).
- Save changes.
- Run order synchronization to import existing records. Once completed, attendees sold via WooCommerce will now appear and be searchable in the app.
Pro tips:
- If attendees don’t show post-migration, re-run the sync manually.
- If debugging is needed, enable
WP_DEBUGand check for errors tied to WooCommerce or Event Tickets Plus.
Additional notes:
- These steps also apply when orders do not appear in the Orders screen. HPOS affects both attendee syncing and order visibility, so switching to legacy storage resolves both issues.
- Make sure that WP-Cron is enabled and running, as the attendee and order synchronization process depends on cron events. If WP-Cron is disabled or replaced with a server-level cron that isn’t running correctly, syncing may not complete.