We’ve covered the process for creating a scheduled import of events in another tutorial, but what happens from there? In this tutorial, we’ll go over the steps for how to find, edit and delete your scheduled imports.
Finding your Scheduled Imports
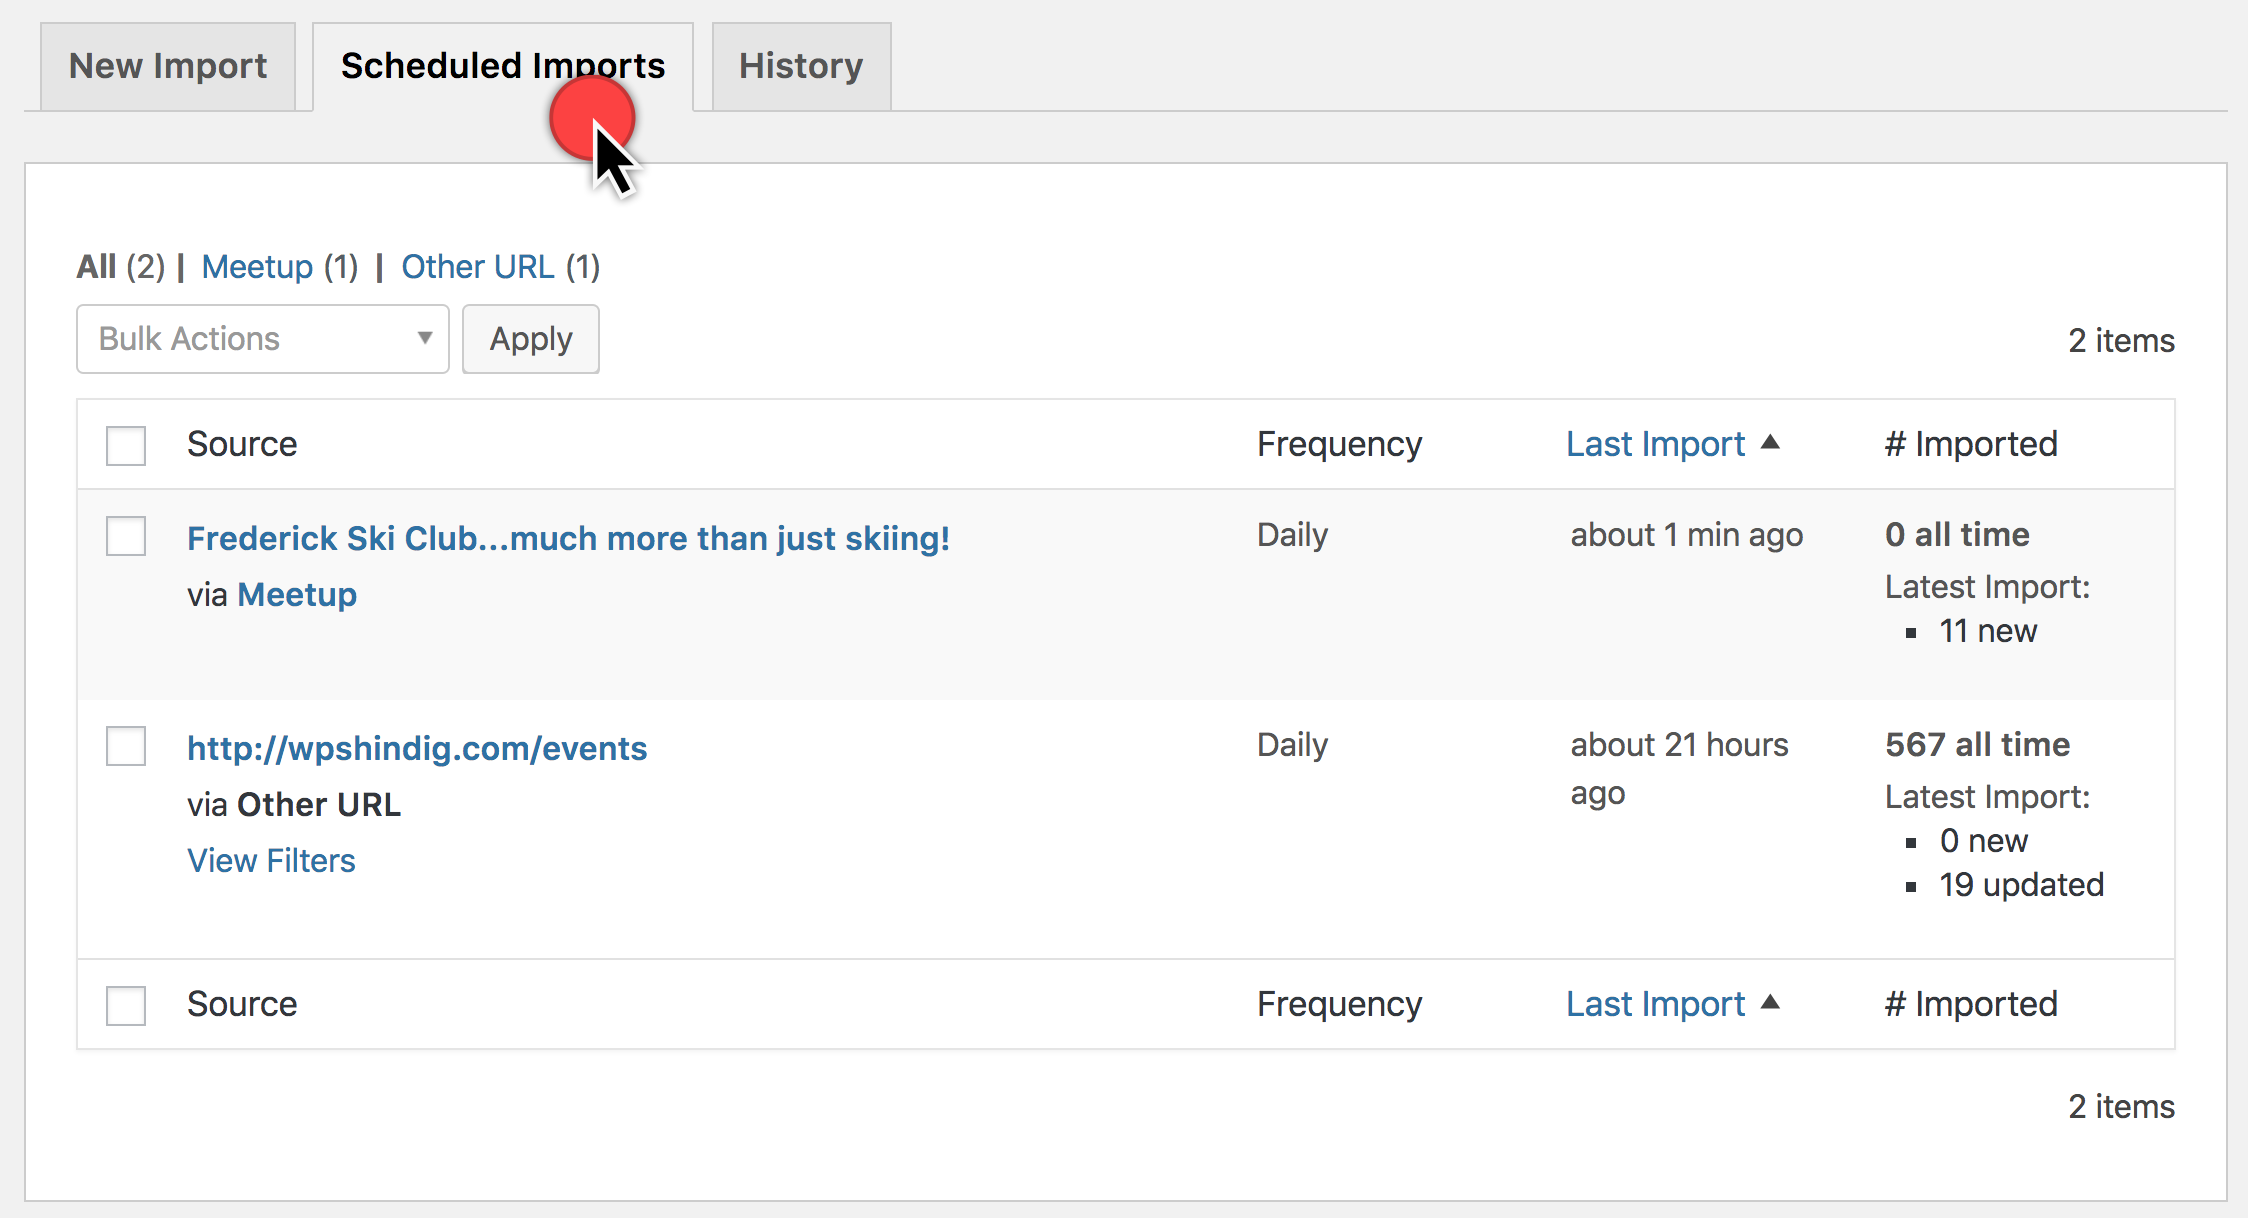
Every scheduled import can be located on the Events > Import screen by clicking on the Scheduled Imports tab. This tab will only be displayed if you have scheduled imports and will otherwise be hidden.
Each scheduled import is listed and shows the time of the most recent import instance as well as the number of events imported and updated in that instance. The all-time number tells you the total number of events imported via that scheduled import since it was made. Scheduled imports are listed chronologically by the most recent import instance.

Editing a scheduled import
Let’s say you have created a scheduled import, but would like to change some of the criteria you had previously selected for it. Hover over the import and it will reveal additional actions. Select the option to Edit.

Clicking that option will reveal all the available settings to edit including:
- Scheduled import: How often the import runs
- URL: The source you are importing from
- Status: The status assigned to imported date (e.g. Published, Draft)
- Category: Which existing event category should be applied to the events when imported
For example, if you had originally scheduled your import to run each month, you could later use the Edit option to change the frequency to something else, say weekly.
Manually Running a Scheduled Import
Scheduled imports run automatically behind the scenes, but you can also have a scheduled import run at any time you wish by clicking the Run Import link.

When you click Run Import, the import will automatically queue up to run as soon as possible.
Deactivating or Deleting a Scheduled Import
Perhaps you’ve created a scheduled import and no longer want Event Aggregator to run that import. If you think you might like to use the import again in the future, you could Edit it and change the frequency to On Demand. This means that the import does not run automatically, but is still listed. Or you can delete the import altogether from the Events > Import screen in the Schedule Imports tab by hovering over the import and selecting the “Delete” action.

Please note that a scheduled import cannot be recovered once it is deleted. Events Aggregator will prompt a pop-up message to confirm that you do want to delete the import before it actually happens.
Temporarily Disabling Scheduled Imports
If you want to temporarily disable scheduled imports for any reason, you can head to the Event Aggregator Control section of the import settings screen. There’s a “Disable Event Aggregator imports” option here that, when checked, will totally disable all Event Aggregator imports until it is unchecked. Manual imports via CSV will still be possible, but no other import type will work.