Tickets Commerce comes standard with checkout and success pages that you can add to your website. You’ll have to select your pages within the settings and use a shortcode in order for them to display properly.
We’ll show you how to set this up in no time!
Payments Tab
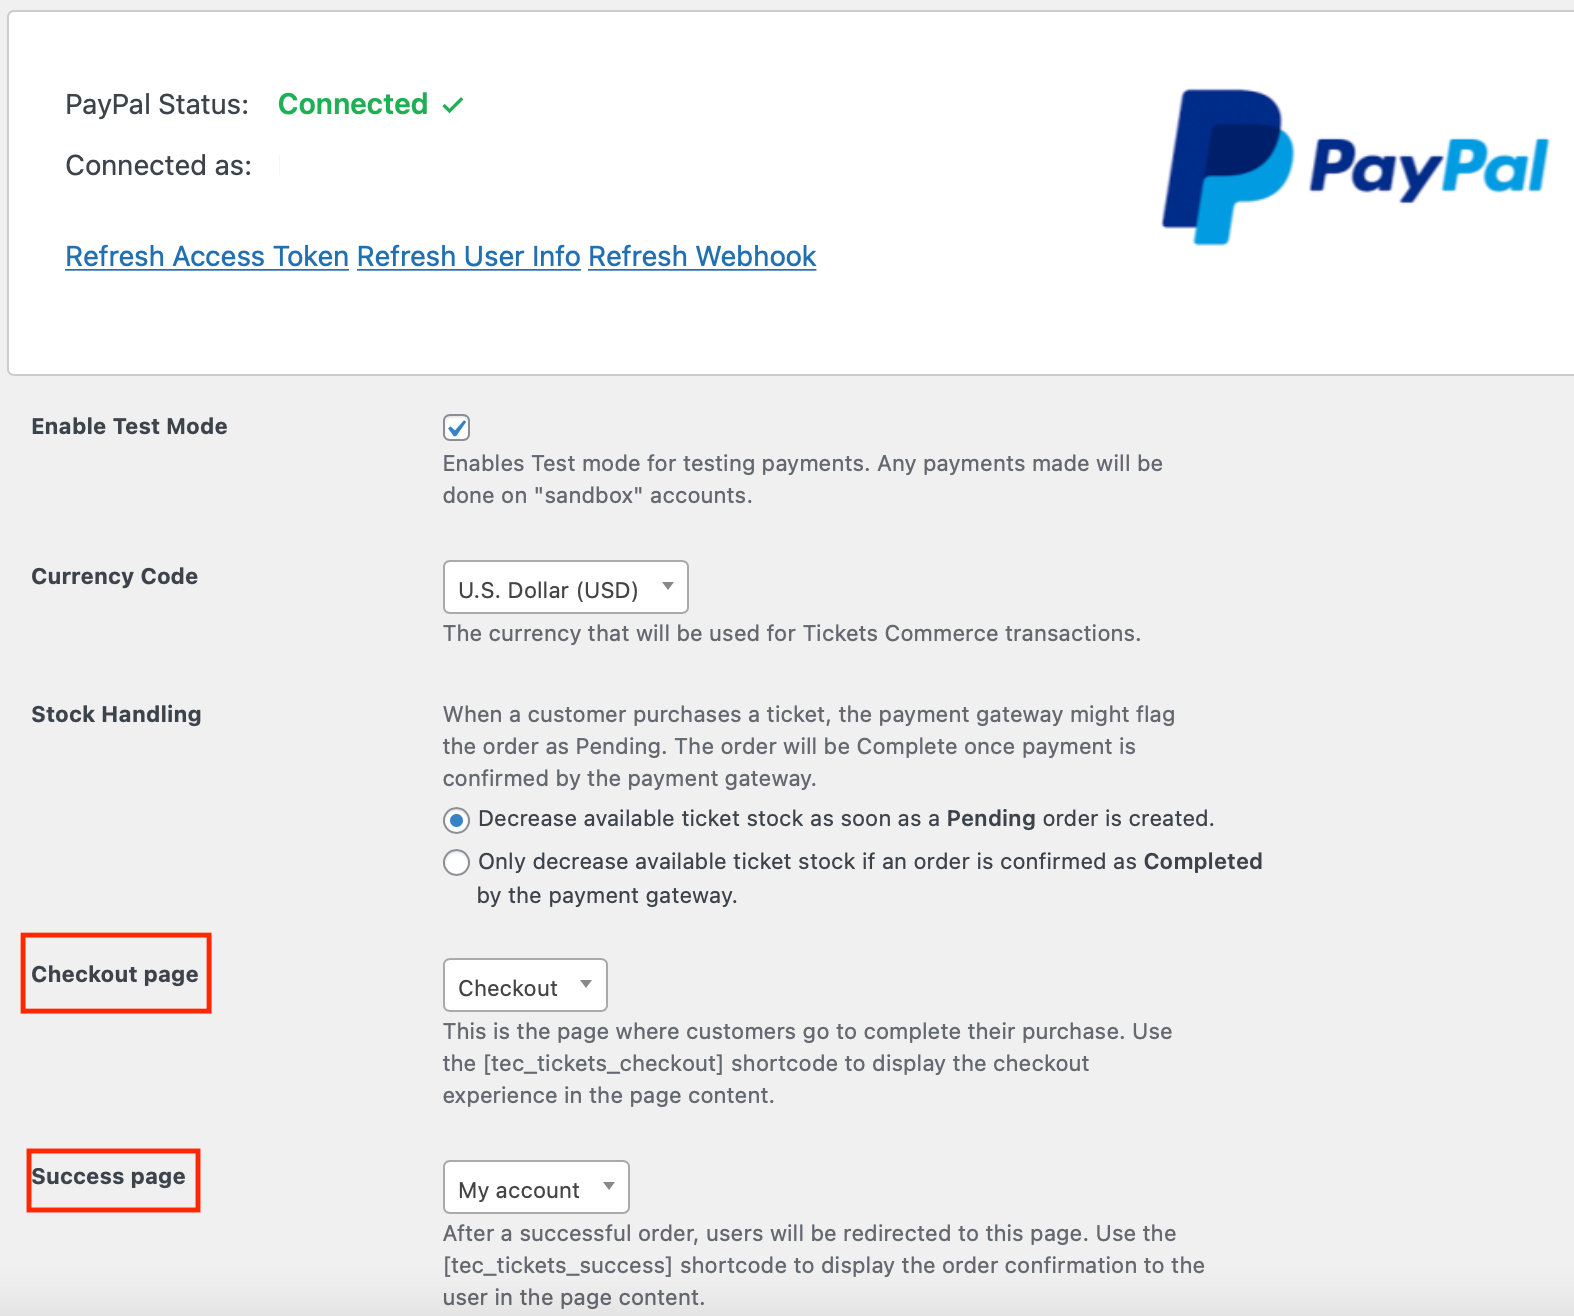
The first thing you’ll want to do is to configure your settings under Tickets > Settings > Payments. Once you’ve enabled PayPal, select pages for both the Checkout and Success Pages and Save Changes.

Add Shortcodes
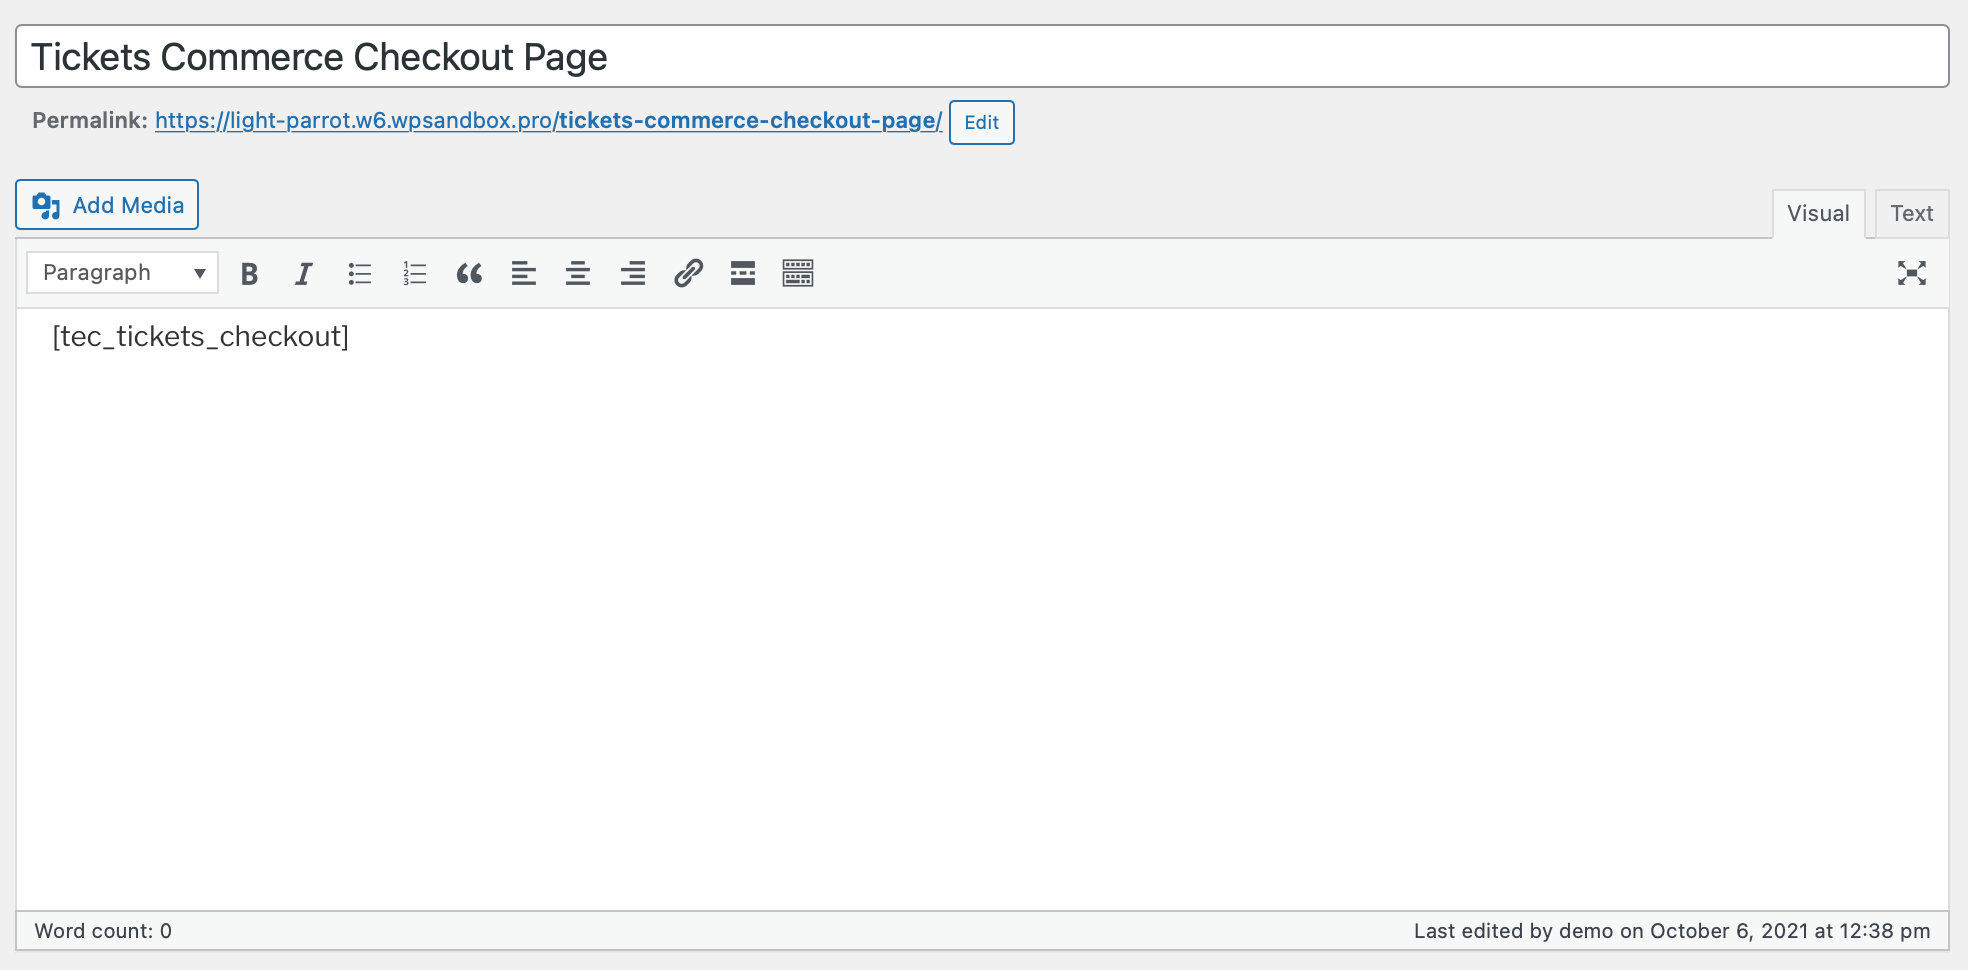
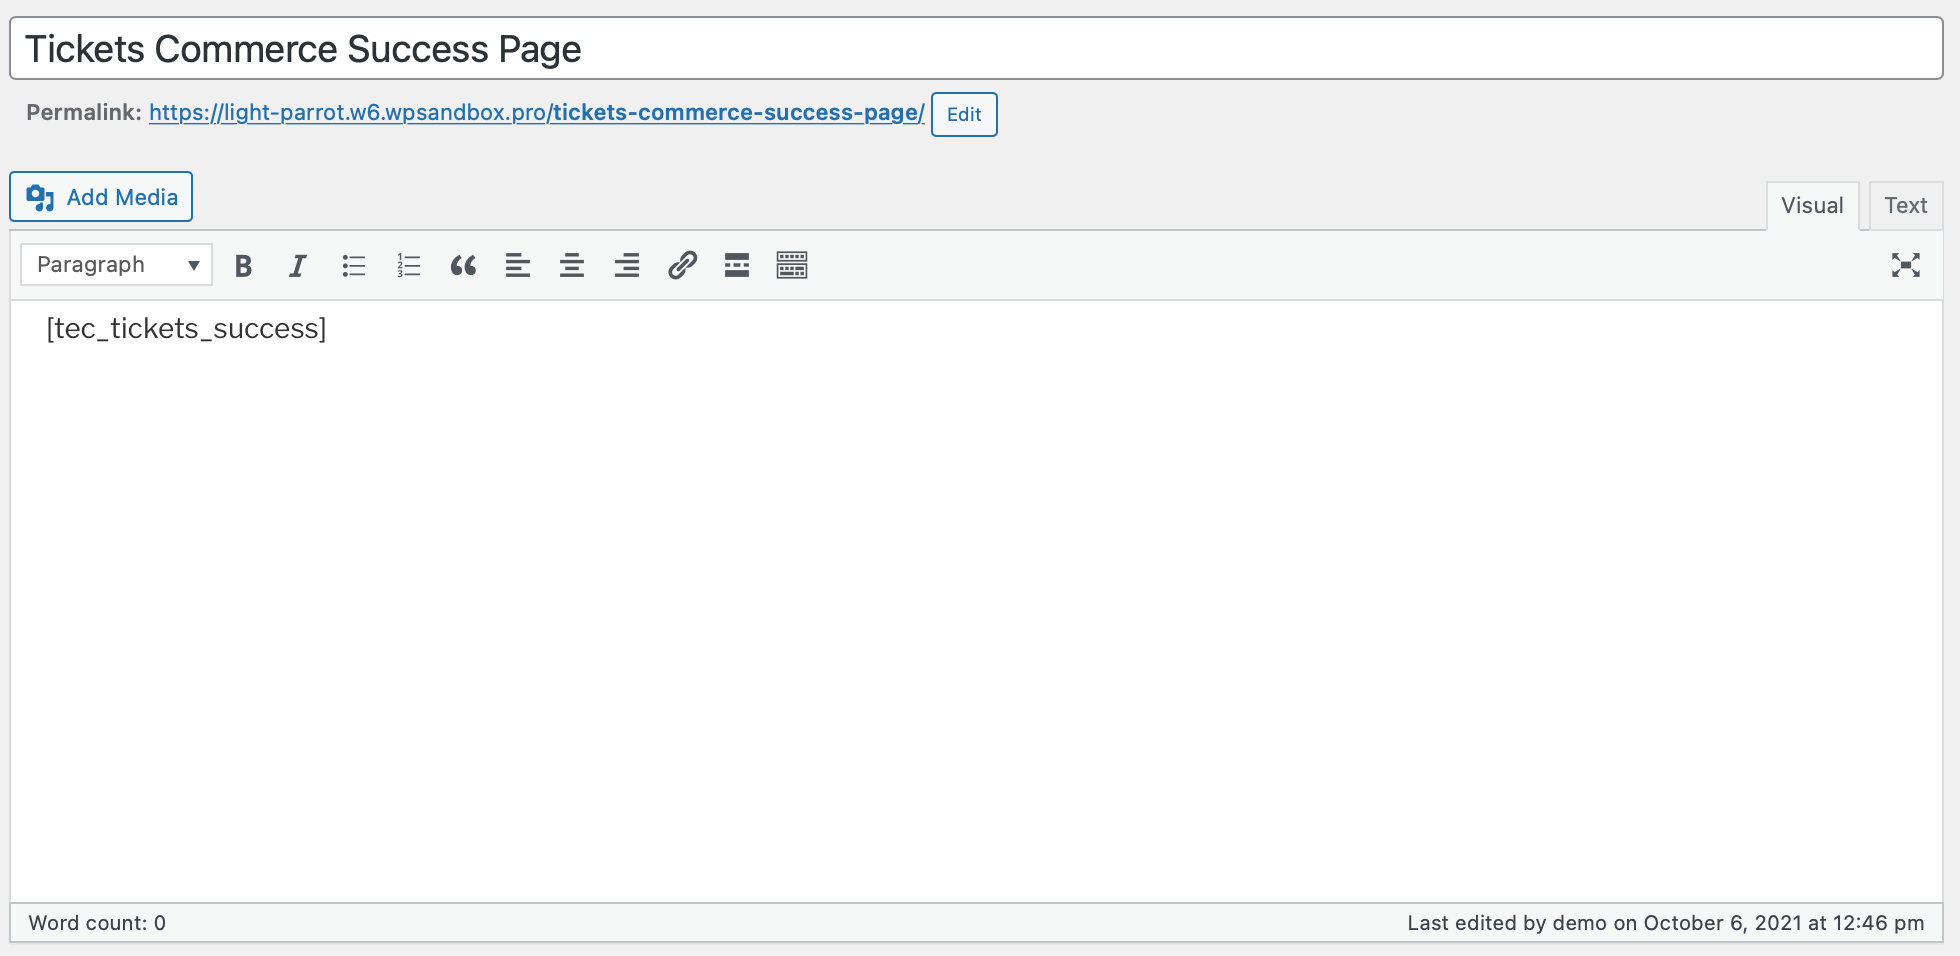
The next step is to add a shortcode to the page that you have selected in the settings. You can also create a new page to add the shortcode to. Once you add the shortcode to that page, it will automatically show up in your settings for you to select.
For your checkout page content, you’ll want to add this shortcode: [tec_tickets_checkout]

For your success page content, you can add this shortcode: [tec_tickets_success]

Putting it all Together
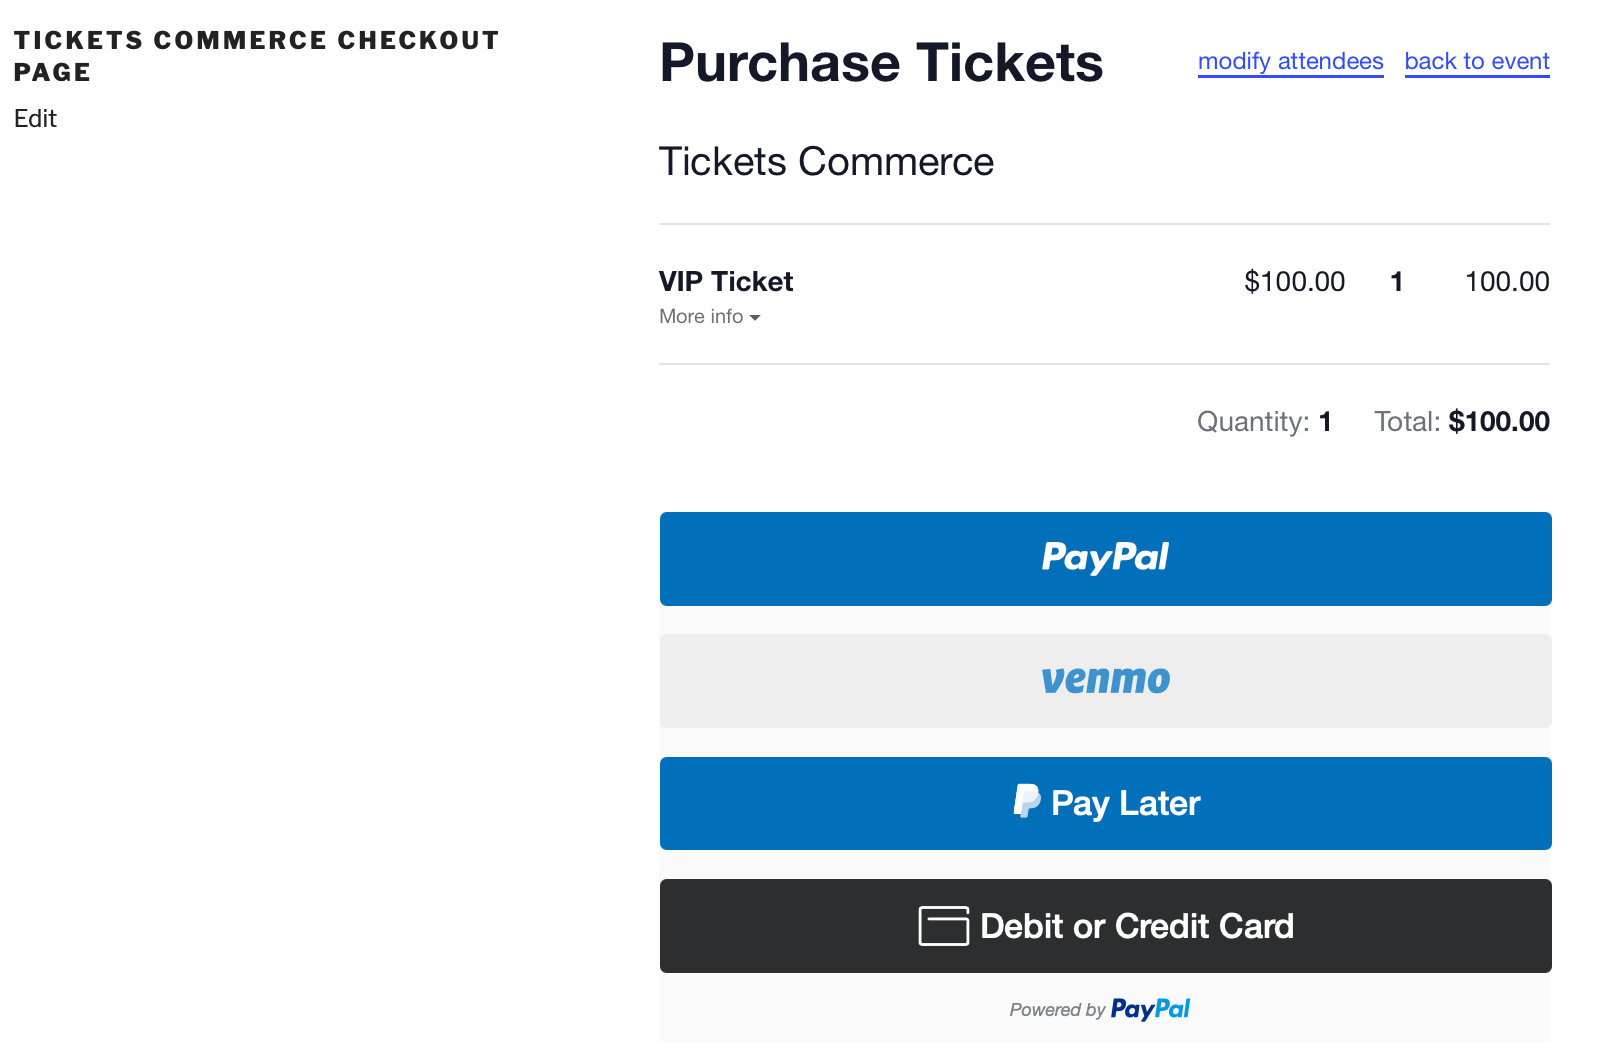
Once you’ve selected the page you’d like to use in your settings and added the shortcode to the page, your checkout page will look something like this:

And here is your success page:

You can add these shortcodes to pre-existing pages so that they will have additional content or modify the templates to your liking.