A popular feature request we hear from the community is to expand the ways that Events posts can be sorted and filtered from the WordPress dashboard. This is so popular in fact that we created a separate plugin called Advanced Post Manager (APM) a while back and started shipping it with Events Calendar Pro. We even open-sourced APM so anyone could use it for any registered custom post type in WordPress.
This was a great solution for a long time until we started to notice that APM was growing up and maturing on its own. And, like any child who grows up, it needed to spread its wings and fly- so we decided to break APM off from The Events Calendar Pro.
We’re going to cover how to get started with APM on your site and set it up to work with events. You can also filter and sort your events using Events Manager available with Events Calendar Pro, along with Filter Bar. We’ll go over this option below as well.
Update and activate all the things
First off, please update The Events Calendar and its add-ons, including The Events Calendar Pro.
Now that you’re running the latest and greatest version of The Events Calendar download, install, and activate the Advanced Post Manager plugin version 3.10 or newer.
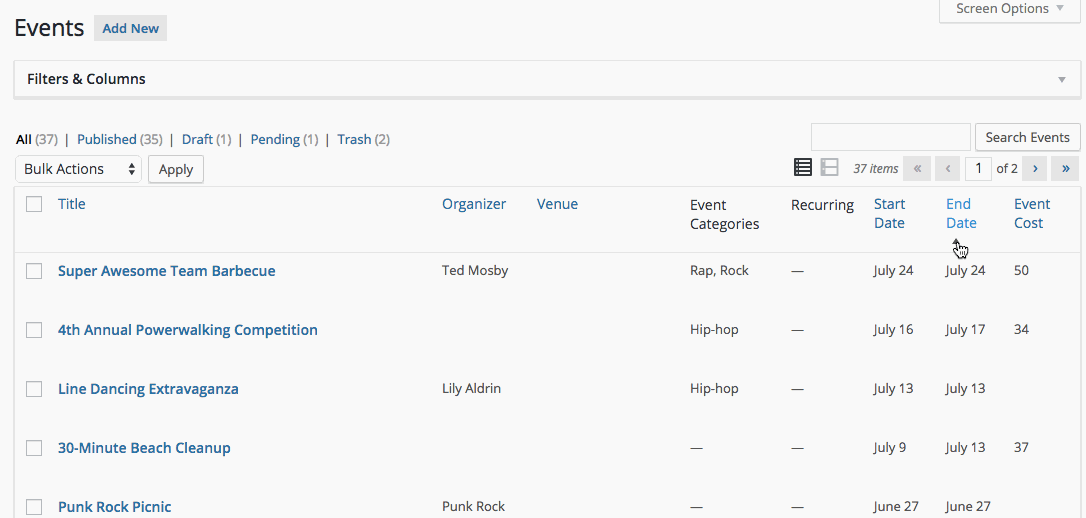
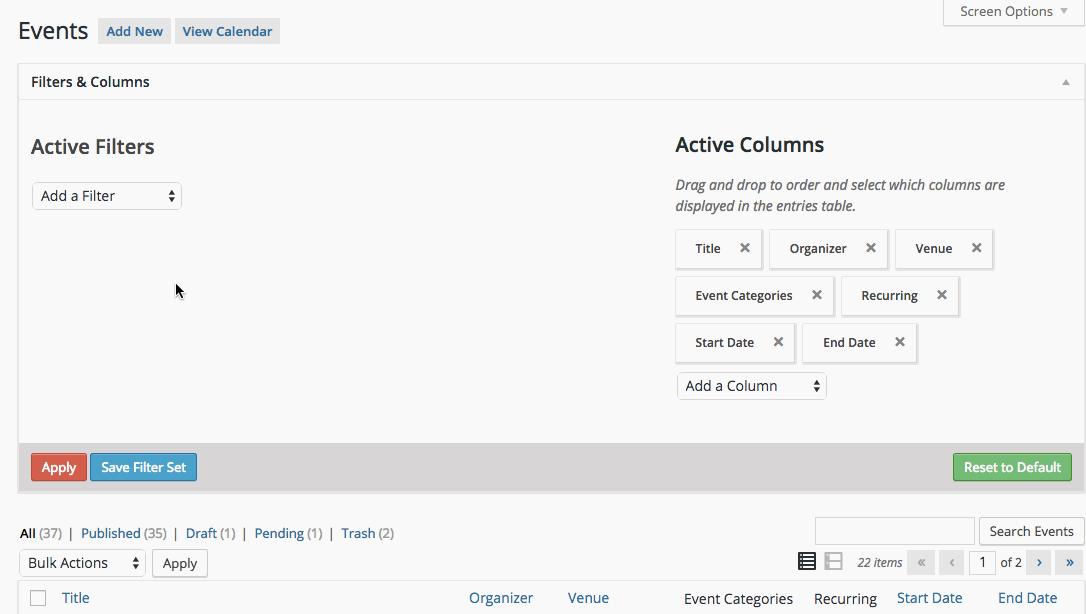
Head over to Events → All Events from the WordPress dashboard. This will take you to the list of all your events posts. Right above that list, you should see a meta box called Filters & Columns. That might be collapsed for you, so go ahead and expand it to see APM in all its glory.
Customize the list to meet your needs
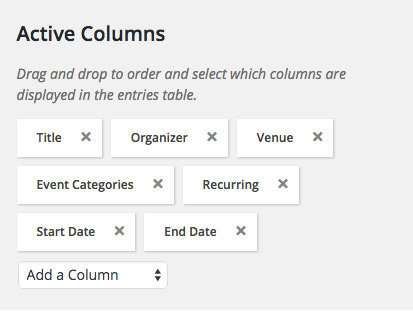
Advanced Post Manager gives you a huge amount of control over the list of events. As well as letting you add and remove various columns to help tailor the view to your needs, you can also set up advanced filtering by applying special rules to any of the following columns:
- Title
- Organizer
- Venue
- Event Categories
- Recurring
- Start Date
- End Date
- Event Cost
Removing and adding columns is easy. Just clear them from the Active Filters area in the Filters & Columns box above the list. Similarly, any of those options can be added as columns by selecting them from the “Add a Column” menu.
Creating saved filters
APM also allows you to create saved custom filters based on any combination of available filters. For example, here’s how we would create a reusable filter that only displays events organized by a specific organizer.
Events Manager + Filter Bar
Another option available to you with Events Calendar Pro and Filter Bar is to use Events Manager with filters to help you sort your events from the backend differently. To find the Events Manager, simply head over to Events and click on Manager.
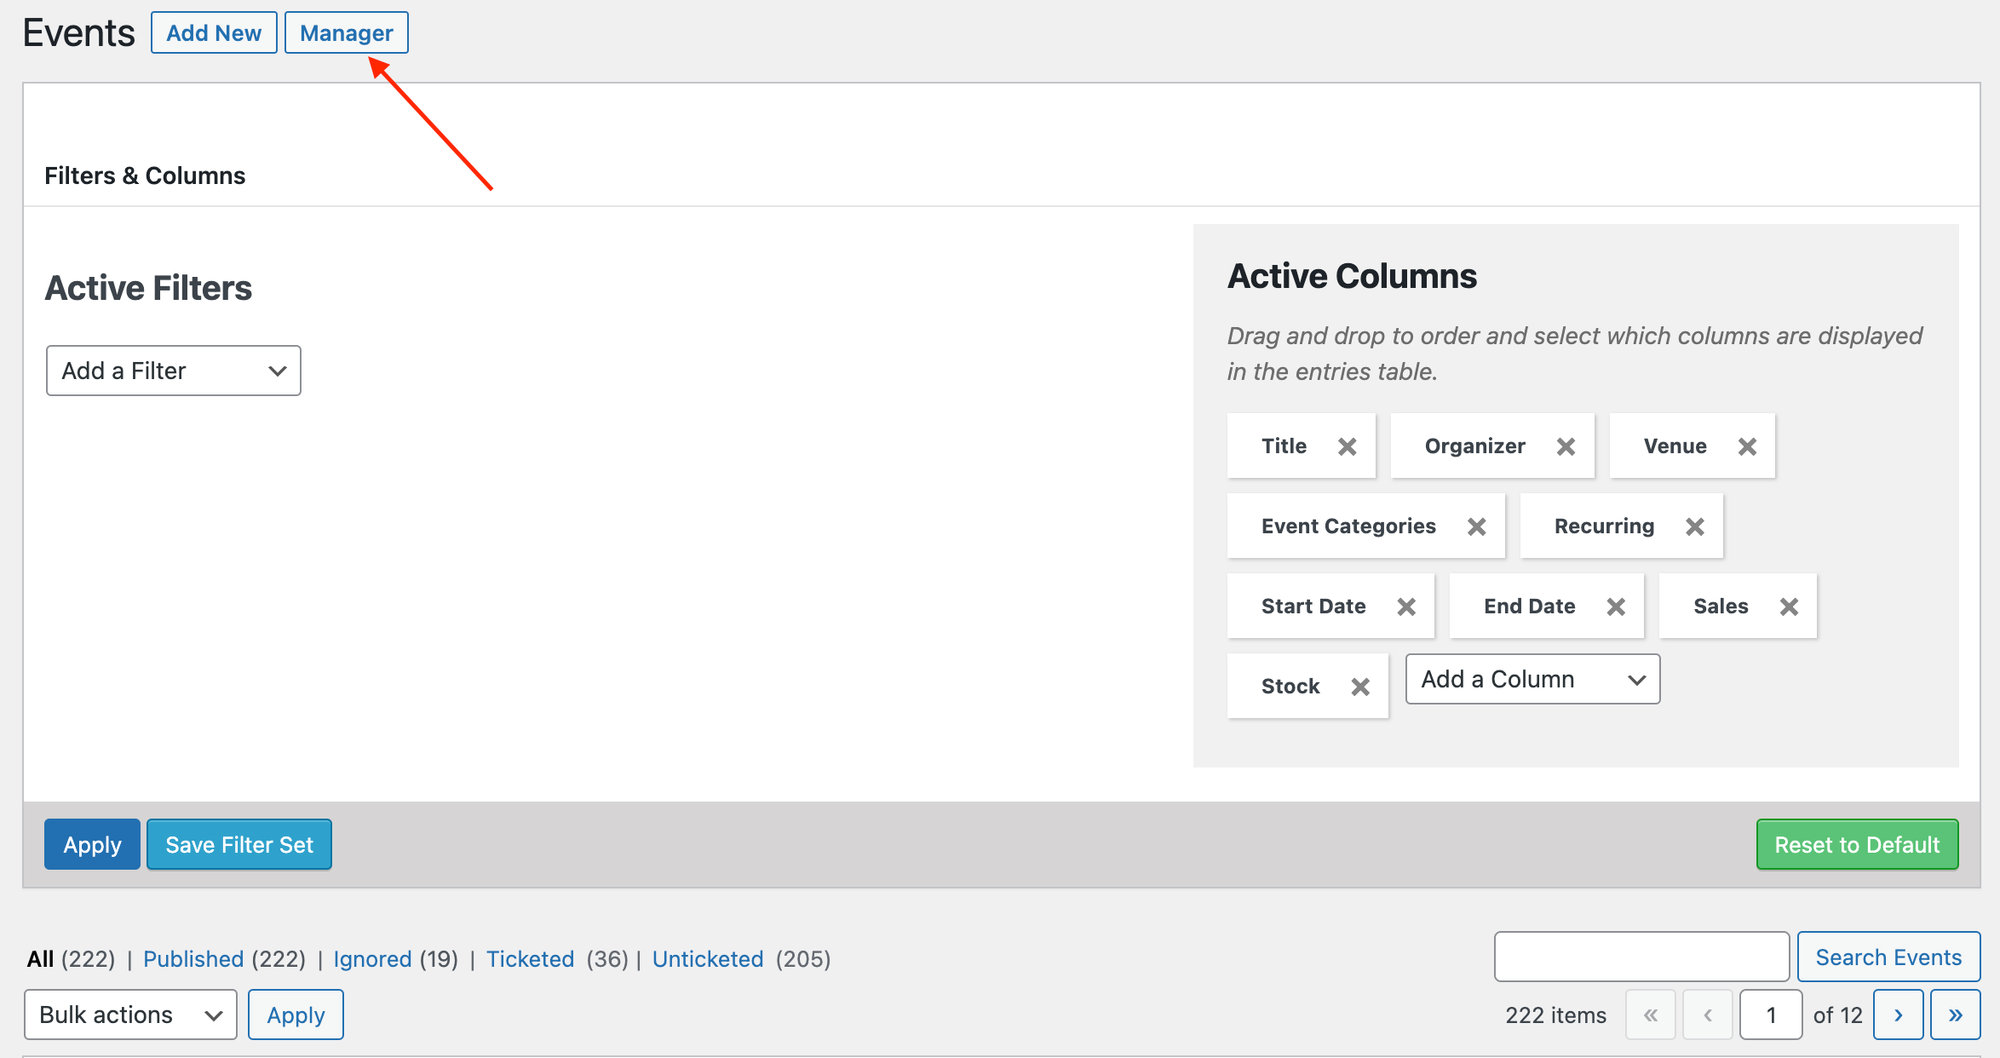
You’ll now see your calendar in Month View with Filter Bar enabled. You can alter your Filter Bar options by heading over to Events > Settings > Filters.
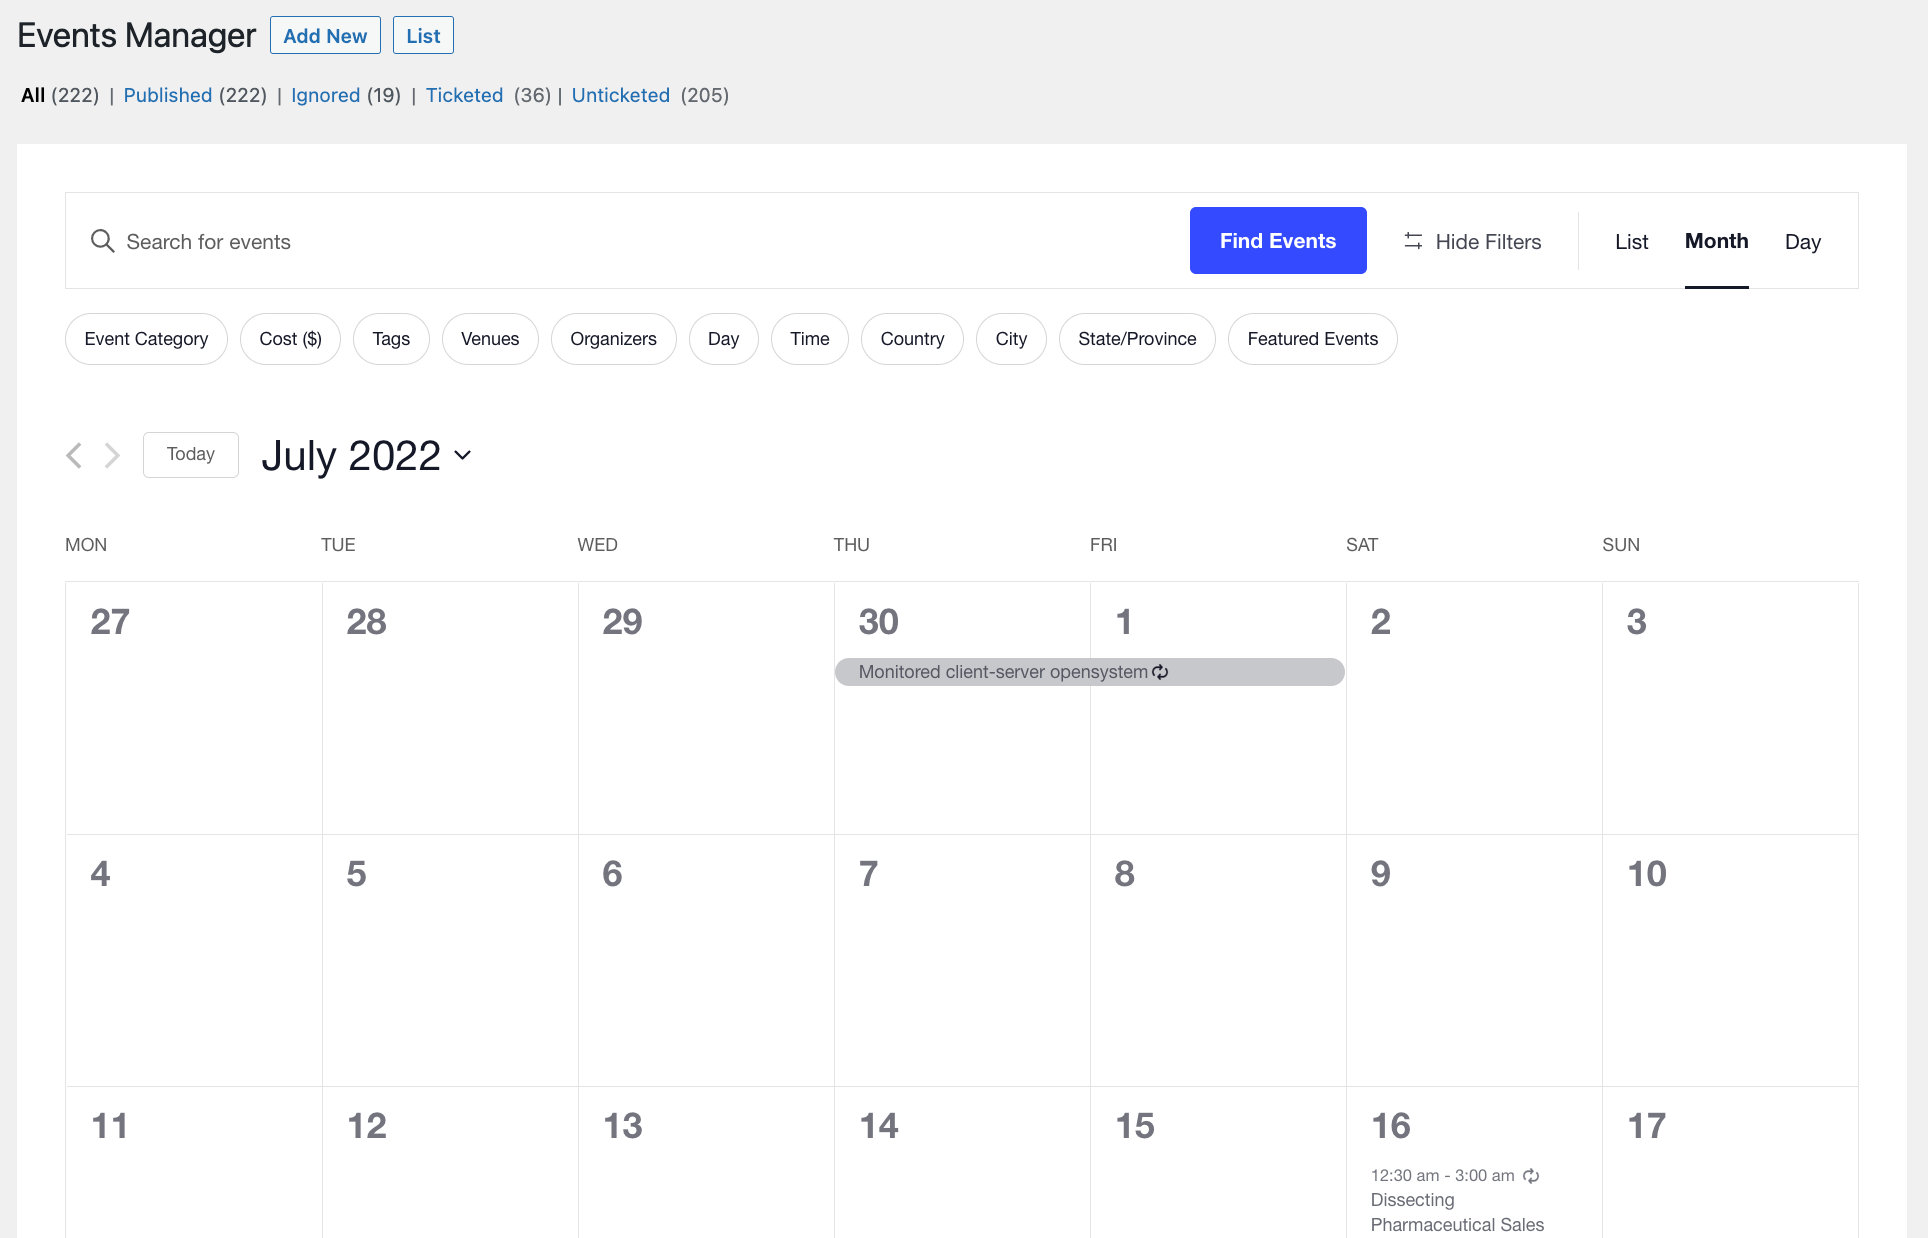
Use your chosen filters to sort through events on the backend like you would let your site visitors utilize them on the frontend. Simply choose a filter, and you will only see the events associated with that filter. You can even create custom filters with Filter Bar.