After a user submits an event via the Community Event form, a new event post is created that can be managed from the WordPress Dashboard, just like any regular event.
Review your settings
After installing the Community Events add-on, it’s important to verify your Event Submission settings by going to Events → Settings → Community and reviewing the available options.
First, you’ll want to decide if your site will allow anonymous submissions or not. With this feature disabled, only users with registered accounts on your site may submit events. An anonymous user will be prompted to log in before accessing the submission form.
Please note that if you want site visitors to be able to register and then submit an event, you’ll need to make sure you have the Anyone can register option selected on your WordPress General Settings page. Otherwise, only users with pre-existing accounts on your site will be able to submit events.
Secondly, you’ll want to review the Default status for submitted events option since this will determine whether or not events need to be reviewed by an Administrator prior to displaying on the site. The following status options are available:
- Draft – submissions in this status will not display on the site until marked as ‘Published’ by an Administrator
- Pending Review – This status allows admins to see more easily when a submission needs to be reviewed. Submissions in this status will not display on the site until marked as ‘Published’ by an Administrator.
- Published – submissions in this status will be publicly accessible on your site as soon as the person submits the event.

After reviewing your Event Submission settings, you’ll want to scroll down the page a bit and review your Alert settings. This will allow you to determine who will receive email notifications when a new event is submitted. This can be important if you have chosen ‘Draft’ or ‘Pending Review’ for the default submission status since an Administrator will need to take action on every submission.

The email address(es) listed there will get an email whenever an event is submitted. Here’s an example:

If you’d like to customize the information that displays in the Community alert email, you can override the ’email-template.php’ file in the Community Events plugin directory. Take a look at our Customizing Template Files guide for more information on performing template overrides.
reCAPTCHA Settings
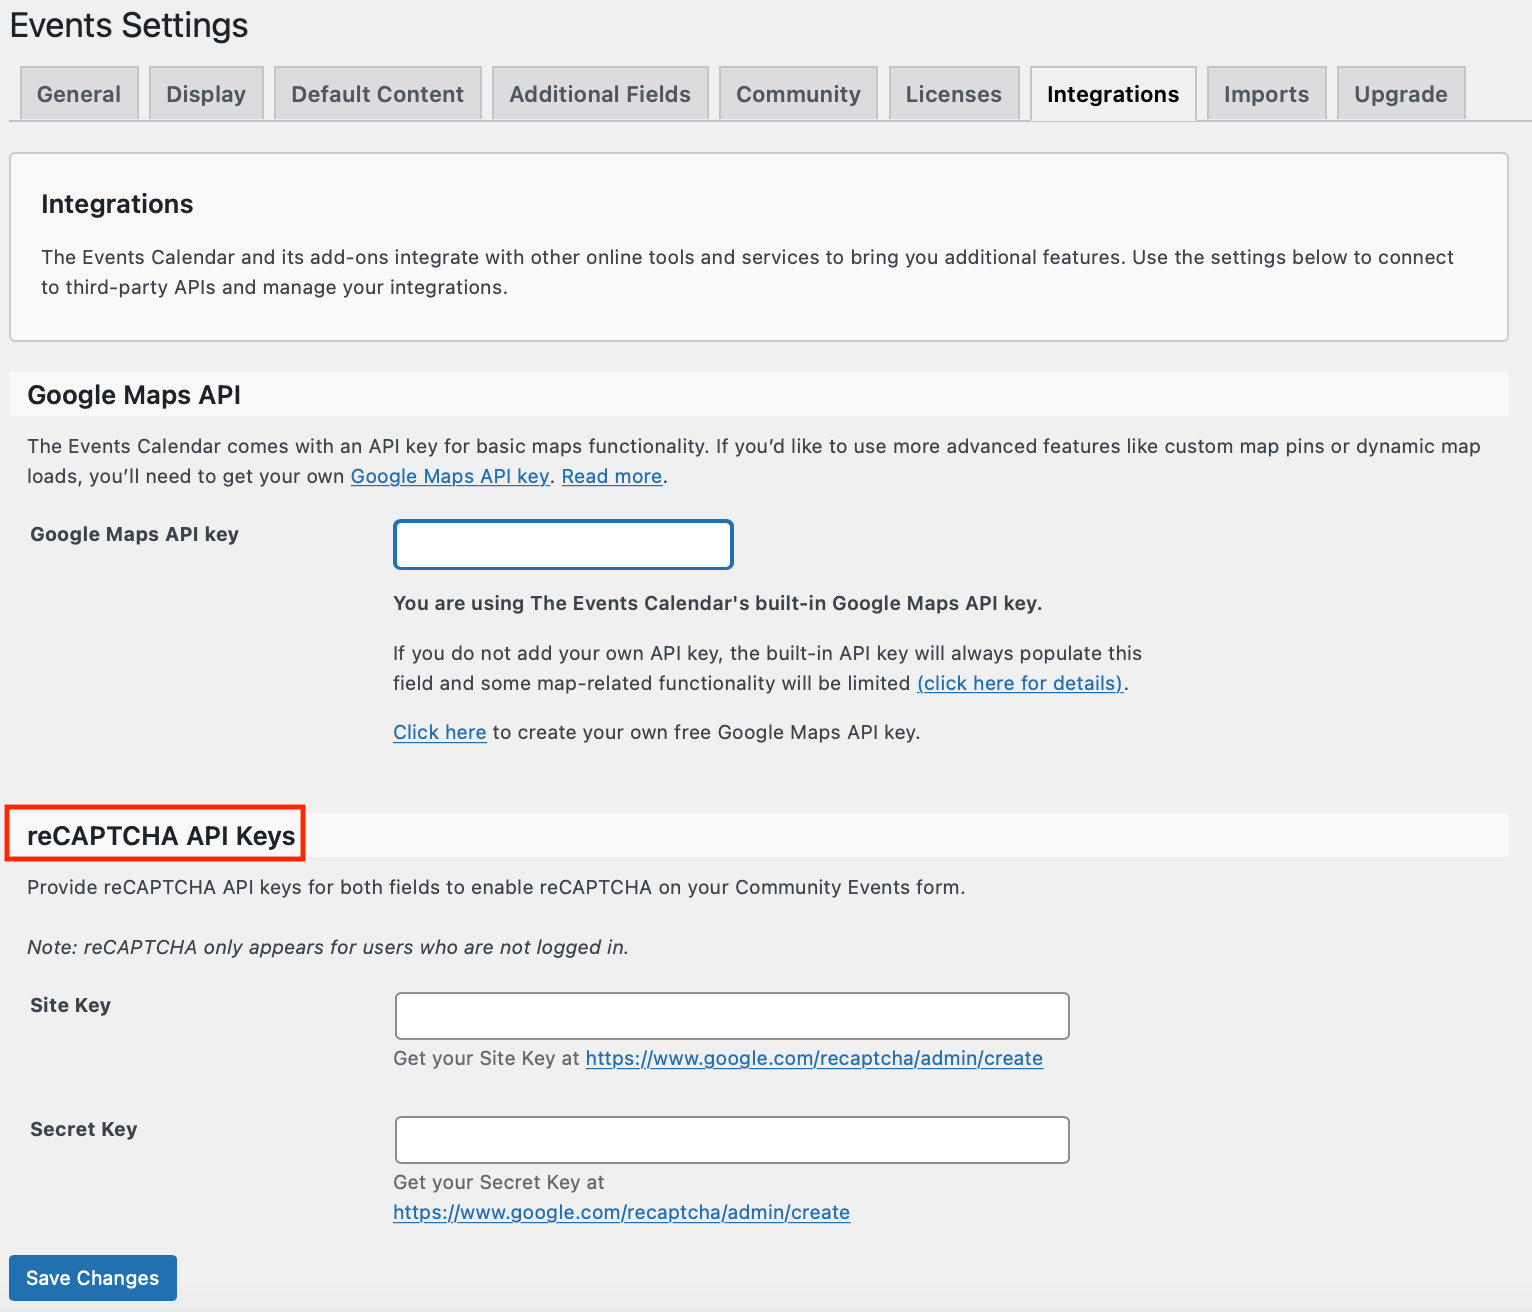
Community Events’ reCAPTCHA settings are located at Events → Settings → Integrations.
Once your reCAPTCHA settings are entered, it will only appear if you enabled Anonymous Submissions and the user is not logged in (i.e. not anonymous).

Reviewing submitted events
After events are submitted, they appear in the event list just like any other event. As an administrator, you can review event submissions by going to your event list (by clicking on Events on the left side of the WordPress Dashboard). If you have the ‘Draft’ status enabled, then you’ll notice that submitted events display as drafts.

Draft Events
If you have the ‘Pending Review’ status enabled, then you’ll notice that submitted events displays as ‘Pending.’

Events Pending Review
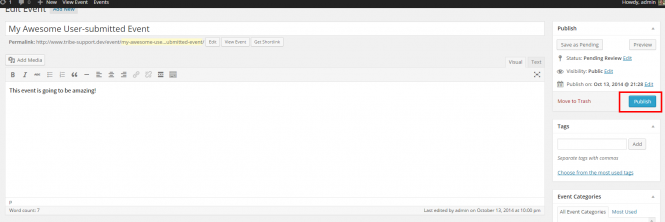
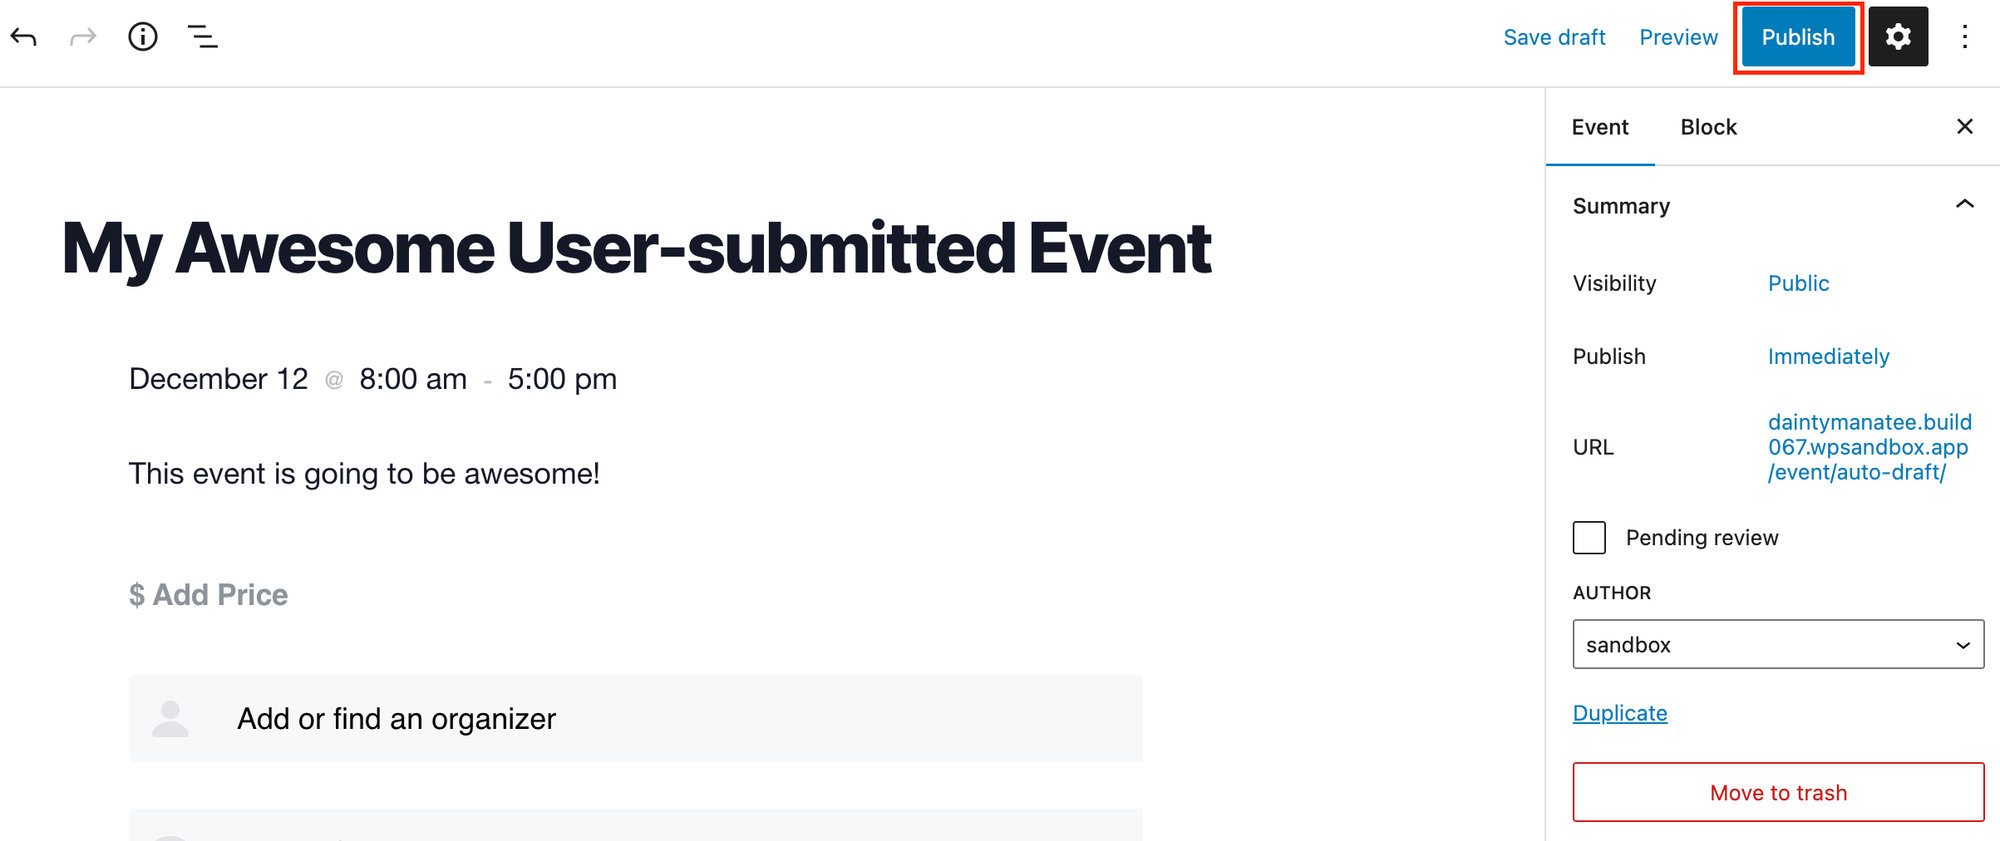
Next, just click on the event that you’d like to review, make your necessary edits, and then click Publish.


Review and publish the Event!