Promoter is an email marketing service built specifically for event organizers using The Events Calendar. It connects to your WordPress site, imports your events and attendees automatically, and lets you send scheduled messages, triggered emails, and full campaigns — without manually building email lists or exporting data.
This article covers everything you need to get Promoter running: requirements, installation, connecting your account, verifying your domain for reliable mail delivery, syncing events, and creating your first campaign.
Requirements and Limitations
Before getting started, confirm your site meets Promoter’s requirements:
- Your site must be publicly accessible on the web. Local installs will not work.
- All traffic must use HTTPS. An SSL certificate is required.
- The WordPress user account tied to the Promoter license must have the
read_private_postscapability (Administrator or Editor role, or a custom role with that capability). This is especially important on sites using a role management plugin. - The Events Calendar (free) and Event Tickets (free) must both be installed and active. Promoter also works with Event Tickets Plus.
- Promoter does not work with Eventbrite Tickets.
The following domain and subdomain patterns are blocked for technical reasons. Make sure your site is not using any of them:
- Domains or subdomains containing “staging”, “dev”, or “test”
- myftpupload domains
- wpengine domains
- mybluehost domains
- dreamhosters domains
- lightningbasehosted domains
- Domains white-listed for testing or development purposes
A few other things to know before you begin:
- License transfers: Once a Promoter license is tied to a website, it cannot simply be moved to a different site. If you need to transfer a license, contact the help desk.
- Sub-folder installs: Promoter works on WordPress sites installed in a sub-folder (e.g.,
https://www.domain.com/subfolder/). Contact support to complete the installation correctly. - Multi-site: Promoter does not work on WordPress multi-site installations.
- WPML: Promoter does not officially support WPML. Attendees of events in secondary languages may not sync.
- Sent messages: Promoter messages that are queued or sent cannot be recalled. Because messages cannot be removed from an event after the fact, re-purposing old events with new dates is not recommended.
What You Need
- The Events Calendar (free)
- Event Tickets (free)
- Promoter (premium subscription)

Installation
Install The Events Calendar and Event Tickets on your WordPress site if you haven’t already. Both are free and available under Plugins → Add New in your WordPress dashboard. For help, see Downloading and Installing the Plugin.
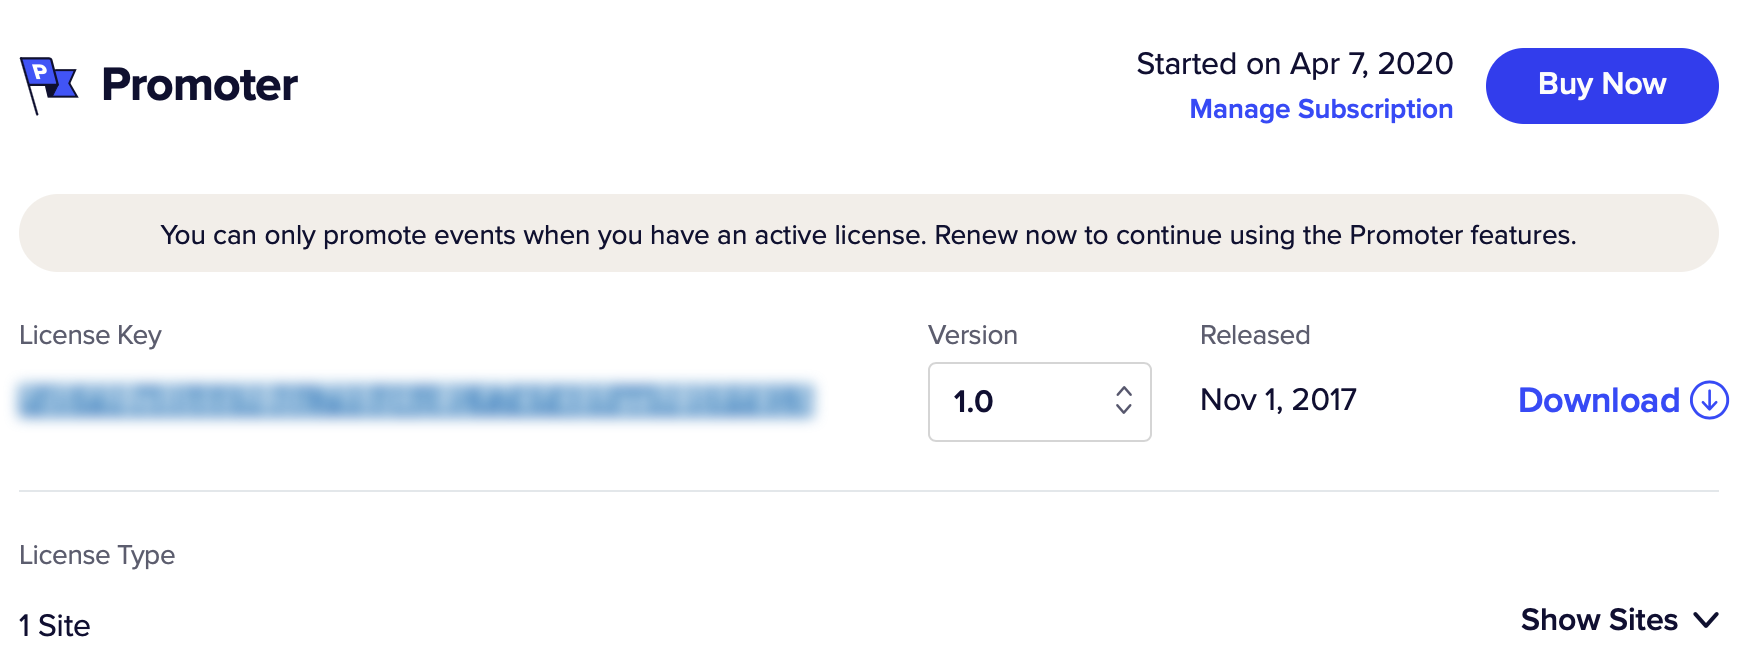
Next, purchase a Promoter license at theeventscalendar.com/product/promoter/. After checkout, your license key will appear in your account at theeventscalendar.com/license-keys/.
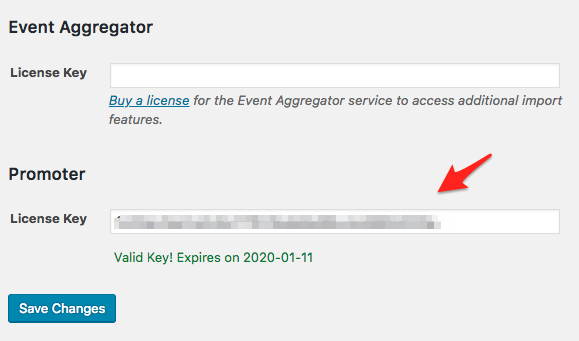
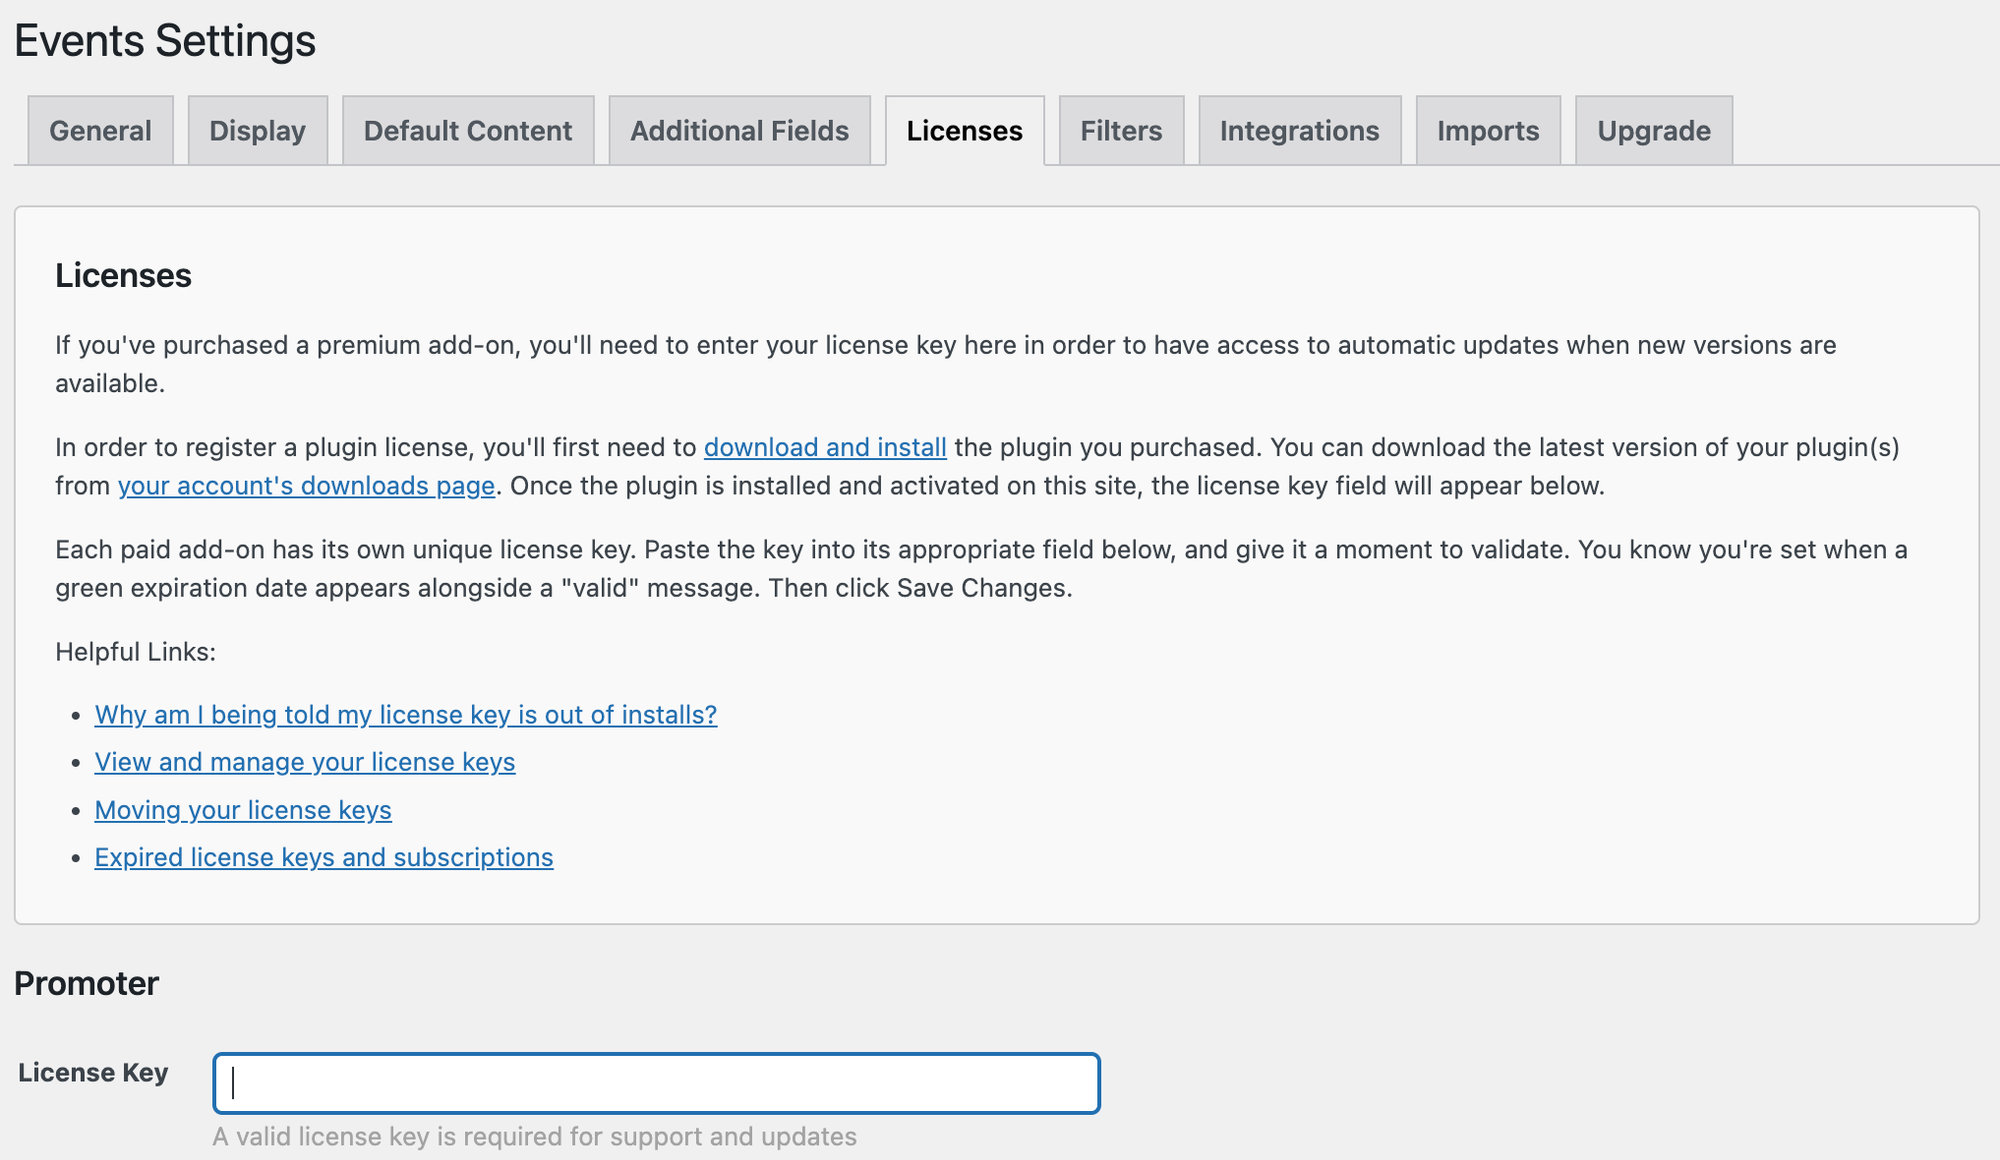
Then enter your license key in WordPress under Events → Settings → Licenses and click Save Changes.
Connecting Your Promoter Account
With your license registered in WordPress, head to promoter.theeventscalendar.com/welcome to complete the account setup. Keep your license key handy — you’ll enter it here again.
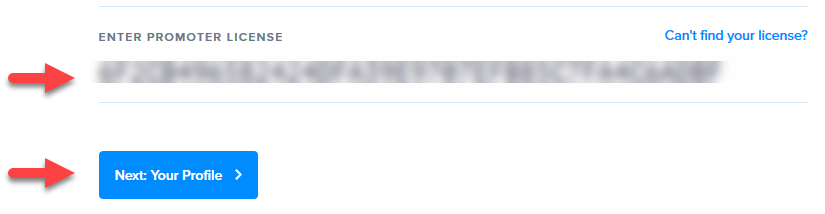
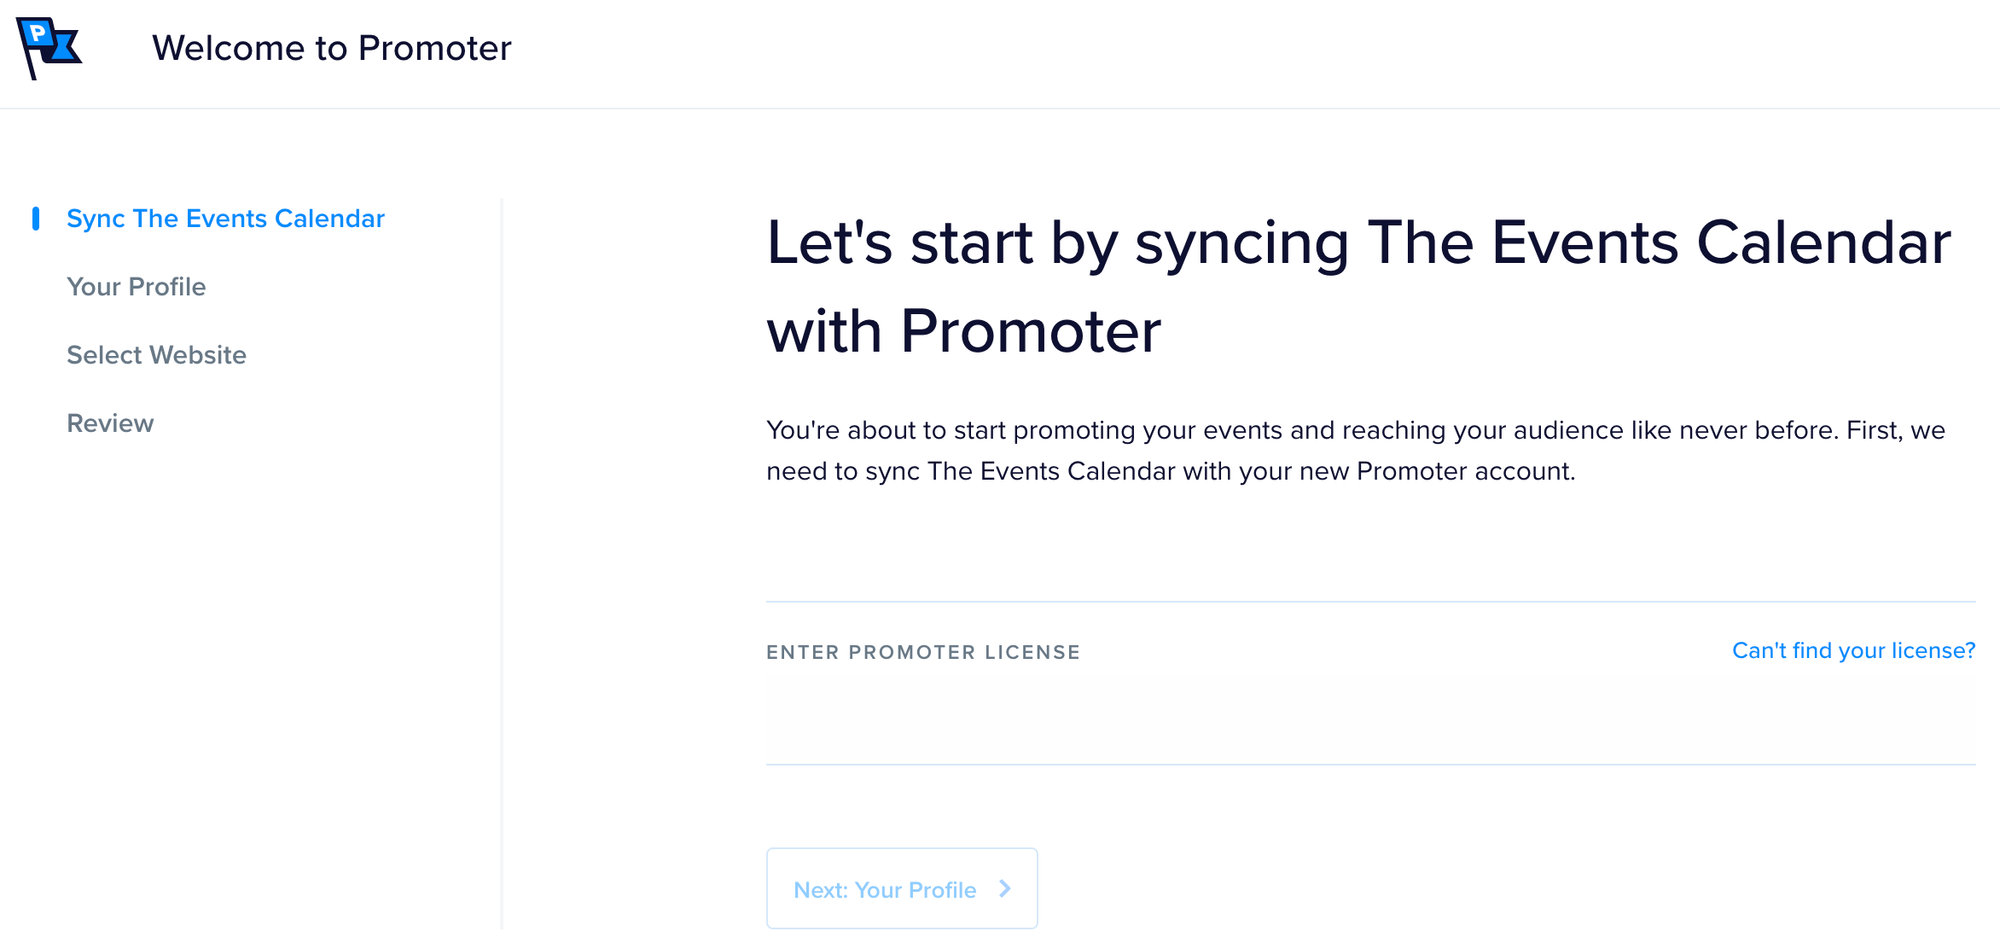
Step 1: Enter your license and click Next: Your Profile
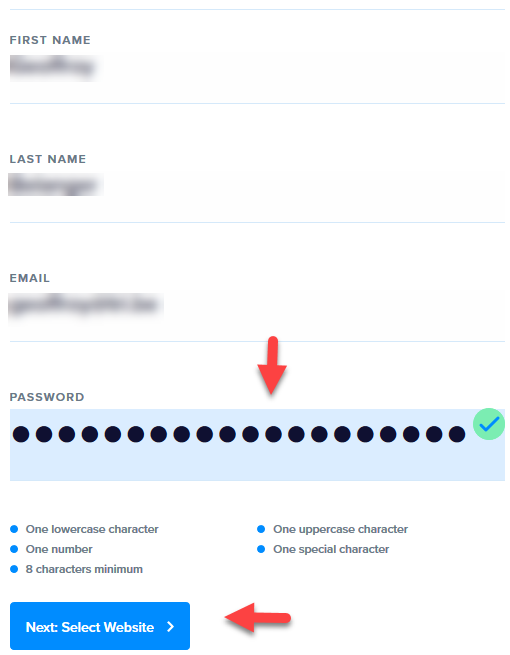
Review your account details and set a password for your Promoter account, then click Next: Select Website.
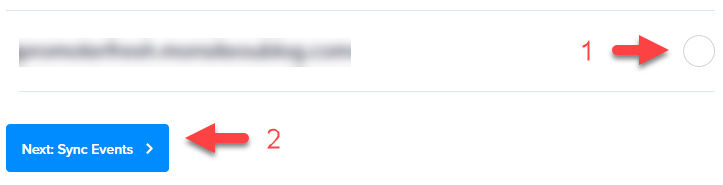
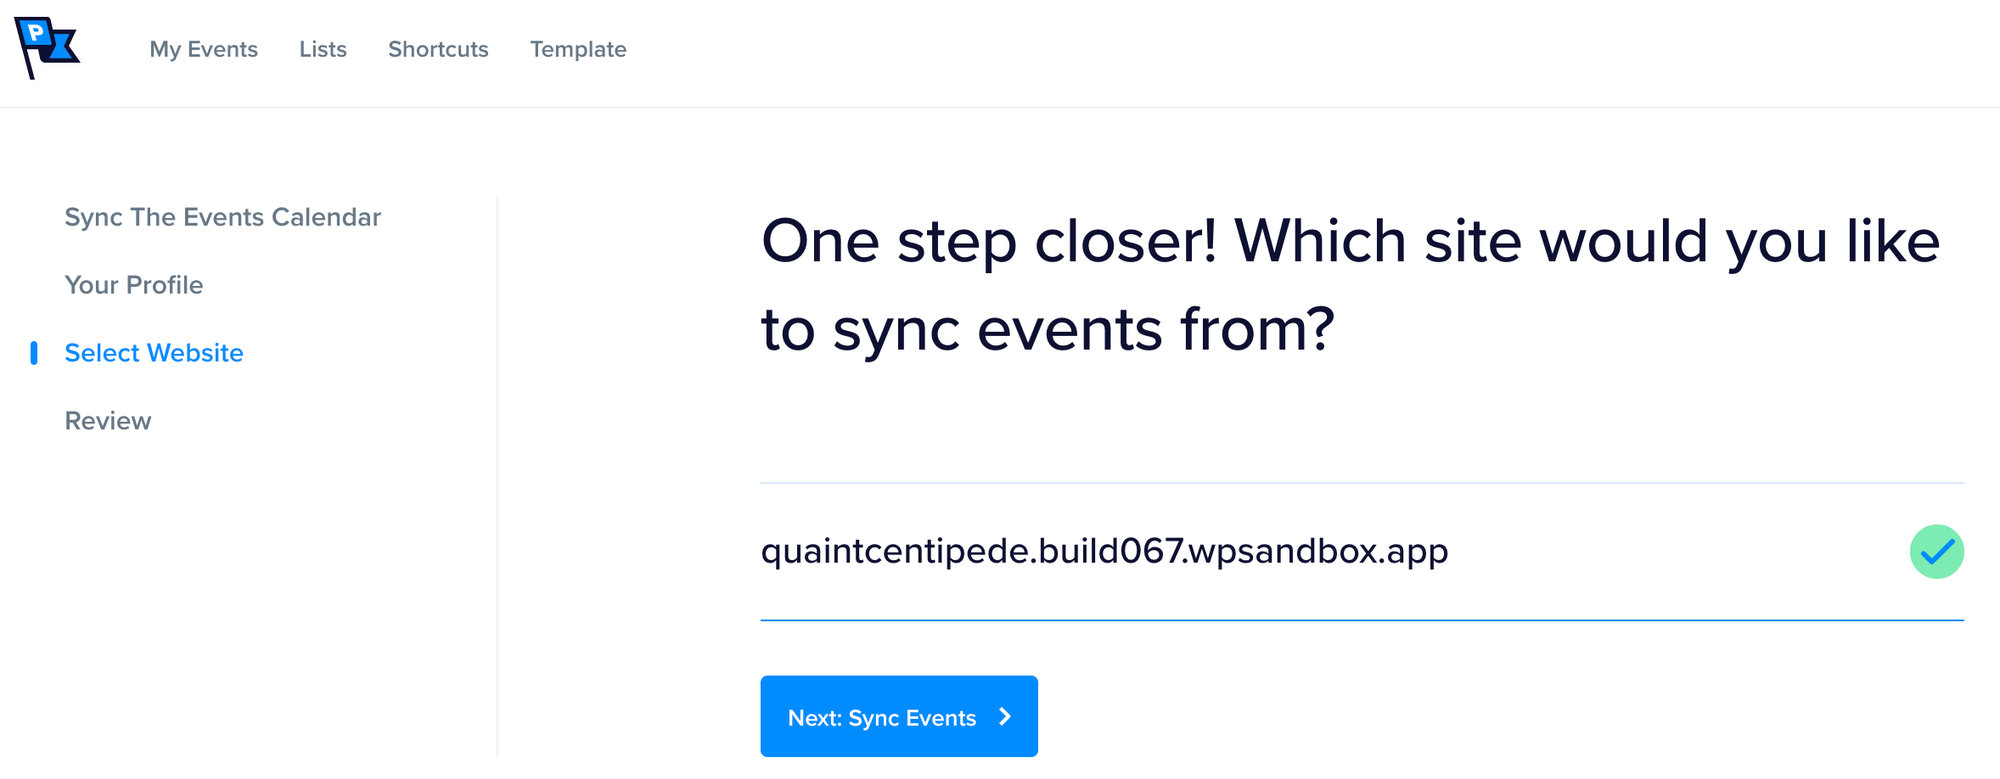
Step 2: Select your website
Choose the WordPress site you want to connect Promoter to, then click Next: Sync Events.
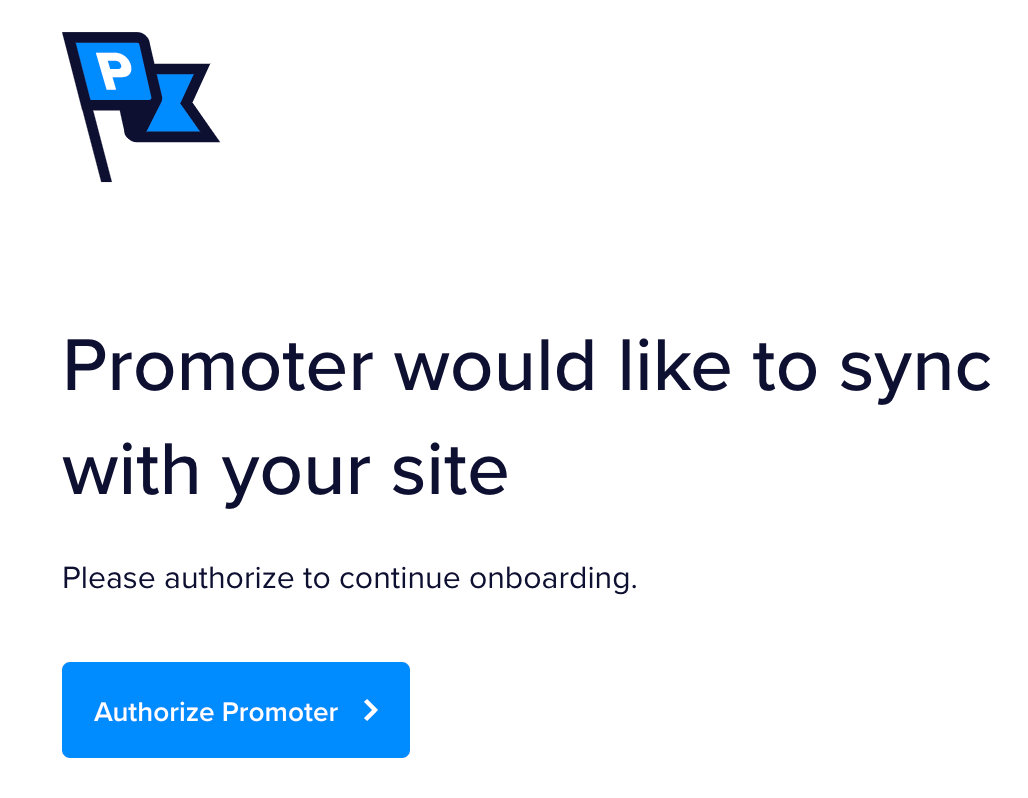
Step 3: Authorize Promoter
Click Authorize Promoter to grant Promoter access to your events and attendees on your WordPress site.

Step 4: Complete the sync
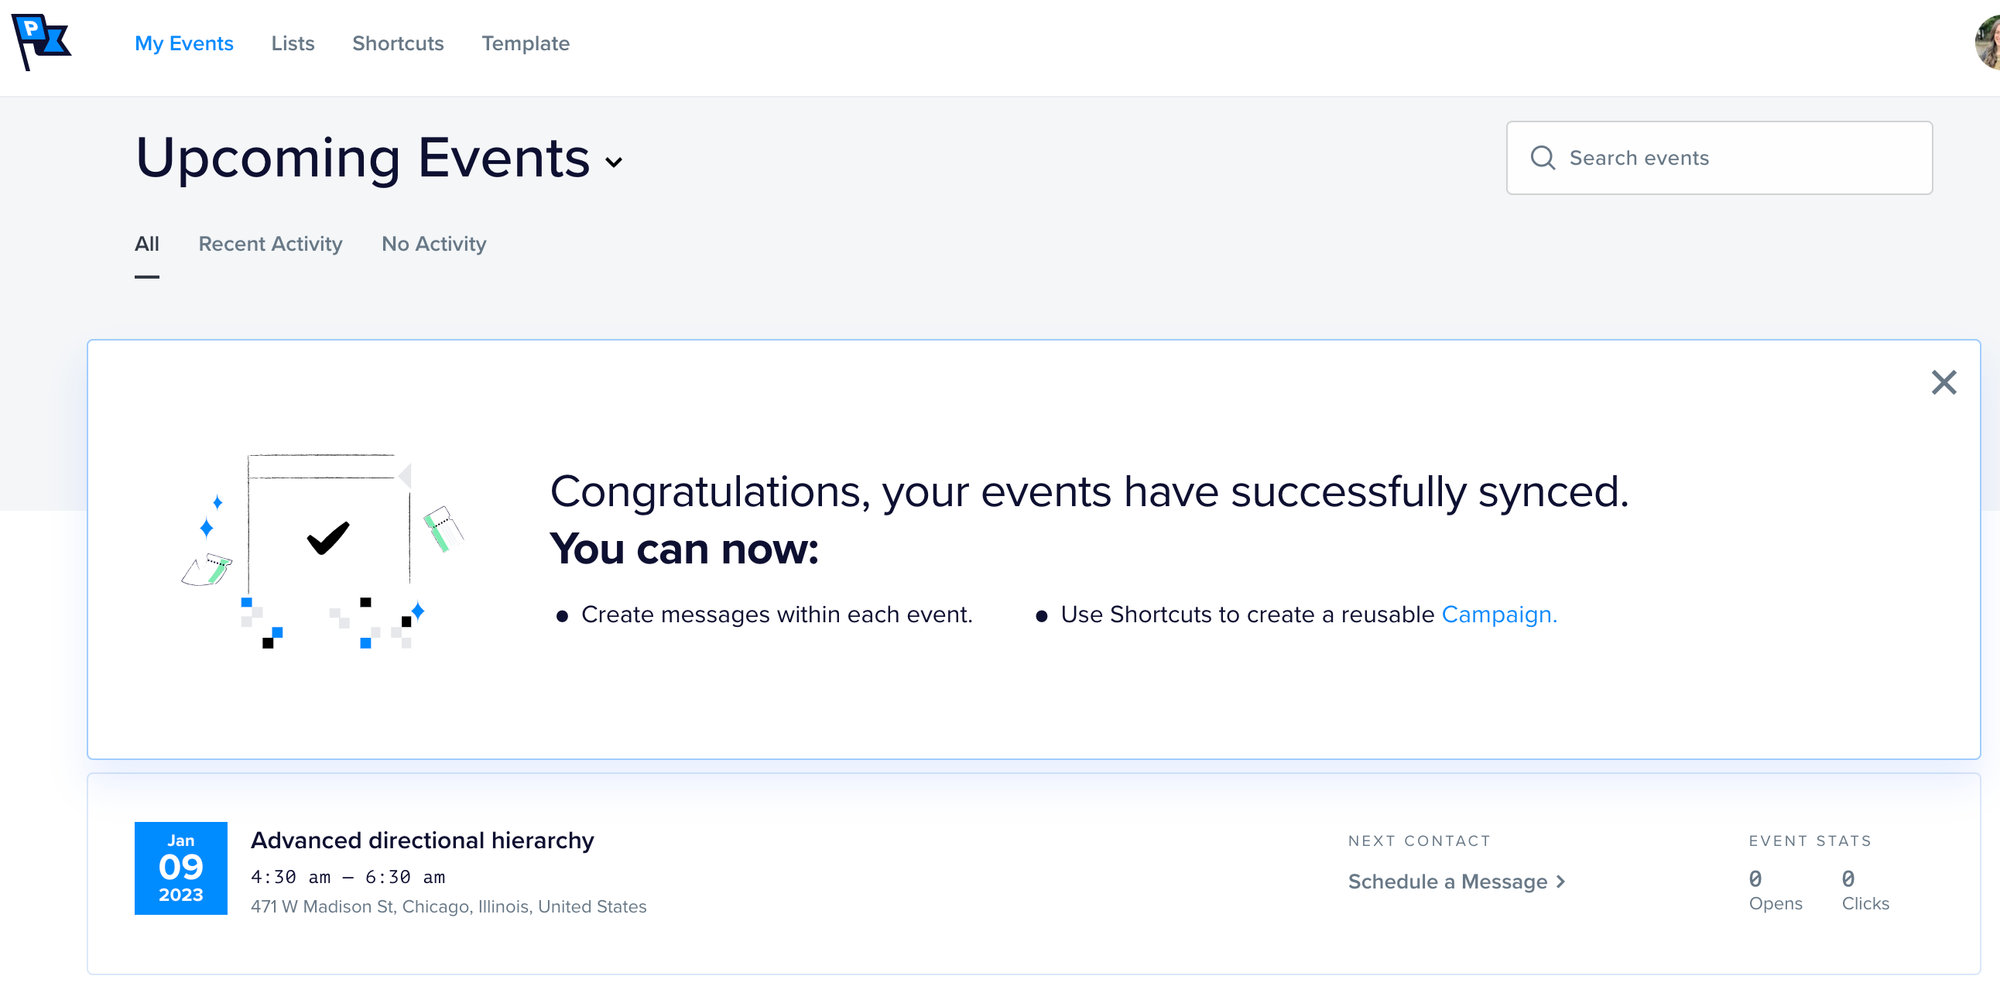
Click Complete Sync to kick off the initial import of your events.
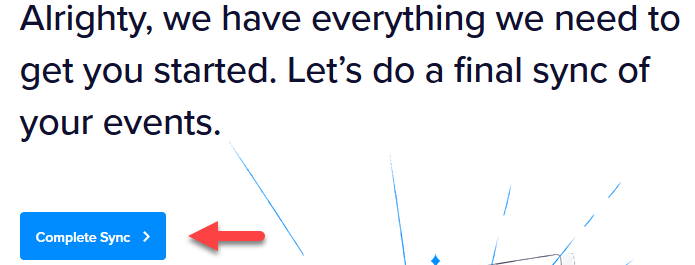
The import of your events will be scheduled — it may take a few minutes before they appear in Promoter.
Syncing with Multiple Websites
Each Promoter license can sync with one website. If you need to connect Promoter to additional sites, you will need to purchase a separate license for each one. Once you have additional licenses, follow these steps for each.
Verifying Your Domain for Mail Delivery
Domain verification is a required part of getting Promoter running correctly. Promoter sends bulk emails through Mailgun using a “from” address from your domain. Verifying your domain adds SPF and DKIM authentication to your outgoing emails, which is essential for reaching your subscribers’ inboxes rather than their spam folders. Skipping this step will almost certainly result in increased spam rates.
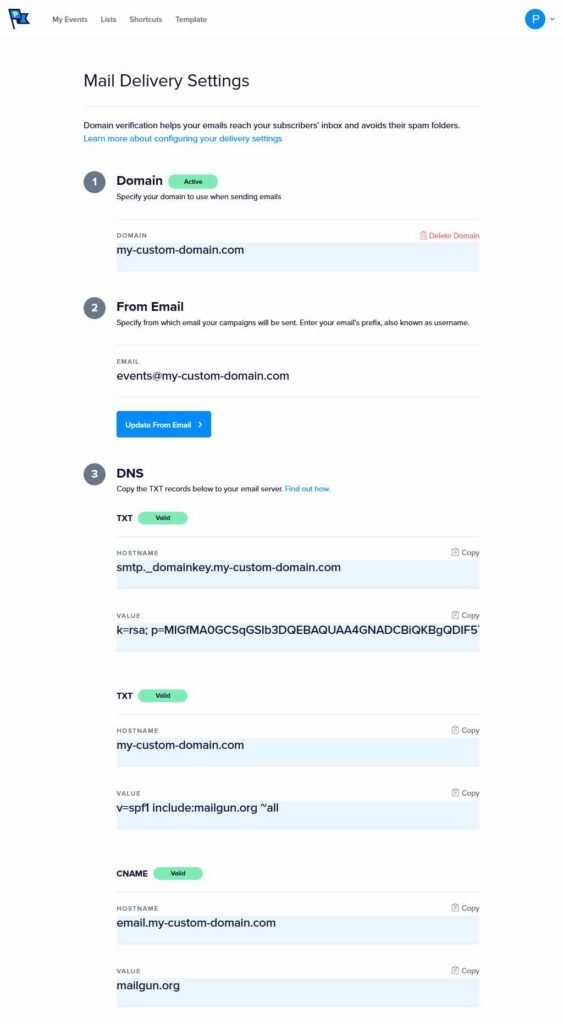
To access your Mail Delivery Settings, click the profile icon at the top right of the Promoter interface and select Mail Delivery Settings. When verification is complete, the page will look like this:
Verifying Your Domain
Domain verification requires three steps: adding your domain, entering your “from” email address, and creating DNS records at your domain host.
Step 1: Add your domain
Initially, the Mail Delivery Settings page will look like this:
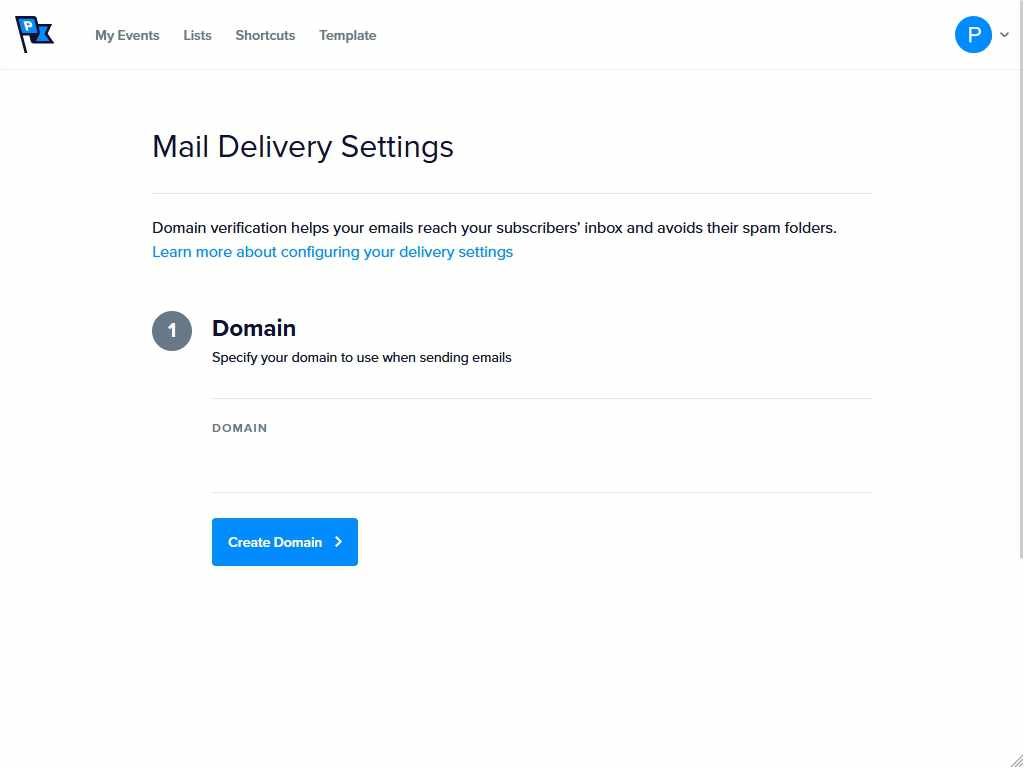
Enter your domain name in the Domain field and click Create Domain.
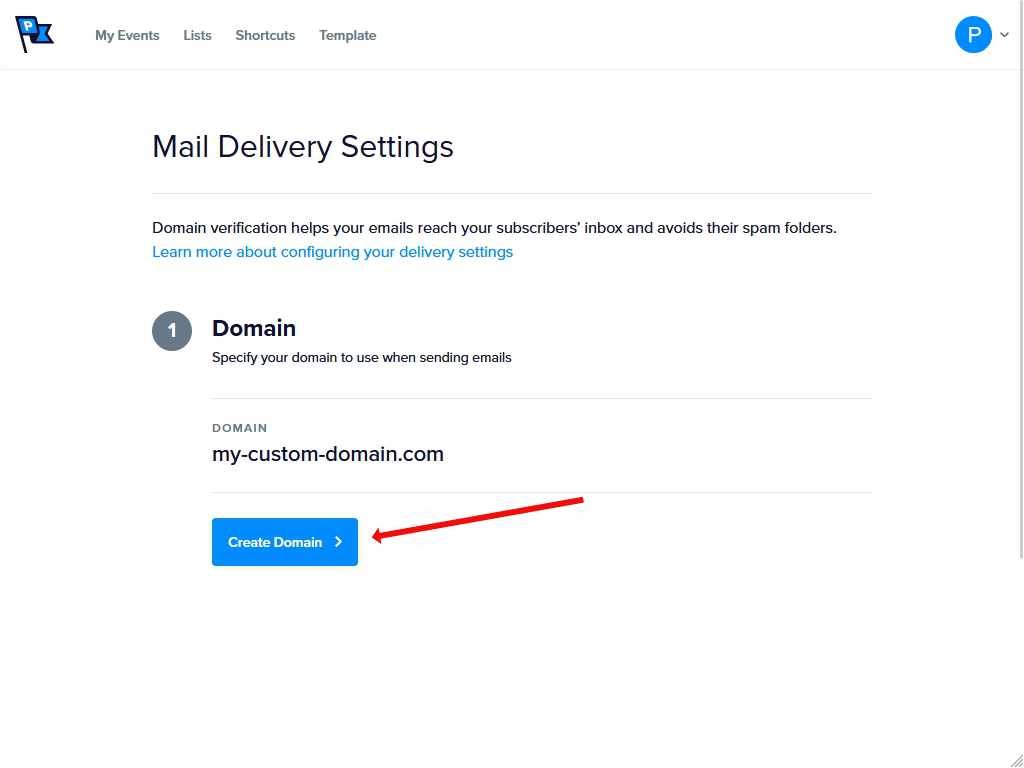
After clicking Create Domain, Steps 2 and 3 will appear below Step 1, with all fields pre-filled. The values in Step 3 will need to be copied into new DNS records at your domain host.
Step 2: Add your “from” email address
In the From Email field under Step 2, enter the email address that Promoter emails will be sent from.
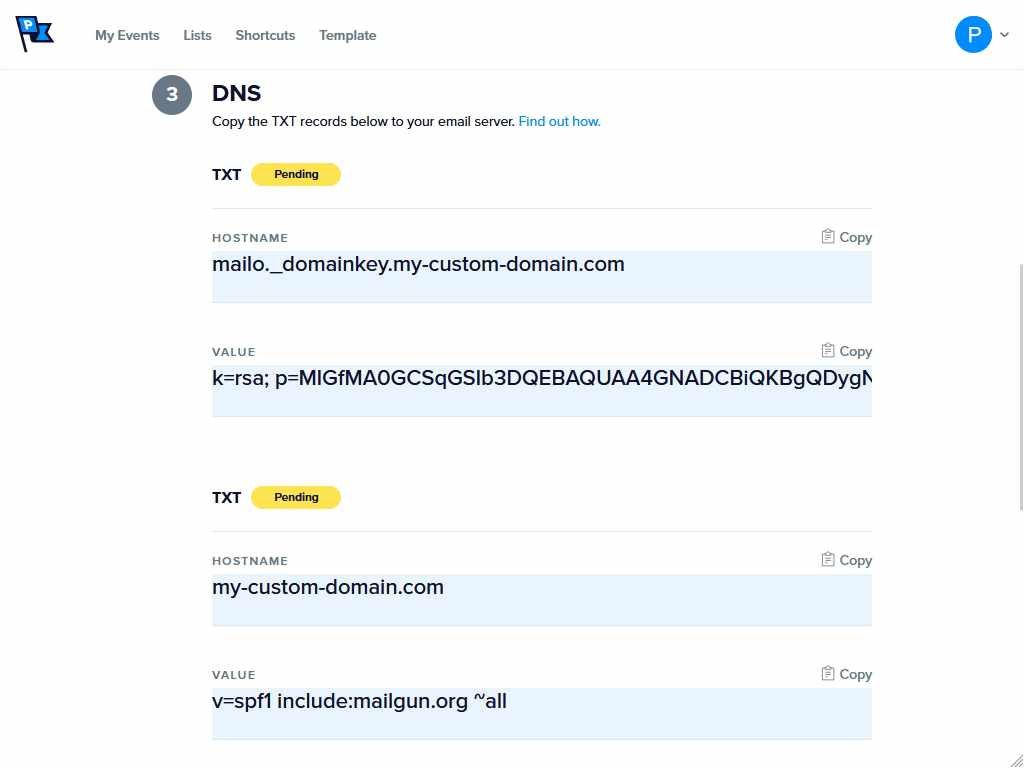
Step 3: Create the TXT records in your DNS
You will need to create two TXT records in your domain’s DNS settings. The hostname and value for each record are shown in the Step 3 fields — copy them exactly and paste them into new DNS records at your domain host.
A few minutes after adding the records, click the Verify DNS button. DNS propagation can take time, so you may need to click it several times while your changes propagate. Once verification is complete, the Verify DNS button will disappear and your domain will show as Active.
Here are guides for adding TXT records with common hosts:
If you run into trouble adding TXT or CNAME records, contact support for assistance.
Troubleshooting: Existing SPF or CNAME Conflicts
If your domain already has SPF or CNAME records that conflict with what Promoter requires, the verification process cannot override them. The workaround is to create a dedicated subdomain for Promoter.
For example, if your primary domain is example.com, create a subdomain such as promoter.example.com. Then remove the existing domain configuration from Promoter’s Mail Delivery Settings and restart the setup process using the new subdomain.
Troubleshooting: Records Still Showing as Pending
DNS propagation typically takes 24–48 hours, and in some cases up to 72 hours. If your records are still showing as pending after that window, try the following:
- Check for accuracy. Even minor issues — extra spaces, typos, or incorrect entries — can cause verification failures. Confirm the hostname and value fields match exactly what Promoter provided.
- Confirm with your DNS provider. Contact them to verify the records have been added correctly and are propagating. They can also check for any configuration issues on their end.
- Use a DNS lookup tool. Tools like MXToolbox or WhatsMyDNS let you check whether your TXT and CNAME records are visible across global DNS servers, which can help distinguish between a propagation delay and an incorrect entry.
Syncing Events
Promoter only syncs events from your WordPress site that meet both of these conditions:
- The event has at least one ticket associated with it.
- The event has at least one attendee.
Events that don’t have tickets or attendees will not appear in Promoter, even if they are published on your calendar.
After the initial sync triggered during account setup, Promoter automatically re-syncs events every 15 minutes.

Creating Email Campaigns
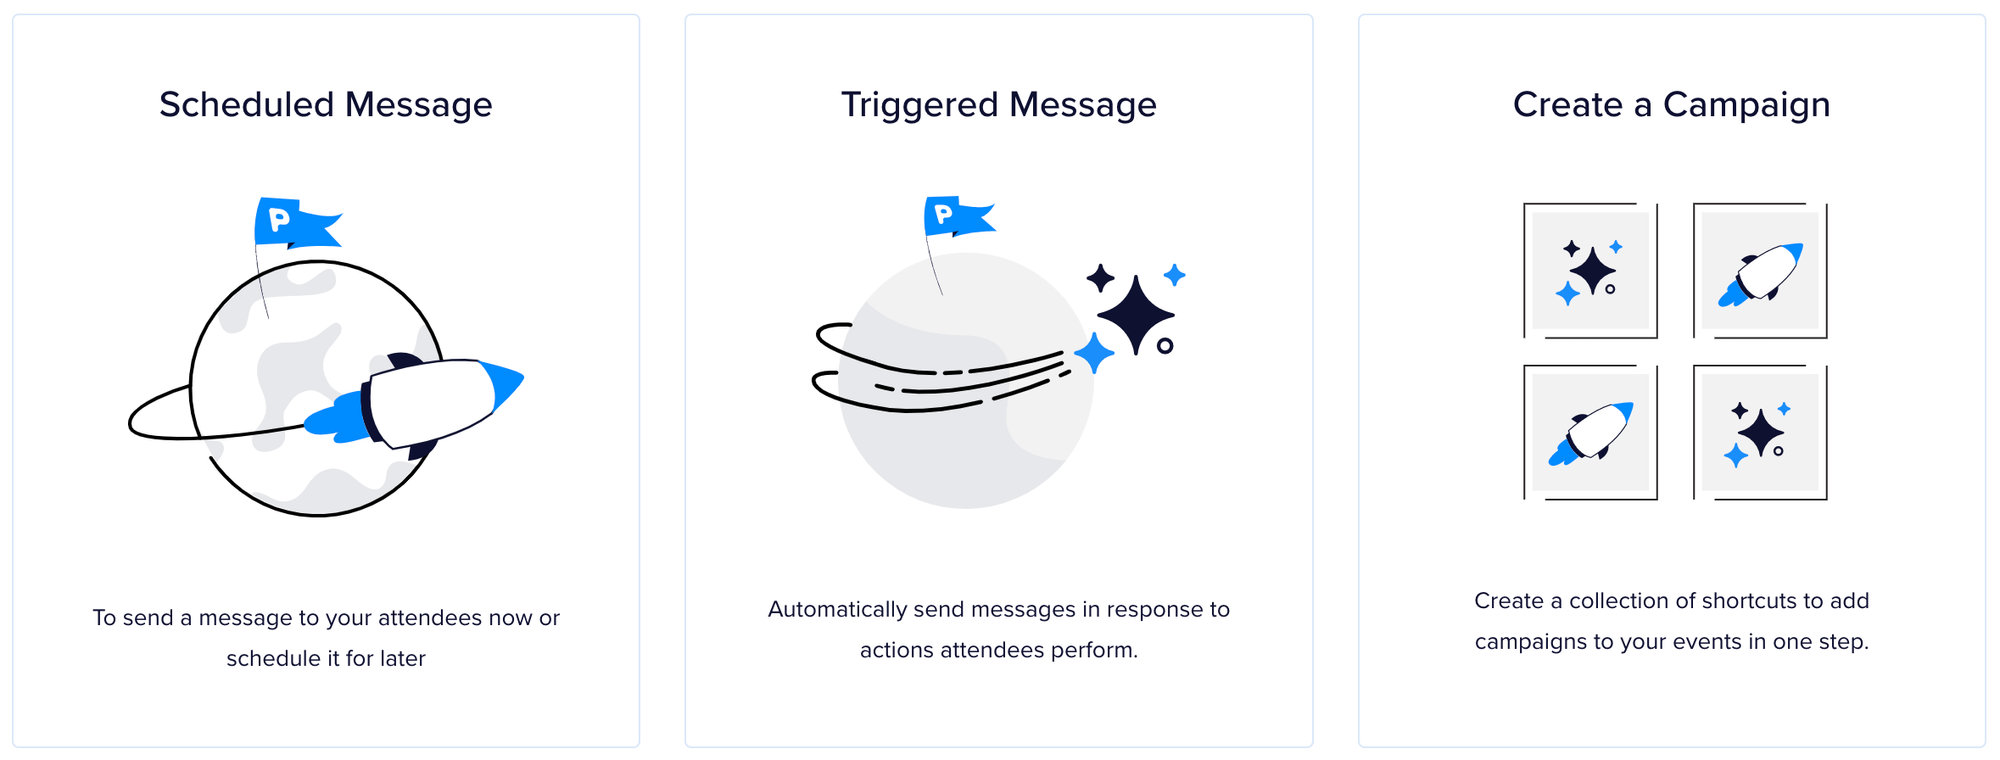
Once your events are synced, click on any event in Promoter to start creating emails. Each event offers three options:
- Scheduled Message — Send a message to your attendees immediately or schedule it for a specific date and time.
- Triggered Message — Automatically send a message based on an attendee action, such as purchasing a ticket or submitting an RSVP.
- Create a Campaign — Use a collection of pre-made shortcuts to quickly generate a full set of emails for your event, with recommended sending schedules already built in.