You may want to add ticket fees to your tickets created with Event Tickets and Event Tickets Plus. Although this feature isn’t quite available out of the box, we’ll show you how to set up a workaround so that you can charge your customers a flat-rate fee. It’s important to note that this feature is currently only available when using WooCommerce with Event Tickets Plus.
WooCommerce Settings
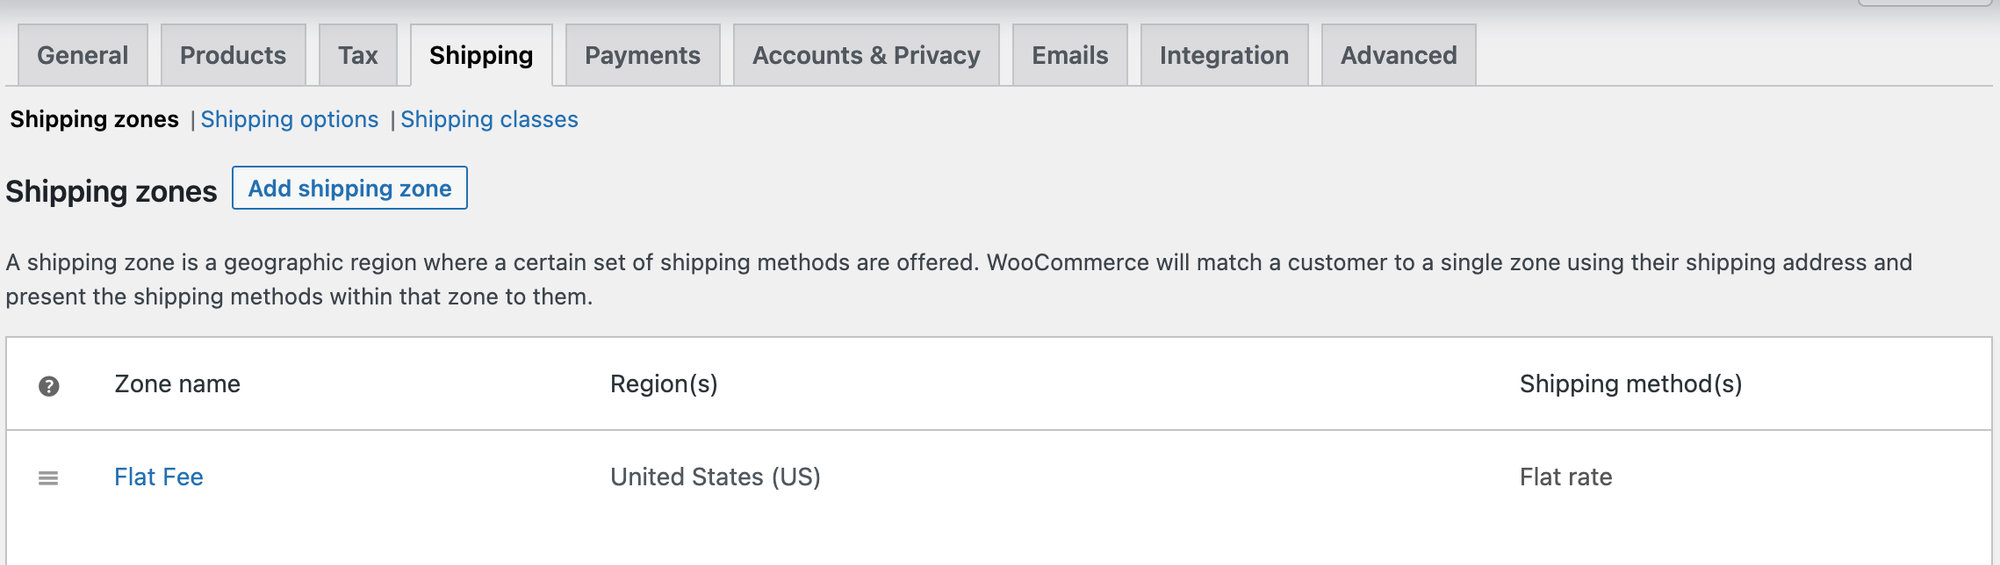
The first thing you’ll want to do is go to WooCommerce > Settings > Shipping. Even though you won’t be shipping a physical product to your ticket holders, tickets are stored in WooCommerce as products, and that is how you will be able to add the desired fee to the ticket. Select Add shipping zone.
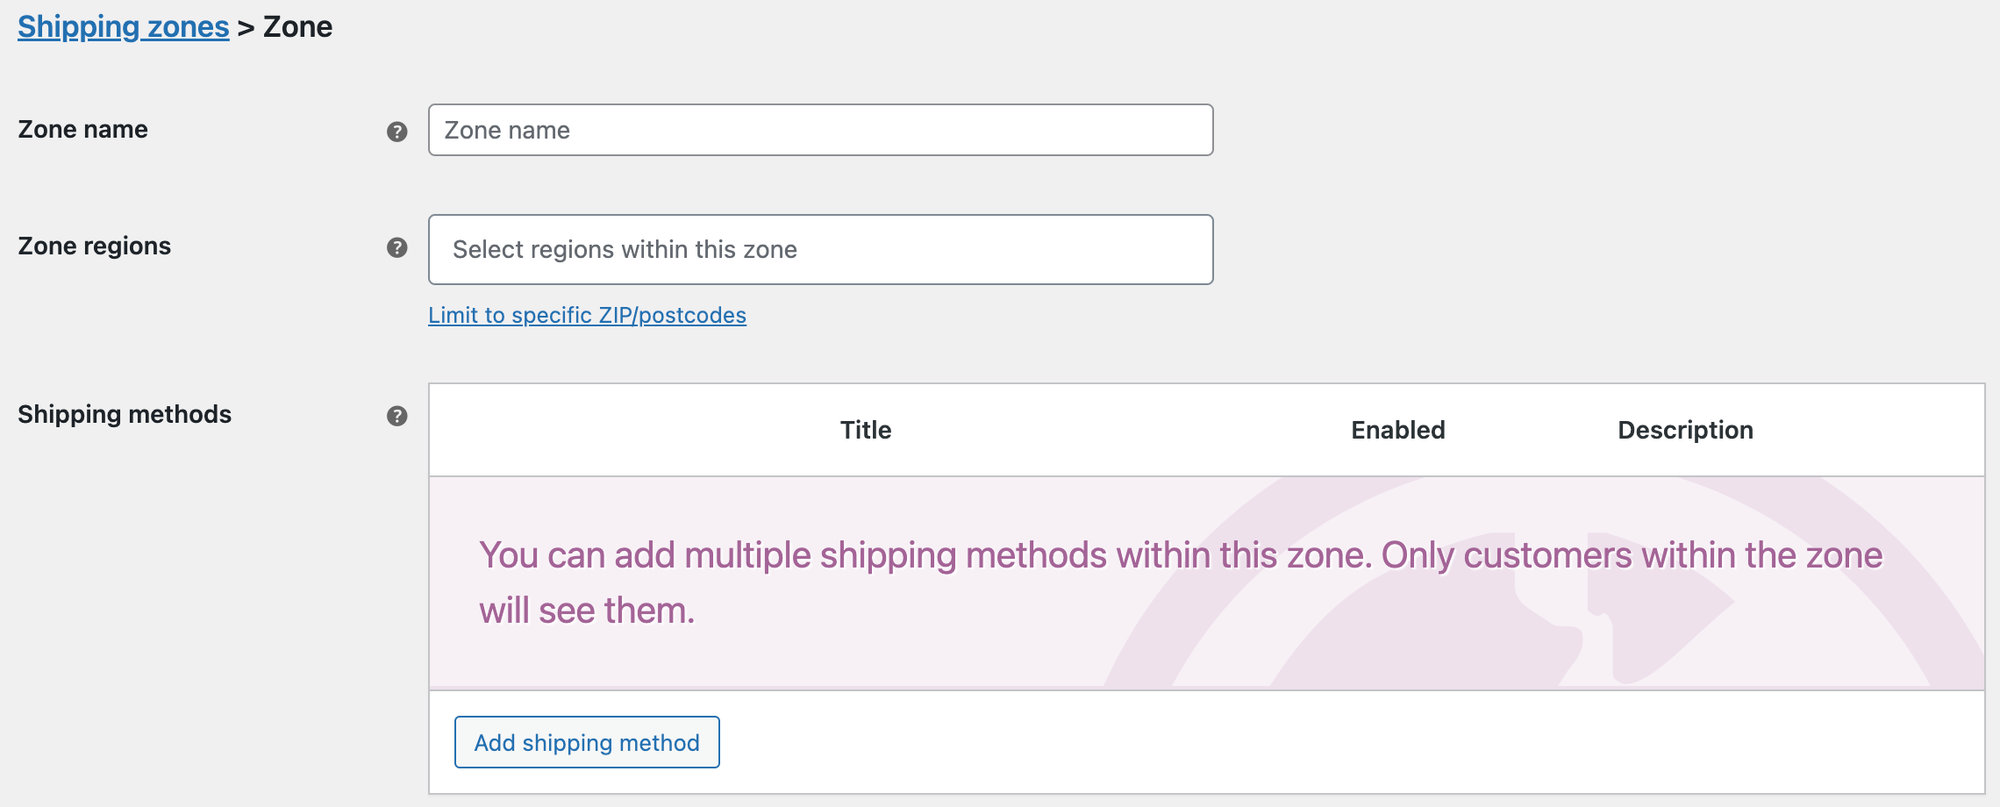
Give the zone a name like “Fees” and select Add shipping method.
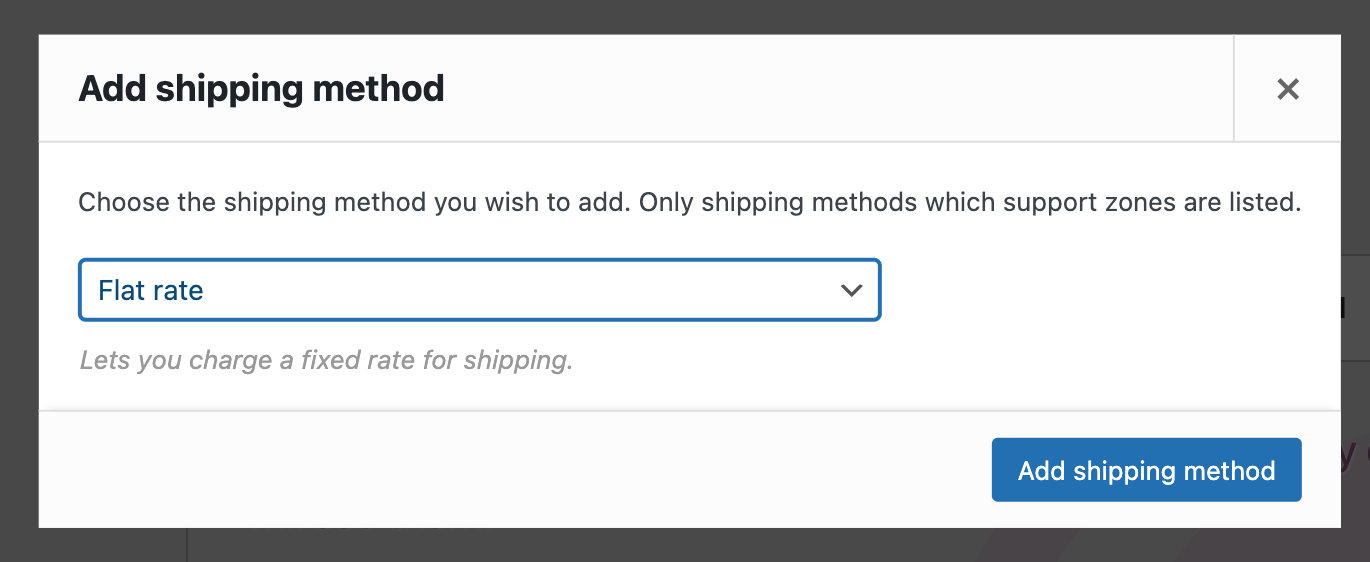
Choose Flat Rate and then Add shipping method.
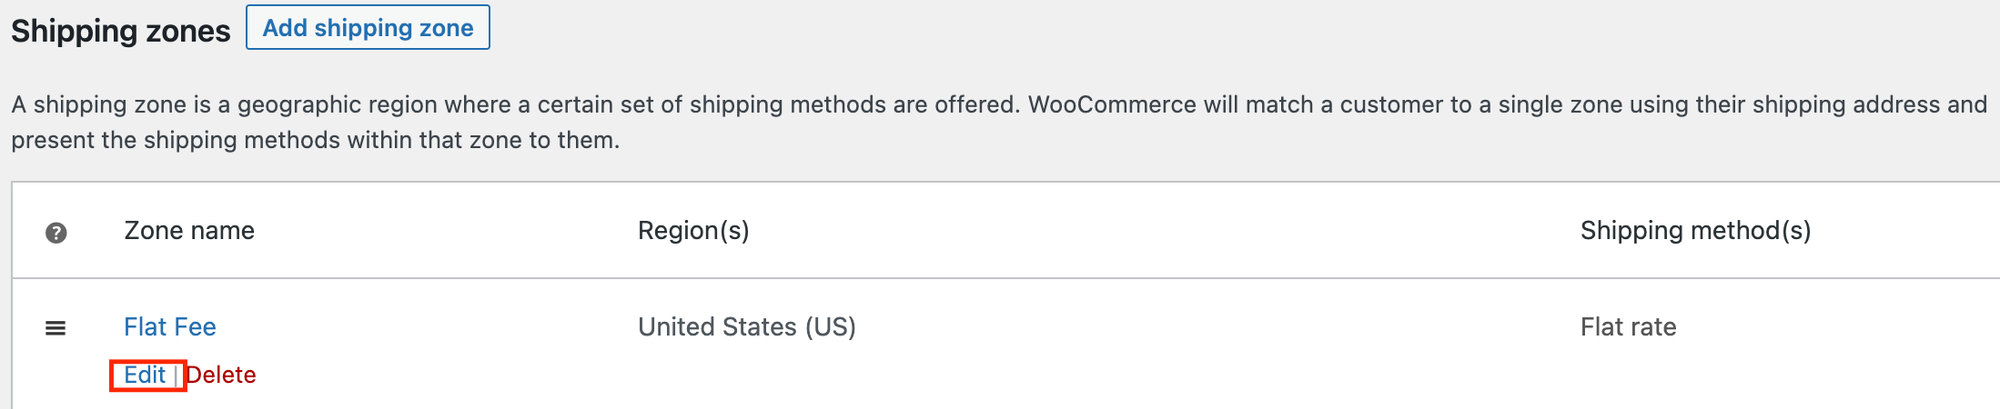
Go back to Shipping Zones, hover over your newly-added zone, and click Edit.
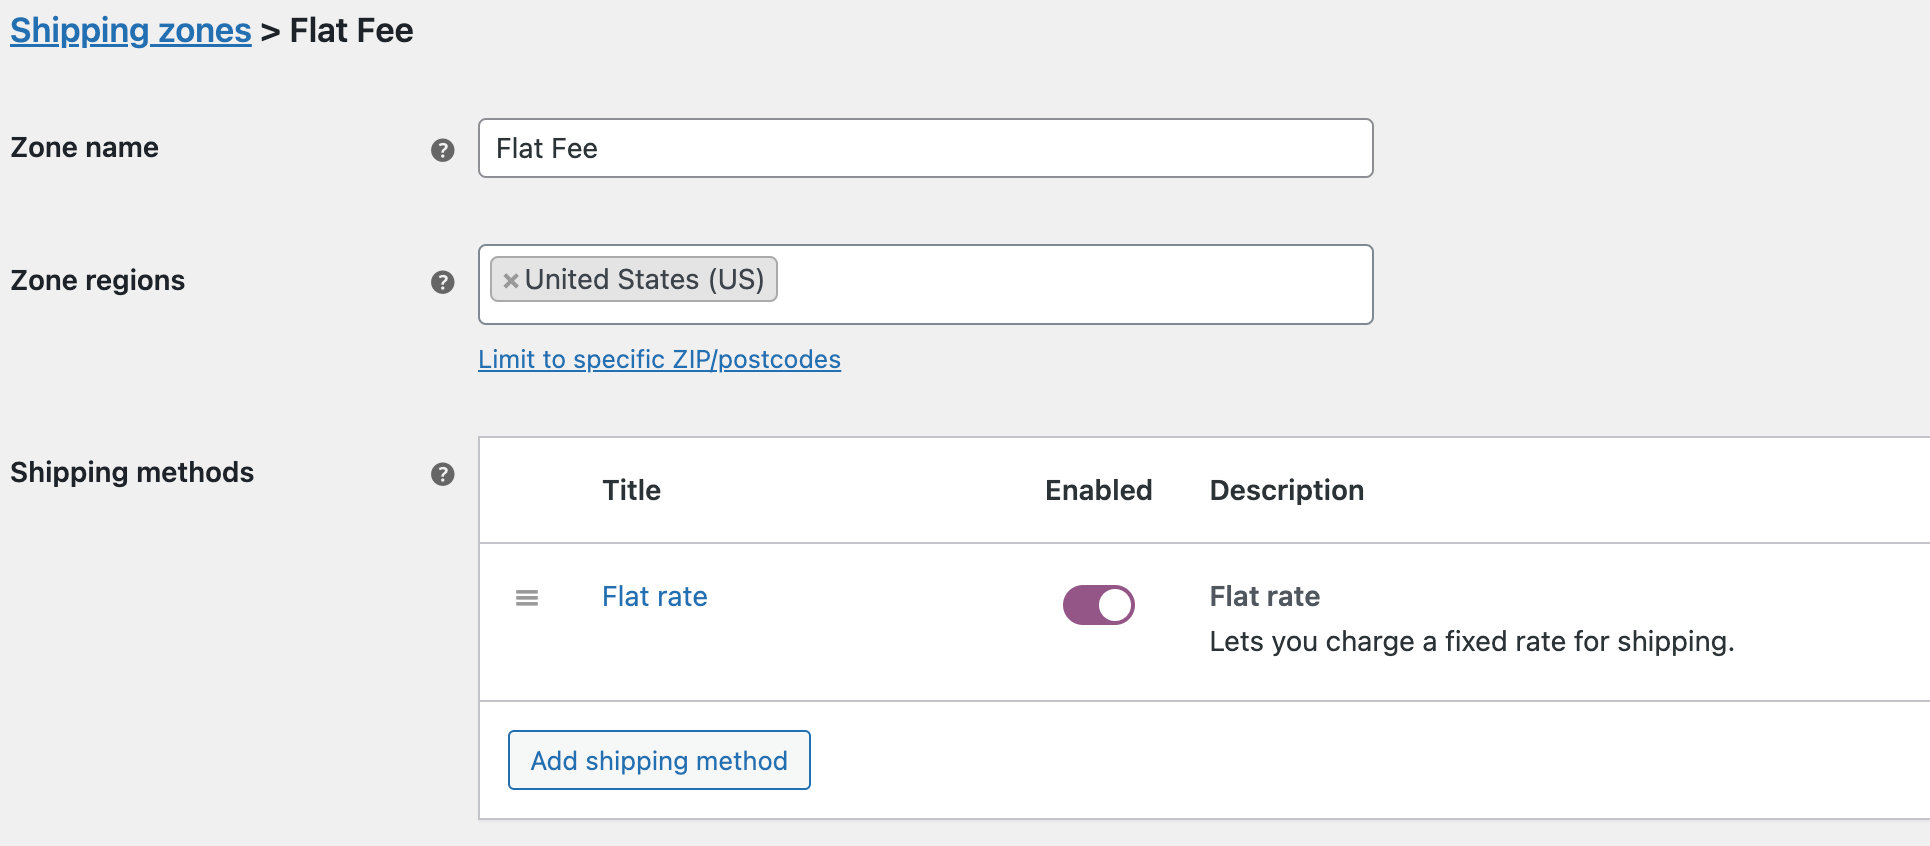
Now you can add your fee as a shipping method by clicking on Add Shipping Method.
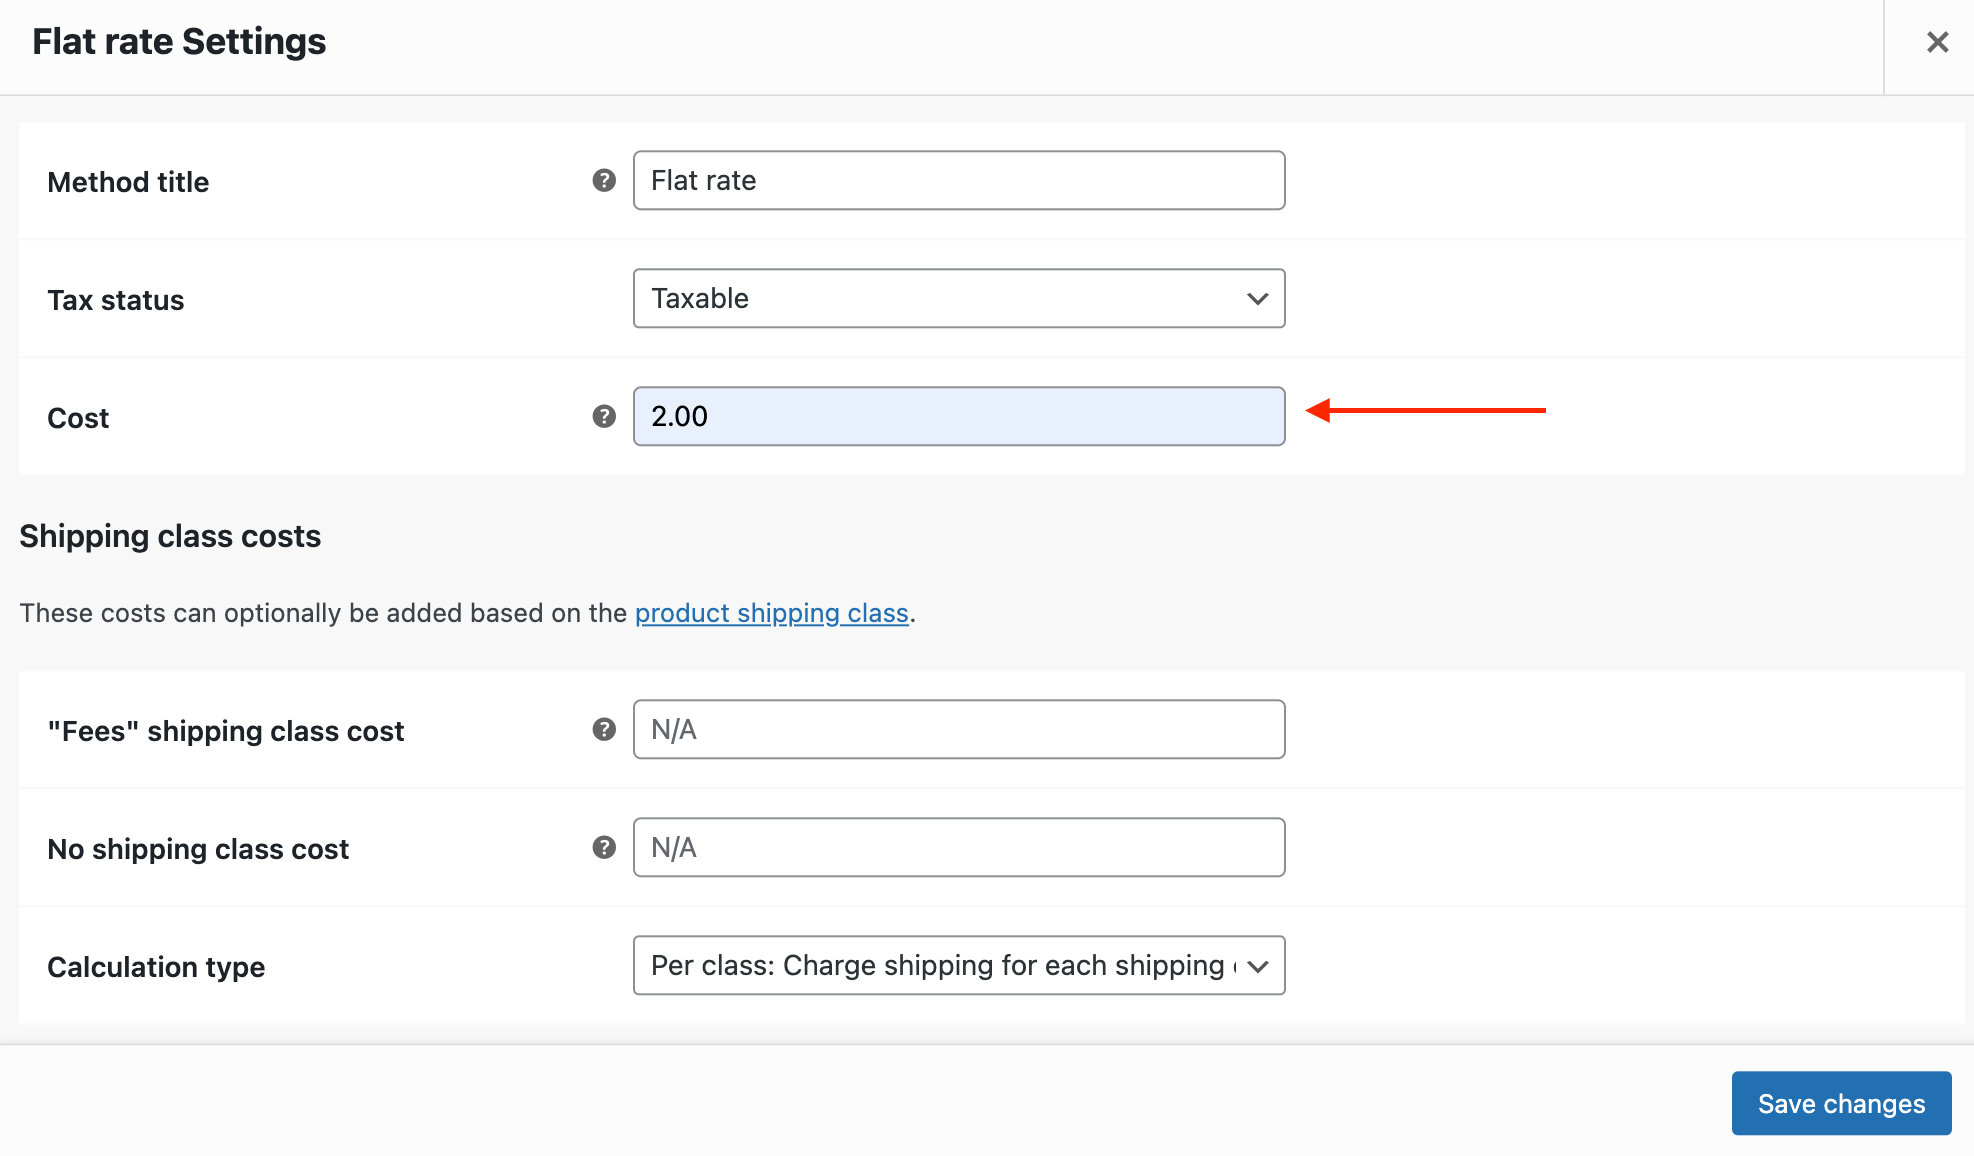
Hover over your title to see the Edit button. Once you click on it, you’ll find your settings pop up. This is where you can add your fee next to the Cost field and Save Changes.
Creating a ticket
If you haven’t already done so, you can now create a ticket as you usually would with Event Tickets and Event Tickets Plus.
WooCommerce product
As we mentioned, tickets are technically listed as WooCommerce products, so there is one final step in this process to ensure that your fee appears at checkout.
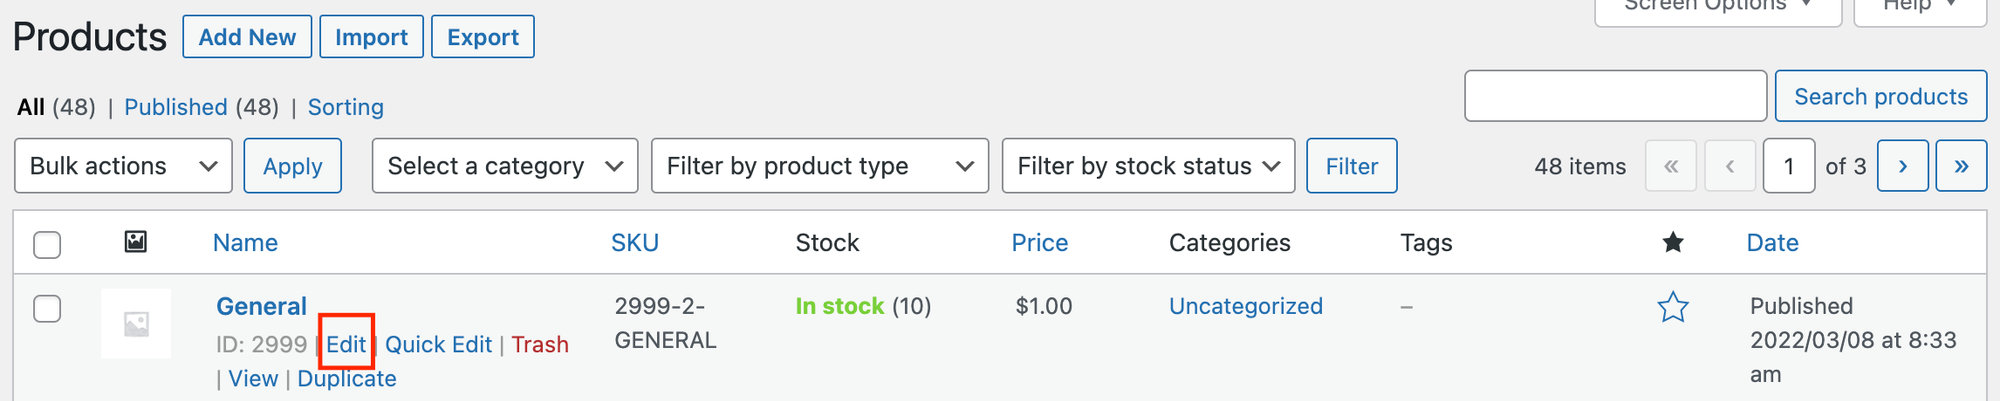
Head over to Products in your WordPress Dashboard, locate the ticket name you’d like to enable the fee and click Edit.
Scroll down to Product Data, uncheck the Virtual option and click Update in the top right sidebar. We know that you are not selling a physical product; however, this is the only way that WooCommerce knows to add that “shipping” fee.
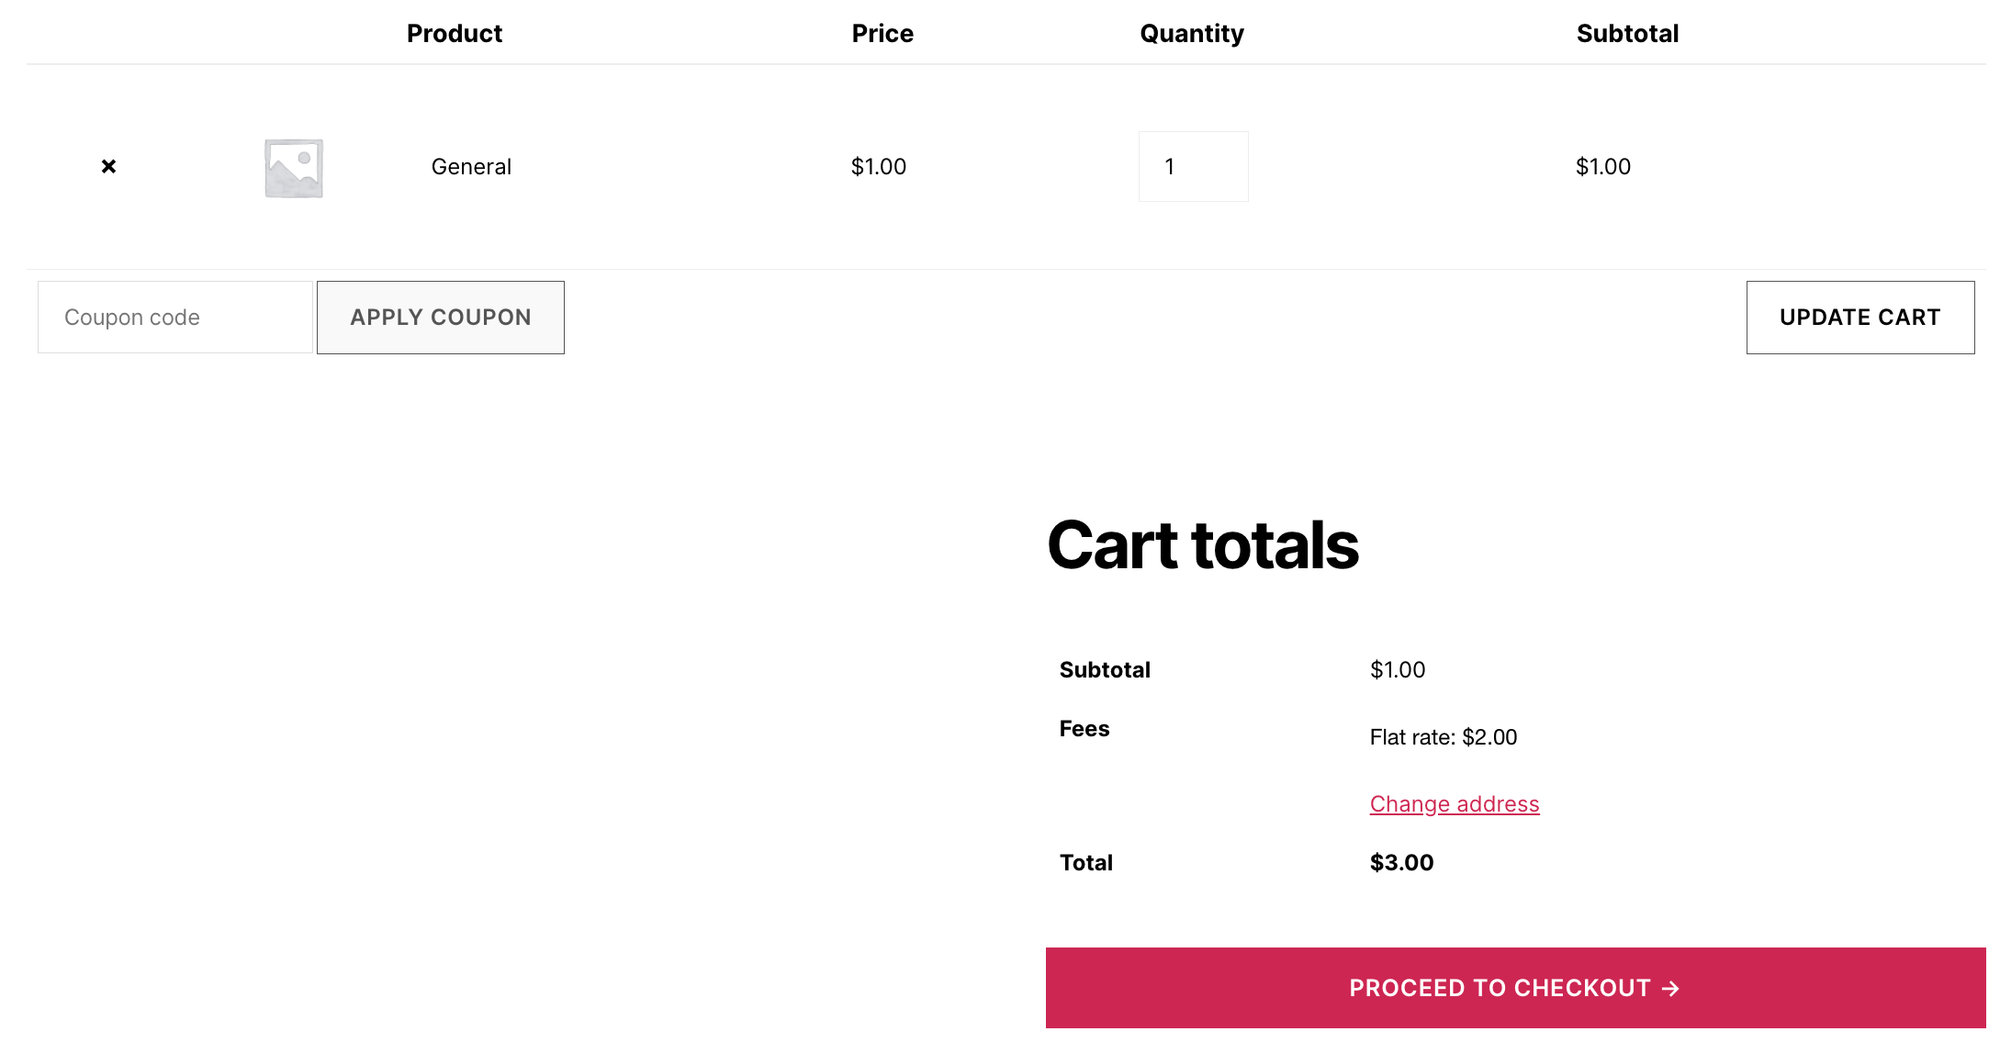
And that’s it! Now at checkout, you’ll see the fee added to your tickets.
Further customizations
From here, you can hide the address listed under fees if you prefer (since you won’t be shipping anything) by adding the following CSS snippet to your theme’s stylesheet:
p.woocommerce-shipping-destination {
  display:none;
}
You can also change the word “Shipping” to something like “Fees” by adding the following snippet to your theme’s functions.php file:
add_filter('woocommerce_shipping_package_name', 'change_shipping_text_to_delivery', 20, 3 );
function change_shipping_text_to_delivery( $sprintf, $i, $package ) {
    $sprintf = sprintf( _nx( 'Fees', 'Fees %d', ( $i + 1 ), 'delivery packages', 'woocommerce' ), ( $i + 1 ) );
    return $sprintf;
}
In the end, your checkout page will look something like this: