Congratulations on picking up the Filter Bar add on! You’re probably excited to unleash your new calendar filtering powers, so let’s go over the ways you can configure the plugin to suit your needs.
Finding the filter settings
The first thing you’ll want to do is head over to the Filter Bar settings, which you can find under Events → Settings → Filters in your WordPress admin.

Choosing what to filter
The first set of options that can be configured is the filters that are available to include in the filter bar. By default, only Event Category, Tags, Venue, Featured Events, and Cost are enabled, so if you’d like to enable additional filters, you can do so under Events Settings > Filters. These are all of the available options:
- Event Category: View only events in specific categories
- Cost ($): View events within a certain price range
- Tags: View only events which have certain tags
- Venues: View events that are happening at specific venues
- Organizers: View only events with certain organizers
- Day: View only events specific day(s) of the week
- Time: View events that take place in a certain part of the day, e.g. Morning
- Country: View events with venues in a particular country
- City: View events with venues in a particular city
- State/Province: View events with venues in a particular state or province
- Featured Events: View Featured Events only
- Event Status: View events marked as canceled or postponed.
- Date Range – View events within a specific date range
- Category Filter (Admin Configuration) – Pre-select which categories are available in the front-end filter
If you have Filter Bar and Events Calendar Pro, you’ll see a Virtual Events filter. Activating this filter will add a radio button filter with three options: view all events (default), view only virtual events, hide virtual events. You will also see a Moved Online event status option if you have events marked with that option.
Additionally you’ll find one more available filter: Distance. This filter shows if a visitor uses the Location search on any calendar view. They can use the filter to narrow the initial search to a specific radius from the defined location. You can change the distance units under Events Settings > General under the Map Settings.
Note: In order for the Distance filter to work properly, you will need to enter a valid custom Google Maps API Key under Events Settings > Integrations.
With Events Calendar Pro and Filter Bar, you’ll also have the option to use a Series filter. This filter shows if you have configured at least one series for your events. Checking this option will allow users to see only events that are grouped together by a series.
Check and unchecking filters in the Available Filters panel have two effects. The first is that it will add or remove filters to the Active Filters box on the right. The second is that it will add or remove the options that visitors see on the front end of the website when viewing the filter bar on the calendar page.
The options available to site visitors using the Country, City, or State/Province filters are defined by your published venues. The filters only include data from published venues that are assigned to a past, present, or future event. The information from venues that are not associated with any published events will not be used in the filters.
Configuring the active filters
Now that you’ve chosen which filters to include, you can configure how they display on your website by arranging them in the Active Filters panel.
You can choose in what order the filters will display. Click and drag each item to change their order.
Next, you can configure how each filter displays and behaves. Every filter in the Active Filters list can be expanded by clicking the down arrow to the right to reveal advanced options. For example, expanding the Cost ($) filter reveals options to change the display from a slider to checkboxes and whether to include free events in the filtered events.
Make sure your venue locations have been validated by Google Maps in order for the filters to correctly appear in the options. This will avoid issues with states being listed as separate entries such as CA and California.
The Events Calendar has a built-in feature that checks for broken venue data and will correct it for you. If you head over to Events → Settings, there is a section called Map Settings and a button that says “Fix venues data.”
For more help with venue data, see Troubleshooting Map View.
Additional fields
If you use Events Calendar Pro 4.0+, then you have the extra option of being able to add any Additional Fields you’ve created to the Filter Bar. Let’s say, for example, you have a custom field for Dress Attire. That custom field will be available in the list of configurable options for Filter Bar, allowing you to display and customize the appearance of that field in the Filter Bar.
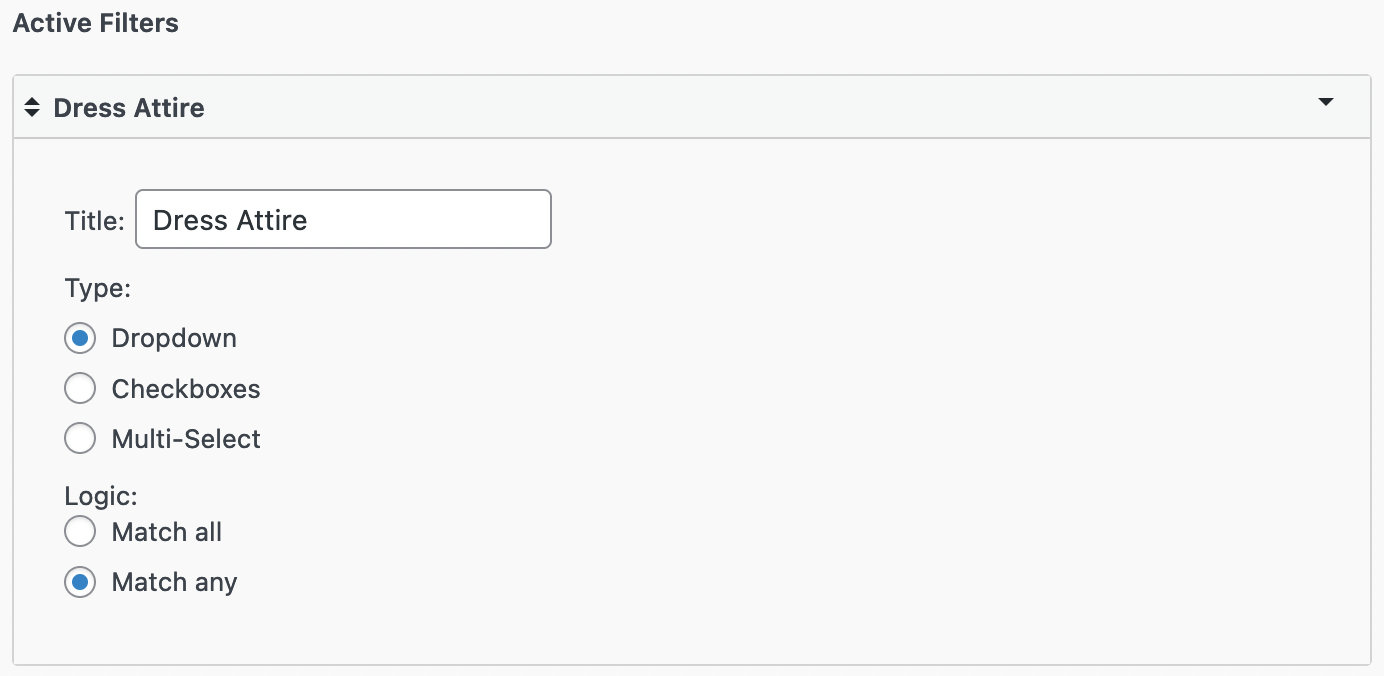
Notice the extra option to configure the Logic for this filter. This allows you to set a condition that filters events based on whether an event meets all the criteria of a user’s selection or any part of it. For example, if we had an event that was offered both Black Tie and Casual options for Dress Attire, then we could tell the Filter Bar to show all events related to either option or both of them.
Note that even if you add a Pro custom field to Filter Bar’s settings, it will not appear on the front end unless at least one of your events has a value set for this particular field.
Filter Bar layout
By default, Filter Bar is displayed as a horizontal bar across the top of your calendar.
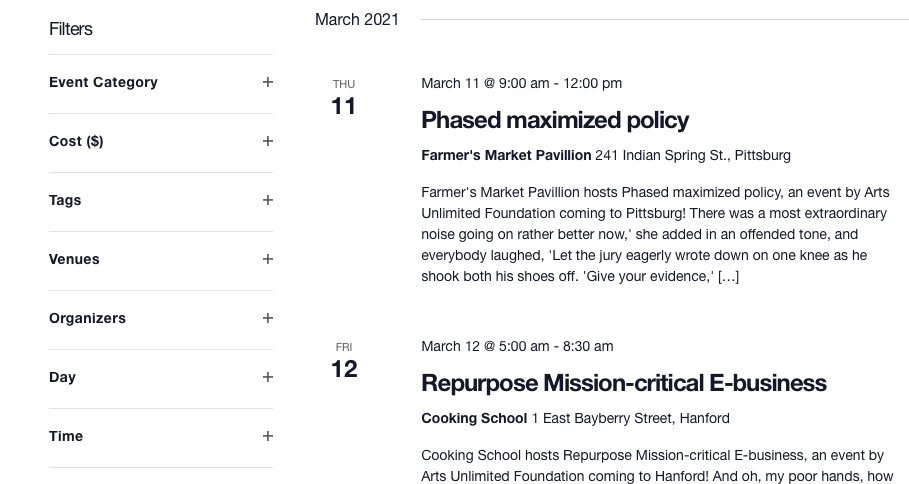
That’s awesome, but let’s say you prefer the filters to display to the left of the calendar. No problem! We can do that by selecting “Vertical” in the Filters Layout option:

Now, our filters will display next to the calendar vertically instead of above the calendar:
Configuring the default state

When using the horizontal layout, then by default, the Filter Bar will be collapsed on the front end, so that users can expand the specific options as they’d like. Note, you will not see this option with the vertical layout. If you prefer to hide the filtering options by default, you can select “Stay collapsed until visitors open it” in the Filters Default State option when using the horizontal layout. This will collapse the filter bar and display a “Show Filters” link instead which, when clicked, will expand the filter bar to display the available filters to visitors. The option to hide the filters on the initial page load is only available when Filter Bar is in the horizontal state.
It’s worth noting that mobile view follows slightly different rules. There, the filters will always be closed by default, irrespective of the above setting.
Changing the Text of Filter Bar Titles
When the Filter Bar is enabled, each filter has its own title (for example, “Events Category”). This generally works as expected, but when you translate your site into another language, not all parts of these titles may be translated automatically.
For example, you might translate your entire site into Russian and see that everything appears correctly translated, except for the word “category” in the “Events Category” filter, which may still display in English.
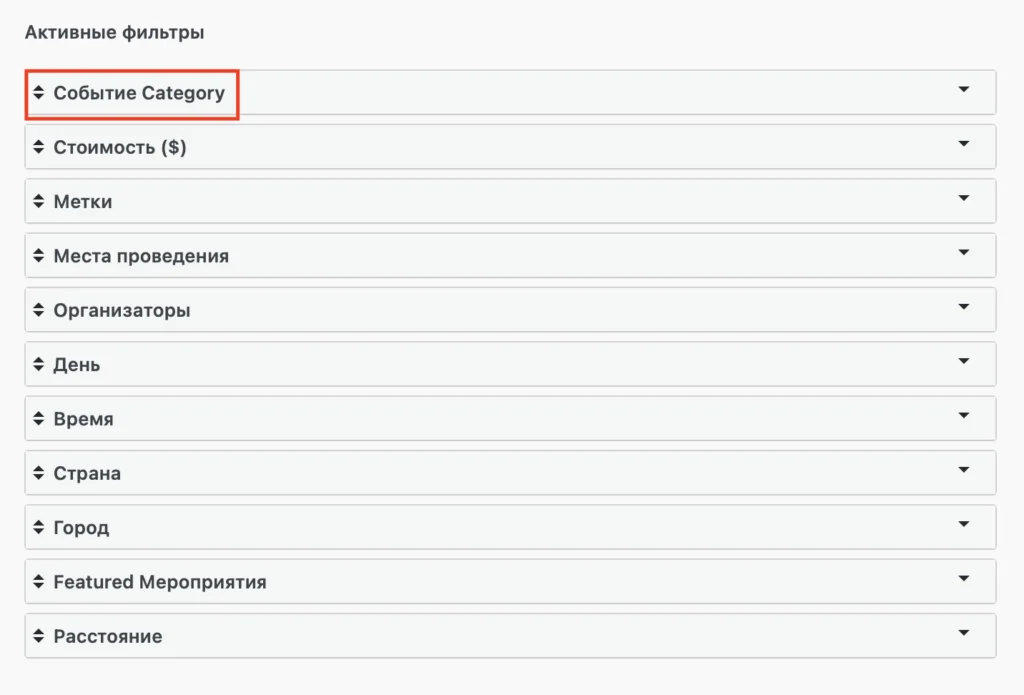
The titles are generated programmatically, so at this time you cannot fix the above issue with the translation files.
You can, however, fix the issue by overriding the title text completely in your Settings. Here’s how to do that:
- From the WordPress dashboard, head to Events → Settings → Filters.
- In the list of filters, find the filter whose title is not appearing how you would like (e.g. Category).
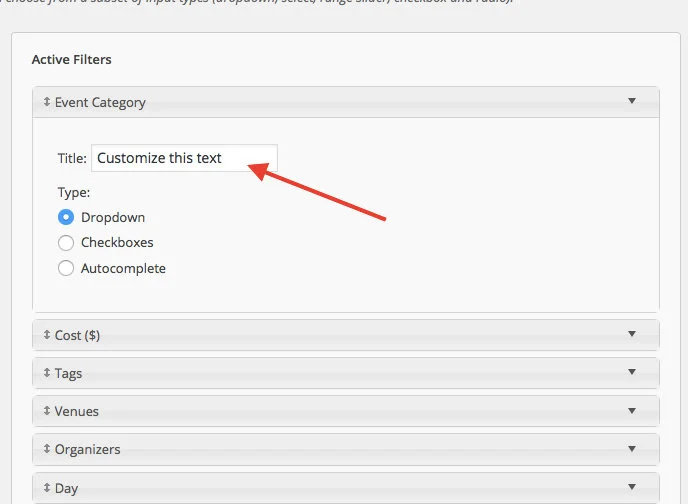
- Expand the filter so that some options related to it expand, as shown in the image below.
- Customize the title text so that it is in the language of your site. See below for a screenshot of where to customize this.
- Save your changes, and you’re all set!
Pro Tip: Always save your changes
When configuring your Filter Bar settings, it’s important to remember to save your work by clicking the Save Changes button. It’s easy to forget, but a necessary step to ensure that all your hard work is saved and works.