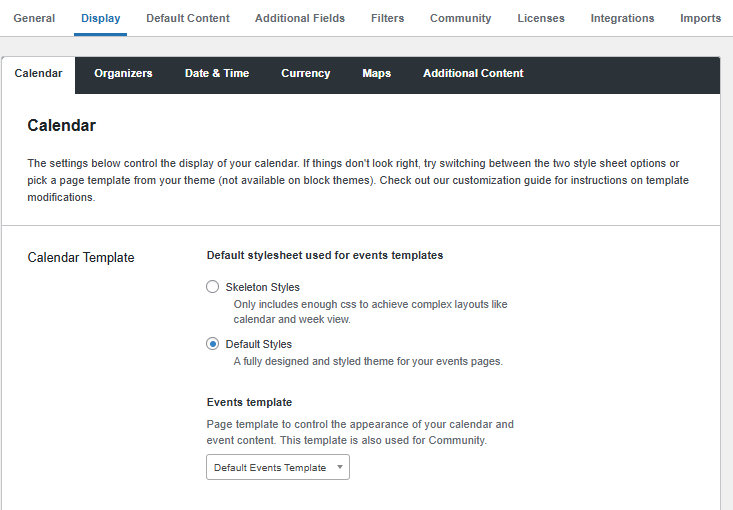
This article covers all settings found under Events → Settings → Display that relate to how calendar pages are structured, styled, and what additional content appears around them. Navigate there to access the settings described below.
Default Stylesheet
Found at: Events → Settings → Display → Calendar → Calendar Template
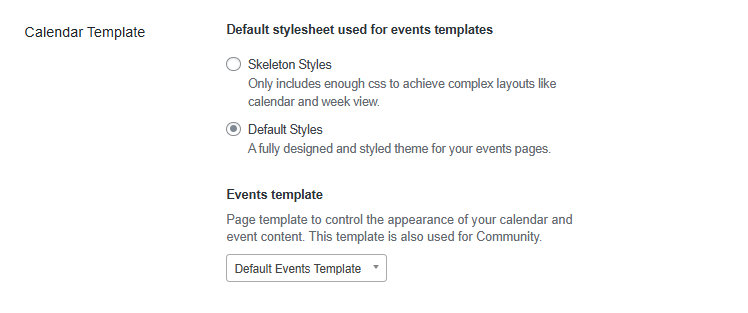
This setting determines which CSS stylesheet is used for calendar and event pages.
- Default Styles — The default option. Enables the full CSS created for the plugin, including colors, sizes, spacing, and other styles.
- Skeleton Styles — Removes most of the plugin’s styles, leaving only enough to preserve the general layout. Use this if you prefer to write your own styles without having to override the plugin’s.
You can override the plugin’s CSS even with Default Styles enabled. See Adding Custom CSS to The Events Calendar for a walkthrough.
Events Template
Found at: Events → Settings → Display → Calendar → Calendar Template → Events template
💡 This option does not appear if you are using a Full Site Editor theme. See The Events Calendar and Full Site Editor.
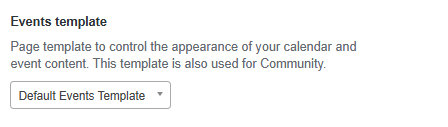
The Events Calendar provides its own WordPress page template for event pages. This setting lets you switch to any other page template provided by your theme — for example, your theme’s default page.php. Using a theme template can help the calendar match the rest of your site’s layout. The default events template is optimized specifically for events, however, and may be the better choice if things don’t look quite right in your theme’s template.
There are two options:
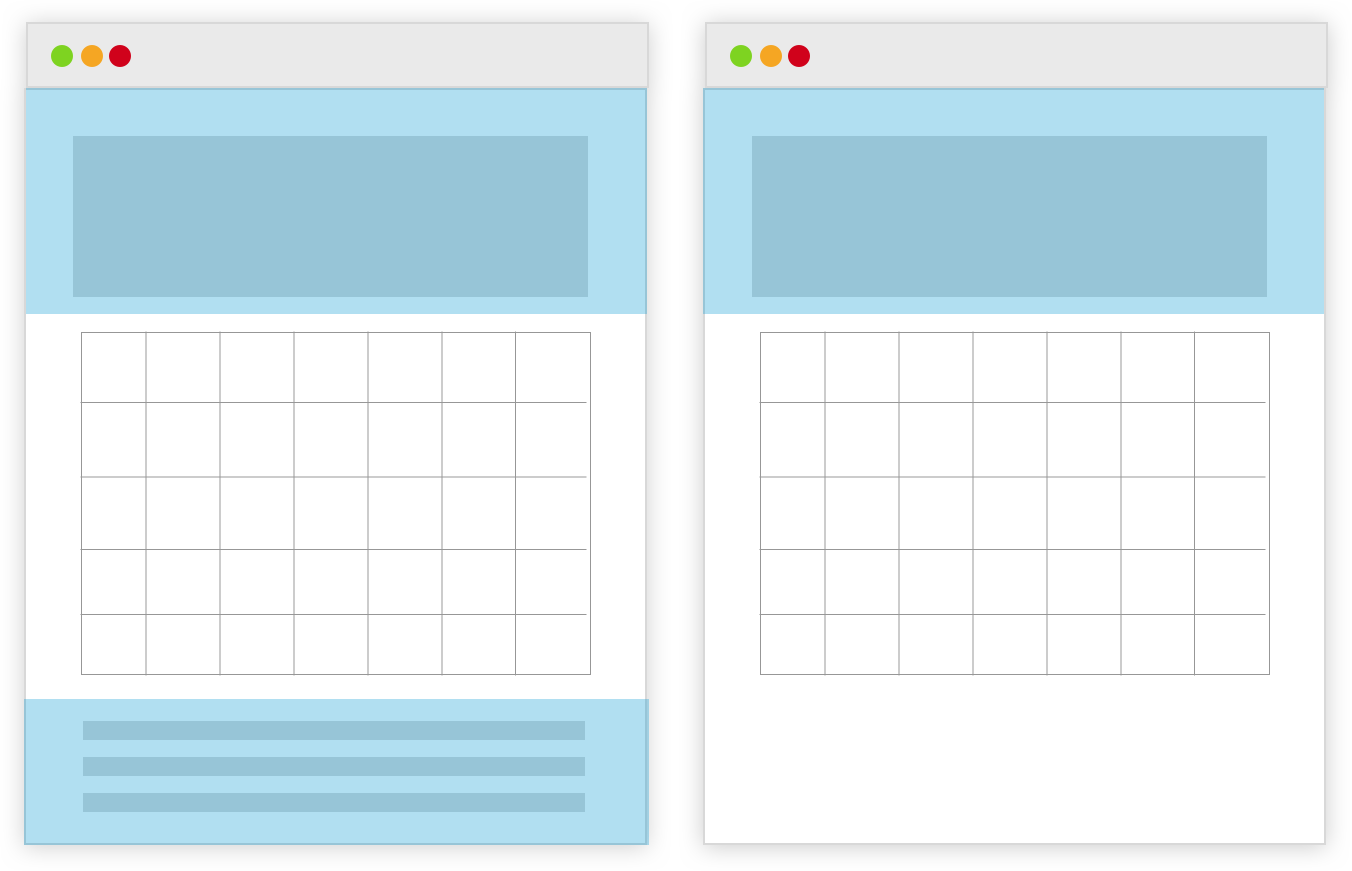
- Default Events Template — Uses the template built into The Events Calendar. The theme’s header and footer are applied, but the content area is controlled by the plugin.
- Default Page Template — Uses your theme’s standard page template. The header, footer, and content area are all controlled by the theme.
Block Editor Colors and the Events Template
If you have activated the block editor for events (Events → Settings → General → Activate the block editor for events), certain blocks — such as the event description — will show color options in the editor.
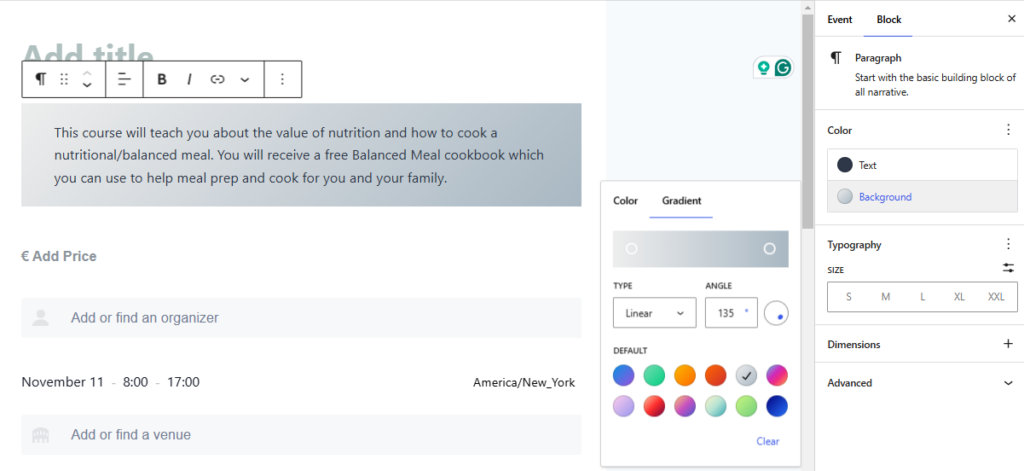
Whether those block-level colors actually appear on the front end depends on which Events Template is selected.
With the Default Page Template, colors set in the block editor work as expected for most themes, because the theme controls the full content area and applies its own CSS classes that carry the block’s color values.
With the Default Events Template, the content area is rendered by the plugin rather than the theme. For some themes, the CSS that outputs block colors depends on classes the theme adds to its own content area — classes that aren’t present when the plugin is rendering the content. As a result, block-level color settings may have no visible effect on the front end.
This behavior varies by theme: Twenty Seventeen displays block colors correctly with both templates, while Twenty Nineteen does not display them with the Default Events Template.
If block-level color controls are important to your workflow, use the Default Page Template.