Tickets Commerce is our e-commerce solution included with Event Tickets. You can set up Tickets Commerce with PayPal, Stripe, and Square. Setup is super easy, and we’ll walk you through all of the settings to get you started selling tickets for free with Tickets Commerce.
Enabling Tickets Commerce
The first thing you’ll want to do is head over to Tickets > Settings > Payments and toggle on the option to Enable Tickets Commerce. Once you do, you’ll see all of your Tickets Commerce options.
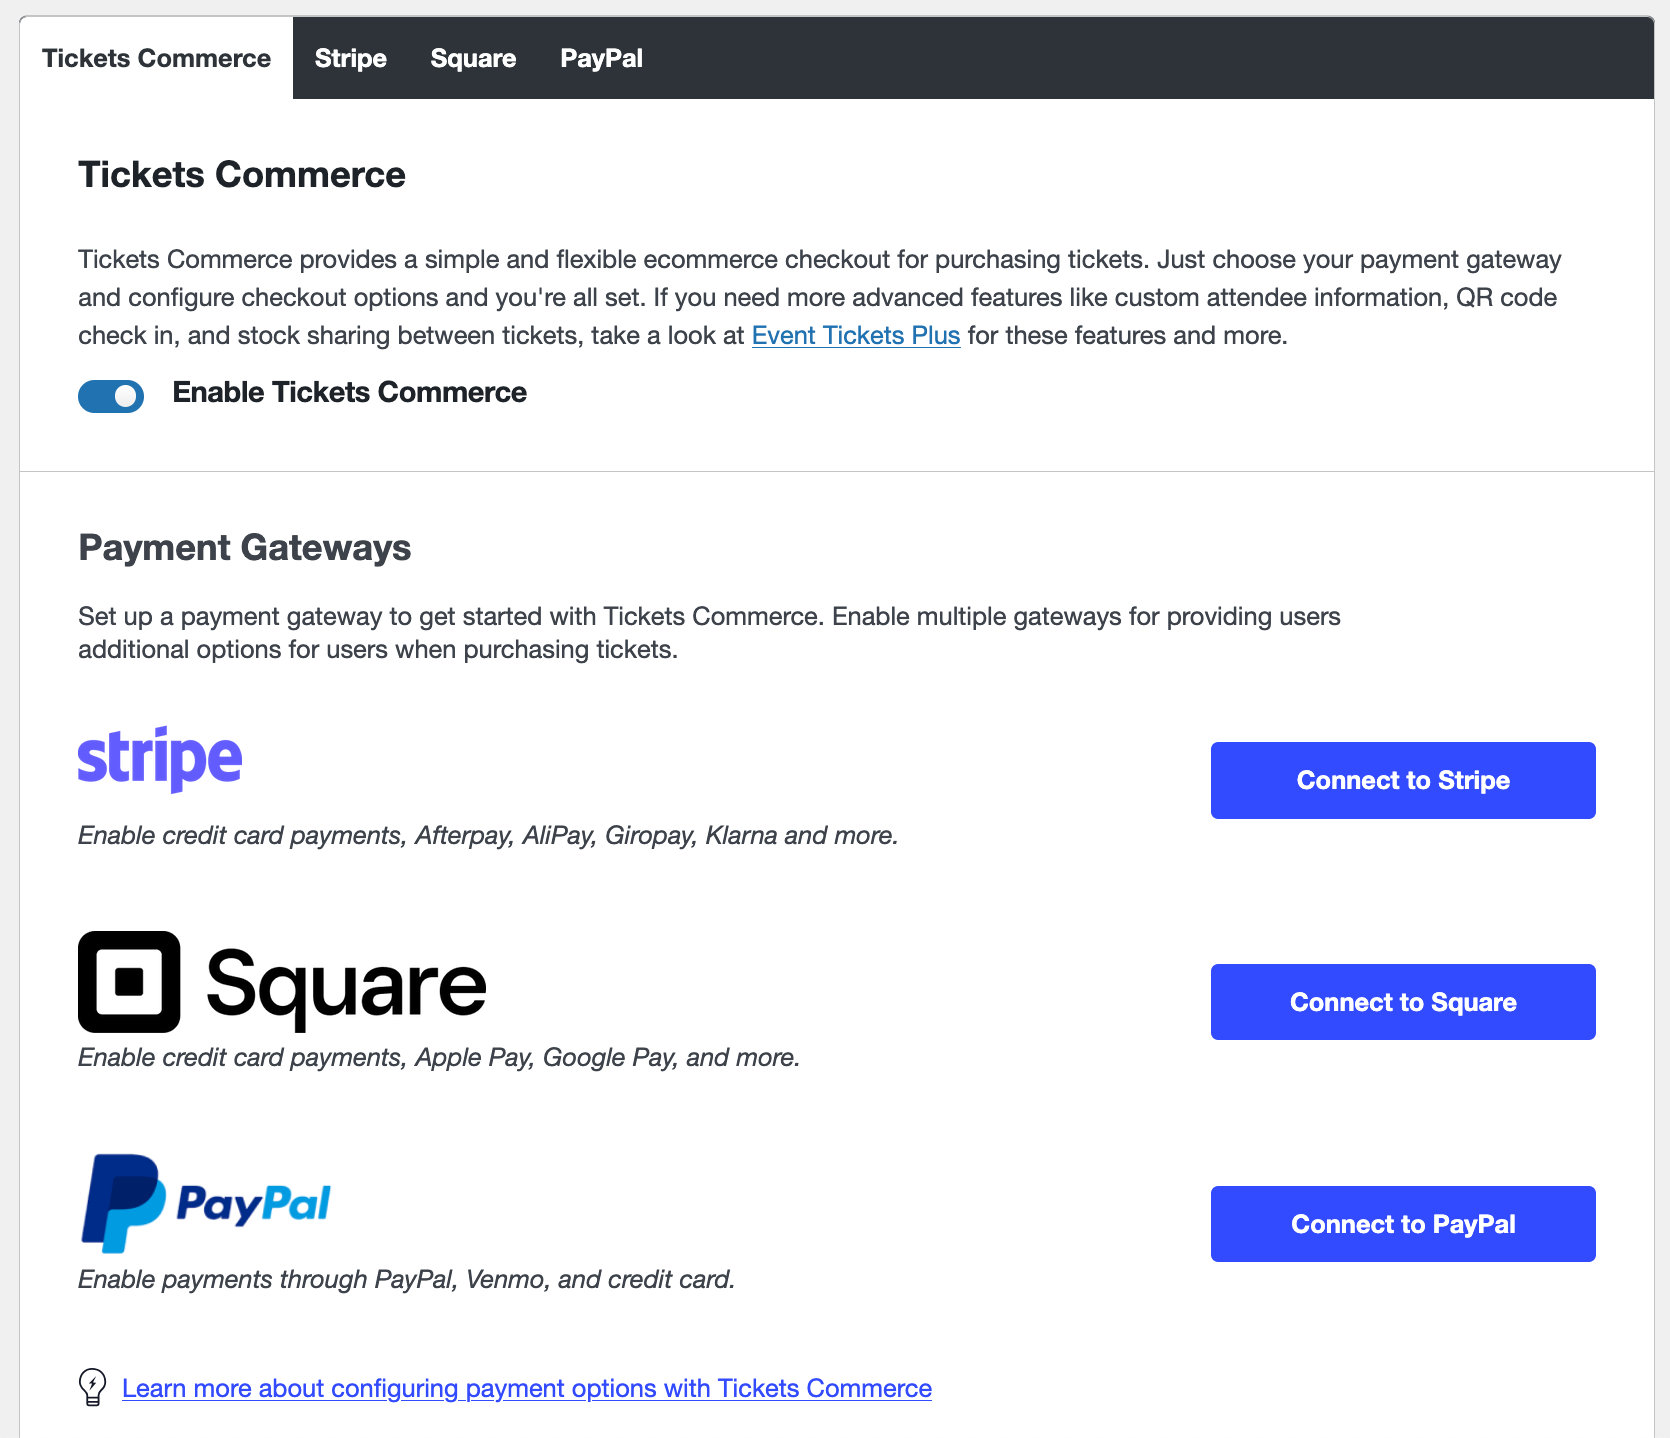
Next, you can integrate PayPal, Stripe, or Square as your preferred payment gateways.
Connecting to PayPal
1. Go to Tickets > Settings > Payments. Click the Connect to PayPal button.
2. Select the country and click the Connect Automatically with PayPal button.
3. Enter your PayPal Sandbox Business account credentials, and complete the process. If you don’t have a Business account yet, you’ll need to create one here.
4. Follow the prompts to return to your store. On the PayPal tab, make sure to toggle the Enable payment gateway option and click the Save Changes button.
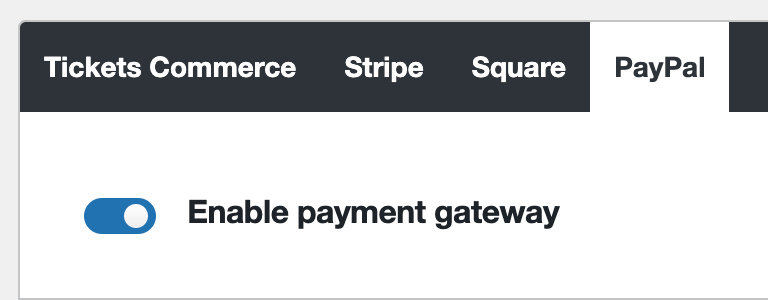
You can always refer back to your PayPal tab of Payments to check your connection status to PayPal at any time.
With PayPal, you can use Standard and Advanced Checkout options, which will give you additional choices like Venmo, depending on how you configure checkout.
Connecting to Stripe
1. Go to Tickets > Settings > Payments.
2. Click the Connect to Stripe button.
3. Follow the prompts to log into your Stripe merchant account. You’ll then be redirected back to the Event Tickets Settings.
4. Make sure to click the Enable Stripe option and click the Save Changes button.
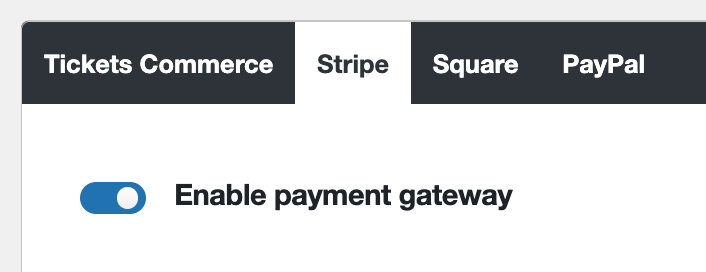
5. You are now set up to accept credit card payments via Stripe.
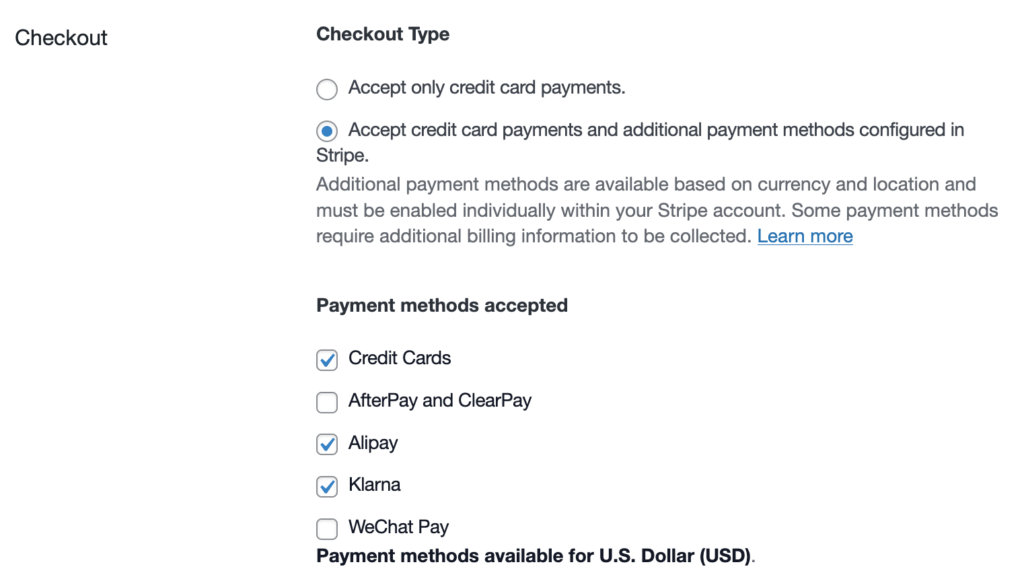
6. If you want to accept other payment types (e.g. Klarna), select Accept credit card payments and additional payment methods configured in Stripe under Checkout Type. You’ll then be able to select additional payment methods.
Apple Wallet & Google Pay
With Event Tickets Plus, you can configure your Stripe account and payment options to accept Apple Wallet and Google Pay.
- Make sure you have connected your Stripe account as outlined above
- Go to your Stripe account and enable the payment methods: https://dashboard.stripe.com/settings/payment_methods
- From your Stripe account, configure and validate the domain on your Stripe Payment method domains tab: https://dashboard.stripe.com/settings/payment_method_domains
- Back on your WordPress site, go to Tickets > Settings > Payments > Stripe and select Accept credit card payments and additional payment methods configured in Stripe under Checkout Type.
- In the Webhooks section, enable the payment wallet(s) you want to use and Save the settings.
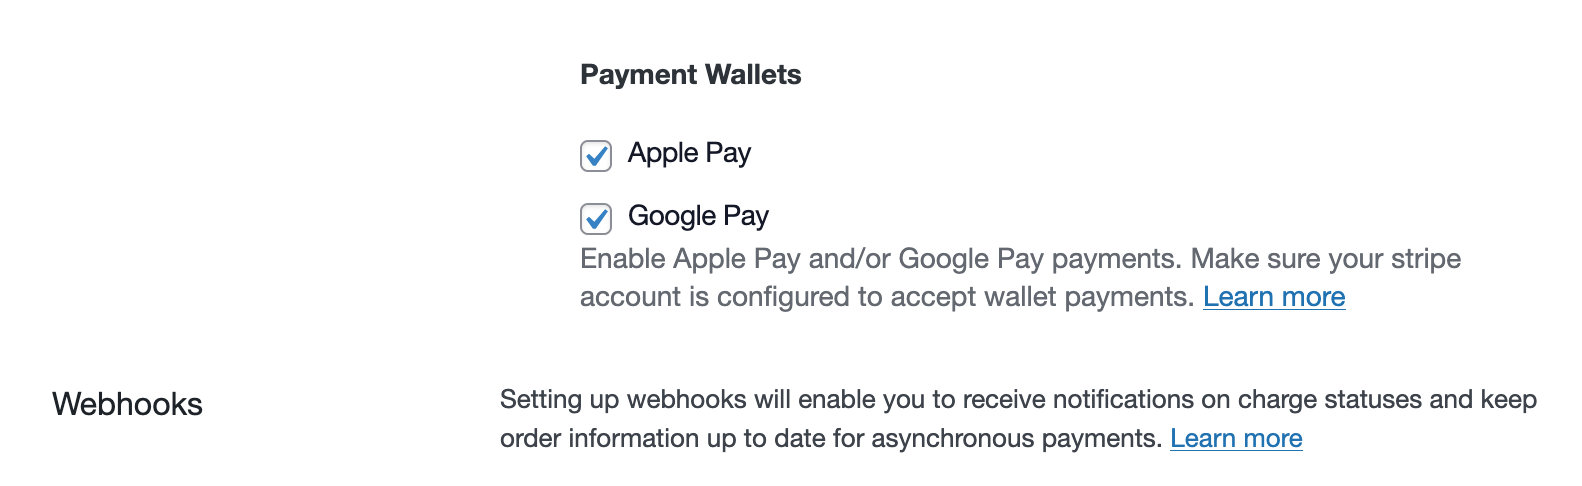
Note: Apple Pay will only show as an option if the purchaser is using an Apple device that’s got Apple Pay configured. Google Pay will only show as an option if they’re looking at checkout from Google Chrome and/or an Android device, and logged into a Google Account that’s got Google Pay configured.
Note: There will be a 2% commission fee collected when using Stripe with Event Tickets (on top of Stripe’s fees). When using Event Tickets Plus, the commission fee is waived and you’ll only incur fees from Stripe.
Connecting to Square
1. Log into the WordPress Admin Dashboard, then go to Tickets > Settings.
2. Click on the Payments tab, and click the Connect to Square button.
3. On the next page, you will need to click the “Allow” button in order to allow our application to have the access we require to your Square account. Then you will be redirected back to your site, which should be connected with your Square account.
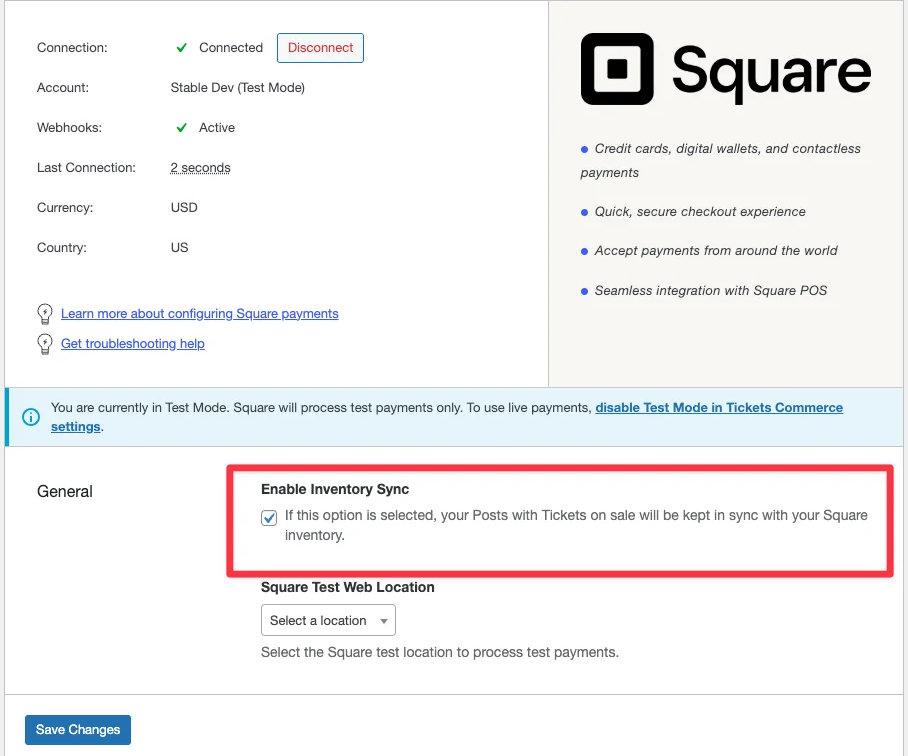
4. Opt-in to Square Inventory Sync
While you can process basic online sales without syncing, enabling inventory sync is crucial for accurate stock management, unified reporting, and integrating in-person POS sales. The sync uses a background process (Action Scheduler) that aims for near real-time consistency. Changes are typically reflected within seconds to minutes of a transaction.
Go to Tickets > Settings > Payments > Square and check the “Enable Inventory Sync” box. A background process (Action Scheduler) will automatically begin syncing your events and ticket inventory with Square.
- Once inventory sync is enabled, your event and ticket details (including remaining quantity) will appear in your Square Dashboard.
- Webhooks are active, meaning Square listens for changes. When a ticket is sold online through your WordPress site, your Square inventory will automatically update in real-time.
- Conversely, when a ticket is sold in-person via a Square POS device, that sale will automatically update your WordPress ticket inventory (provided Inventory Syncing is enabled). This ensures your inventory is consistent across all sales channels.
- To verify sync status (for advanced users/troubleshooting): You can visit the Action Scheduler to see its status and trigger syncs manually if needed (customers typically won’t need to do this).
Square Point of Sale
If you want to use Square to sell tickets in-person via the Point of Sale system, you’ll need to take some additional steps. Read this article for more information: Square Point of Sale for In-Person Ticket Sales
Limitations
- Square is currently supported in the following countries: US, CA, AU, JP, UK, IE, FR, ES, DE. Please check Square’s website for the most current and complete list of supported countries.
- Manual status changes for orders are not supported
- Similar to Stripe, payments processed through Square for Event Tickets incur a 2% commission fee, on top of any fees charged by Square. This commission fee is waived if you have Event Tickets Plus installed.
- Refunds must be processed through your Square account.
Payment Settings
Now that you’re connected to your payment gateway, you can begin to select your payment settings.

Enable Test Mode: This setting will allow you to test payments for your ticket sales. Test mode will be enabled by default.
Stock Handling: This lets you decide when in the ticket process the number of available tickets decreases.
Currency Code: Here you can choose which currency you’d like to use to collect payments with Tickets Commerce.
Decimal Separator: This sets the decimal separator of displayed prices.
Thousands Separator: This sets the thousands separator of displayed prices.
Number of Decimals: This sets the number of decimal points shown in displayed prices.
Currency Position: This settings lets you choose the position of the currency symbol, as it relates to the ticket value.
Checkout Page: You can select the page where customers go to complete their purchase. Display this page content with the [tec_tickets_checkout] shortcode. See below for details on setting this up.
Success Page: This is the page that users will be directed to once they complete the checkout experience. To display this to users in page content, use the [tec_tickets_success] shortcode. See below for details on setting this up.
Confirmation email sender address: This allows you to set the “from” email address that is used when purchase and ticket confirmations are sent to the user after a purchase. By default, it is set to the site email address in the WordPress settings.
Confirmation email sender name: This is the name that displays in an email inbox. For example, using “Event Tickets” would display that as the email sender name in a user’s inbox.
Confirmation email subject: This lets you set the subject line for the email a user receives containing their tickets.
Handling Taxes
Tickets Commerce does not have specific options for handling VAT or taxes. However, you can build taxes into your ticket prices or use the Fees feature to collect the needed amount.
Add the Checkout and Success Pages
You’ll need to define which site pages to use for Checkout and Success (order completed) under Tickets > Settings > Payments. The selected pages need to include the shortcode that displays the necessary UI element. Create or edit the pages you want, and apply the shortcodes:
- Order checkout shortcode:
[tec_tickets_checkout] - Success page shortcode:
[tec_tickets_success]
The pages can include any other content you wish to customize the checkout experience.
Once you have the shortcodes added to pages, assign those pages to the Checkout page and Success page settings under Tickets > Settings > Payments.
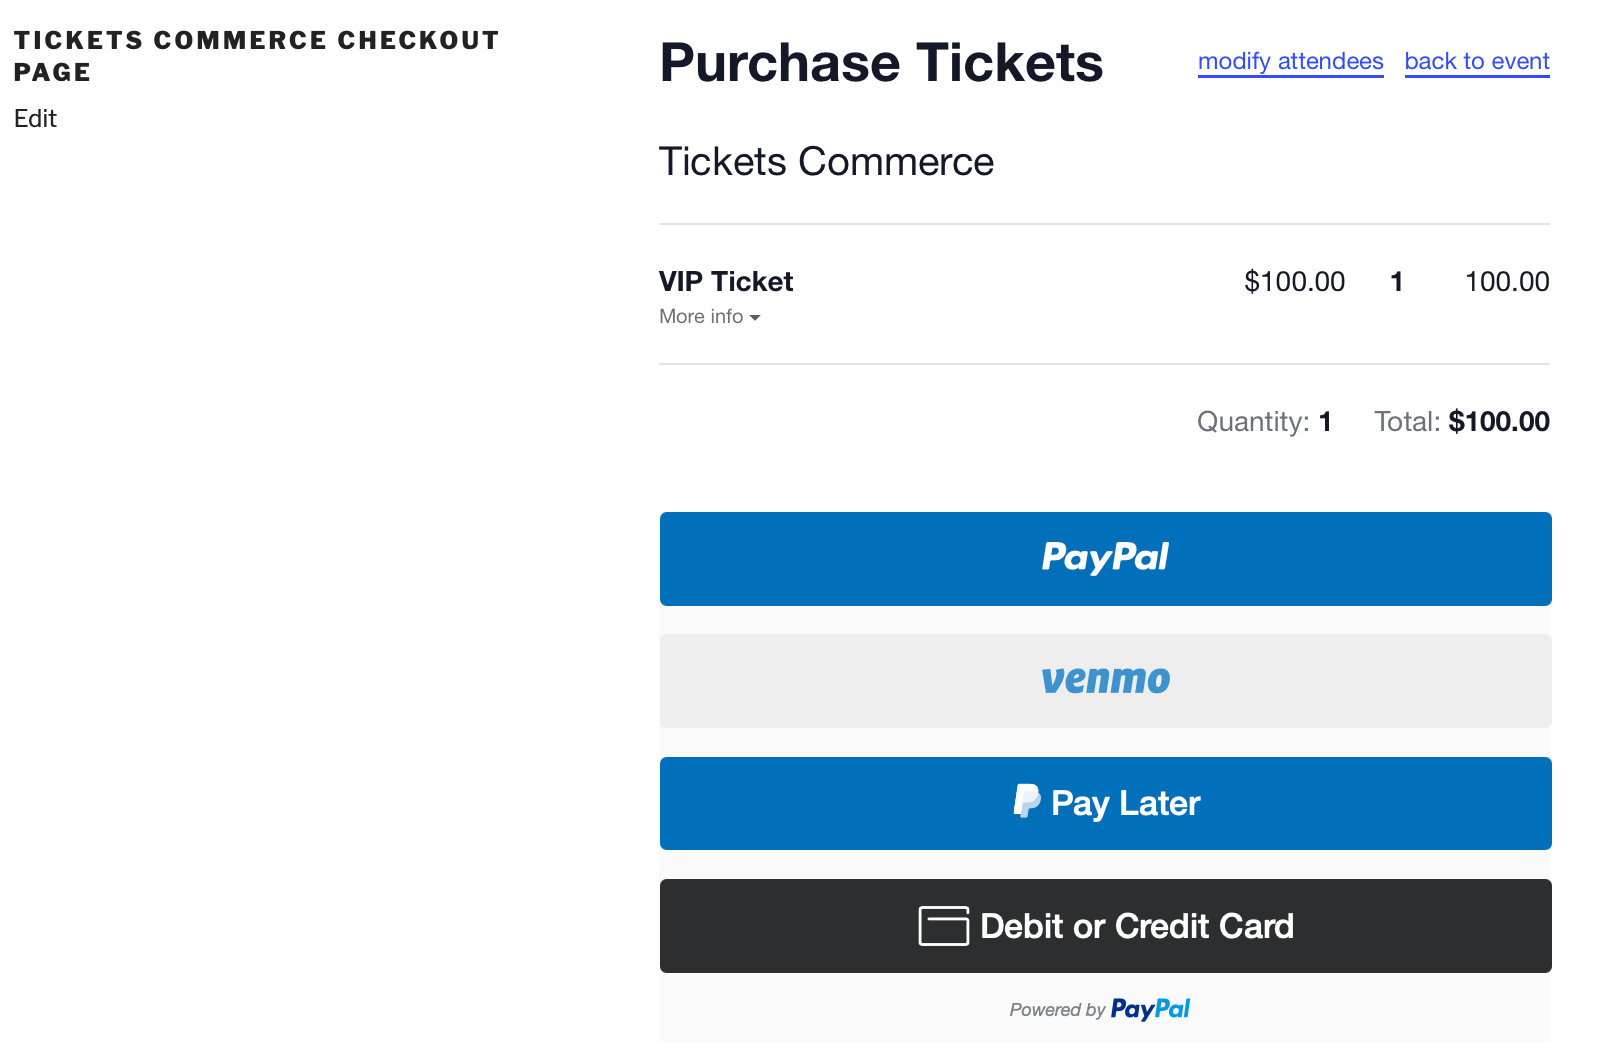
Once you’ve selected the page you’d like to use in your settings and added the shortcode to the page, your checkout page will look something like this:
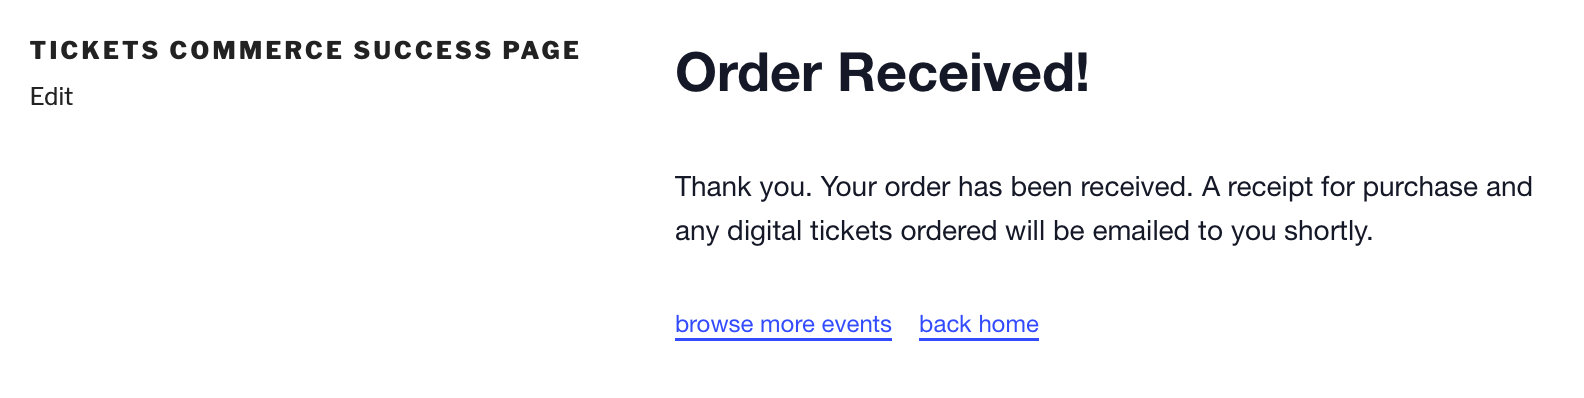
And here is your success page:
Selling Tickets
To begin using Tickets Commerce, create a ticket and publish the event, page, or post where it is used.
Users will see the ticket on your website and add a ticket to their cart.

Now they can simply follow the prompts through the checkout process pages that you selected to complete their purchase.
And that’s it! You’re now selling tickets for free with Event Tickets and Tickets Commerce ✨
Order Management
When using Tickets Commerce, order management is primarily handled through your connected Stripe or PayPal accounts. While you can view all orders within the WordPress dashboard, actions like refunds or payment confirmations are managed externally.
The typical order process involves:
- A customer selects tickets and proceeds to checkout
- The customer is redirected to Stripe or PayPal to complete the payment
- Upon successful payment, the order information is sent back to your site
- Tickets are generated and emailed to the customer
- The attendee list is updated within your WordPress site
Stripe Payment Statuses
When a user adds a ticket to the cart and heads to checkout, the site will ping Stripe and will create a “payment intent.” Stripe responds to this and opens up the credit card form on the checkout page, so the user can check out with the ticket. Once the credit card details are submitted, the payment status will be defined:
- A new order will be created and will be marked as “Pending.”
- If the payment fails, then the original order will be marked as “Not Completed” or usually “Declined.”
- If the payment succeeds, then the Pending order will be marked as “Completed.” There is no way to force orders to “Completed” status from Event Tickets.
You can check out Stripe’s documentation on this here: Payment status updates.
PayPal Order Statuses
When a user adds a ticket to their cart, goes to checkout, and selects PayPal for payment, a new window opens for PayPal authentication. Once the user logs in and confirms their payment details, the payment is processed, and the amount is deducted from their chosen funding source. A unique transaction ID is generated at this stage. The order status may initially appear as pending for up to 30 days.
- A new order will be created and will be marked as “Pending.”
- If the payment fails, then the original order will be marked as “Not Completed” or usually “Denied.”
- If the payment succeeds, then the Pending order will be marked as “Complete.” There is no way to force orders to “Completed” status from Event Tickets.
You can check out PayPal’s documentation on this here: Payment status updates.
Comparing Tickets Commerce and WooCommerce Integration
While Tickets Commerce offers a streamlined solution for ticket sales, integrating with WooCommerce provides additional flexibility and features:
Tickets Commerce:
- Built-in with Event Tickets; no additional plugins required
- Simplified setup and management
- Supports Stripe and PayPal payments
- Ideal for straightforward ticket sales without complex requirements
Upgrading to Event Tickets Plus enhances the capabilities of Tickets Commerce:
- Removes Stripe 2% commission fee on ticket sales
- Unlocks additional payment methods through Stripe, such as Apple Pay and Google Pay
- Provides advanced attendee management features, including custom registration fields and QR code check-ins
- Enables shared capacity.
This combination is ideal for organizers seeking more control and customization over their ticketing process.
WooCommerce Integration:
- Requires the installation of WooCommerce and Event Tickets Plus
- Offers a wide range of payment gateways, including offline methods
- Provides advanced features like detailed reporting, VAT/taxes, inventory management, product bundling and manual order control