Venues and Organizers are two bits of handy information that can be added to an Events post. They give additional context for the event: where the event is happening and who is in charge of it.
With Events Calendar Pro, Venues and Organizers also have their own pages. This guide will outline creating Venues and Organizers and using the front-end pages.
From a WordPress point of view, Venue and Organizer are custom post types, just like Event. If you’re unfamiliar with the concept of post types in WordPress, don’t worry.
Post types are simply tools to help you group different content according to its own purposes, and establish relationships between them.
Creating Venues
When organizing events, providing accurate and detailed location information is crucial for attendees’ convenience.
The Events Calendar plugin for WordPress simplifies this process by allowing you to add Venues to your events, which automatically includes the “location” schema markup field in the Events schema markup. This ensures that your event listings are not only informative but also optimized for search engines, making it easier for potential attendees to find and participate in your events.
In this guide, we’ll walk you through the steps to create Venues in the Events Calendar plugin, ensuring your events are properly categorized and accessible.
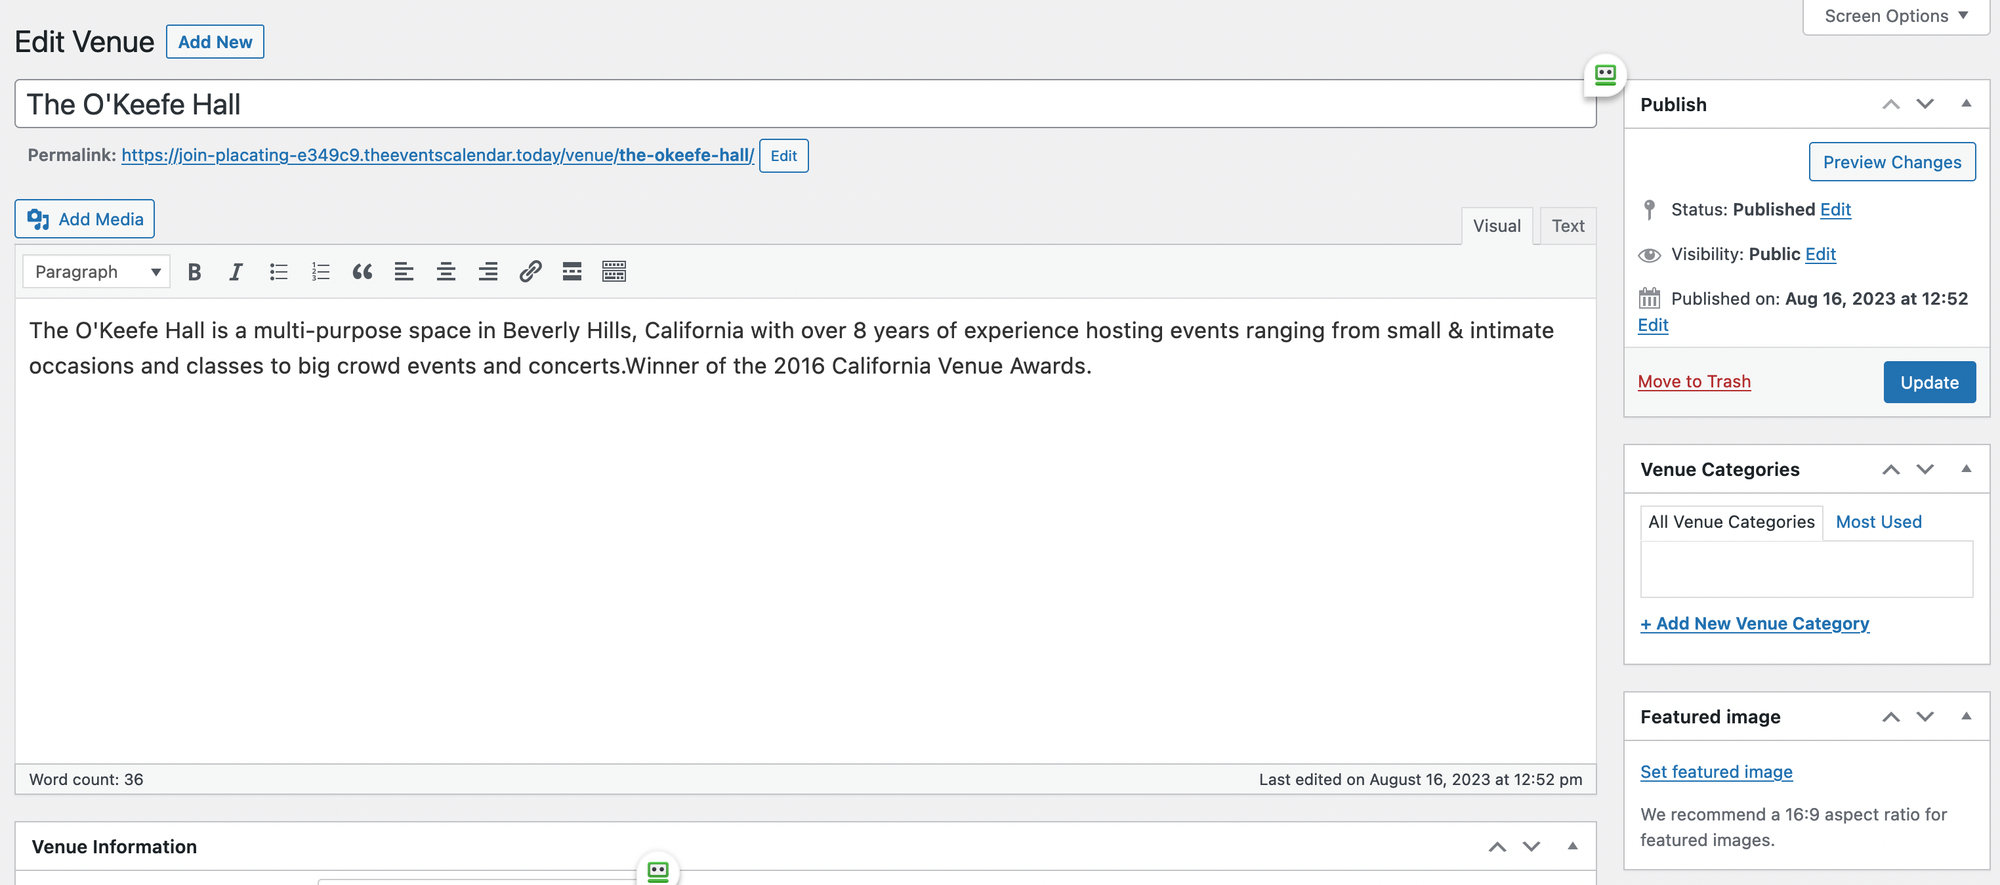
You can create a Venue by heading over to Events → Venues → Add New. When you get there, you are given an editing screen that allows you to:
- Name the venue (e.g. My House)
- Add a description (the main editing area)
- Supply information about the venue (address, city, state, ZIP, phone and website)
- Set options to display a Google Map for the venue
- Enter latitude and longitude as needed
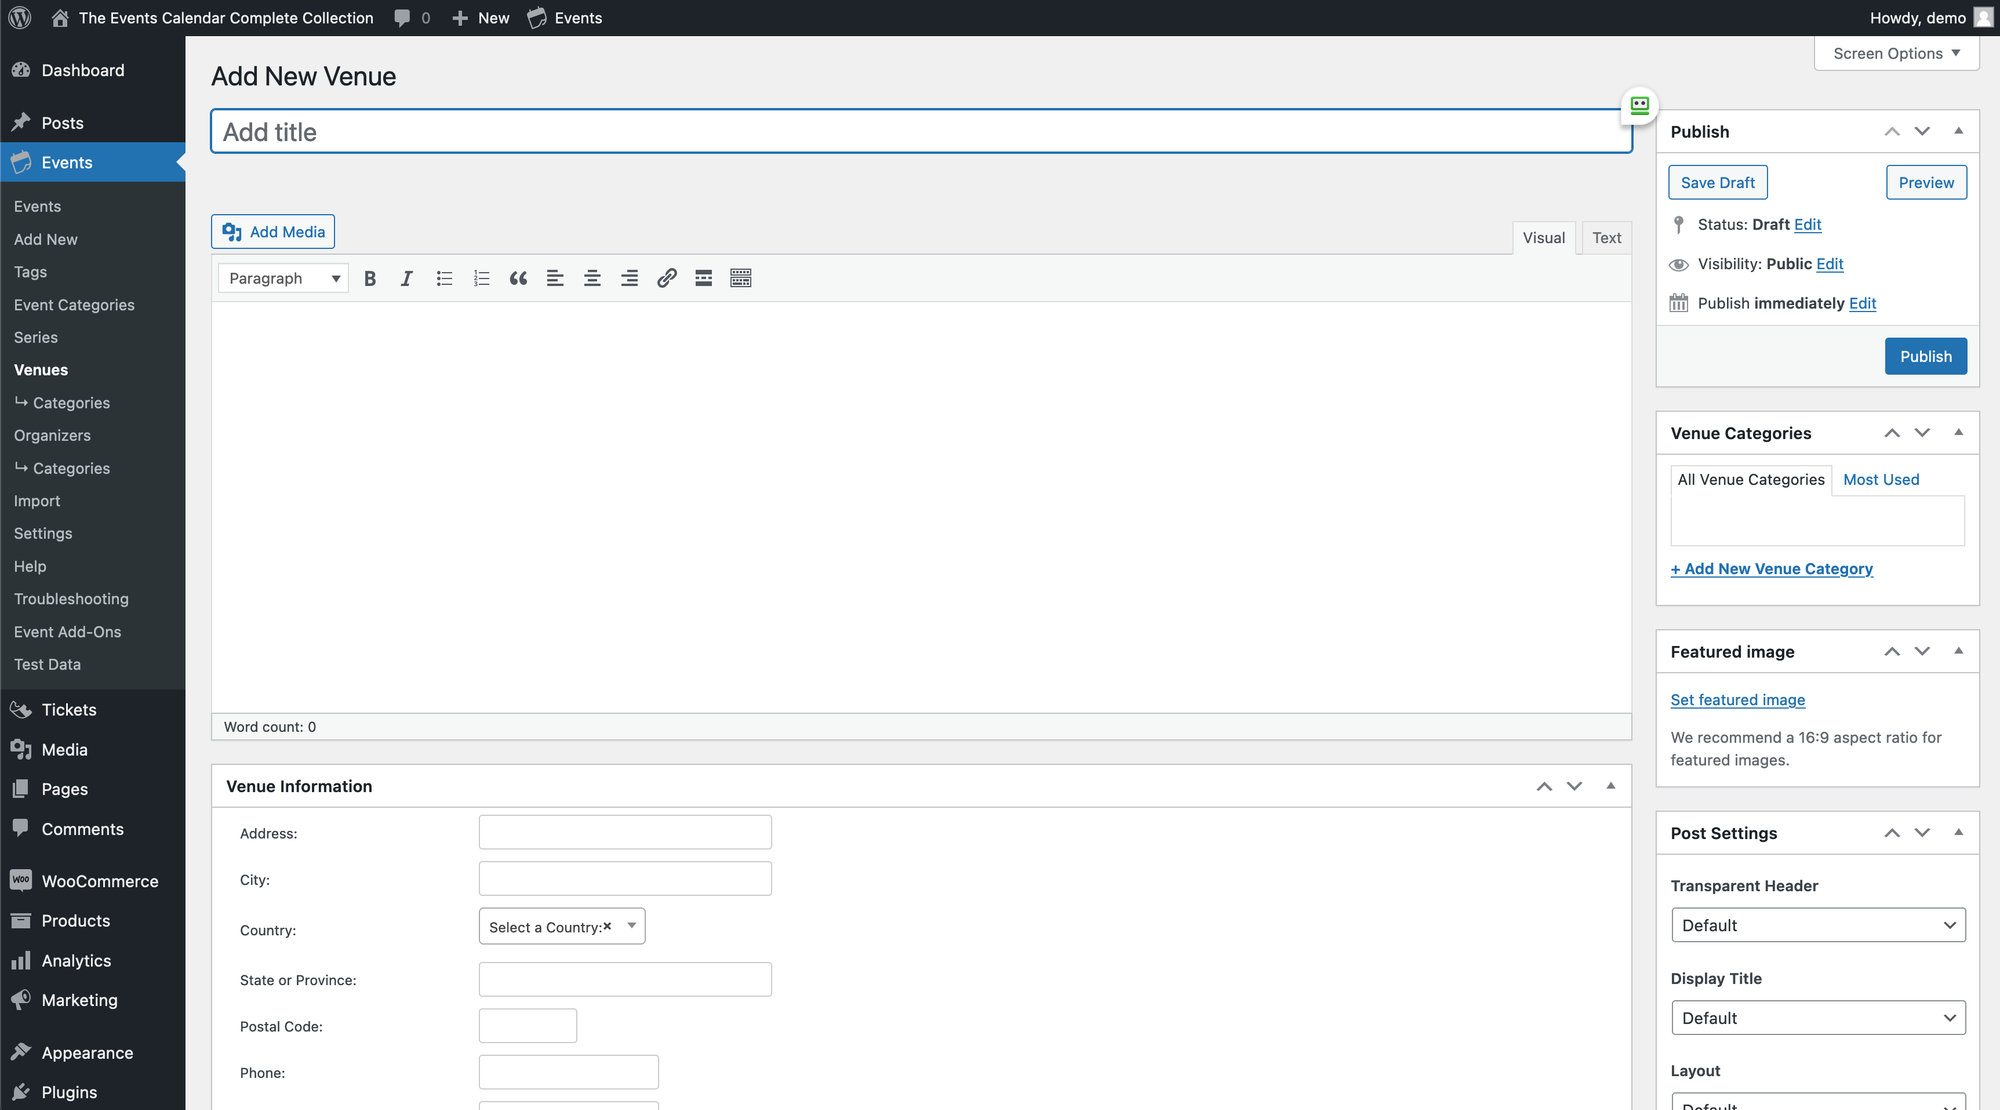
You can include as much or as little information of the above information as you like, as long as the venue has a name.
One thing to note is to make sure the address or latitude/longitude is accurate in order for Google Maps to work. A common error occurs when Google is unable to locate the address based on what is provided and either fails to display the location or displays a pin in an entirely different location.
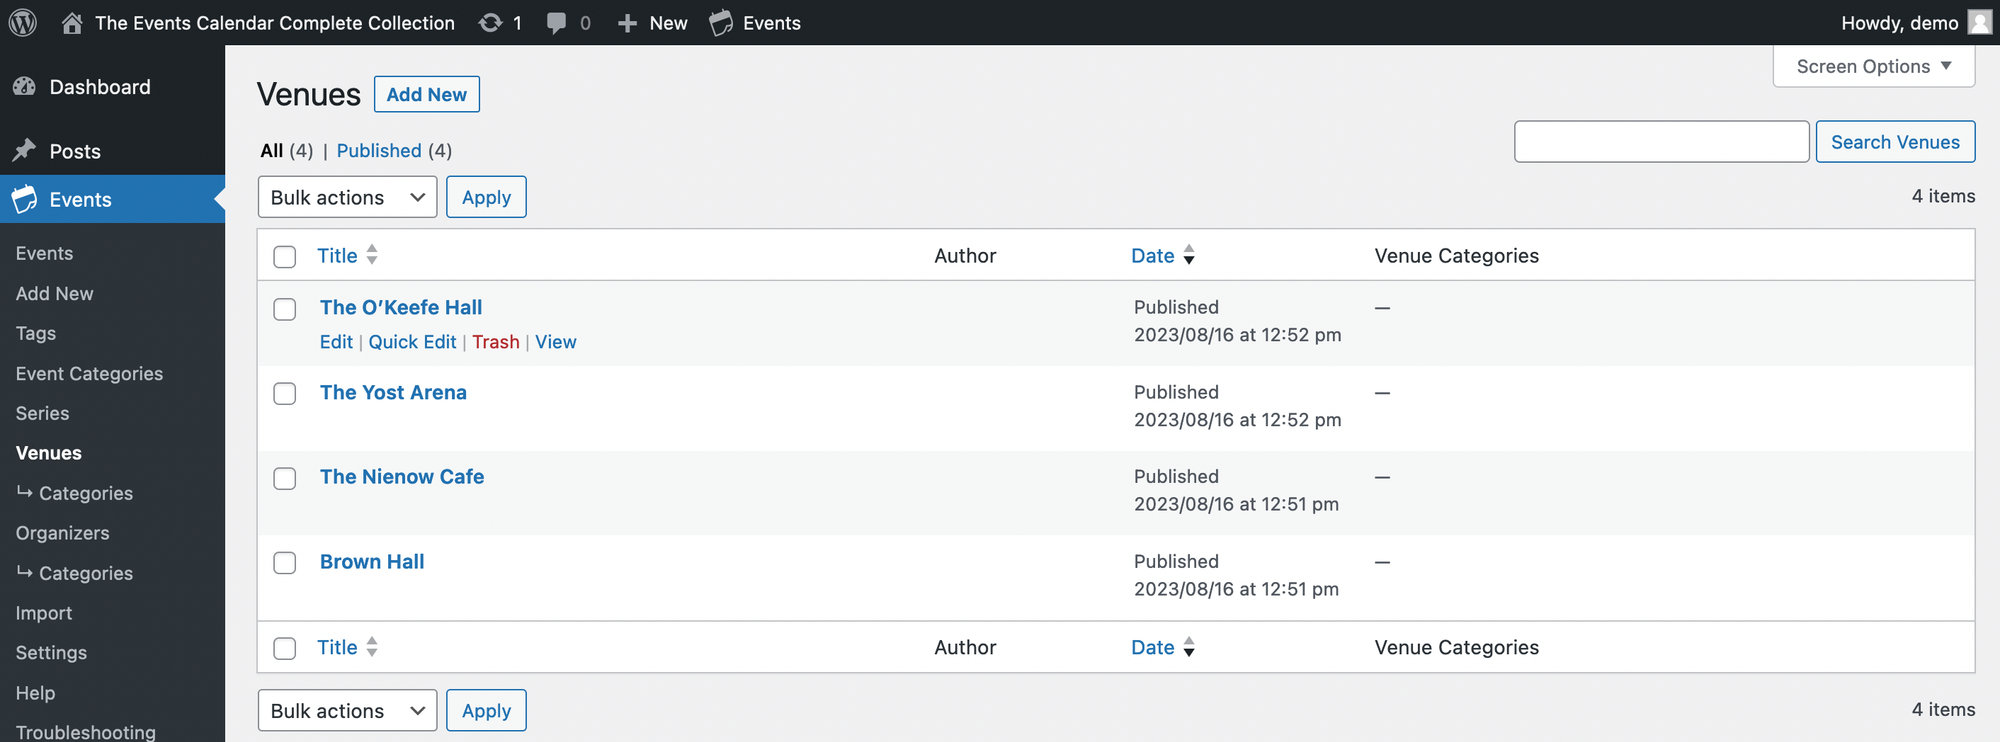
You can view all your saved venues by going to Events → Venues and manage them like you would any default WordPress content. That means you can edit the information, change the status, or delete them from this screen.
You can also create a venue (or an organizer) straight from the Add Event page by importing the same information outlined above as you make the event. Either way, any created venues (or organizers) will be able to be reused in the future from the Add Event page.
For more information on creating events, we encourage you to check out our knowledgebase article on Creating Events.
Creating Organizers
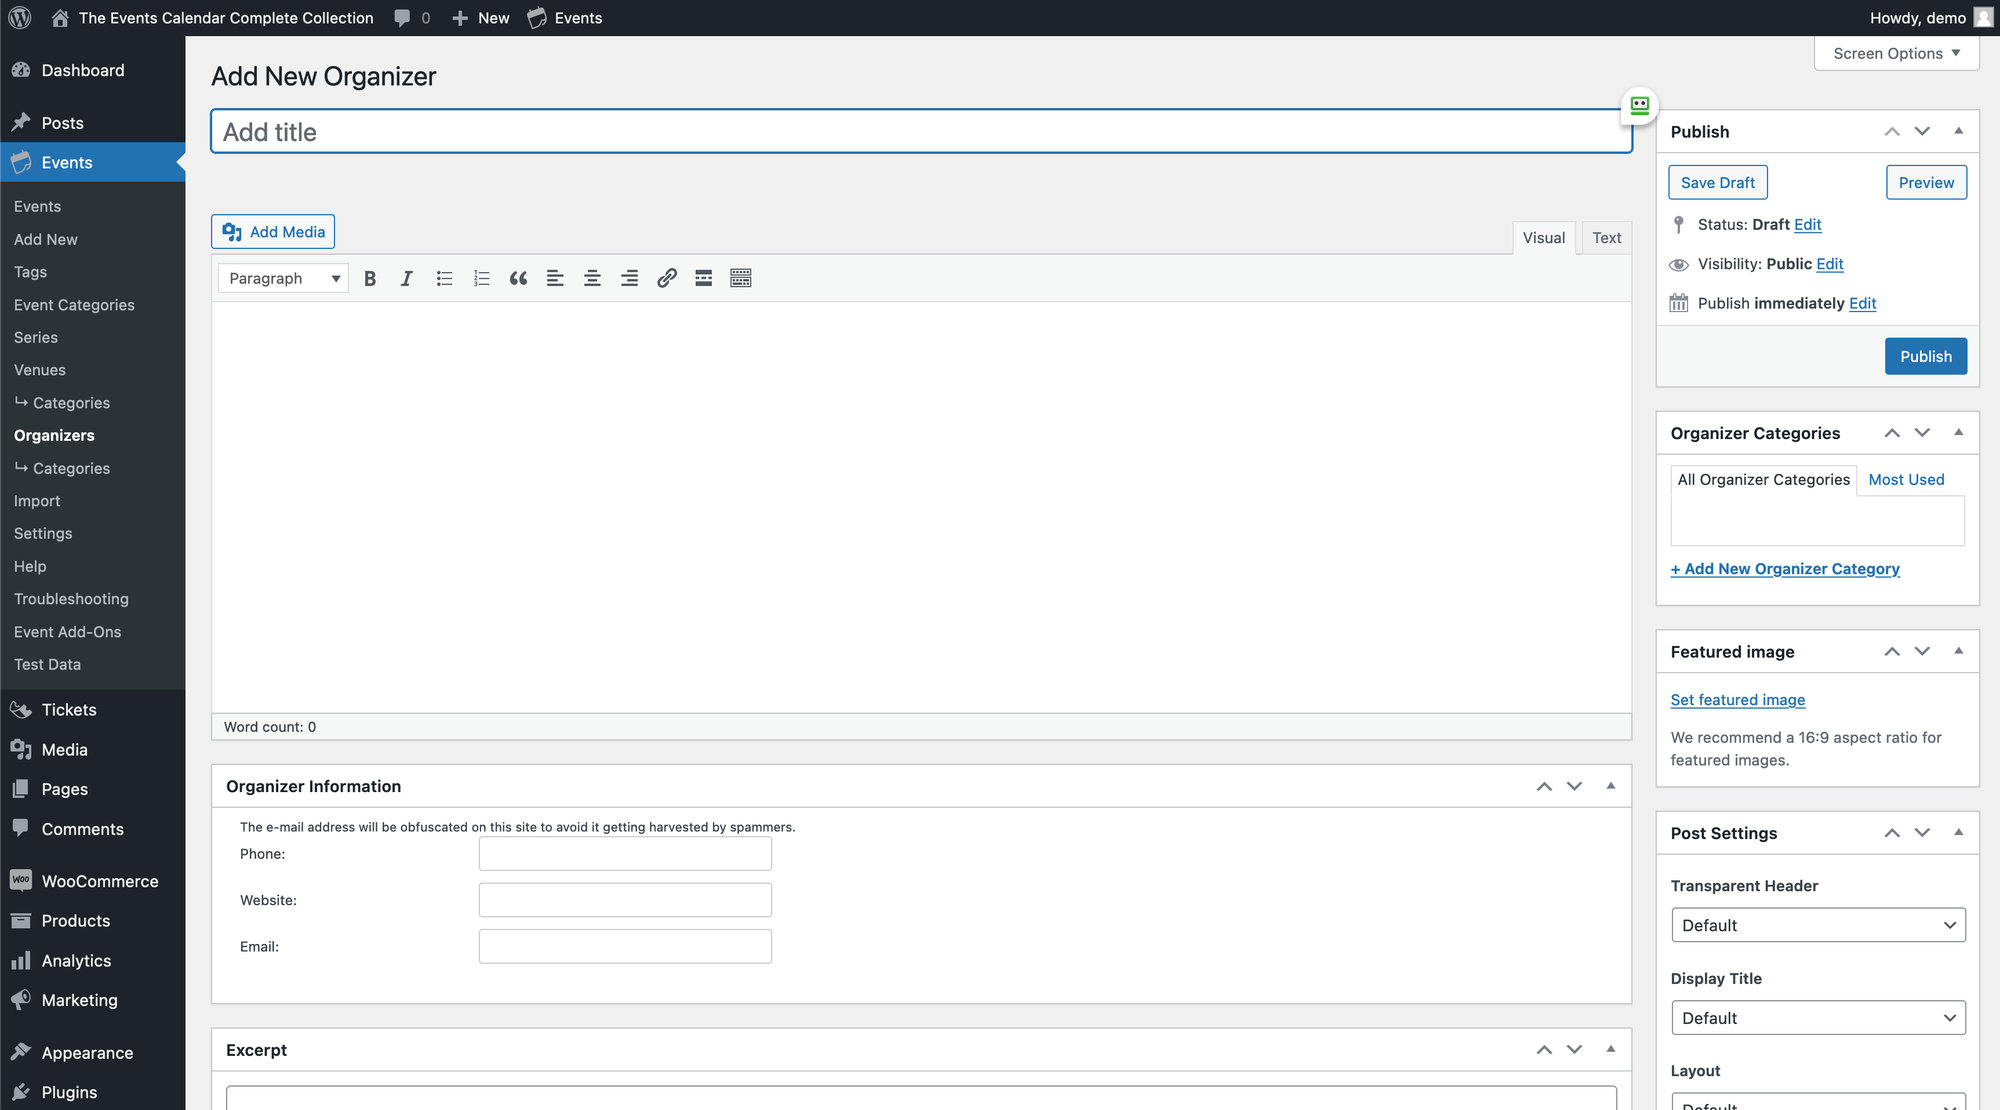
Organizers are created in a very similar fashion to Venues. To create a new Organizer, head over to Events → Organizers → Add New. Once you are there, you will have the following options:
- Name the organizer (e.g. Ted Mosby)
- Add a description (the main editing area)
- Supply additional information about the organizer (phone, website and email)
You can view all your saved venues by going to Events → Organizers and manage them like you would any default WordPress content. That means you can edit the information, change the status, or delete them from this screen.
Venue and Organizer Pages
Venues and Organizers also get their own pages on your site. These pages are a pretty slick way to show off information about your venues and organizers as well as the events that are associated with them. Pretty sweet, right?
You can find these pages at the following URLs:
- The URL for Venues will look like this:
[your-site]/venue/[venue-name] - The URL for organizers will look like this:
[your-site]/organizer/[organizer-name]
You can also access these pages from the admin screen for each taxonomy. For example, go to Events → Venues, then hover over one of the items and click the “View” link to see the page for that venue.
What can I expect to see on these pages?
Venue pages can have a lot of handy information, including:
- Address
- Phone number
- Website
- Embedded Google Map and/or link to Google Maps, if enabled
- A description of the venue (if provided) including images
- A list of upcoming events associated with the venue
You can see an example of a Venue page on our demo site. Please note that some themes can hide fields for these, in particular the description. If you have entered a description and it is not showing on the front end, try switching your theme or doing some customizing to have it show.
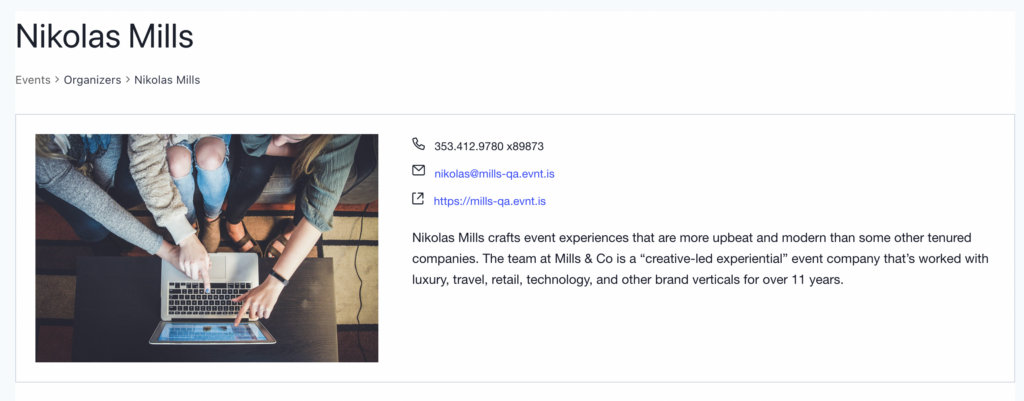
You can expect a lot of great information on Organizer pages as well:
- Phone number
- Website
- Email address
- A description of the organizer (if provided), including images
- A list of upcoming events associated with the organizer
Featured Images
Venue and Organizer pages allow you to add a featured image for all venue and organizer pages, mirroring the appearance of single event pages. Adding a featured image to these pages can improve the way the page looks and the SEO.
To add a featured image to an organizer, browse to Events → Organizers and select the organizer. Look for the Featured Image meta box on the right-hand side and click the Set Featured Image link. We recommend using an image that is a 16:9 aspect ratio.
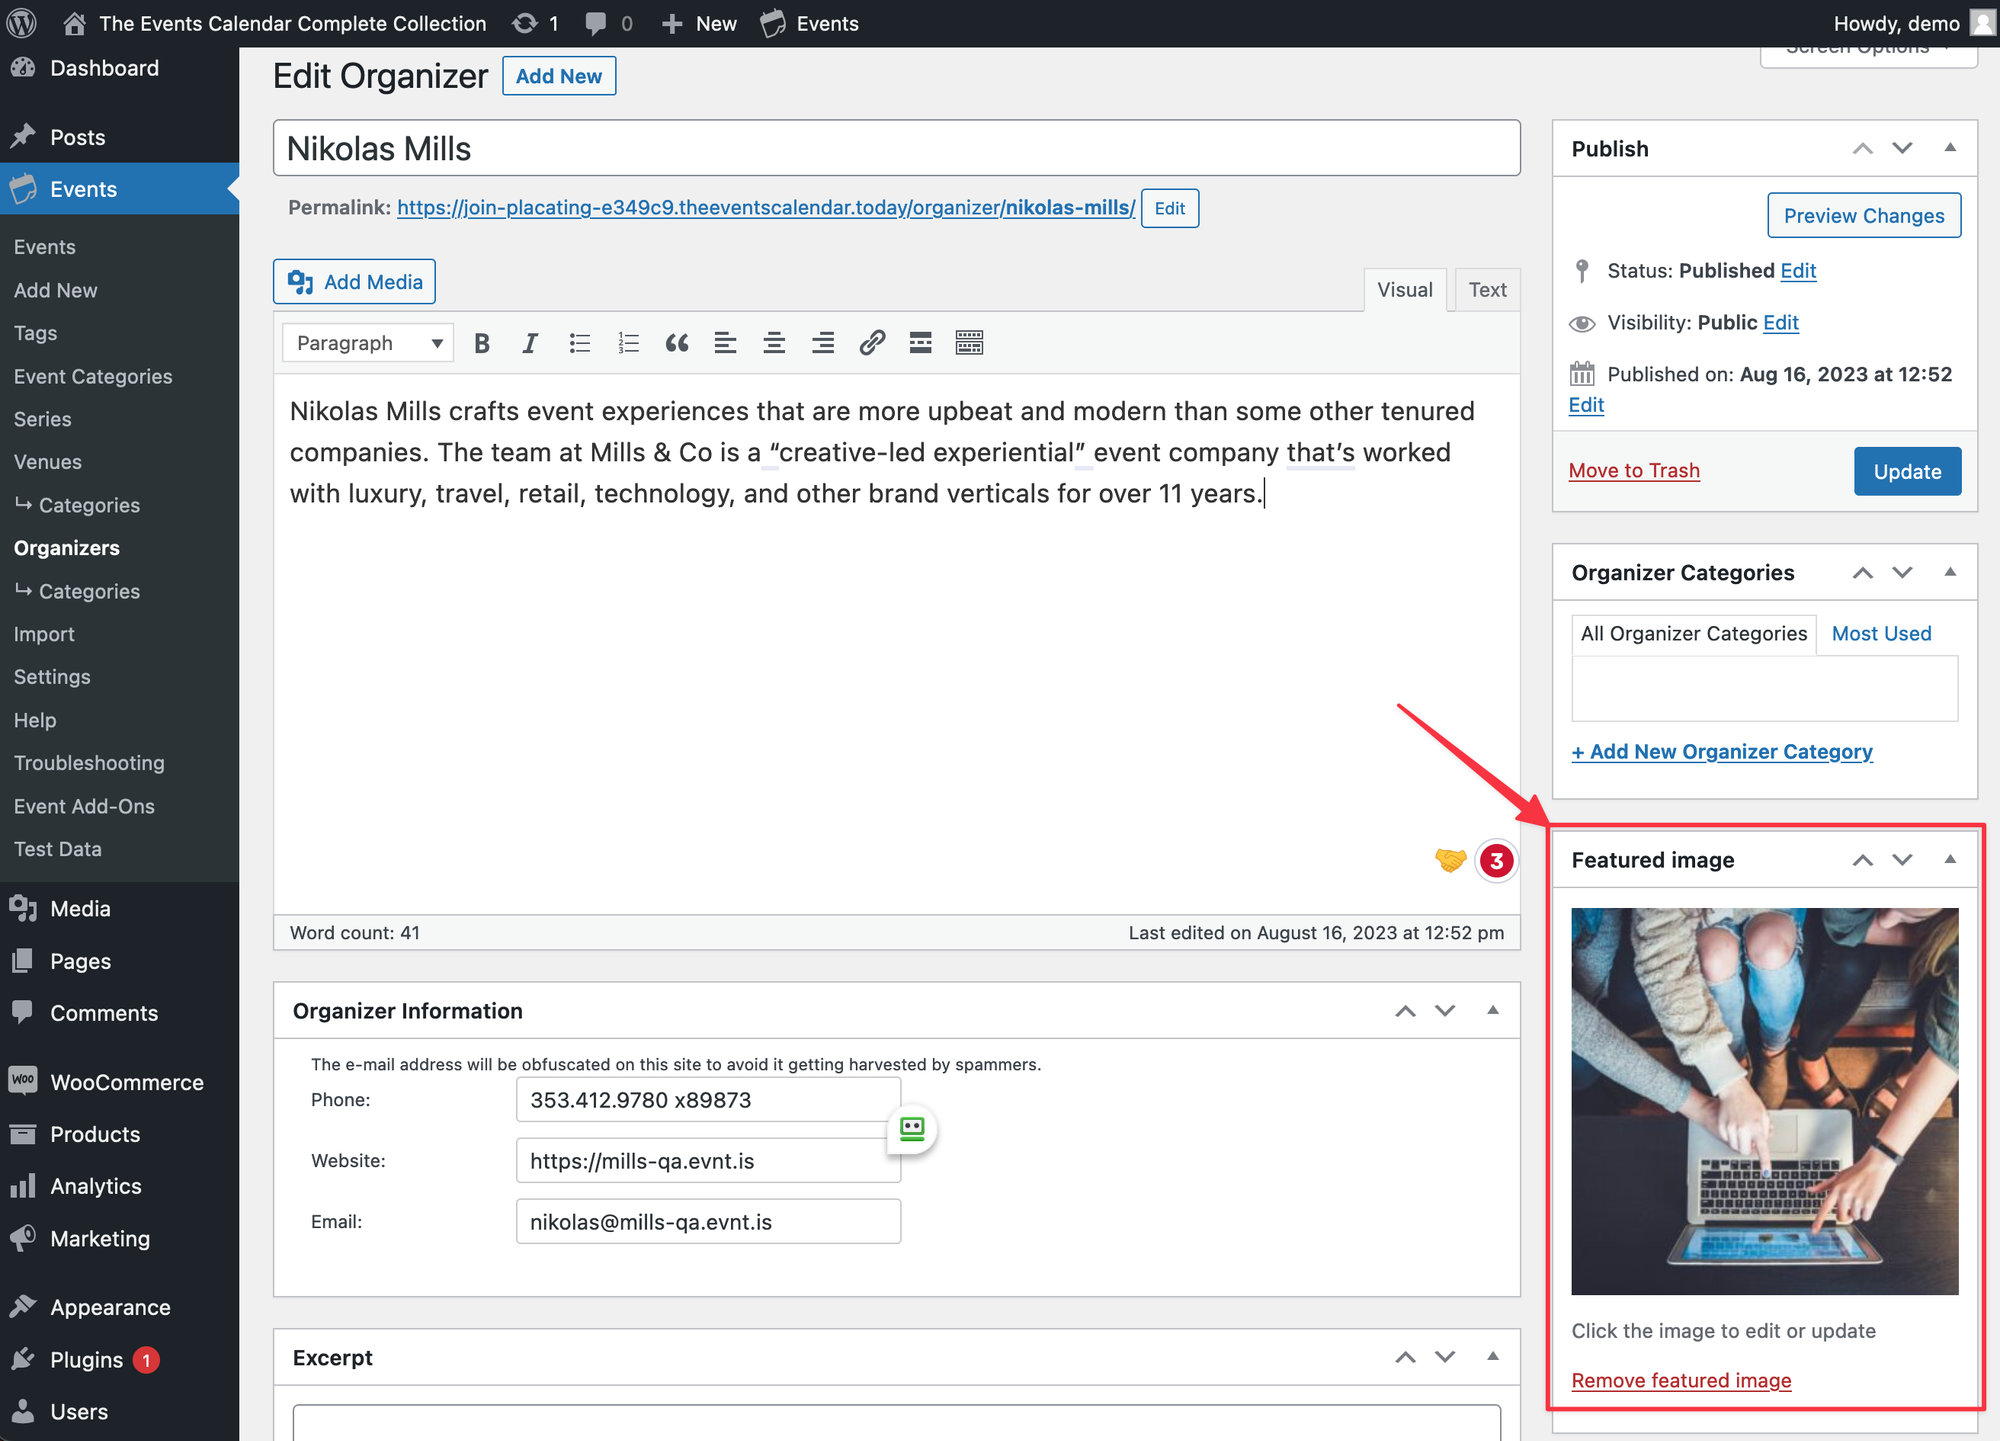
Here is an example of an organizer’s Featured Image in action.
To add a Featured Image to a venue, browse to Events → Venues and select a venue. Look for the Featured Image meta box on the right-hand side and click the Set Featured Image link. Again, we recommend using images that have a 16:9 aspect ratio.
Locating the Pages
All Venue and Organizer pages will be automatically linked to any event they are associated with. For example, head over to any single event. You should see a box below the event content that contains additional details about the event. It will look something like this:
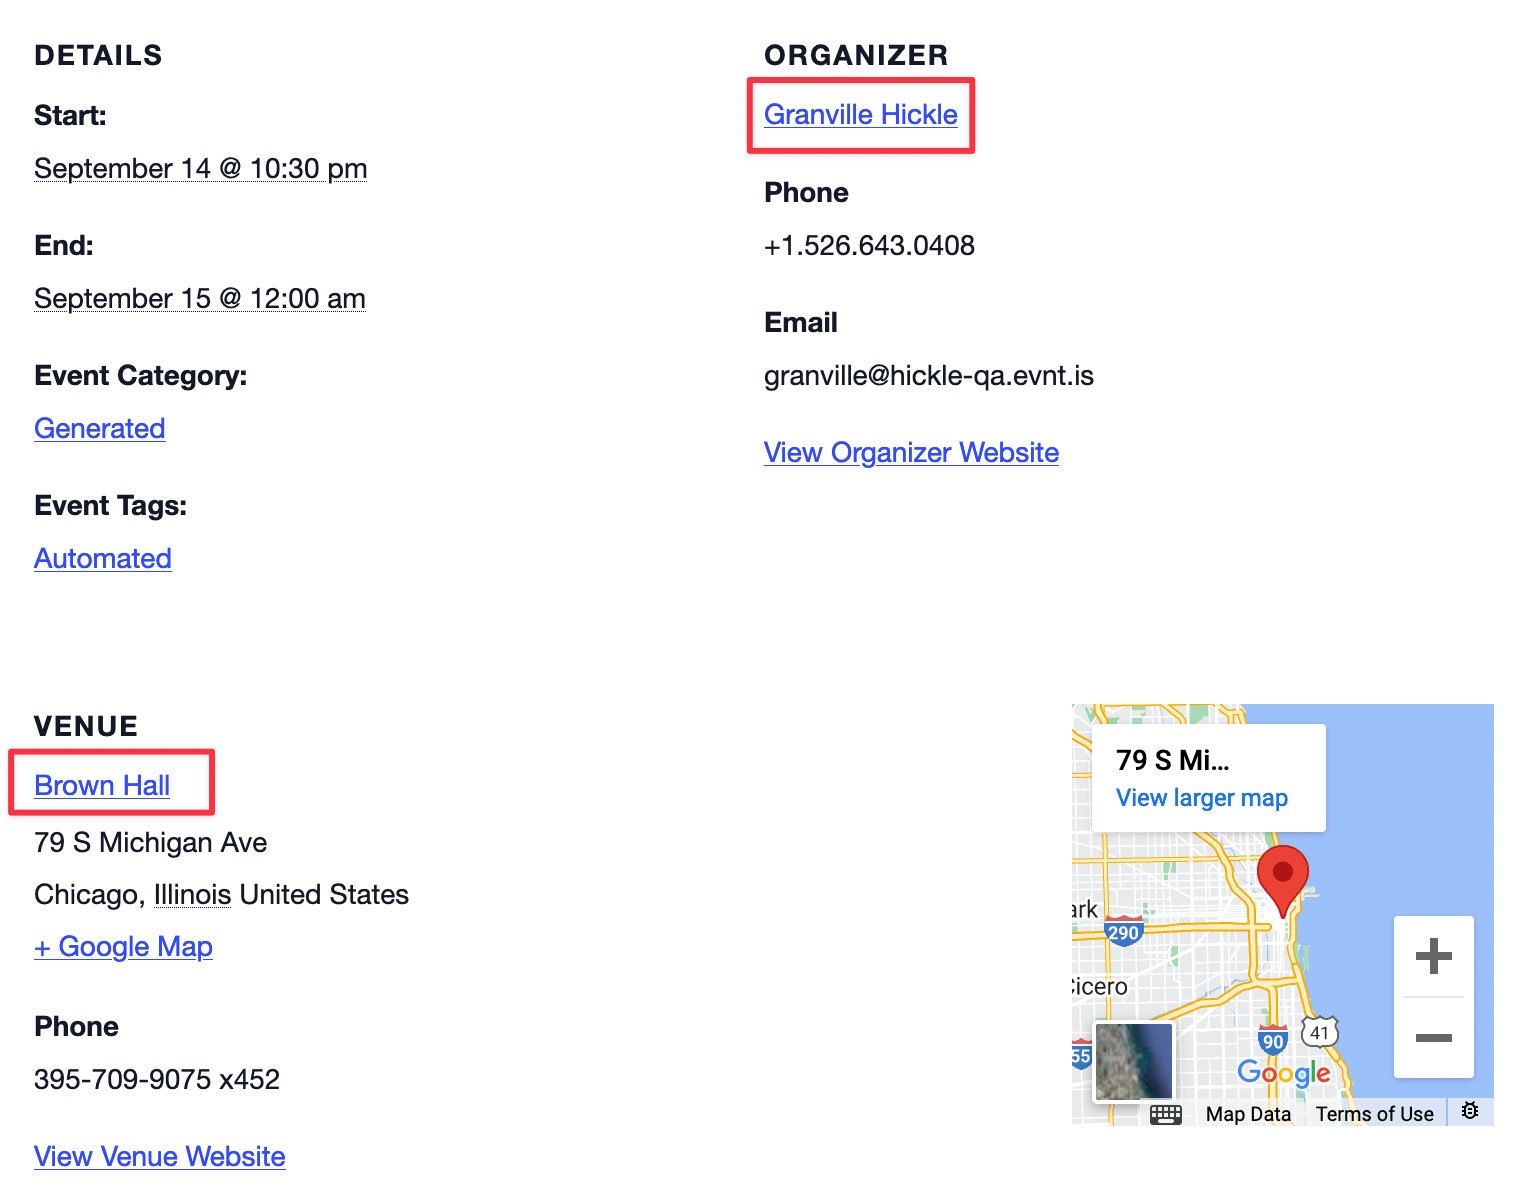
The links are highlighted in red. You don’t have to do anything to make these links appear — the plugin does all the work by adding them for you.
Linking to the Pages
Many people find it useful to add Venues and Organizers to the main menu of the site, so let’s walk through how that works.
We tried to make it very simple to add these to a menu, and we did that by making them standard options in the Menu Settings screen (Appearance → Menus). Head over there, and you will see both Venues and Organizers are listed as options in the left menu. Select from any venue and organizer you have already created, add them to the menu and save your work. Presto! They are now on your main menu.
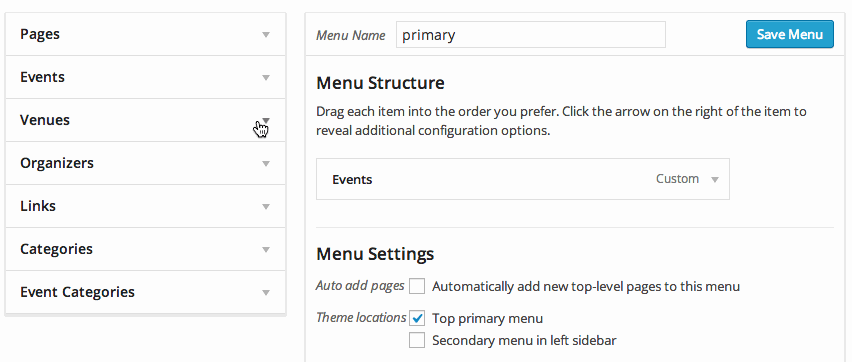
If you do not see Venus or Organizers on the left-hand side, make sure to click on the Screen Options button located on the top-right of the page and check the Events, Organizers, and Venues boxes. This will add these items to the menu builder, enabling you to place them in a menu.
