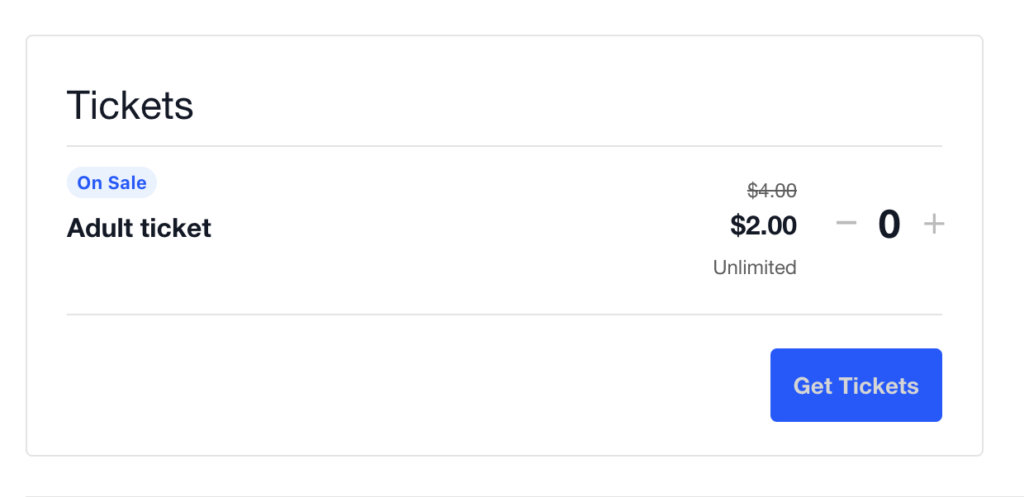
Do you want to show the sale prices on your tickets? It’s an excellent way to display the discounted price next to the full price so visitors see the amount of money saved on a ticket purchase.
Setting a sales price on a ticket – Event Tickets (free)
When creating/editing a ticket, now you’ll see the “Add sale price” checkbox. You can select that checkbox and define the sale price and the start/end date.

After that date period, your ticket will use the original ticket price again.
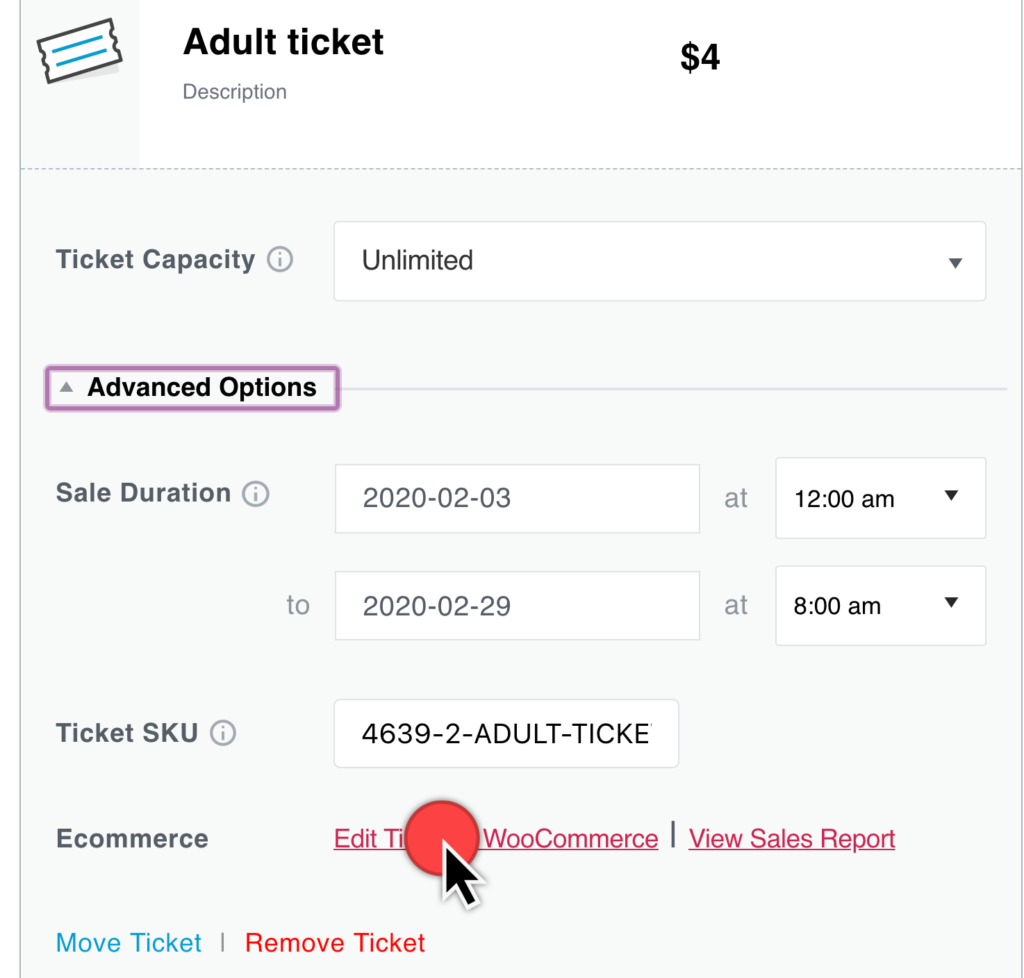
Setting a sales price on a ticket – Event Tickets Plus + WooCommerce
Begin by creating a ticket with the original price. Then modify the ticket to reflect the sale.
You can modify event tickets directly in the Ticket block if you have enabled the WordPress Block editor (a.k.a. Gutenberg) and have WooCommerce installed and activated.
If you are using the Classic editor instead of the Block editor, head over to Products from the WordPress dashboard and locate the ticket you created in the editor.
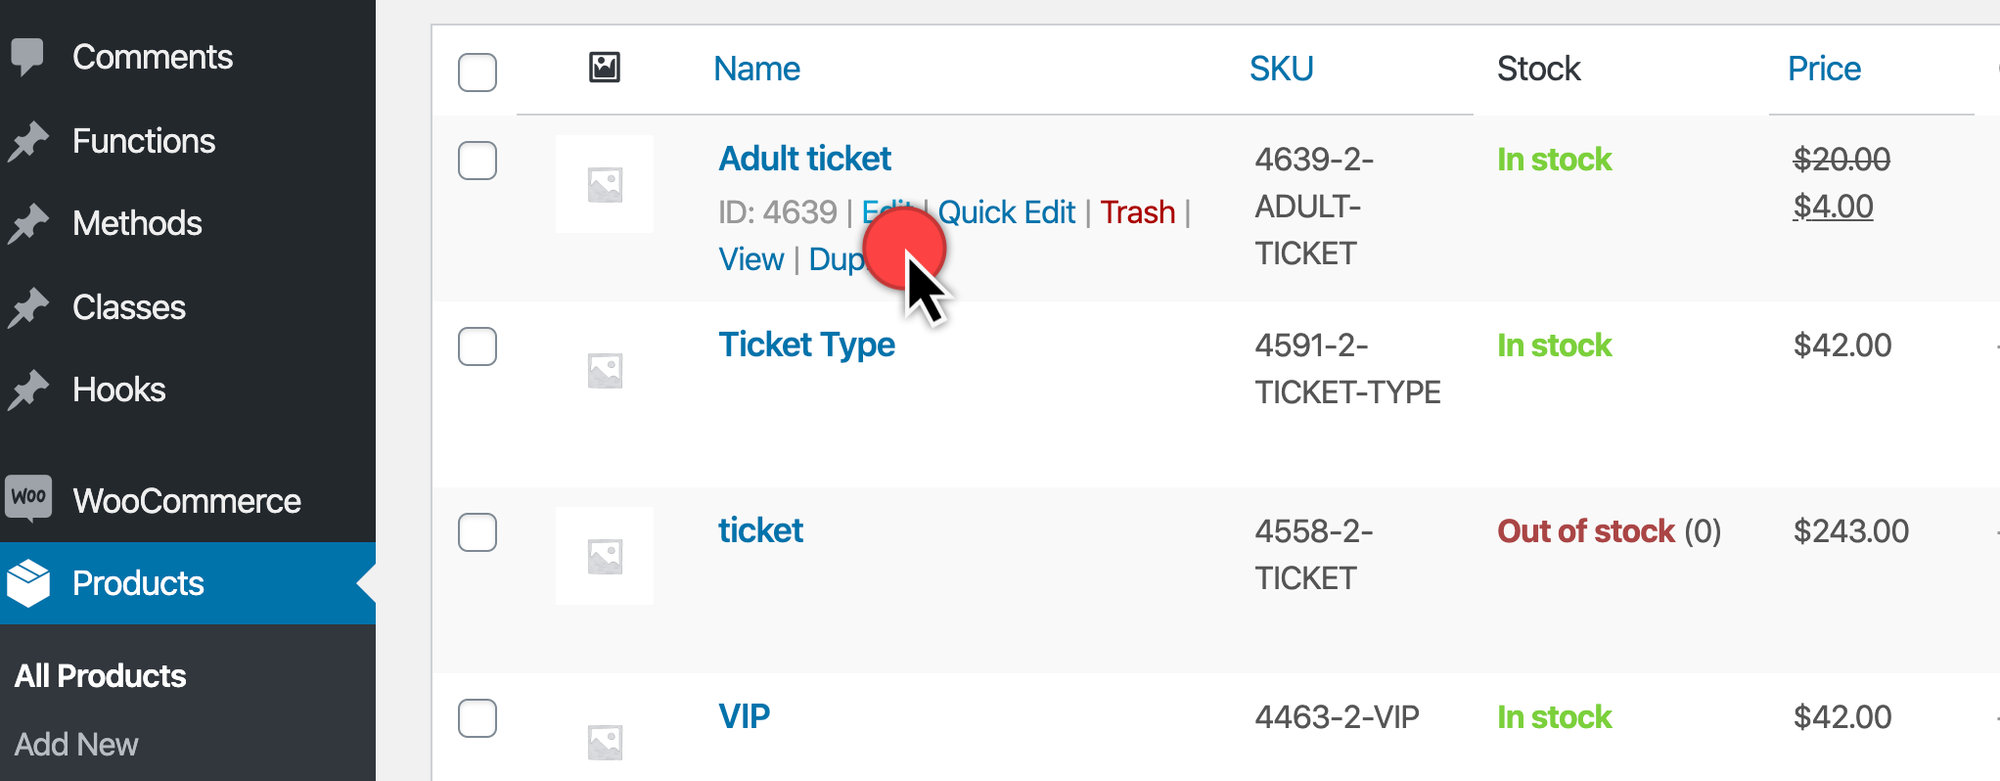
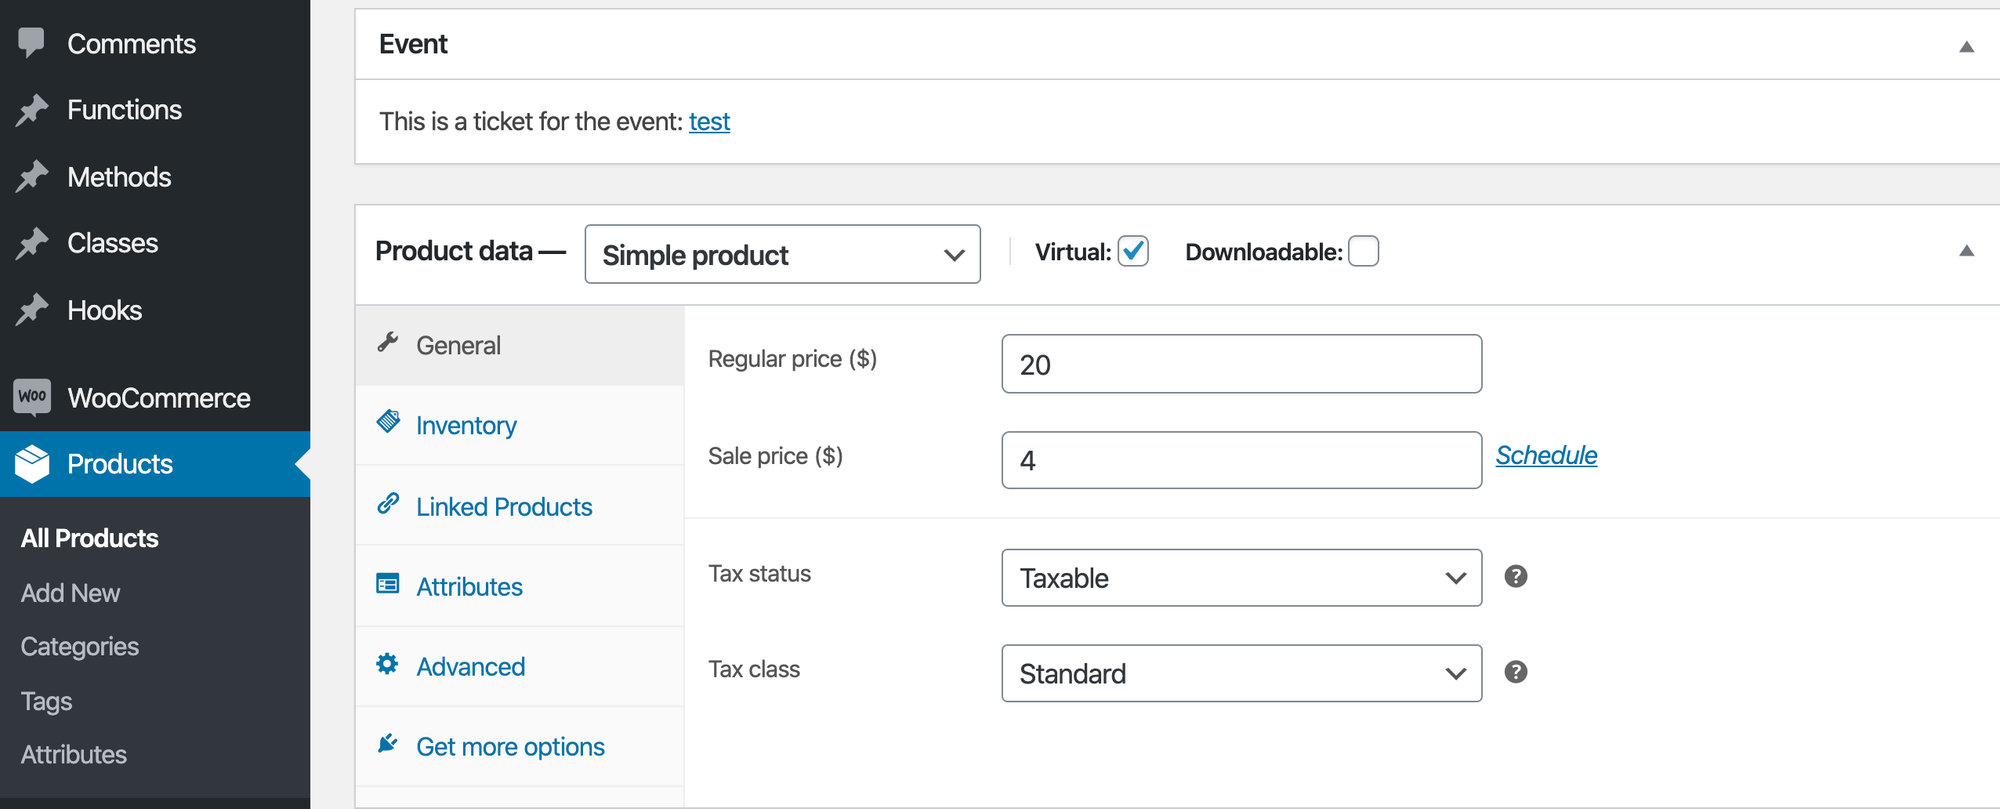
Then scroll down to Product Data to enter your sale price.
Customizing the original price
Let’s say you want to customize the original price to draw attention to the sale. Maybe that’s making the price red instead of black.
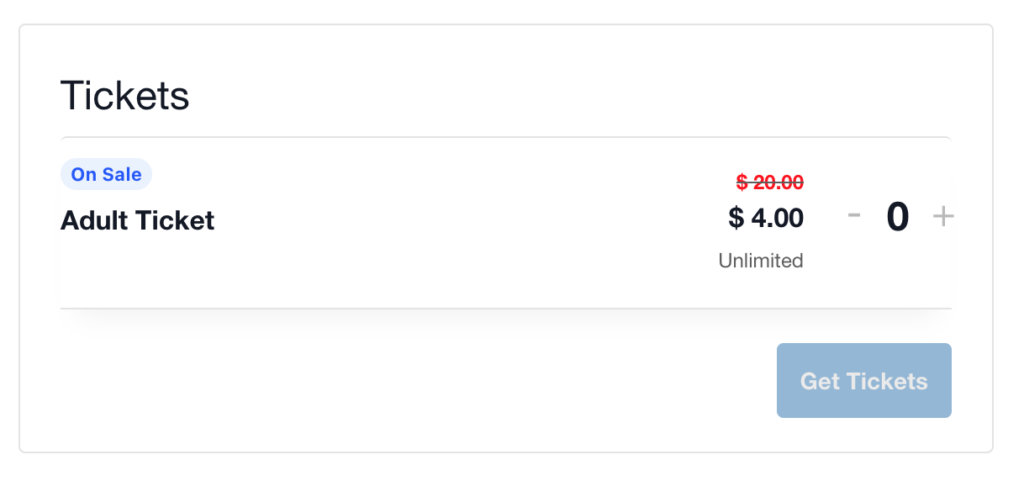
The .tribe-tickets__item__extra__price .tribe-tickets__original_price class is what you’ll want to use in your theme’s CSS, or on the Additional CSS section at wp-admin > Appearance > Customizer > Additional CSS.
Here’s an example:
.tribe-tickets__tickets-original-price span {
  color: red;
  font-size: 1.5rem;
  font-weight: bolder;
  padding-right: 1rem;
 }