Event Tickets Plus integrates tightly with WooCommerce, transforming each event ticket into a simple virtual product within WooCommerce. Creating a ticket for an event using Event Tickets Plus automatically generates a corresponding WooCommerce product. This product is usually set with hidden catalog visibility by default, ensuring ticket sales are managed discreetly within your event workflow.
This integration allows for flexible ticket management, leveraging WooCommerce’s powerful e-commerce features. The event details, ticket quantities, and attendee information are all maintained within The Events Calendar, while WooCommerce handles the transactional processes such as payments, stock control, and order statuses. This integration provides a unified solution where WooCommerce manages the purchasing experience, processing payments, sending order confirmations, and handling refunds, just like any other product.
Tickets created with Event Tickets Plus can be sold through the event page and WooCommerce product listings, offering a versatile approach to ticket sales. Additionally, WooCommerce’s extensive library of plugins and extensions can enhance the ticket purchasing experience by enabling features like discount codes and flexible payment plans. This integration maximizes control and flexibility, making it easier for event organizers to manage tickets and for attendees to make purchases through a familiar, user-friendly interface.
Getting Started
⚠️ NOTE: If you plan on using only WooCommerce to sell tickets, we suggest disabling Tickets Commerce by going to Tickets > Settings > Payments and disabling it there. In case you want to use both and switch between them for some tickets please check out our article here.
To get started you’ll need a bare minimum of 3 plugins: Event Tickets, Event Tickets Plus, and WooCommerce.
Event Tickets and WooCommerce are both free and can be added via the official WordPress plugin repository by clicking on Plugins in your WordPress dashboard, and clicking on Add New. Simply search for Event Tickets, install and activate, then do the same for WooCommerce.
Event Tickets Plus can be purchased and downloaded from our website at https://theeventscalendar.com/. Once it’s downloaded, go back to your WordPress dashboard, navigate to Plugins > Add New, and click Upload. Find the zip file, upload it, and once it’s uploaded, be sure to click Activate.
👋 Event Tickets will display a welcome screen after you activate it. You can ignore that and go back to installing WooCommerce.
Upon activating WooCommerce, it will walk you through a simple setup process that will ask for your business info.
When it asks about your Product Type, it lists several options. You’ll notice “tickets” isn’t an option, and that’s OK. Whatever you choose here doesn’t actually affect anything, so just go ahead and choose physical products and click continue.
When it asks about installing additional business features, go ahead and click the down arrow to expand that out.
You’ll notice a lot of add-ons, some free some paid. The only one we recommend installing is the first one, which is WooCommerce’s default method for collecting payment, and integrates with your Stripe account. You’re welcome to check out the other options and install any you like but for the purpose of this tutorial, you won’t need any of them.
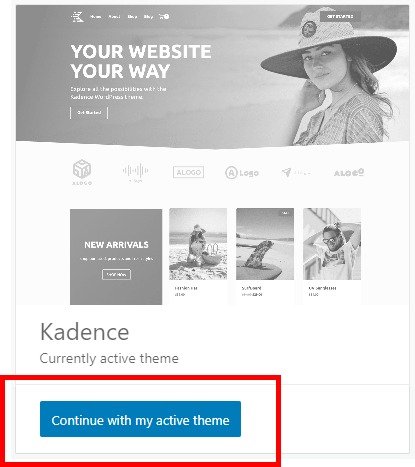
Next, it will ask you to install a theme. You’ve likely already done that so you can probably just skip this step by clicking Continue with my active theme.
That’s it for the initial setup of WooCommerce. It will now try to get you to create products. You can ignore this. You will not be creating tickets using WooCommerce (more on that later). Your next step is to setup your payment gateway (Stripe, PayPal etc).
Now, we’re not going to go through the process of setting up your payment gateway in this tutorial because there are several different options and it would make this tutorial crazy long. But I will give you a quick overview.
You have a few options:
- WooCommerce Payments. This is WooCommerce’s newer, default payment option and uses Stripe to collect payments.
- Stripe for WooCommerce plugin. This is the traditional method of using Stripe with WooCommerce.
- (For a detailed description of the differences between those two Stripe options, check out WooCommerce’s article. Most people will want to use WooCommerce Payments but depending on your needs, you may need to use Stripe for WooCommerce)
- PayPal, Square and many others
To get started setting up your payment gateway, click on WooCommerce > Settings and click on the Payments tab, then click the link that says All Payment Methods. From here you can either start setting up WooCommerce Payments, or scroll down and click on Discover other payment providers. There you will see all sorts of options for payment gateways.
For more detailed information about setting up specific payment gateways, here are a few articles from WooCommerce themselves:
Creating Tickets
Now that WooCommerce is installed and your payment gateway is all setup and ready to collect payments, you shouldn’t have to mess with WooCommerce anymore. Everything you do from here on out will take place in a Post, or Page, or Event using the Event Tickets block/module.
⛔ Do NOT go to WooCommerce > Products and create products to create a ticket. Creating tickets is done within the post/page/event editor.
Order Statuses and Ticket Emails
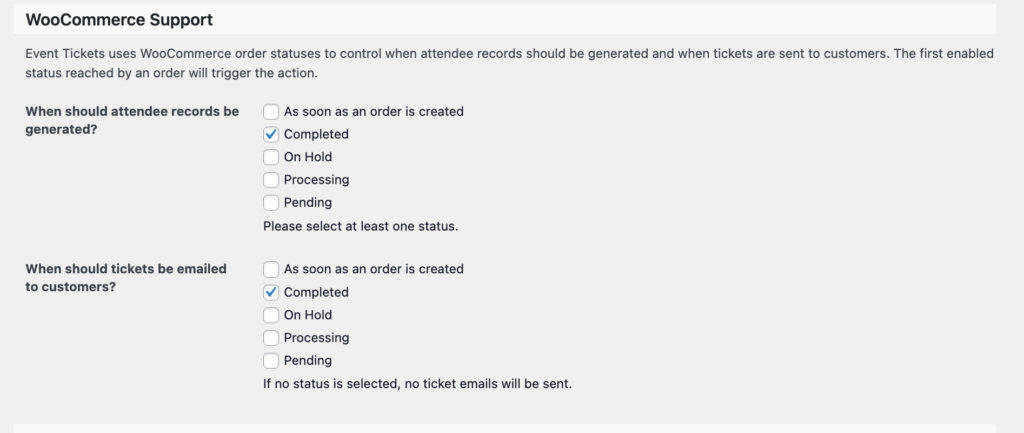
When purchasing tickets with Event Tickets Plus with WooCommerce, emails won’t be sent to attendees until the order has been marked as Complete. By default, this process needs to be done manually by the administrator.
This is default WooCommerce behaviour and not something that we can change.
You can change when Event Tickets sends the emails by going to Tickets > Settings > Integrations and in the WooCommerce section, select the order statuses you want:
Stock Management
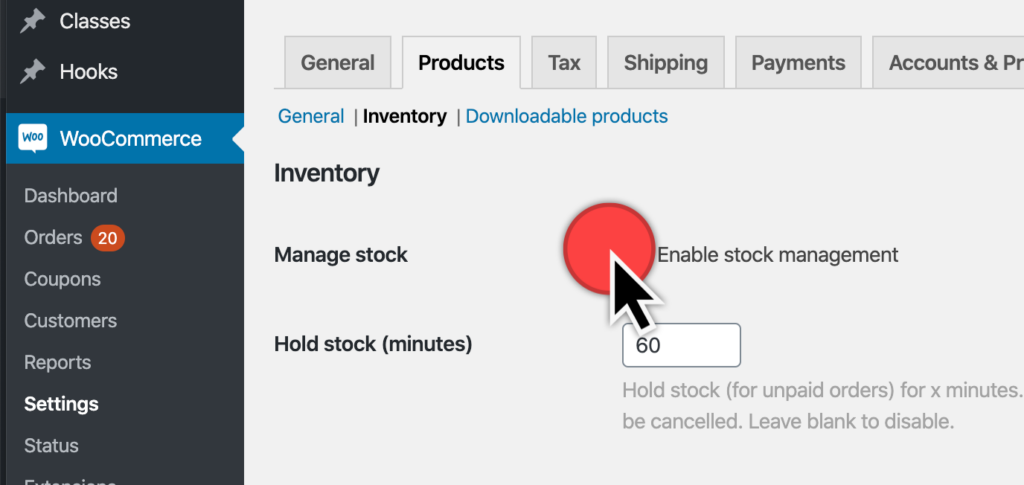
For optimal functionality with Event Tickets Plus, we recommend that you check Enable stock management under WooCommerce > Settings > Products > Inventory. If you leave this option unchecked, it may result in ticket capacity showing as “unlimited” regardless of your ticket stock.
Other Settings
Handling PayPal Orders
To avoid having duplicated attendees, we’ve included the ability to have a 5-second delay before tickets are sent. If you are using PayPal with WooCommerce, enabling this delay is advised.
Please refer to our guide on using PayPal for ticket purchases to configure your PayPal settings.
Price Suffix
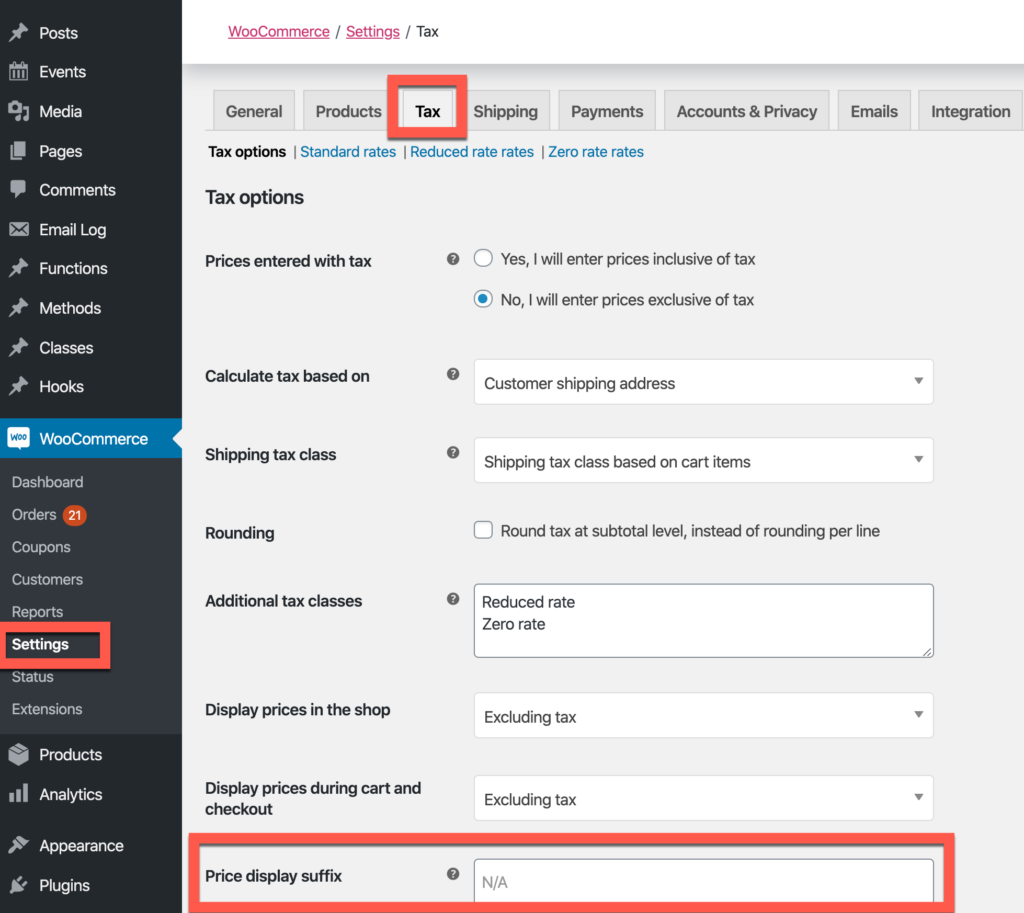
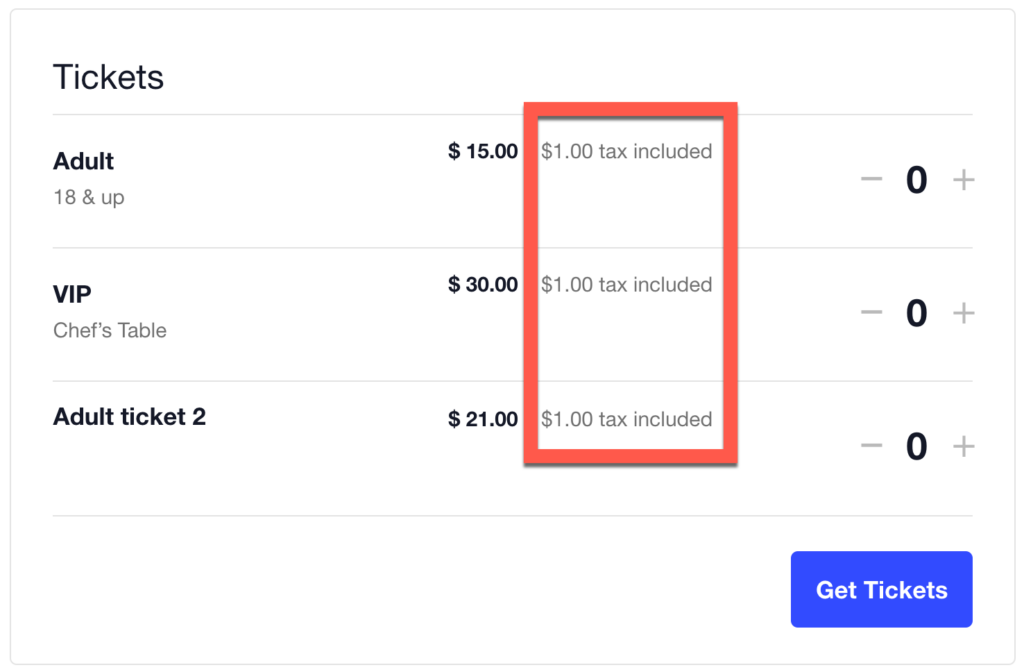
Ever want to add some descriptive text about a ticket after the price? A “Price Suffix” is text that displays after the product price, showing details related to the price of the product. WooCommerce has a method for displaying suffix text and we’ve integrated it in the tickets block when you have the WooCommerce tax feature enabled.
To enable this, head to WooCommerce → Settings → Tax → Price display suffix.
To see the WooCommerce Price Suffix on your Event Tickets, view a published ticket.
Switching from Tickets Commerce to WooCommerce
Tickets Commerce is the lightweight eCommerce solution that comes as part of the Event Tickets plugin. This solution is simpler in features and functionality compared to WooCommerce. You may run into limitations after using Tickets Commerce for a little while and decide to make the move to WooCommerce. In this article, we’ll show you how to easily switch from Tickets Commerce to WooCommerce with the Event Tickets and Event Tickets Plus plugins.
To use WooCommerce for tickets, you must have both the Event Tickets and Event Tickets Plus plugins installed and activated.
Tickets are specific to the eCommerce provider they were created for. Once a particular eCommerce solution is deactivated, any associated tickets will no longer be available. However, note that any existing attendees for those tickets will still show on the event’s attendees page.
Note: When making the switch to WooCommerce, you will have to manually re-create tickets that were created while you were still using Tickets Commerce.
Switching the Ticket Provider
Any given event can only use one eCommerce provider at a time. You can set this independently for each event.
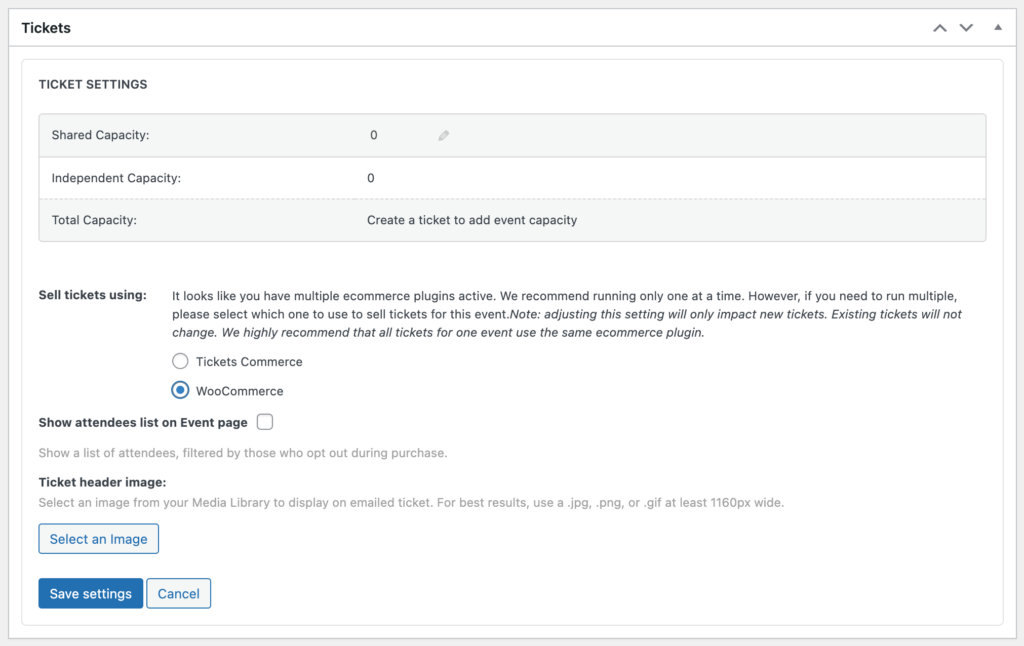
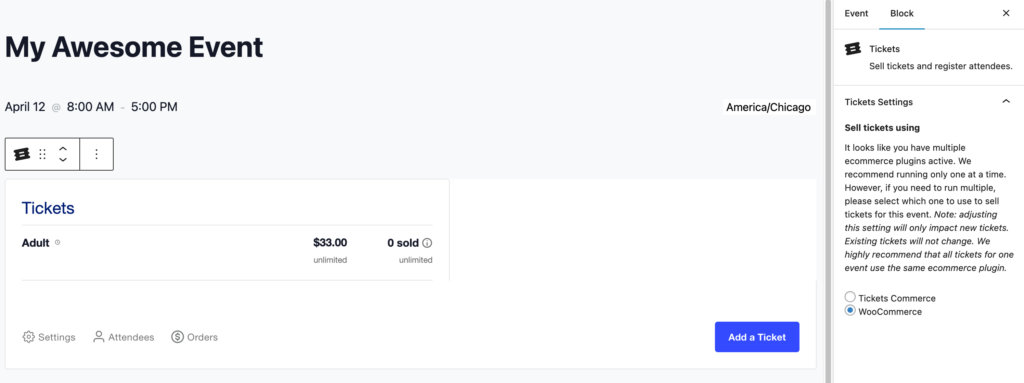
You can find the Sell tickets using option in the “gear icon” settings of the tickets form when using the Classic Editor, and will show in the editor sidebar when the tickets block is selected when using the Block Editor.

Depending on your situation when switching between Tickets Commerce and WooCommerce, you will take one of two approaches.
Events Already Using Tickets Commerce
If you have ongoing events with tickets that were created with Tickets Commerce but want to start using WooCommerce for new events and tickets, you can leave Tickets Commerce enabled until those events have finished ticket sales.
Once all of the Tickets Commerce events are finished, you can disable Tickets Commerce under Tickets > Settings > Payments, and any new tickets will automatically be created as WooCommerce tickets.
You can also move the attendees from the original ticket to a new one if desired. See our Moving Tickets article for these steps.
New Events
If you’re using Tickets Commerce and WooCommerce, make sure the Sell tickets using option is set to “WooCommerce” before creating new tickets on new events.
If you do not have any current tickets for sale with Tickets Commerce, you can simply enable WooCommerce and disable Tickets Commerce under Tickets > Settings > Payments, and any new tickets will automatically use WooCommerce.