Note: This article describes the process for using Tribe Commerce, our legacy e-commerce solution. Starting with Event Tickets 5.2.0, all new installs will include our new e-commerce solution, Tickets Commerce, instead. Read more about setting up Tickets Commerce here.
Tribe Commerce is a built-in e-commerce option to accept payments using our Event Tickets plugin. If you’d like to connect directly with PayPal to sell tickets from your site without any additional plugins required, it’s a solid option for you.
In this tutorial, we’re going to cover all of the settings available for Tribe Commerce to help set you up for accepting payments for ticket purchases.
Tribe Commerce settings
To sell tickets on your website, you’ll need to enable Tribe Commerce at Tickets → General → Tribe Commerce.
From there, configure your PayPal account.
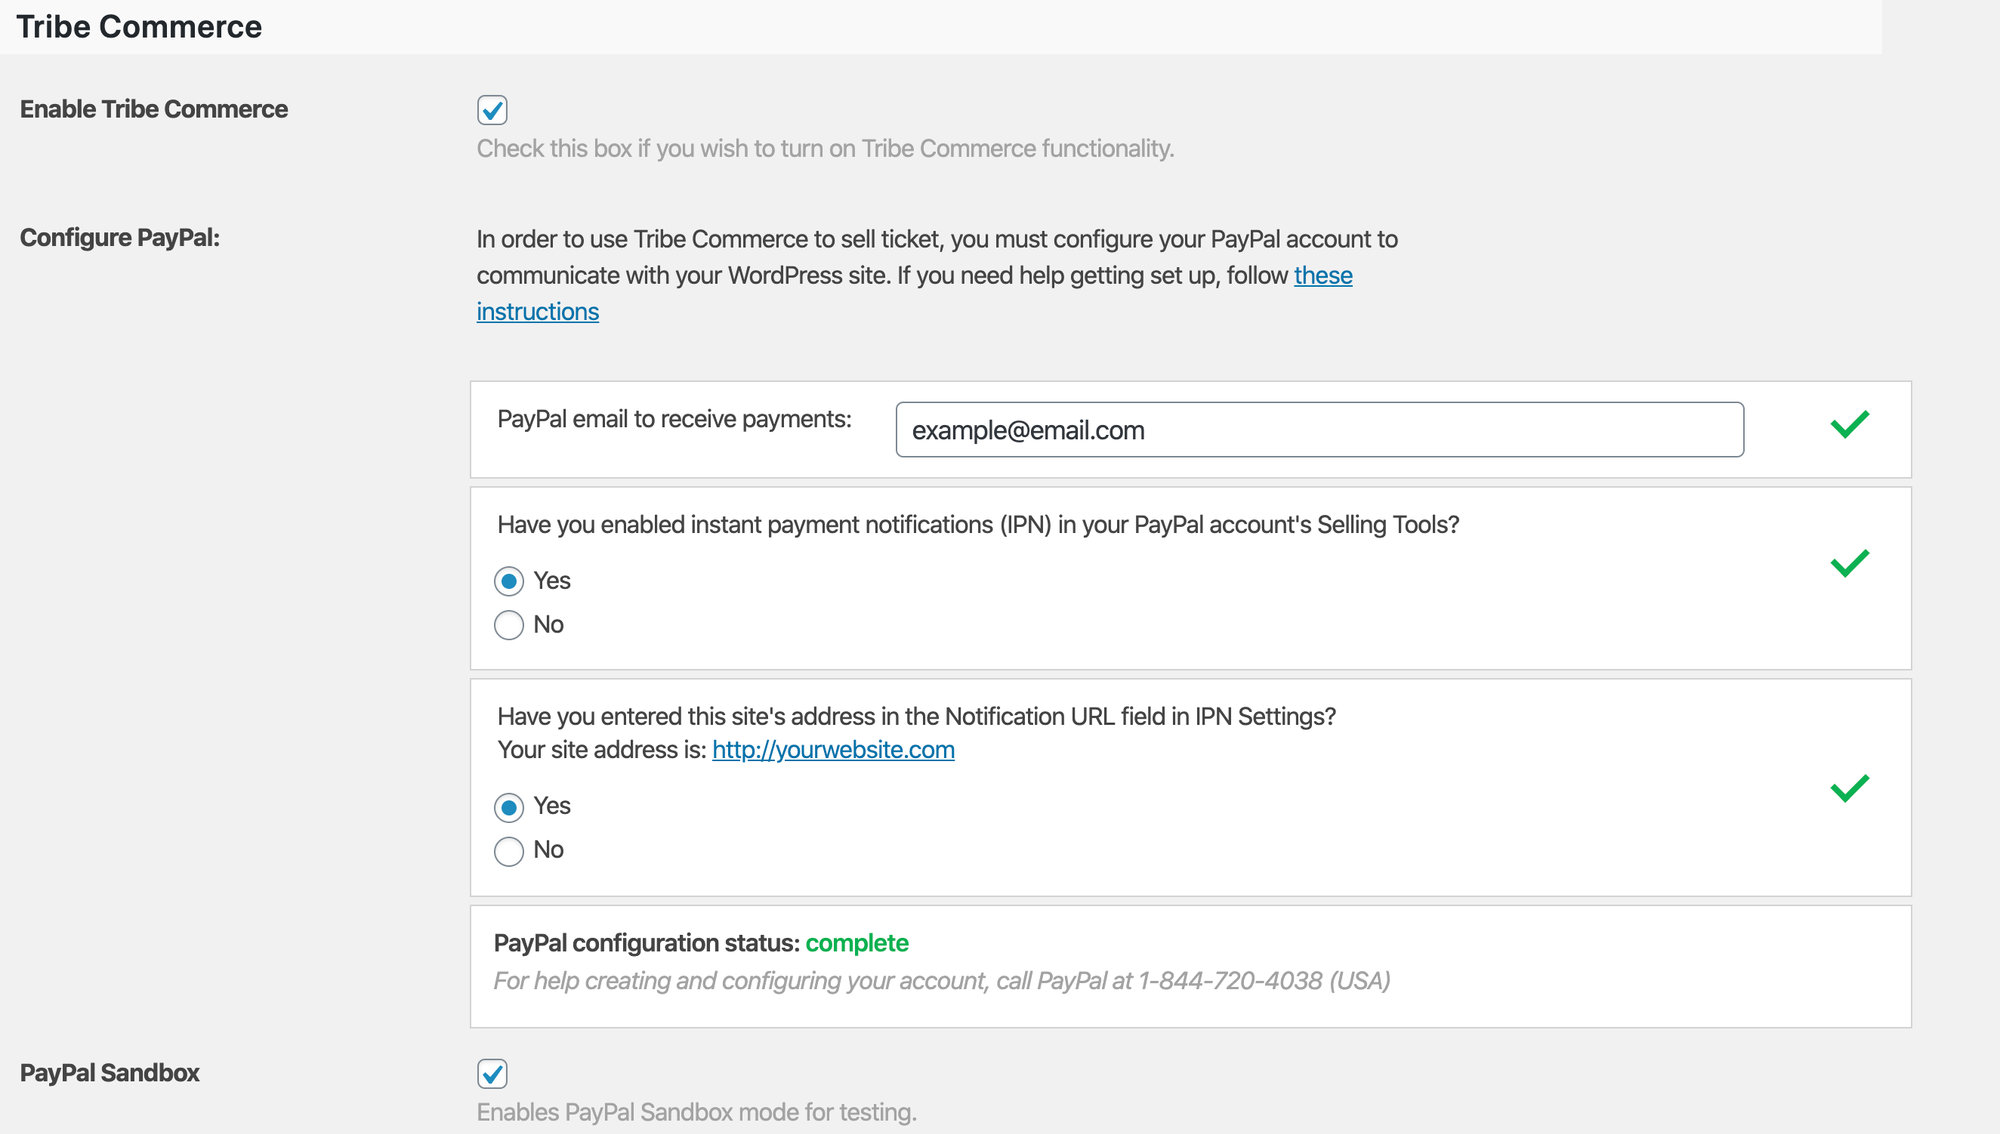
- Enable Tribe Commerce: Selecting this option activates Tribe Commerce as an option for creating and selling tickets.
- Configure PayPal:
- Email: This takes the email address of your PayPal user account.
- Have you enabled IPN?: Select “Yes” if you have already set up Instant Payment Notifications in your PayPal account.
- Have you entered this site’s address in IPN settings?: Select “Yes” if you have set this up in your PayPal account settings.
- PayPal Sandbox: Select this to disable actual purchases. This is used for testing payments and transactions without making a charge.
Once those settings have been completed, the status of your PayPal configuration will be updated to “Complete.”
Continue configuring your preferred settings. Take special note of setting your success page. This is the page users will view after finalizing their PayPal checkout process.
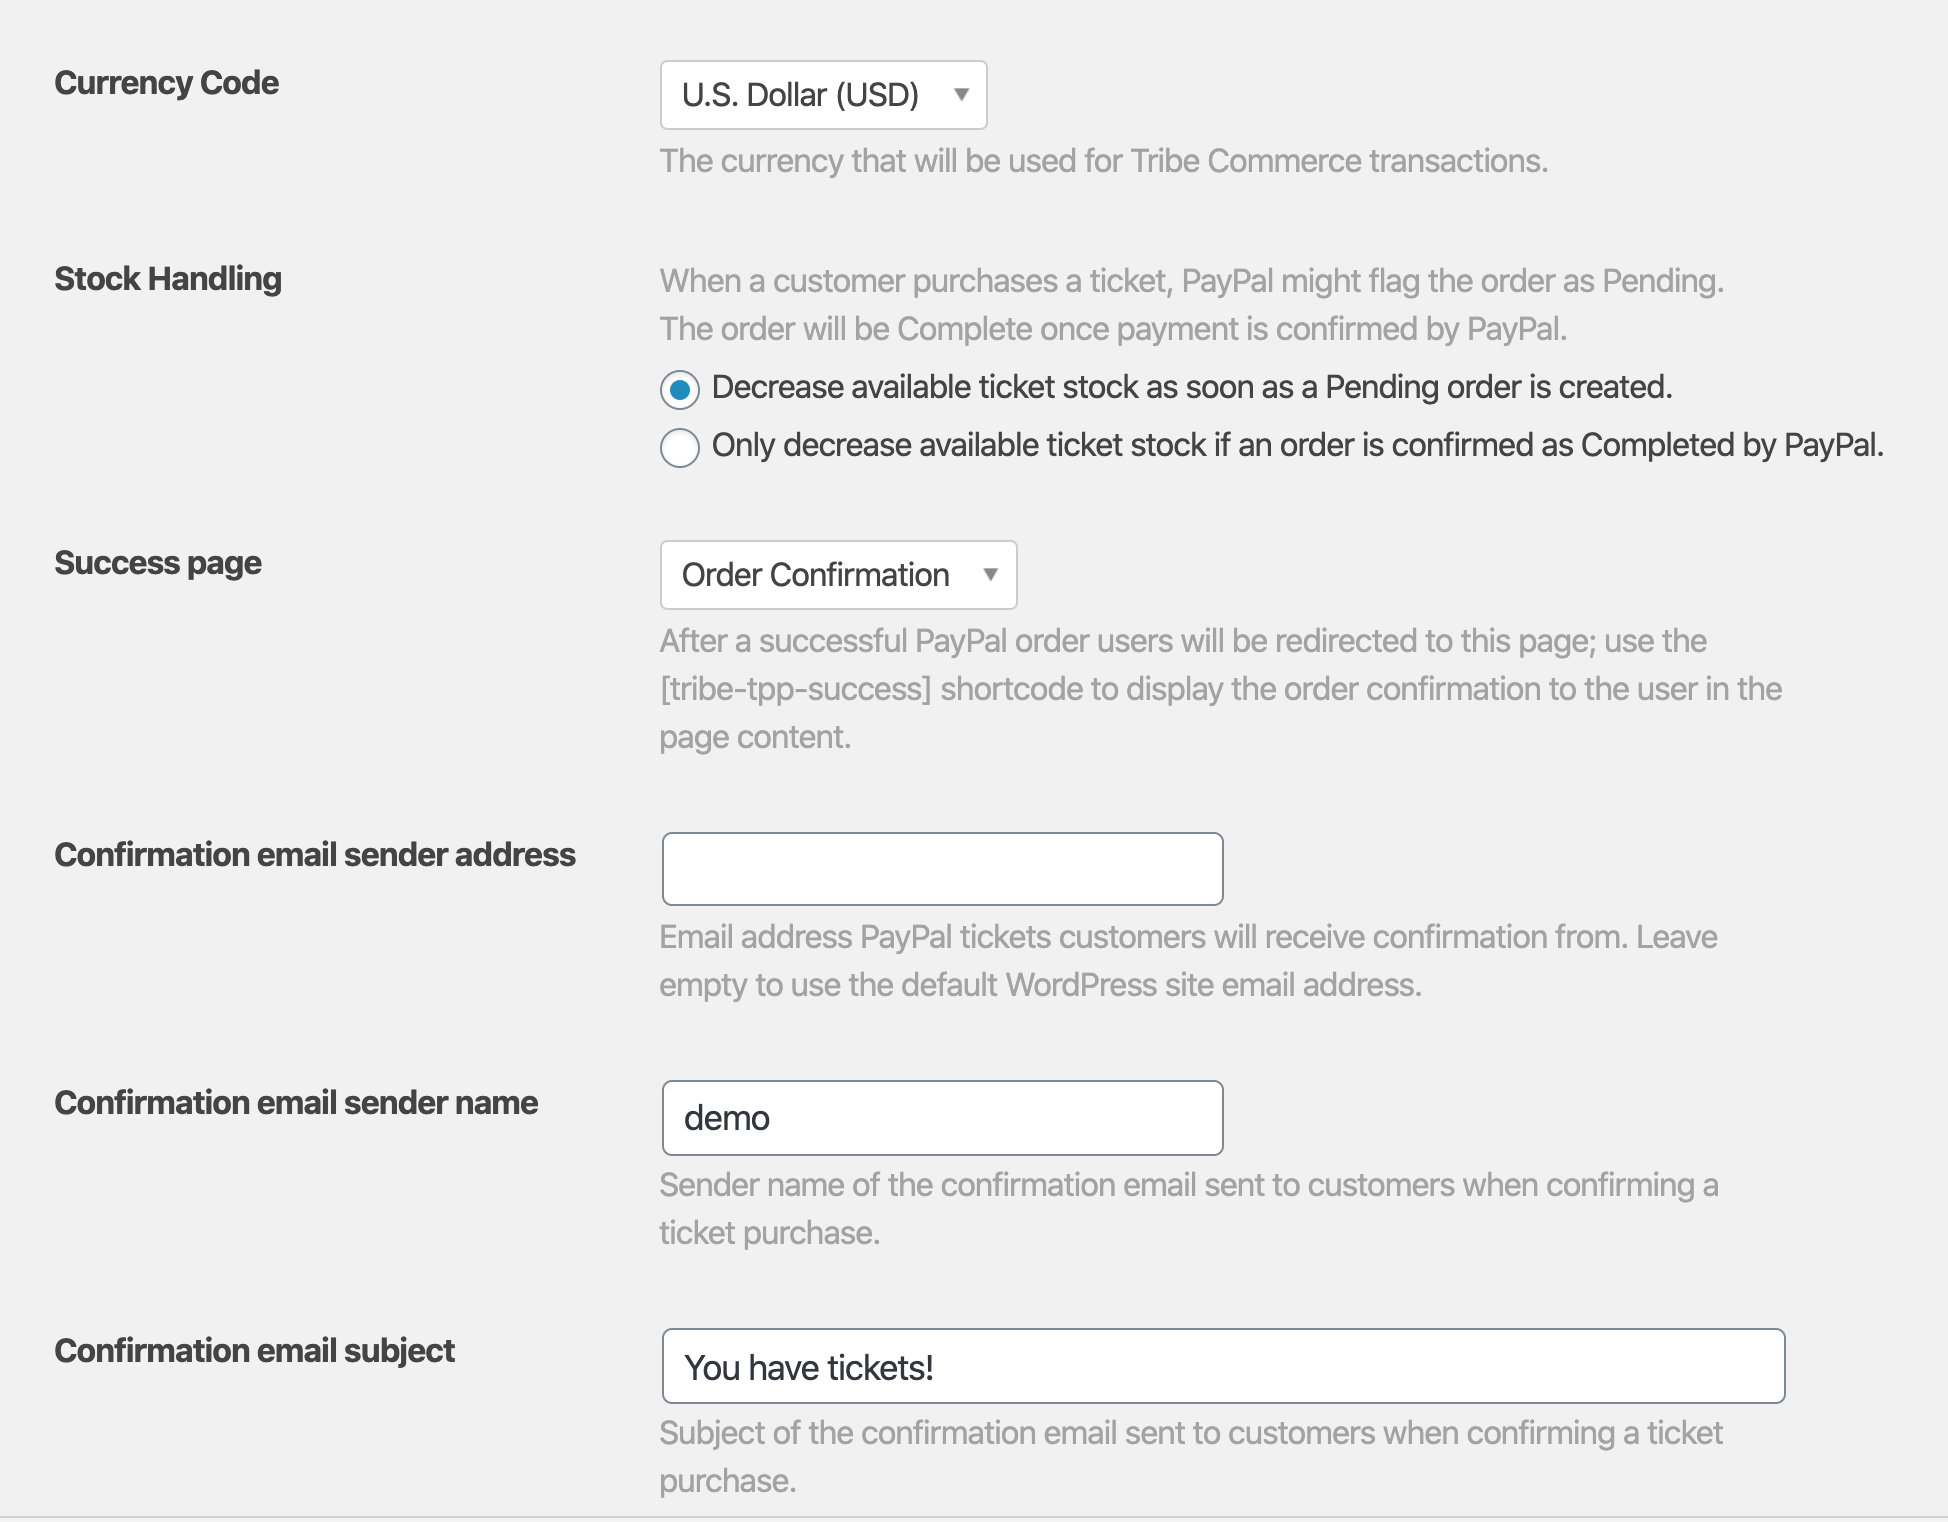
- Currency Code: Choose the currency your site uses to handle transactions.
- Stock Handling: This lets you decide whether you would like your ticket inventory to update once an order is pending or only after it has been fully completed by PayPal.
- Success page: This determines the page that users will be redirected to once they have completed their purchase in PayPal.
- Confirmation email sender address: This allows you to set the “from” email address that is used when purchase and ticket confirmations are sent to the user after a purchase. By default, it is set to the site email address in the WordPress settings.
- Confirmation email sender name: This is the name that displays in an email inbox. For example, using “Modern Tribe” would display that as the email sender name in a user’s inbox.
- Confirmation email subject: This lets you set the subject line for the email a user receives containing their tickets.
Selling tickets
To begin using Tribe Commerce, create a ticket and publish the event, page, or post where it is used.
Users will see the ticket on your website and add a ticket to their cart.
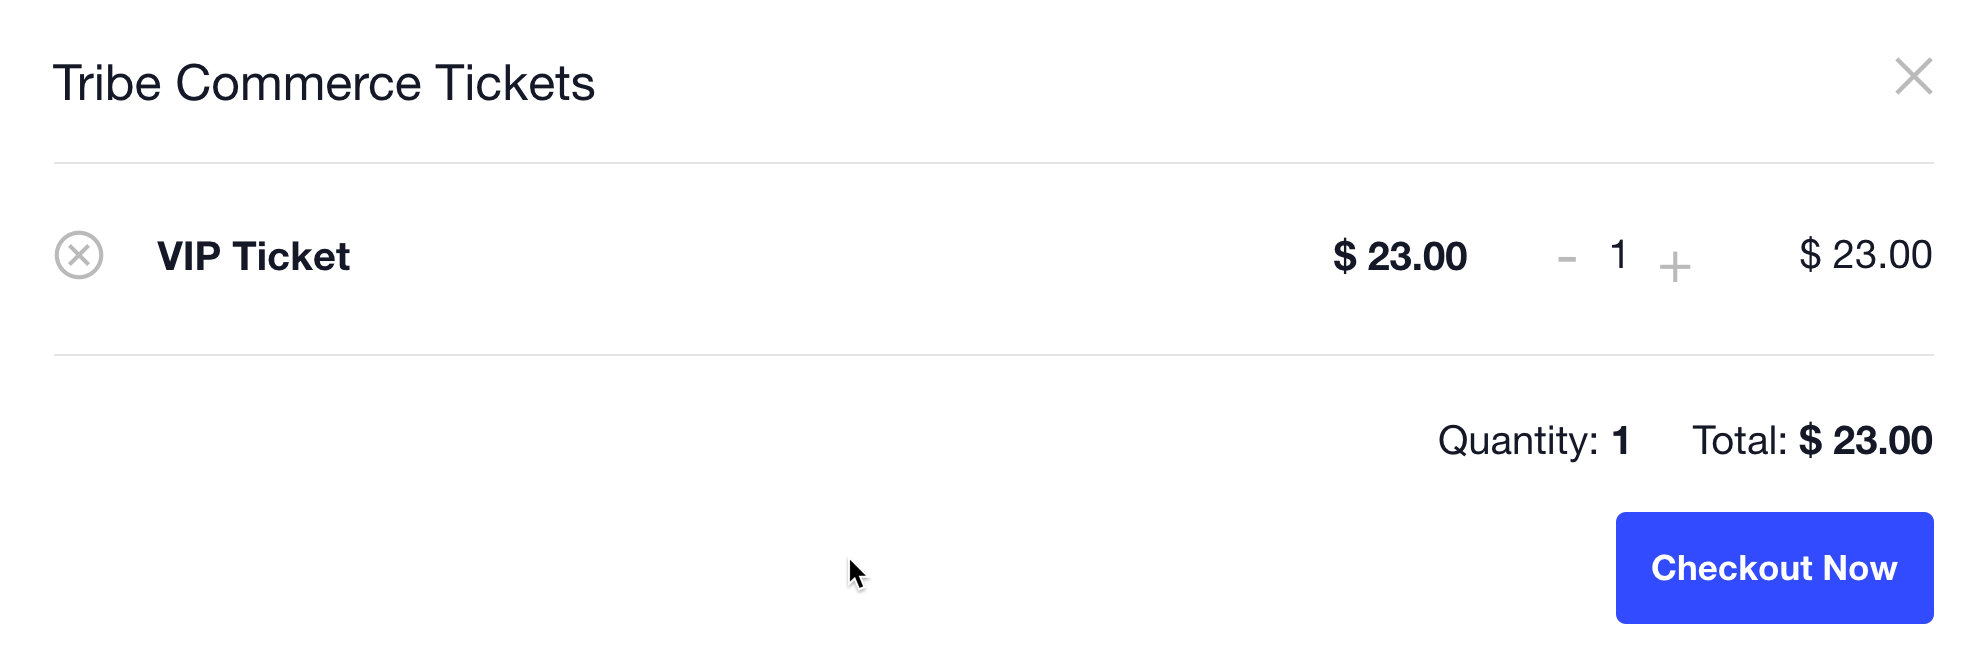
Users will proceed through the checkout process, see PayPal’s login and payment prompts, and then return back to the order confirmation page.

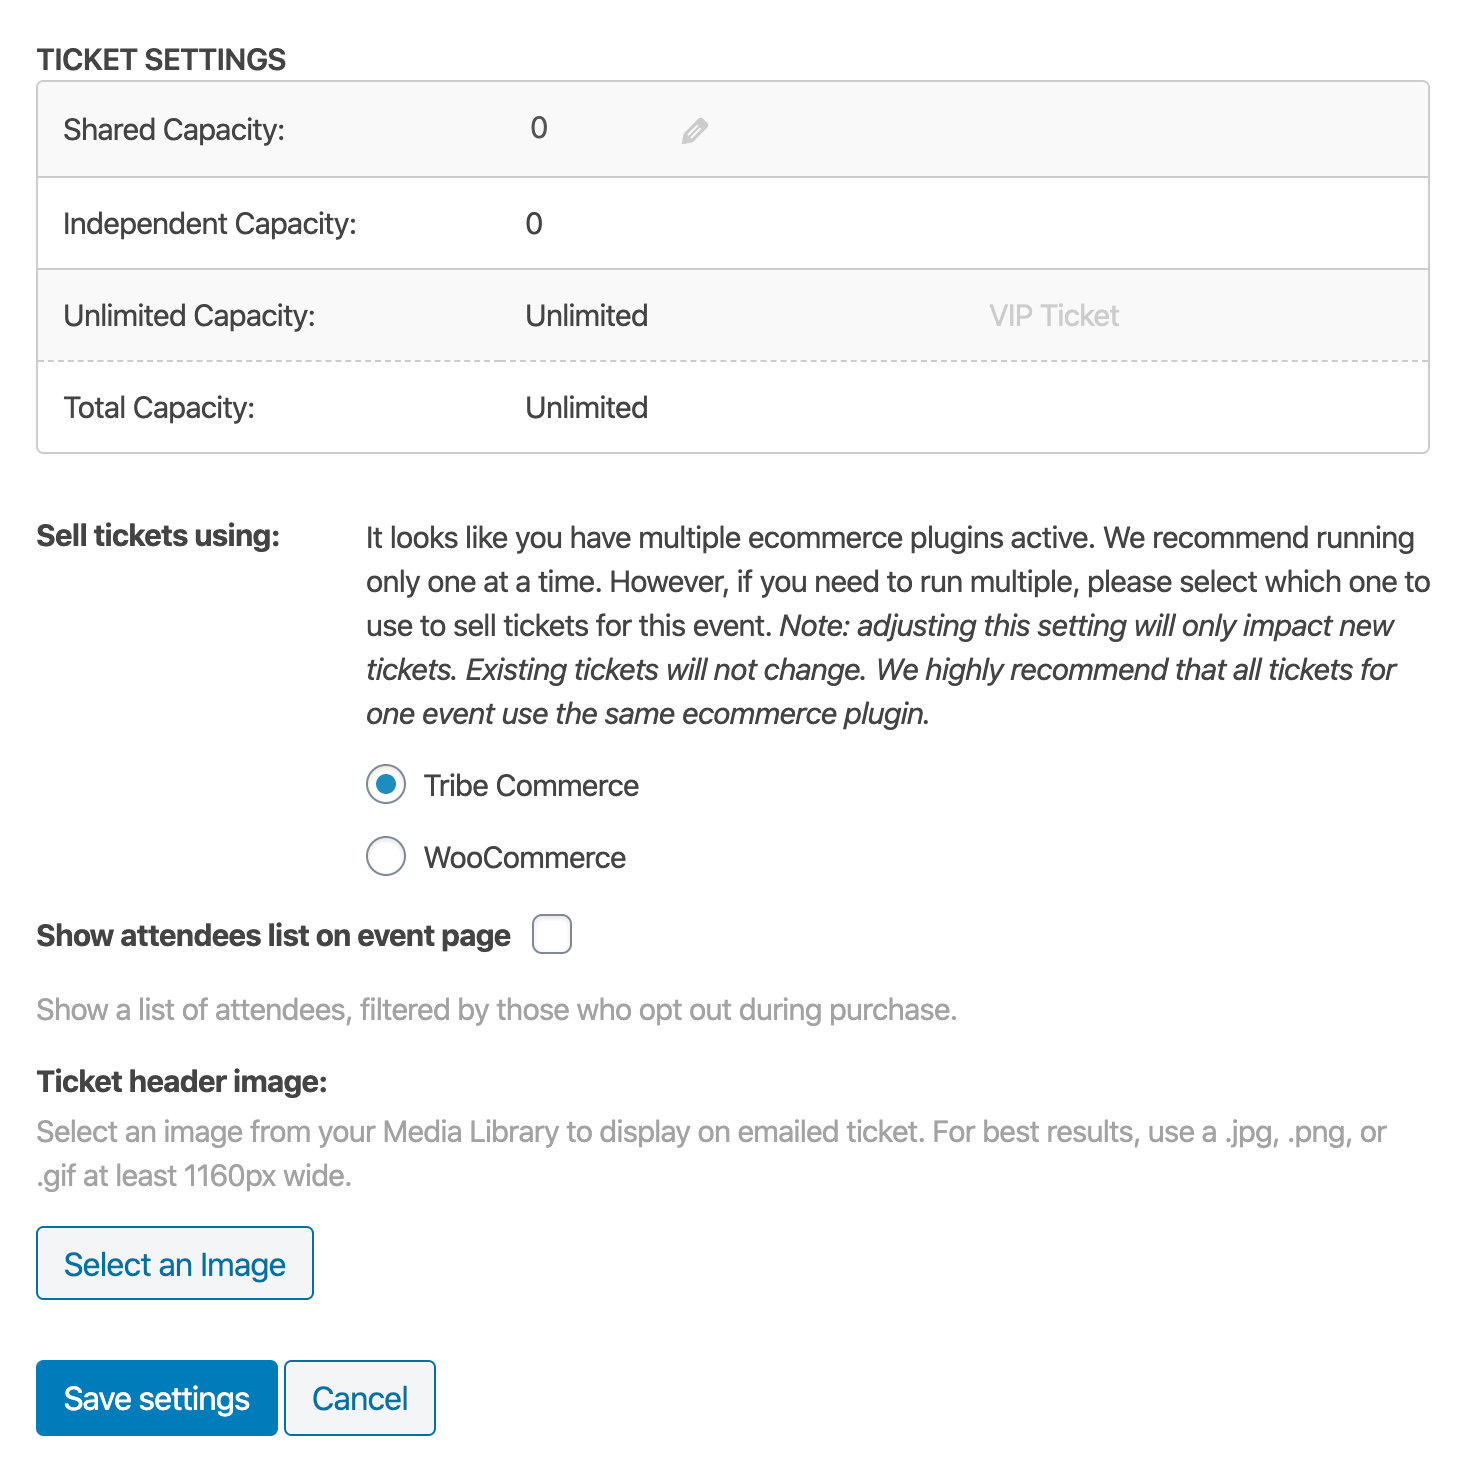
Multiple e-commerce options
If you are using our Event Tickets Plus add-on with Event Tickets, it supports additional e-commerce plugins for selling tickets, including WooCommerce and Easy Digital Downloads. If you have one or both active, they will appear as additional options in the Tickets block settings in the editor.
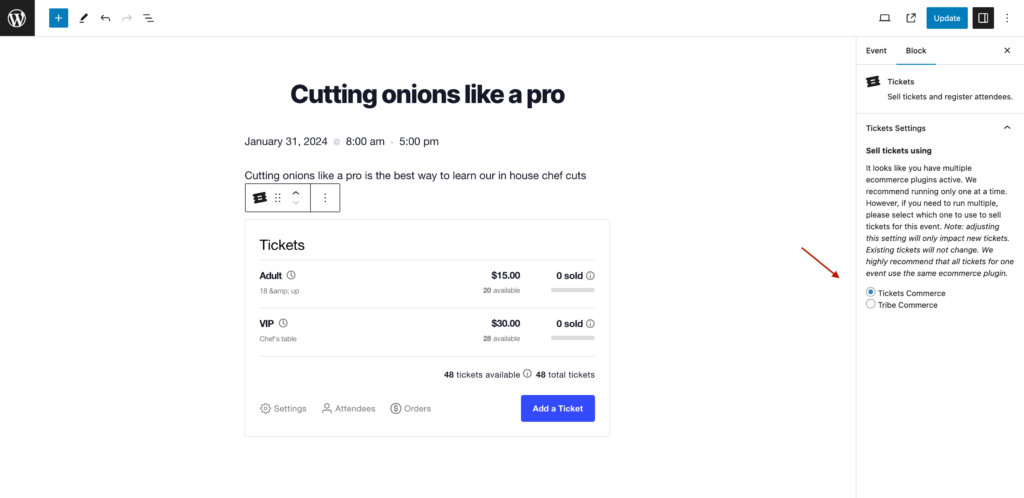
This looks a little different if you are working with the classic WordPress editor instead of the block editor:
Congratulations! You are now ready to receive payments for your tickets in your PayPal account and your clients will be automatically redirected to your success page after their payments.