If you find yourself thinking, “The event list widget design is great, but I wish it showed the event’s featured image,” well, we’ve got something for you. In fact, we have three approaches to do just that.
Let’s walk through those together!
What we’re making
In short, we’re adding a thumbnail of the featured image for each event that is displayed in the widget.

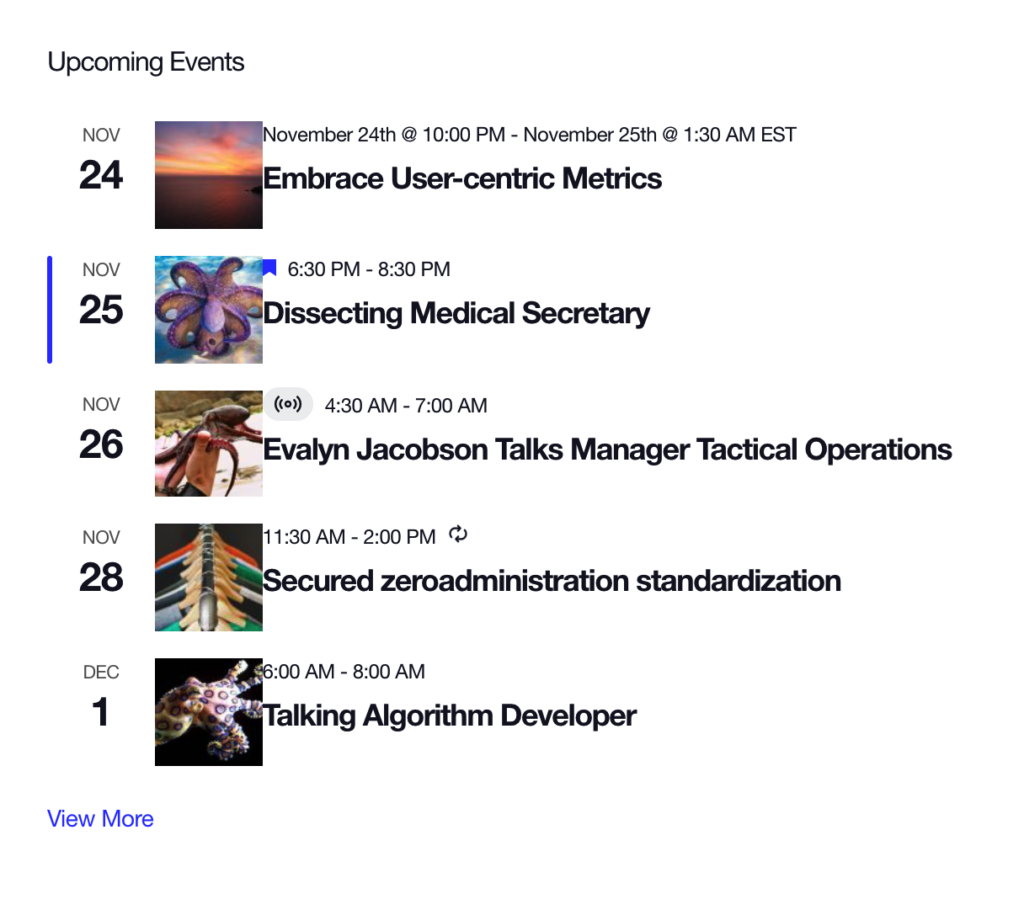
The nice and neat way
We’ve got the nice-and-neat way (which we recommend because we like things neat, and you get to learn how the plugin templates work).
As we’ve discussed before in other articles, our new templating system is chock-full of actions and filters that allow for fine-tuned customization. If what we want is to simply jam an image in there, we can do that with a couple of hooks.
Open up your functions.php file. It’s located at the top level of your theme folder. Then add this snippet at the bottom of the file:
// Here we hook into our template action - just before the date tag, which is the first item in the container.
add_action(
  'tribe_template_after_include:events/v2/widgets/widget-events-list/event/date-tag',
  'my_action_add_event_featured_image',
  15,
  3
);

// Here we utilize the hook variables to get our event, find the image, and echo the thumbnail.
function my_action_add_event_featured_image( $file, $name, $template ) {
  // Get the event for reference - we'll need it.
  $event = $template->get('event');

  $link = sprintf(
    '<a href="%1$s">%2$s</a>',
    get_the_post_thumbnail_url( $event ),
    get_the_post_thumbnail( $event, 'thumbnail', array( 'class' => 'alignleft' ) )
  );

  echo $link;
}
This gives us the images just like we want:
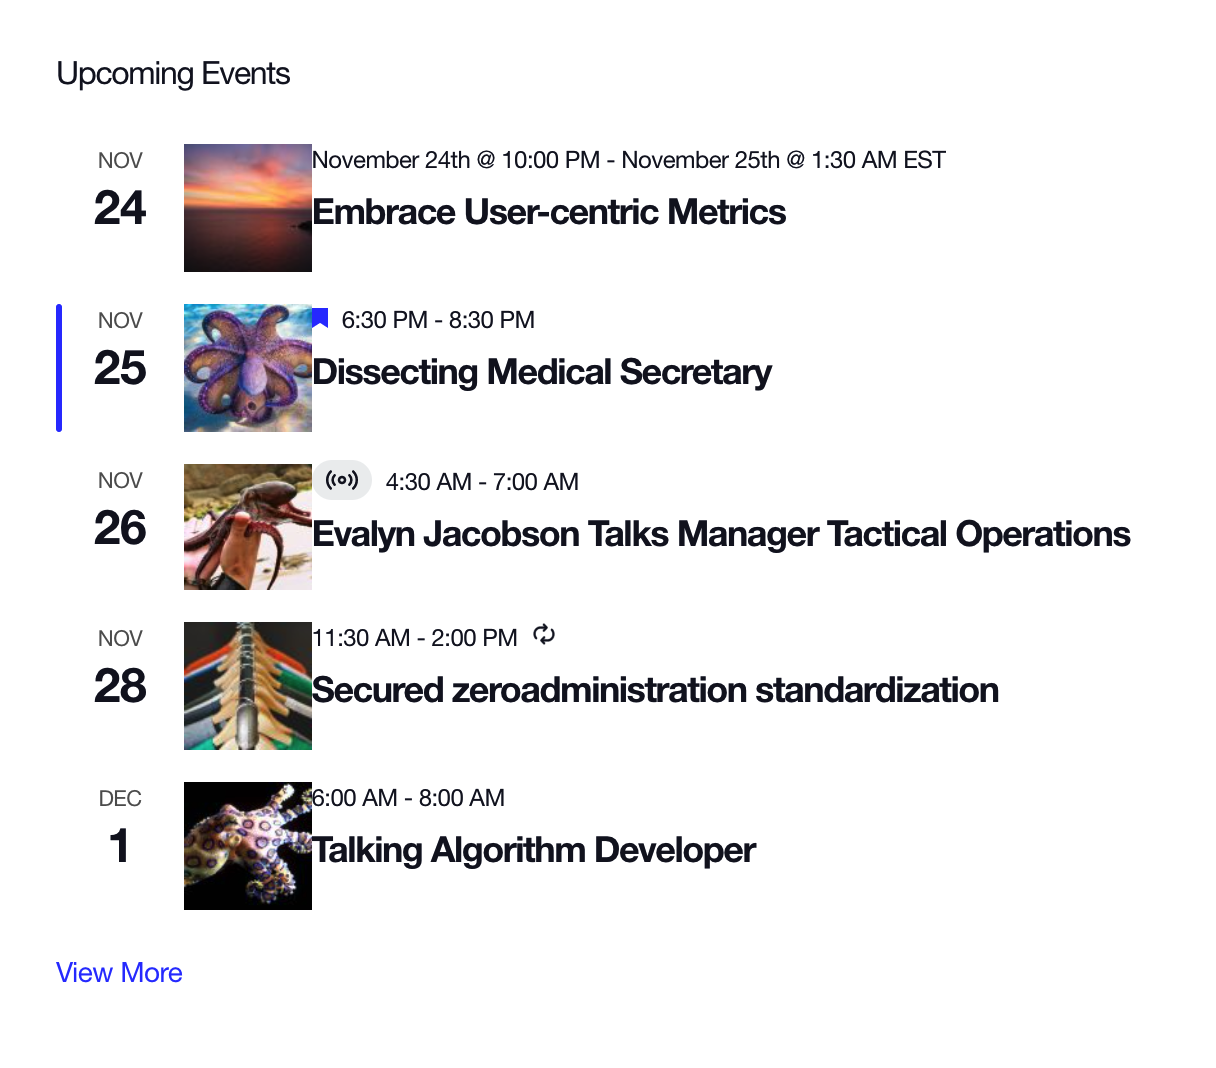
There’s still a little styling to do there. For example, the thumbnail images are pushed right up against the event’s date and title. That’s nothing a little CSS in your theme’s stylesheet can’t handle.
ℹ️ Related: Customizing CSS
The custom template way
This approach is similar to the previous one, but we’re going to be a bit neater about where we put our HTML. What we’re doing is creating a custom template that contains the featured image, goes in the theme folder, and gets injected into the widget.
Follow that? Yeah, not exactly “nice and neat” but it is a very effective and clean approach to get the featured image thumbnail in the widget. It also provides more room to add logic without creating a giant function to handle it like the previous approach.
First we use the add_action as we did before at the end of the functions.php file. This is hooking into the action that injects the template containing the event’s date and time and tells the theme to run a custom my_action_add_event_featured_image action.
// Here we hook into our template action - just before the date tag, which is the first item in the container.
add_action(
  'tribe_template_after_include:events/v2/widgets/widget-events-list/event/date-tag',
  'my_action_add_event_featured_image',
  15,
  3
);
Now let’s define that function, again, in the functions.php file, right after the previous snippet.
function my_action_add_event_featured_image( $file, $name, $template ) {
	// Get the event for reference - we'll need it.
	$event = $template->get('event');

	// Here's where we get and display our image.
}
In the “nice and neat” approach, we used a similar snippet to inject the HTML for the featured image thumbnail. This time, we’re going to inject a custom template that contains that HTML. That way, you can always add more markup to the file instead of having to mess with your functions.
We don’t need to create a template from scratch. There’s already a template in the plugin that contains the event’s featured image. It’s located in The Events Calendar plugin files, which is in the wp-content directory one level up from the theme folder. This is the file we want: the-events-calendar/src/views/v2/list/featured-image.php.
Let’s copy that featured-image.php file and put the copy in the theme folder. It’s not terribly important where the copied file goes, but it’s best that it lives in a tribe folder so it’s separated from the rest of the theme files. This would make a good path because it conforms to the same pattern used for template overrides: [my-theme]/tribe/events/v2/widgets/widget-events-list/event/featured_image.php.
So, going back to the functions.php file in the theme, we can add that path to our function, like this:
function my_action_add_event_featured_image( $file, $name, $template ) {
  $template->template( 'widgets/widget-events-list/event/featured_image', $template->get_values() );
}
There’s some sleight-of-hand happening here. See that $template->get_values() bit in the function? That makes sure the template values all get passed along to our new template.
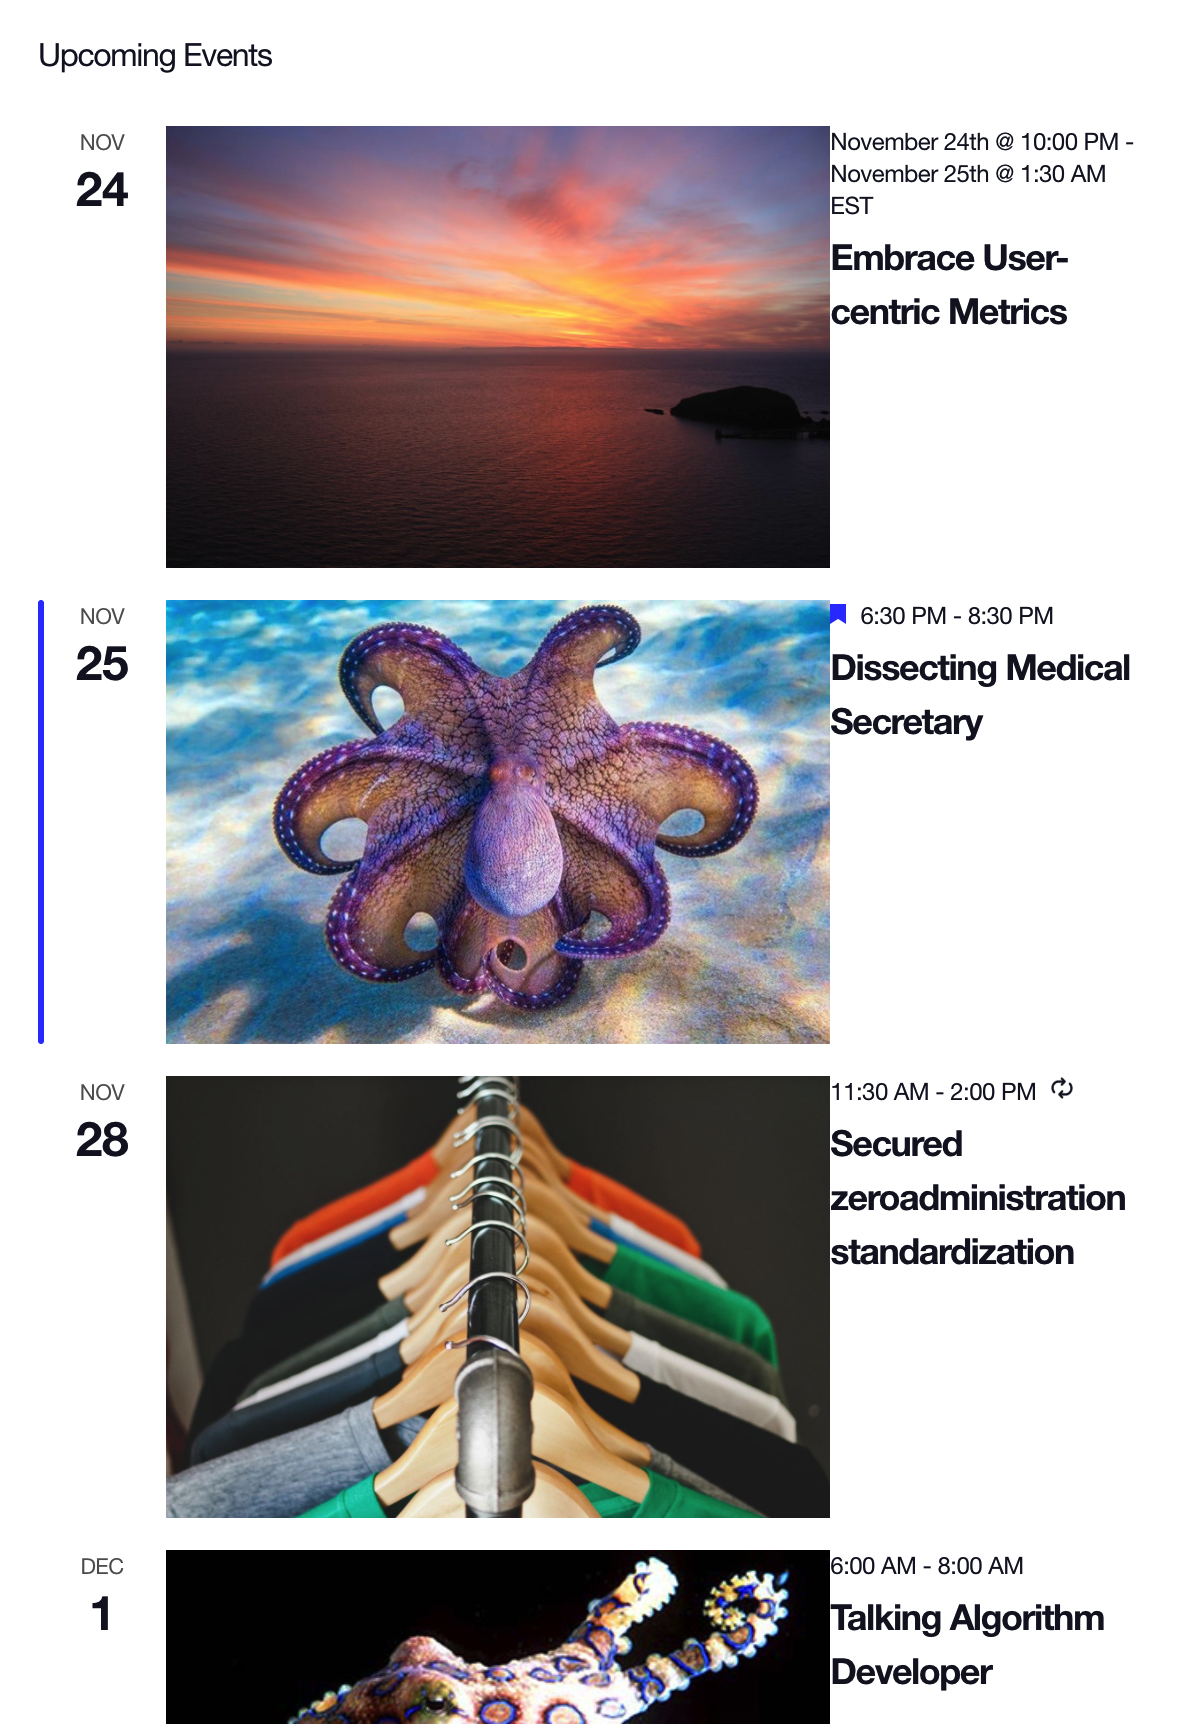
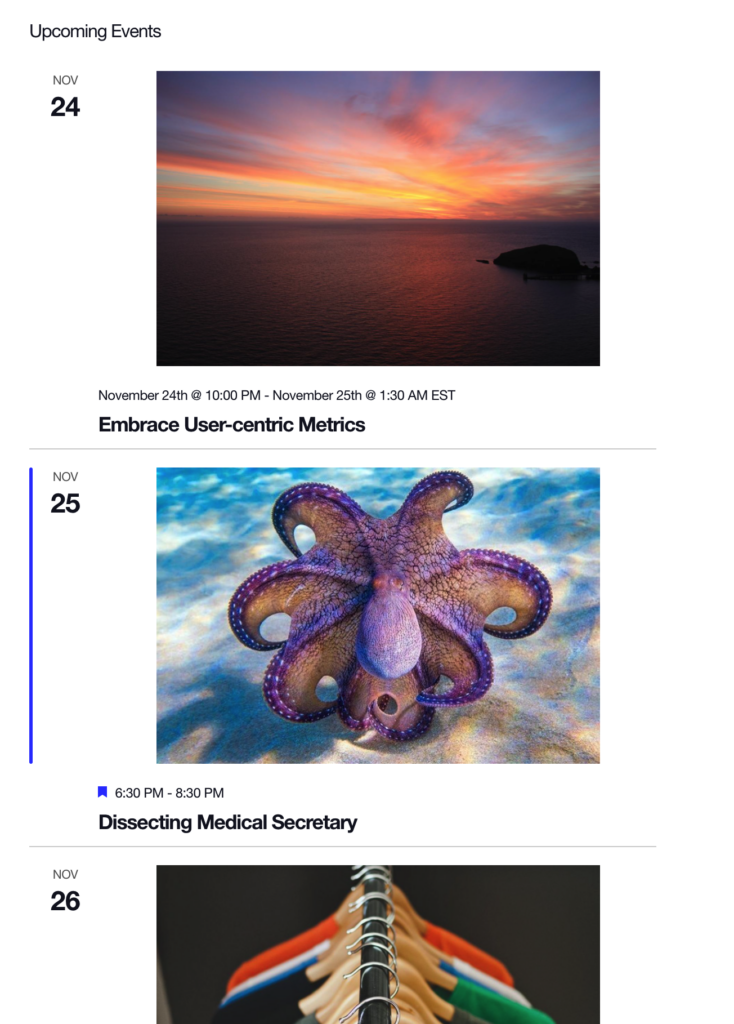
Here’s what we get:
The template override way
We have one more approach, and it’s a bit less work and messing with the functions.php file. Instead of creating our own template, we’re just going to override the plugin’s template. There’s an entire article on template overrides and how they work, but let’s quickly walk through it.
First, locate the template we want to override. It’s located in the plugin folder itself, which is at wp-content/plugins/the-events-calendar. Once in there, let’s snag the actual file called event.php in the /src/views/v2/widgets/widget-events-list folder.
Now that we know where the template is, we can make a copy of it and add it to the active theme. We need to create a /tribe folder in the theme, then drop the copied event.php file in there in another set of folders. The final file path of the copied template will be:\
wp-content/themes/[your-child-theme]/tribe/events/v2/widgets/widget-events-list/event.php
Now that the files is in our theme, we can customize it to suit our needs! In this case, we can add the following line of code to the template to display the features image:
<?php echo tribe_event_featured_image( $event->ID, 'thumbnail' ); ?>
To display the featured image above or below the title, add it above or below this line, respectively:
<?php $this->template( 'widgets/widget-events-list/event/title', [ 'event' => $event ] ); ?>
Or, if we want things to work look and work like the first two approaches, add that code after this line instead:
<?php $this->template( 'widgets/widget-events-list/event/date-tag', [ 'event' => $event ] ); ?>
Wrapping up
And there you have it — three solid approaches for adding an event’s featured image thumbnail to the event list widget. The first approach is “nice and neat” because it only involves working on one file. But the custom template approach offers more flexibility when it comes to adding more markup as well as better separation of concerns as the markup is kept distinct from the function that injects it.