This guide walks through how to use Elementor templates for event pages in The Events Calendar. It covers three workflows: the free Single Event Starter Template (Elementor + TEC), dynamic single event templates (Elementor Pro Theme Builder), and templates for Series pages (Events Calendar Pro). It also covers adding and styling tickets on Elementor-designed event pages using the Event Tickets Plus widget.
Looking for snippets that customize which event data appears in Elementor (for example, hiding recurring-event instances in Loop Grid, or displaying individual Additional Fields)? See Customizing Event Data in Elementor.
Single Event Templates with Free Elementor
All you need for this workflow is the Elementor and The Events Calendar plugins and the Hello Elementor theme. Elementor Pro is optional and adds dynamic templating (covered below).
Adjust Elementor Settings
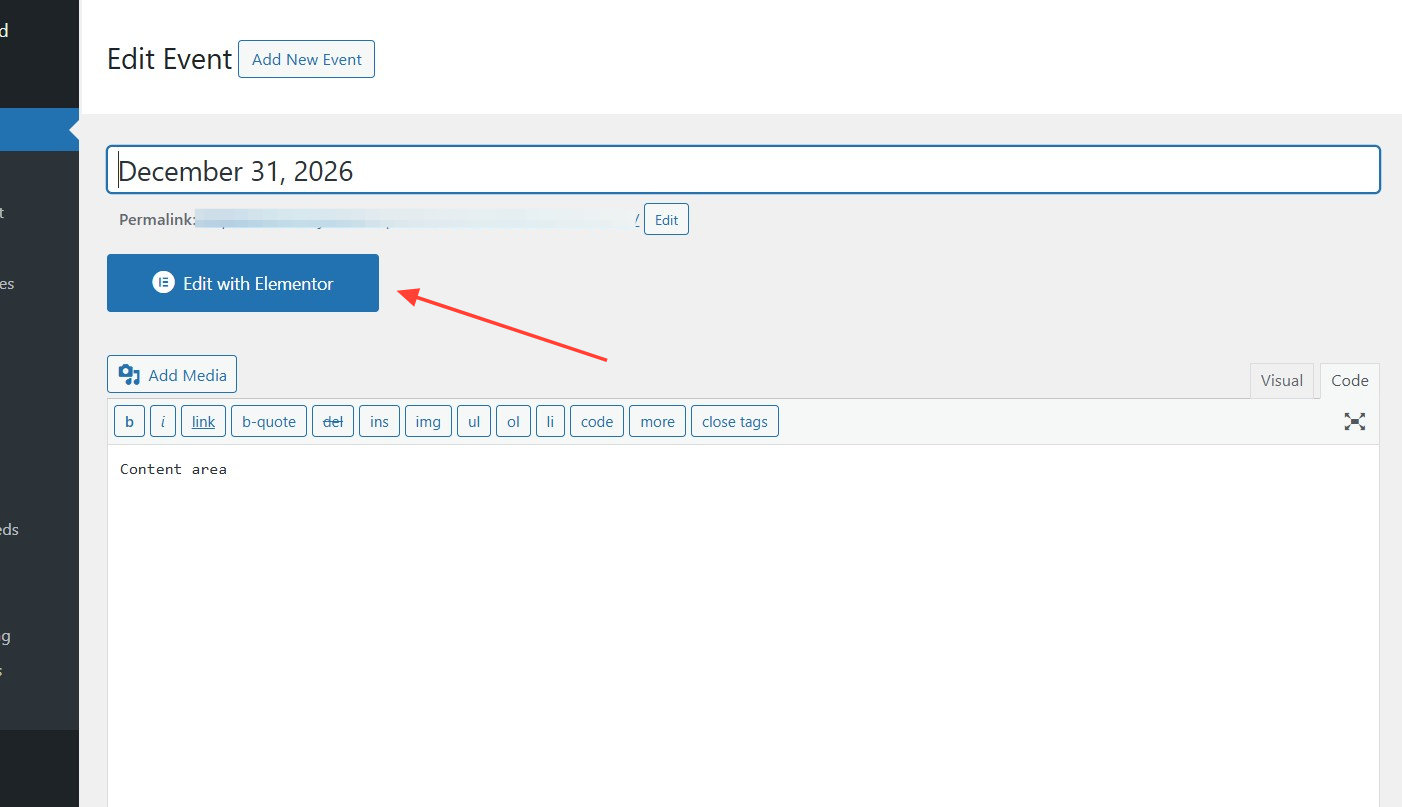
Go to Elementor → Settings and make sure Events is checked under post types. This makes the Edit with Elementor button appear on the Edit Event page.

Create the Event
Add a new event as usual. The event content still comes from the Classic Editor; the style is what gets edited in Elementor.
Once the event content is in place, save the event as a draft, then open the Elementor editor to apply the template.
For technical reasons, only the Classic Editor works with Elementor for events. If you create an event using the Block Editor, it will be forced to the Classic Editor once the Edit with Elementor button is clicked. Worth keeping in mind if you switch away from the Elementor template later.
Apply the Single Event Starter Template
Once the Elementor editor opens, click the folder icon to apply the Single Event Starter Template. This template is automatically added to My Templates when The Events Calendar and Elementor are both activated.
To bypass the Single Event Starter Template, add this to your theme’s functions.php or to a snippet plugin:
add_filter( 'tec_events_integration_elementor_bypass_template_override', 'bypass_template_override', 10, 2 );

function bypass_template_override( $bypass, $post_id ) {
    return true;
}
You can also conditionally bypass the template for specific events using the $post_id variable.
Style the Event
From here you can edit your single event just like any other Elementor page. Note that the Single Event Starter Template is static for free Elementor users — it acts as a snapshot applied to a specific event at a specific time. If you tweak the starter template later, those changes will not automatically propagate to existing events. Only new events where you apply the updated template inherit the changes.
The template has all event widgets included by default. If you did not add content to a given widget’s underlying event field, the widget will appear in the editor but will not render on the frontend.
To apply the template to an existing event, the process is the same. From the Edit Event page, click Edit in Elementor and apply the template. Any previous styling will be overridden once the template is applied.
Due to how default templates work, the event description gets bumped to the top of the page. To fix this, copy that element, paste it where you want it, and delete the original.
Any changes you make here affect only that specific single event — they will not be applied to the starter template itself.
Dynamic Single Event Templates with Elementor Pro
Elementor Pro users can build unlimited dynamic templates for single events. Changes to a dynamic template automatically apply to every event that meets its display conditions — no per-event reapplication required.
By default, no Elementor template is assigned to events. To apply a single event template to all events, go to Elementor → Theme Builder, edit the Single Event option, and set the conditions to Events and All.
You can also scope the template more narrowly — to events with a certain title, events within a certain category, and so on.
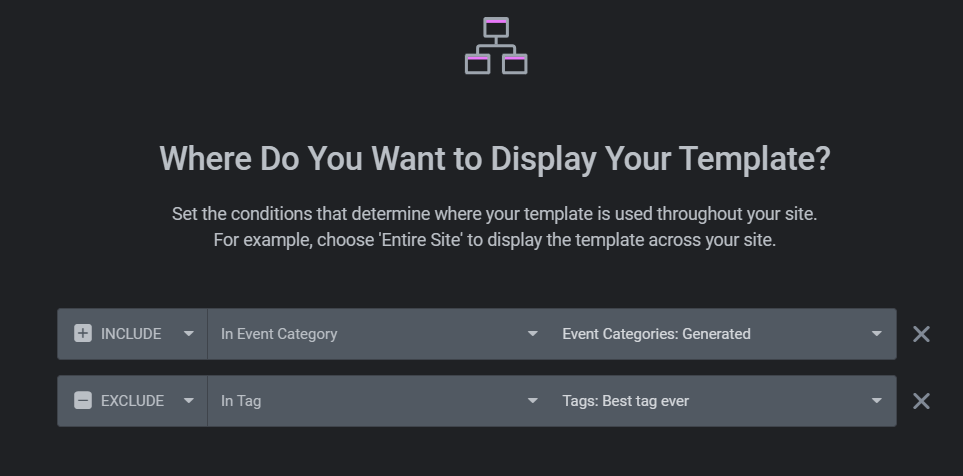
Using Include and Exclude Rules
For finer control, combine Include and Exclude rules. For example, to apply a dynamic template to events from the Generated category but not to the subset of those events that also have the Best tag ever tag:
- Create an Include rule that applies the template to events from the Generated event category.
- Add an Exclude rule for events that have the Best tag ever tag.
Events with Tickets
When you create an event with the WordPress editor and add an Event Ticket to it, the ticket displays on the event page automatically.

However, once you click Edit with Elementor and apply an Elementor template — either the Single Event Starter Template (free Elementor) or a custom template built in the Theme Builder (Elementor Pro) — the event data is rendered through Elementor widgets, but the Event Tickets block is not included by default.

This is the expected behavior. The ticket must be added manually using the Event Tickets widget that comes with Event Tickets Plus.
Prerequisites
For the Event Tickets widget to be available in Elementor, the following plugins must be installed and activated:
- The Events Calendar
- Event Tickets
- Event Tickets Plus
- Elementor or Elementor Pro
Add Tickets to Your Event
Before editing in Elementor, add the tickets themselves on the Edit Event page:
- Go to Events → Add New (or open an existing event).
- Fill in the event details — title, description, date, and time.
- Scroll to the Tickets section and click + New Ticket.
- Enter the ticket name, price, stock, and sale dates.
- Click Save Ticket.
For more detail, see Creating Tickets.
Add the Event Tickets Widget in Elementor
With tickets saved on the event, open the event in Elementor and drop the widget in:
- Click Edit with Elementor on the Edit Event page.
- In the Elementor editor, search for the Event Tickets widget in the sidebar.
- Drag the widget into the section where you want the ticket form to appear.
- Configure the widget settings to control how the ticket form is displayed.
Because the event content comes from the Edit Event page and the styling comes from Elementor, add the ticket to the event first, then add the widget to the template so tickets render on the frontend.
Customize the Ticket Layout
Once the widget is in place, use Elementor’s styling options to adjust typography, colors, spacing, and other design elements so the ticket section matches your site’s branding. For layout changes beyond what Elementor’s controls expose, extend the styling with custom CSS.
Preview the page to confirm the ticket layout renders as expected, then click Publish.
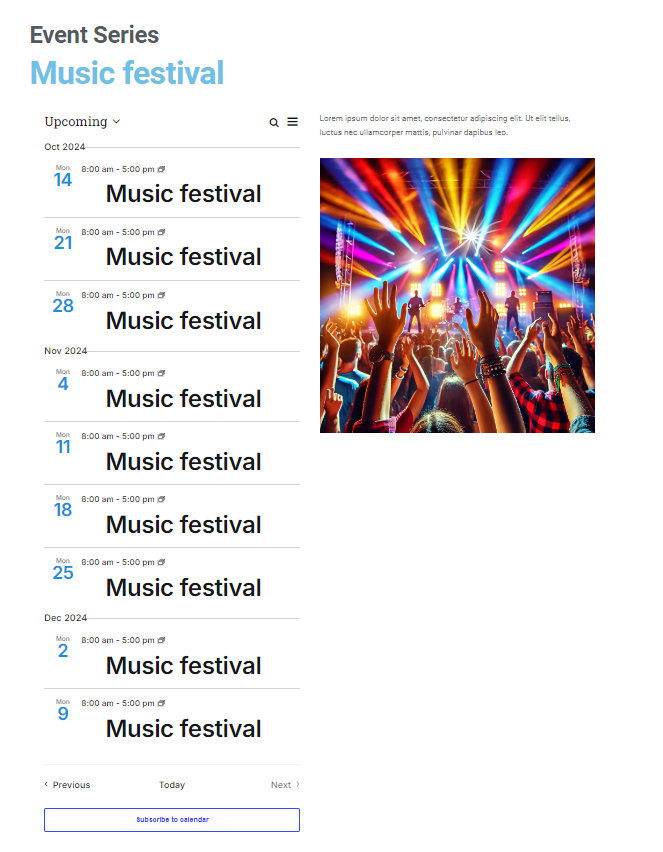
Templates for Event Series Pages
An event series page lists all events that belong to a specific series, at a URL like [site-url]/series/[series-name].
The Events Calendar does not have a built-in Elementor integration for the Series page, but you can build a custom template in Elementor and assign it to Series using Elementor’s display conditions.
Step 1: Enable Elementor for the Series Post Type
Before creating the template, make sure Elementor is enabled for the Series post type:
- Navigate to Elementor → Settings → Post Types.
- Ensure the Series checkbox is selected.

Step 2: Create a New Template in Elementor
- Go to Elementor’s theme builder at Templates → Theme Builder.
- Click Add New and select Single Post.
Step 3: Design Your Series Page Layout
In the template builder, design the layout for your Series page by dragging and dropping Elementor widgets.
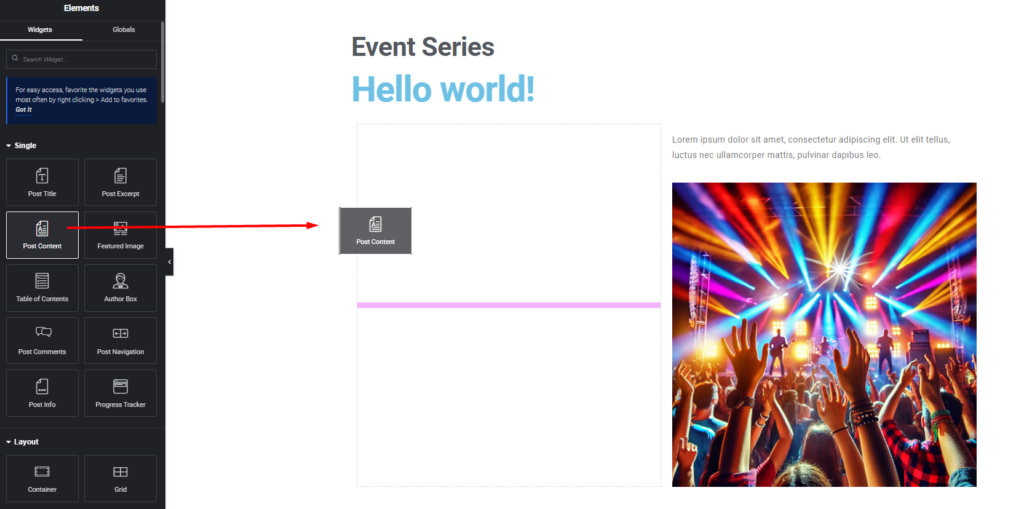
Important: Include the Post Content Block
The Series content — including the list of events — is rendered through the Post Content block. This block is essential for the Series’ events to appear, so make sure to add it to your template.
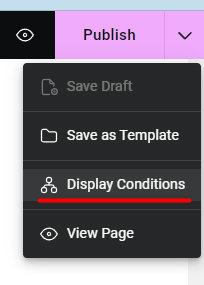
Step 4: Apply Conditions to Your Template
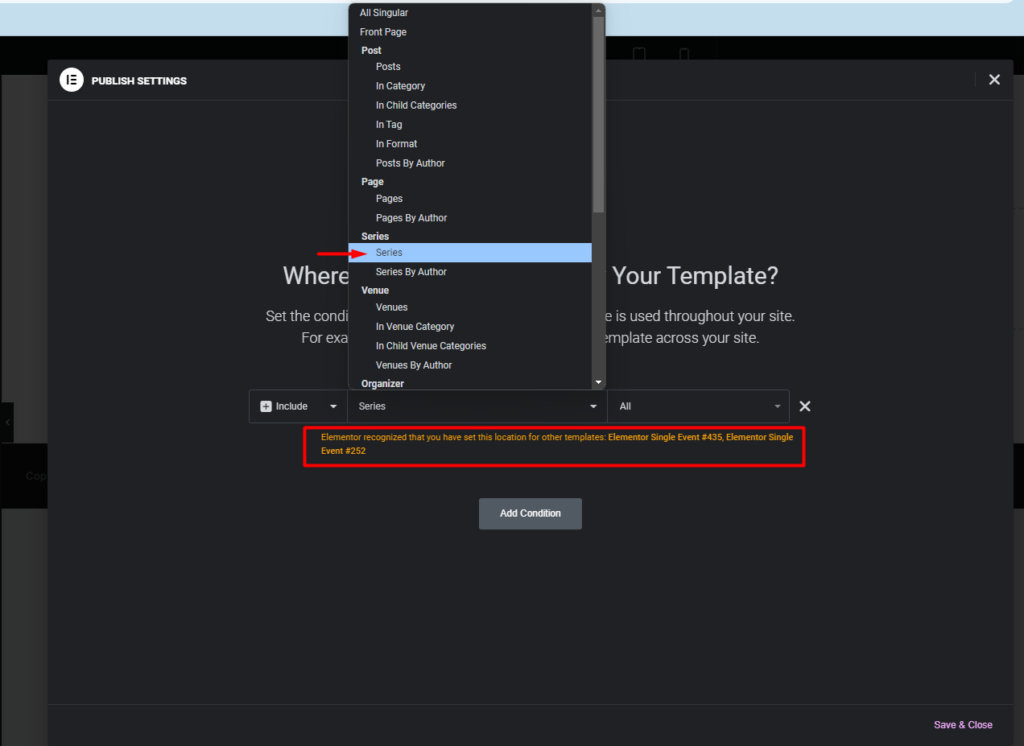
Once the design is finished, assign the template to all Series pages, or apply more specific conditions (for example, Series by a particular author).
Important: Check Display Conditions Before Saving
Before saving, make sure the template does not share display conditions with any existing template. If there is a conflict, Elementor will display a message so you can resolve it before finalizing.
Step 5: Check the Results
Open any event series page (e.g., [site-url]/series/[series-name]) to verify the template is applied correctly. If the template does not appear, double-check the display conditions and confirm Series is enabled under Elementor’s settings.
The example below uses a few fundamental elements: a heading, a dynamic Post Title block that pulls in the Series name, an image, and — most importantly — the Post Content block that renders the list of events in the Series. Elementor’s flexbox container offers extensive flexibility for arranging blocks and customizing the page.