When using Event Tickets Plus with WooCommerce, the default checkout flow works well out of the box — but you may want to tailor it to better fit your event setup. This article covers several common customizations. Each customization uses a short PHP snippet or a settings change.
Redirect ‘Get Tickets’ Directly to WooCommerce Checkout
When using Event Tickets Plus with WooCommerce, the default flow requires users to click “Get Tickets”, fill out attendee information, view their cart, and finally proceed to checkout.
If your event does not require specific attendee details, you can bypass the cart page and send users directly to the checkout page. This creates a faster, “Direct Checkout” experience. Here’s how to do it with a simple snippet:
Before adding the code snippet, you must disable the Individual Attendee Collection feature. If this is enabled, the plugin will always redirect to an intermediate “Attendee Registration” page, which prevents a direct leap to checkout.
- Open the Edit screen for your specific Event.
- Scroll down to the Tickets section.
- Set Individual Attendee Collection to “No Individual Attendee Collection.”
Alternatively, you can disable this globally for all tickets by navigating to Tickets > Settings > Attendee Registration and selecting “No Individual Attendee Collection.”
The following code uses the template_redirect hook to check if a user is landing on the WooCommerce cart page. If the cart contains items, the script automatically redirects them to the secure checkout URL.
/**
 * Skip the WooCommerce cart page and redirect straight to the checkout page.
 */
add_action( 'template_redirect', function () {
    // Only redirect if WooCommerce is active and the user is on the cart page
    if ( function_exists( 'is_cart' ) && is_cart() && function_exists( 'WC' ) && WC()->cart && ! WC()->cart->is_empty() ) {
        wp_safe_redirect( wc_get_checkout_url() );
        exit;
    }
} );
You can add these PHP snippets to your child theme functions.php file. However, we recommend using a dedicated code snippets plugin to avoid issues with theme updates. For more information, please see our guide on the best practices for implementing custom code snippets.
Show Event Titles in the Cart
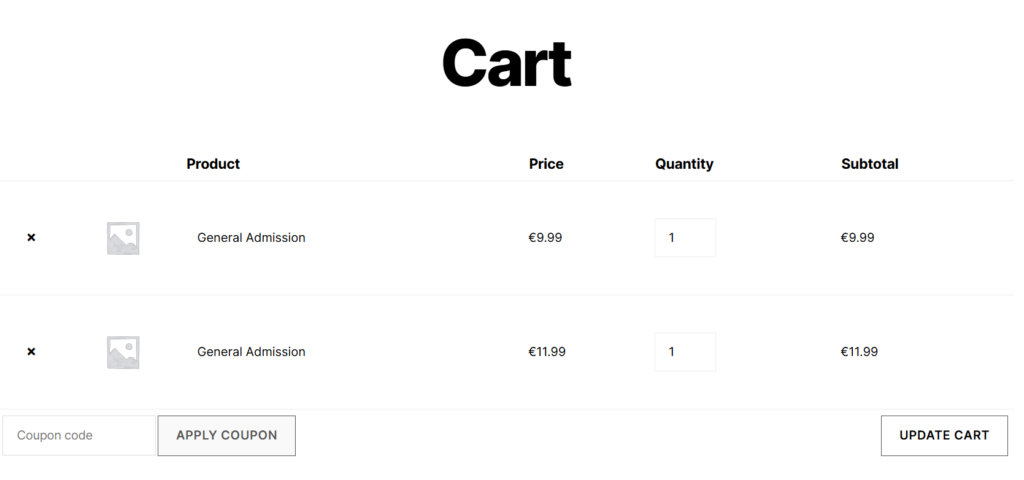
When running an event-based eCommerce site using WooCommerce, it’s crucial that your customers can easily identify the products in their cart. A common issue arises when multiple tickets for different events share the same product name. For instance, if a customer adds two “General Admission” tickets from different events, the cart may display them simply as “General Admission.” This can lead to confusion regarding which ticket belongs to which event, potentially affecting the customer experience and ultimately, sales.
Here is an example of how two Ticket Products from different events, both titled “General Admission”, would appear in the WooCommerce Cart,
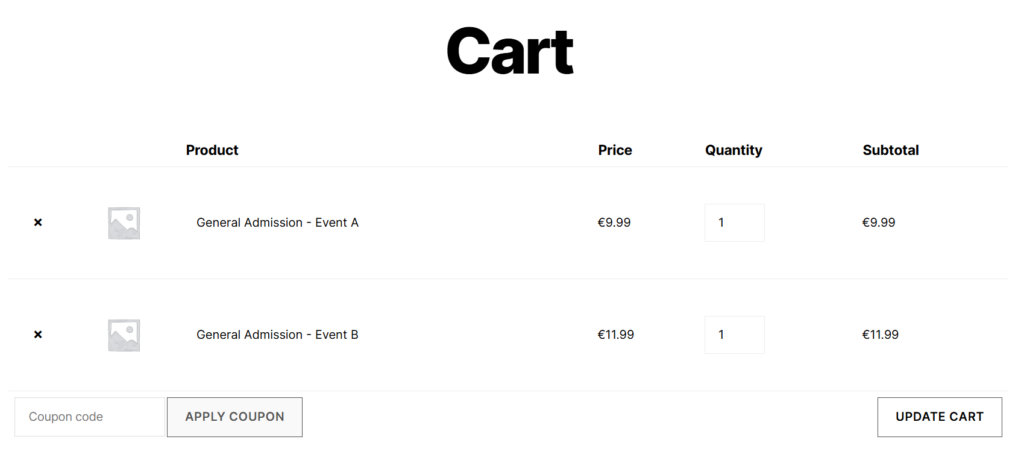
To address this issue, we can use a simple snippet that enhances the information displayed in the WooCommerce cart. The following code snippets will help implement a solution that appends the event title to the ticket product title within the cart.
The Snippets
<?php //Do not copy this line

add_filter( 'woocommerce_cart_item_name', function( $product_name, $cart_item ) {
    if ( function_exists( 'tribe_events_get_ticket_event' ) ) {
        $event = tribe_events_get_ticket_event( $cart_item['product_id'] );

        if ( $event && tribe_is_event( $event->ID ) ) {
            $product_name .= ' - ' . esc_html( $event->post_title );
        }
    }

    return $product_name;
}, 10, 2 );
If using WooCommerce Cart Block instead of the legacy Cart Shortcode, use the following snippet
<?php //Do not copy this line

add_filter( 'woocommerce_add_cart_item_data', function ( $cart_item_data, $product_id ) {
	if ( function_exists( 'tribe_events_get_ticket_event' ) && function_exists( 'tribe_is_event' ) ) {
		$event = tribe_events_get_ticket_event( $product_id );
		if ( $event && tribe_is_event( $event ) ) {
			$cart_item_data['event_title'] = $event->post_title;
		}
	}

	return $cart_item_data;
}, 10, 2 );

add_filter( 'woocommerce_get_item_data', function ( $item_data, $cart_item_data ) {
	if ( isset( $cart_item_data['event_title'] ) ) {
		$item_data[] = array(
			'name'  => 'Event',
			'value' => $cart_item_data['event_title'],
		);
	}

	return $item_data;
}, 10, 2 );
Move Return to Cart and Edit Event Attendee Info Links
If you’d like to move the “Return to Cart” and “Edit Attendee Info” links to a different place on your WooCommerce checkout page, use the code below to get started.

Before adding the custom code below, please check out our guides:
add_action('init', 'domain_move_checkout_links', 40);

function domain_move_checkout_links() {
	$TPCommerce_Object = Tribe__Tickets_Plus__Commerce__WooCommerce__Main::get_instance();
	remove_action( 'woocommerce_checkout_before_order_review', array( $TPCommerce_Object, 'add_checkout_links' ) );
	add_action( 'after_checkout_logged_in', array( $TPCommerce_Object, 'add_checkout_links' ) );
}
Removing Attendee Details from the Order Details Page
If you’d prefer to remove the attendee information from the order details, you can add the following snippet to your theme’s functions.php file:
add_filter( 'tribe_tickets_plus_woo_meta_data_enabled' , '__return_false' );
Altering WooCommerce Data on the Order Details Page
You can use the following filters to alter or add to the WooCommerce meta details:
function tec_test_woo_meta_data_filter( $data ) {
  // Modify anything from the $data here
  return $data;
}

add_filter( 'tribe_tickets_plus_woo_meta_data_filter','tec_test_woo_meta_data_filter' );
For Developers
- woocommerce_cart_item_name
- tribe_events_get_ticket_event
- tribe_is_event
- woocommerce_add_cart_item_data
- woocommerce_get_item_data