Once you’ve created a message, previewed it and are ready to send it out to your attendee list, it’s time to schedule your message. There are two options for sending messages.
Send immediately
If you’re ready to send a message right away, just click on the “Send Now” button.

After clicking on “Send Now”, you still need to confirm that you want to send the message before it actually goes out. This helps prevent sending a message by accident.

Select “Yes” from the “Send This Message” dropdown and click “Confirm” for the message to be sent.
Send later
Promoter allows messages to be scheduled so that they are queued to be sent at a specific date and time. Once the required message details have been completed, set the date and time you wish the message to be queued, and click on the “Schedule” button.

Once the emails enter the queue at the email-sending service we use, it is beyond our control. The service handles a lot of email campaigns, and therefore, it cannot guarantee the sending of an email at a specific moment. On occasion, there can be some delays, but on average, the sending is fast.
Cancel a Scheduled Message
Scheduled Messages can be canceled any time before they are sent.
- From the Events dashboard, click on the event of your choice

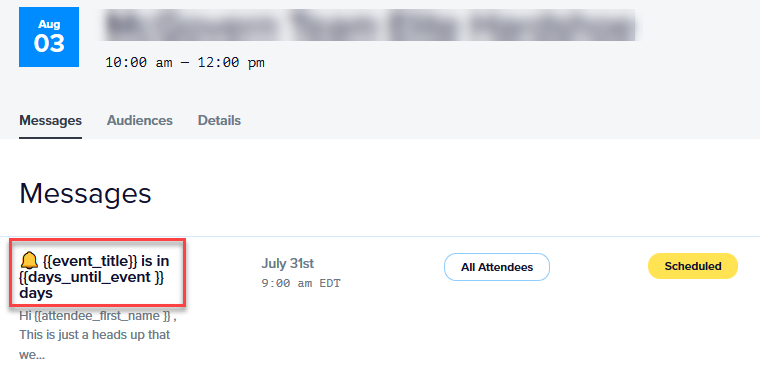
- From the single event dashboard, click on the Message title of the scheduled message you wish to cancel
- Scroll all the way down to the bottom of the message detail. Click on the “Cancel Scheduling” link. This will immediately remove scheduling from the message and return it to draft status.

Delete a Scheduled Message
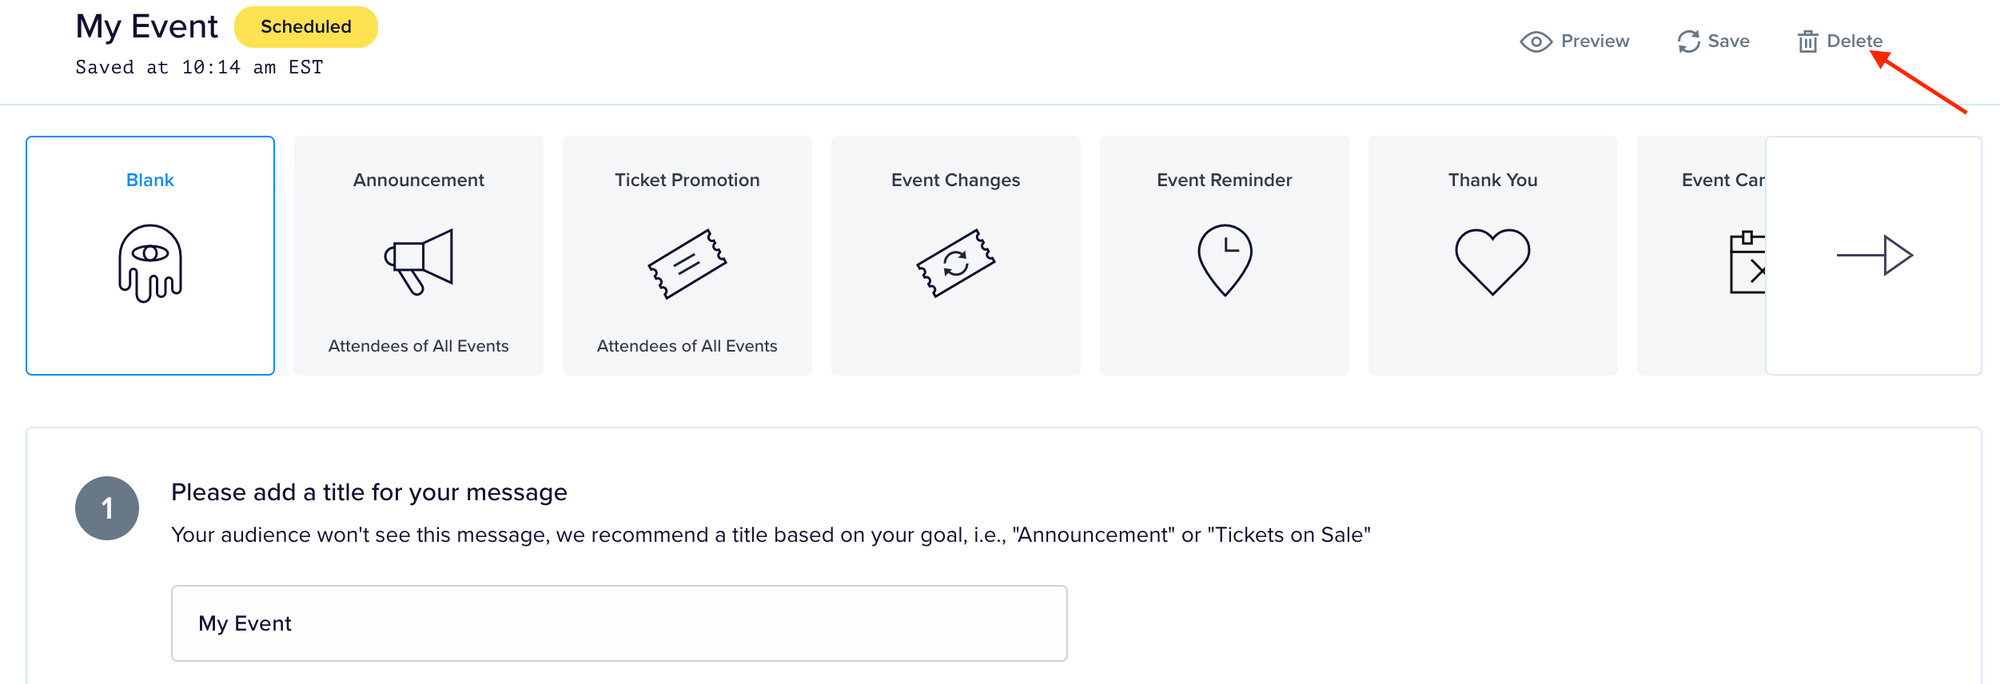
To delete a message that has been created for an event:
- Click the “Delete” link at the top of the message editor.
- You will be prompted to confirm the intended deletion before the message is actually deleted.
Please note: Confirming the deleted message will permanently remove it. Deleting a message cannot be undone. If you just want to stop the message from going out, use the cancel option instead.