With Event Tickets‘ free e-commerce solution, Tickets Commerce, you can sell tickets to your events for free. If you were previously using WooCommerce, but are looking to switch over to Tickets Commerce, you can easily make this change.
In fact, you can enable both e-commerce solutions at the same time if you prefer. We’ll show you how to do it here!
Enable Tickets Commerce
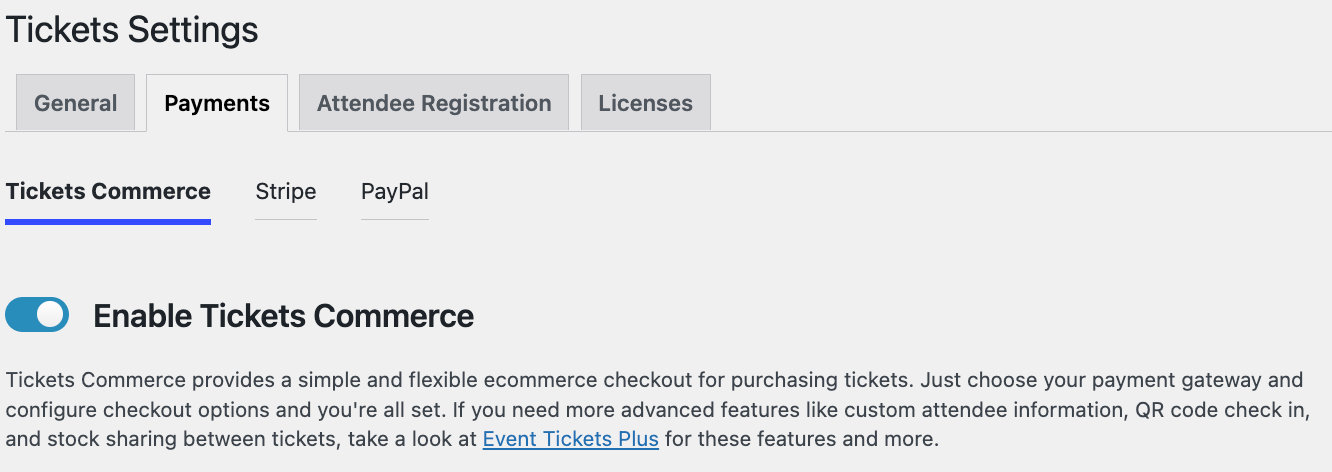
If you already have WooCommerce enabled for your tickets, but would like to enable Tickets Commerce as well, simply head over to Tickets > Settings > Payments and toggle on the option to Enable Tickets Commerce.
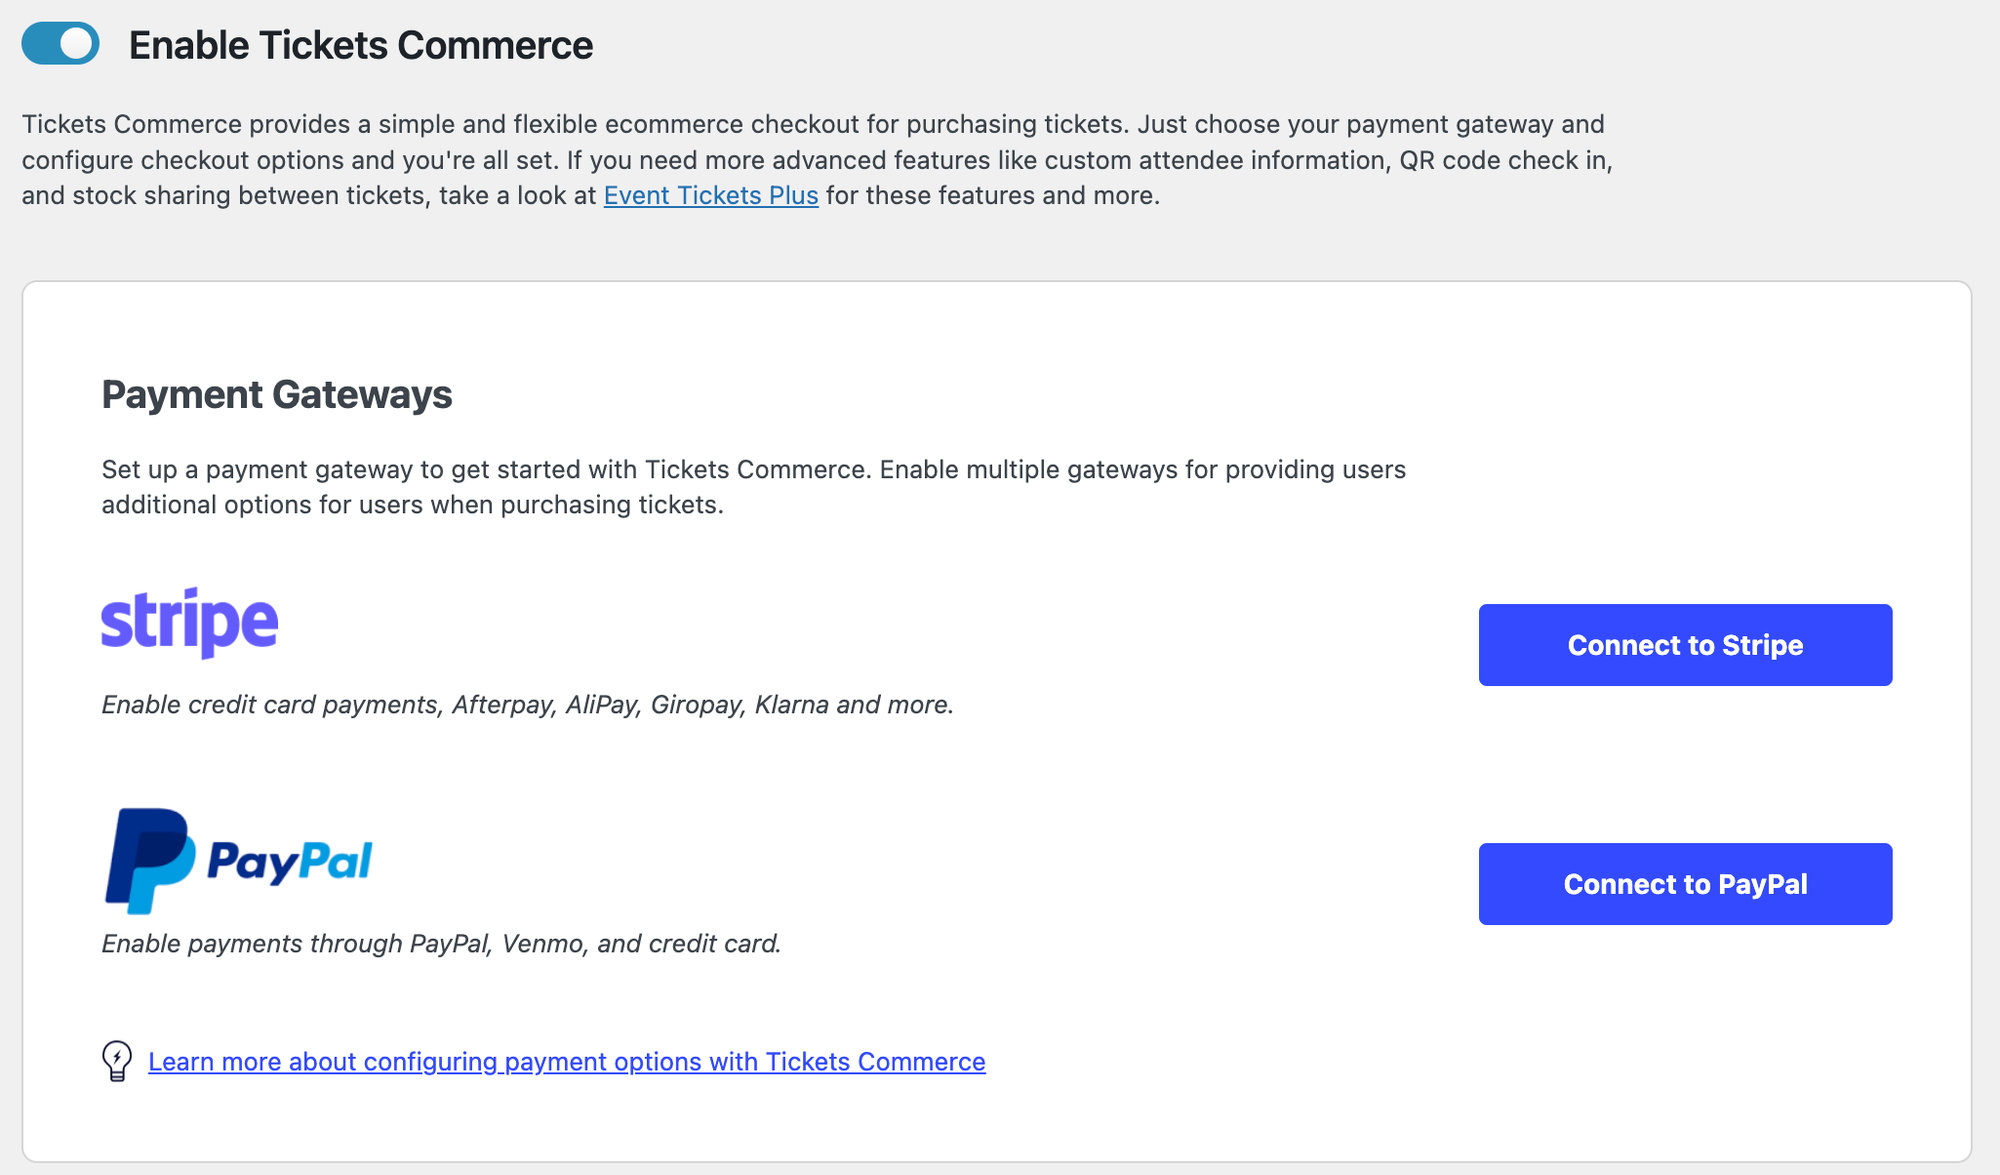
Once you click Save Changes, you’ll see options to connect to PayPal and Stripe. You can follow the prompts to set up one or both of these payment options for your users. Learn even more about setting up payments for Tickets Commerce here.
Create tickets with Tickets Commerce
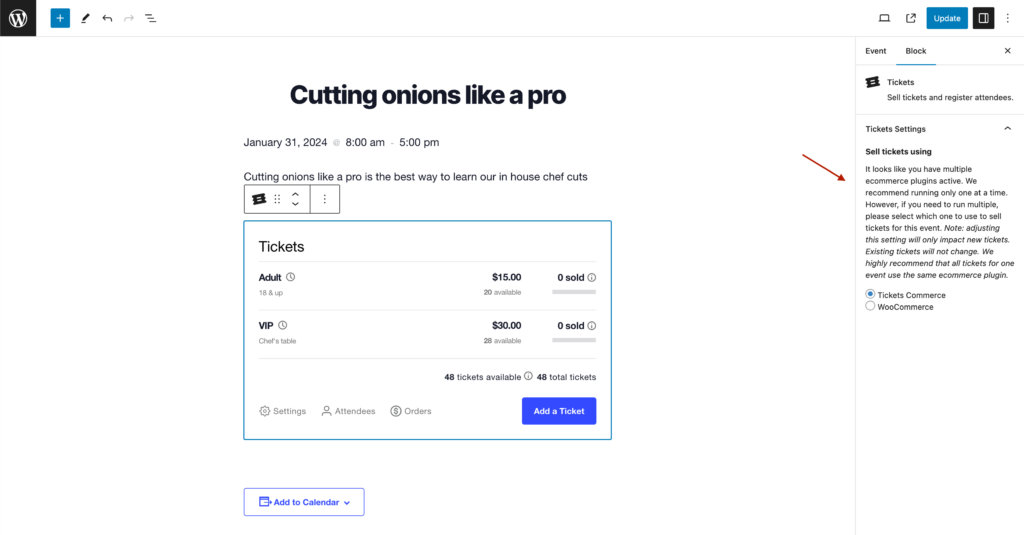
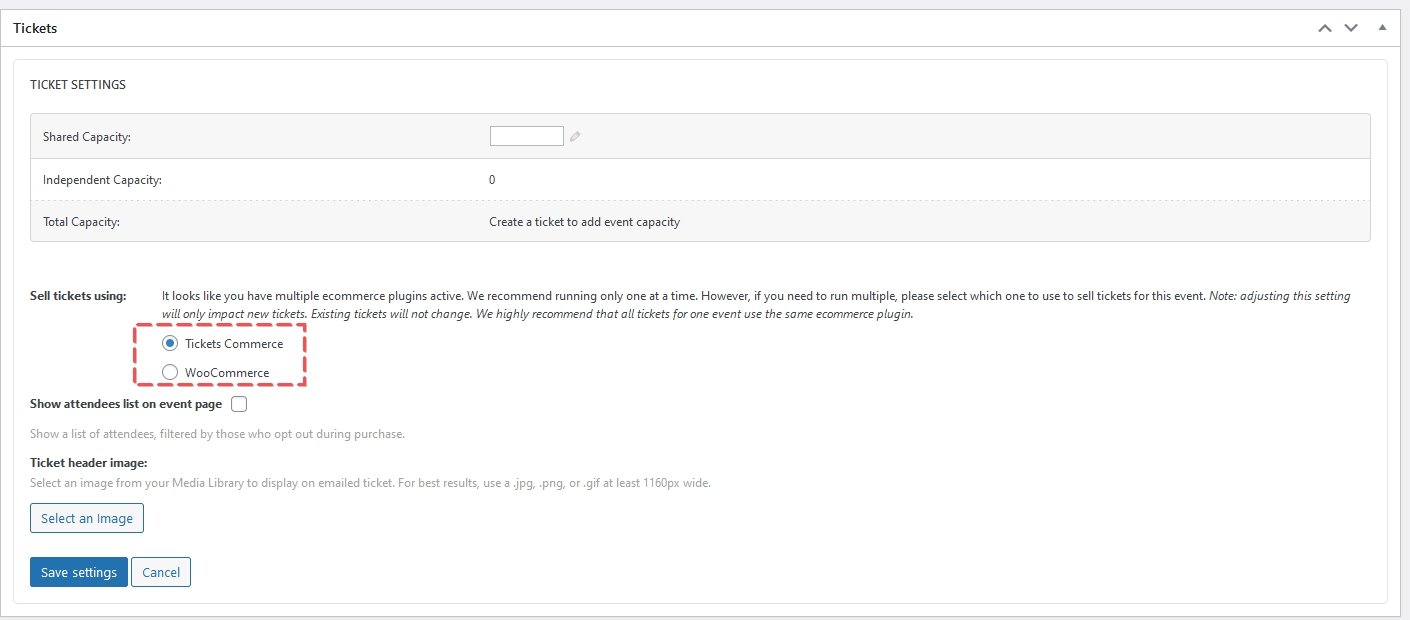
For all of your pre-existing tickets, you’ll see the option to sell tickets with WooCommerce to Tickets Commerce, so simply select the option that you’d prefer.
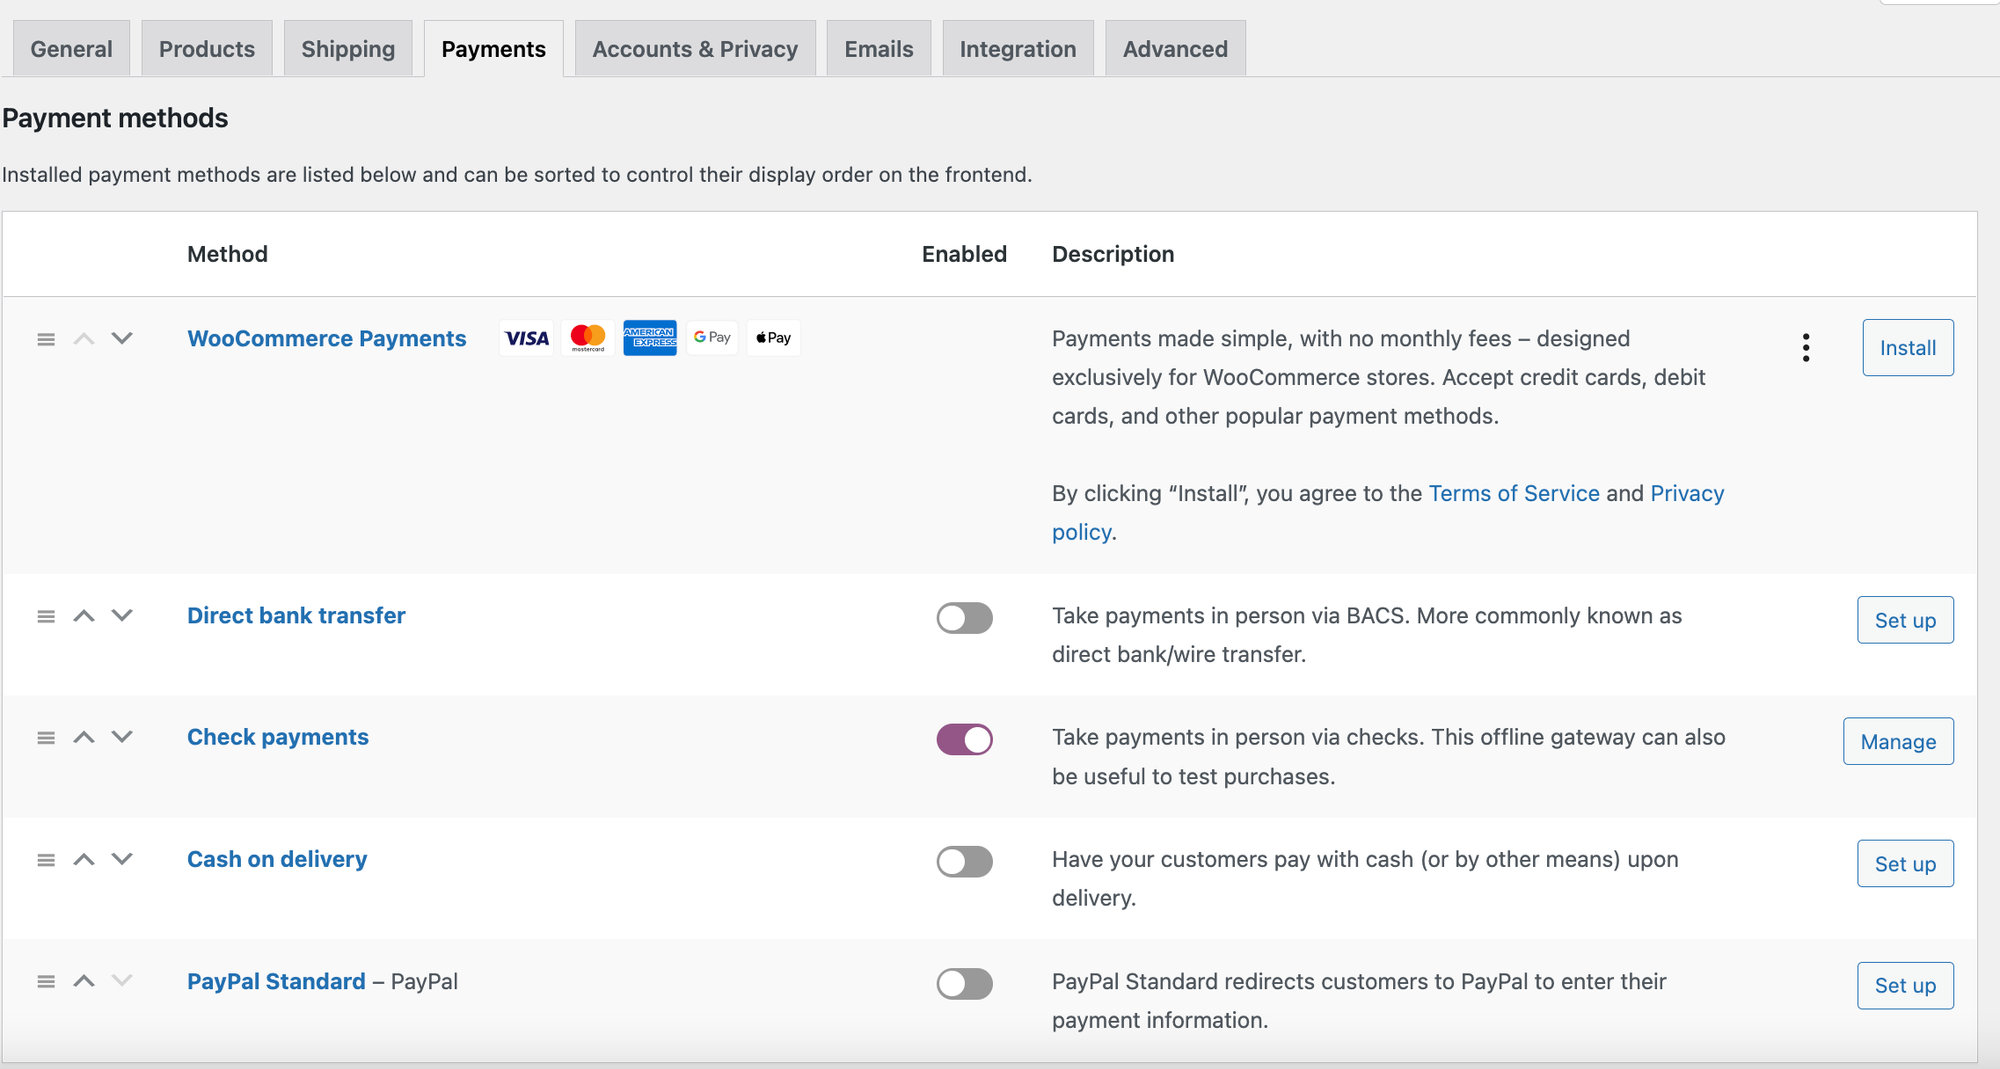
Disable WooCommerce options
In order to disable the options to sell tickets with WooCommerce, head over to WooCommerce > Settings > Payments, toggle off all of the payment options that you have previously turned on, and save changes.
Important Notes
You can only select one e-commerce solution per event. So even if you have both Tickets Commerce and WooCommerce enabled, you’ll only have the option to choose one of these for each event.
In addition, once you make your selection, this cannot be changed for any given event. You’ll need to create a new event in order to switch between Tickets Commerce and WooCommerce.