Although The Events Calendar does not come with appointment booking capabilities, we have an integration with Simply Schedule Appointments that makes it super simple to add WordPress booking functionality to your event pages.
Let’s take a look at how to make that happen on your WordPress site.
Basic WordPress booking setup
Once you have both plugins installed and activated on your site, you’ll want to head over to Appointments > Appointment Types in the WordPress Dashboard in order to set up a new appointment type.
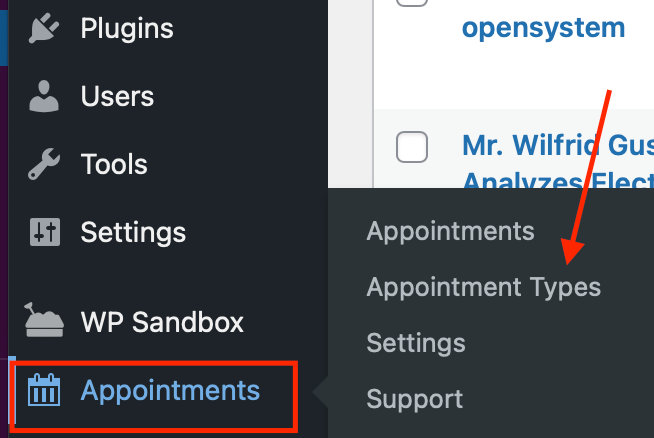
From there, simply click Add New to create a new type of appointment, which you’ll eventually add to your event page.

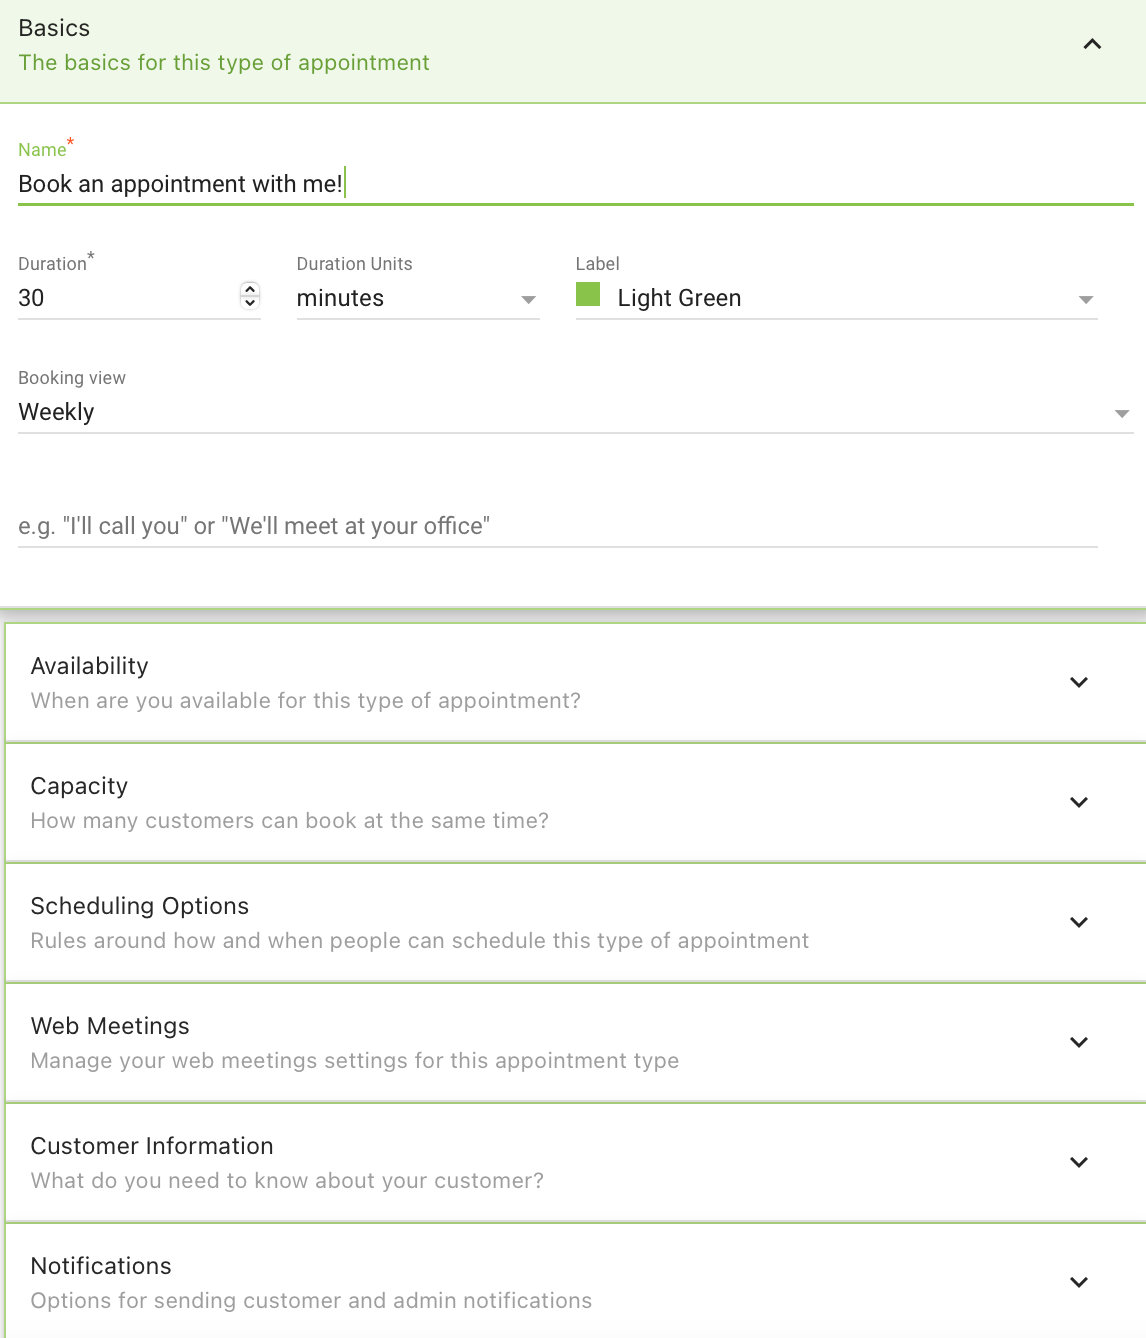
You’ll have lots of options to choose from when it comes to creating your new appointment type. We’d recommend referencing this guide from Simply Schedule Appointments for further information on these options.
Now that you’re ready with your new appointment type, you can use the shortcode [tec_ssa_booking type="slug-here"]to display your booking options on the front end.
To do that, locate your event page and add the shortcode where you’d like it to display on the page. Just make sure you use the slug found under Appointment Types so that you show the right one!
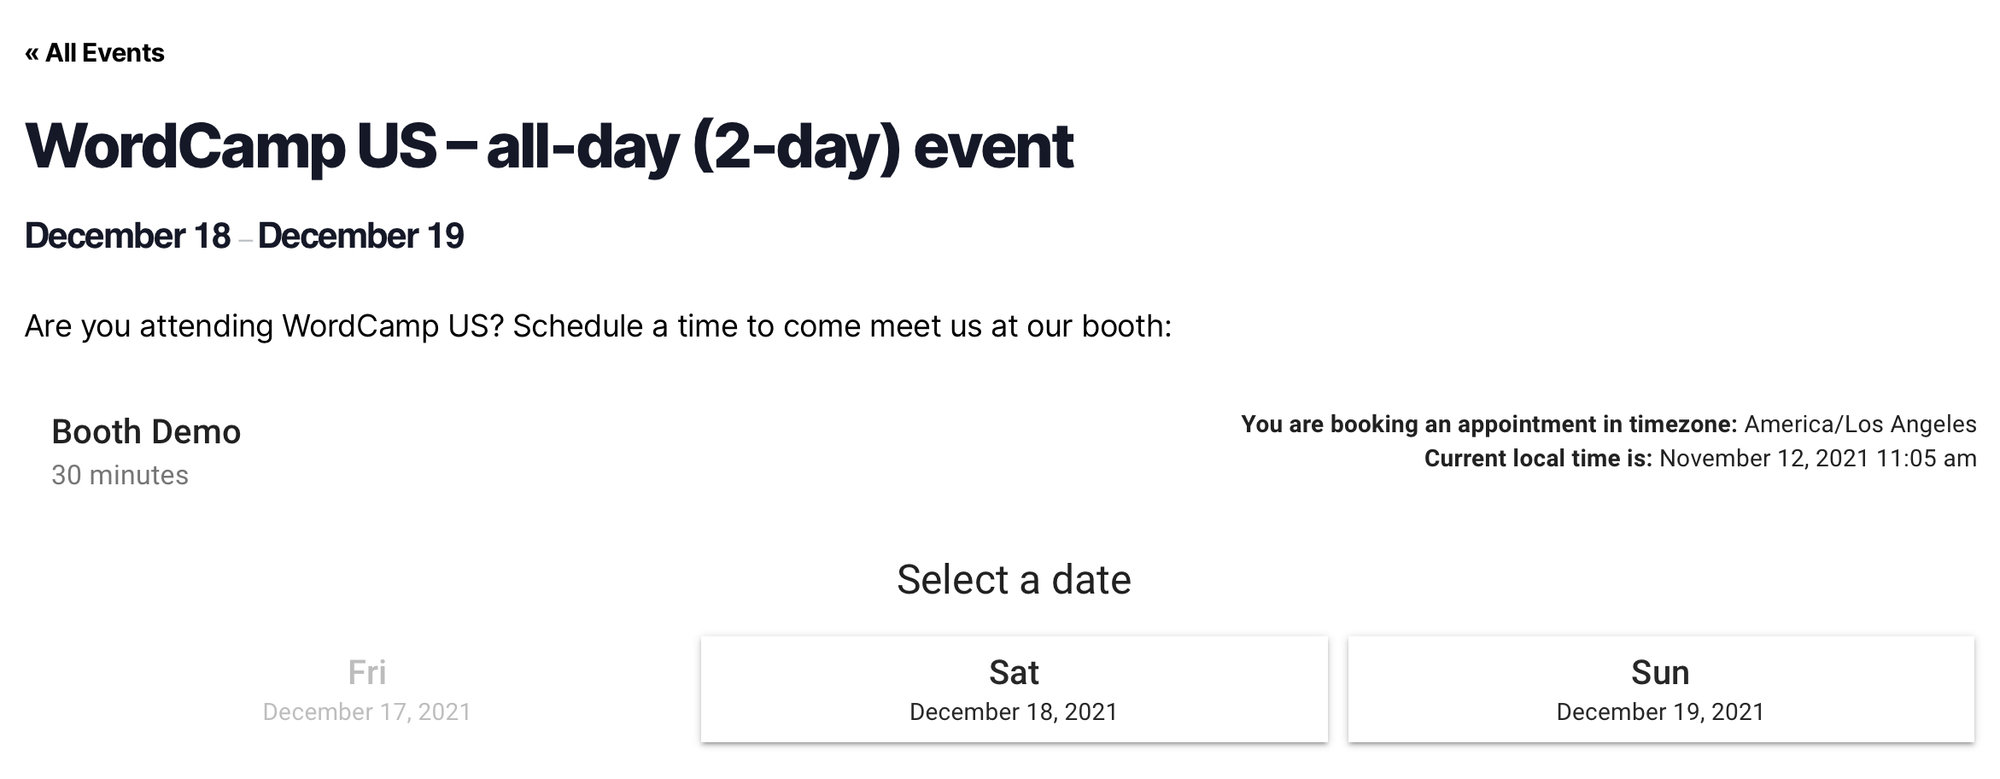
In the end, you’ll have something like this:
For more information on setting up one-off events with Simply Schedule Appointments, check out this guide.
You can even add Simply Schedule Appointments as an Alexa skill. Learn more here.