You might already be a lot more familiar with how the Featured Image works for The Events Calendar than you know. That’s because it’s built on top of the same Featured Image functionality that comes standard with WordPress.
In this post, we’re going to dive into the concept of Featured Images a little deeper. We’ll review how to add them to an event post, cover how to style them in CSS and, lastly, how to change the size.
Adding Featured Images to an Event
Let’s say you have the most beautiful photo and it’s perfect for the event you’re about to publish on your site. How do we add that?
From the single event editing screen (Events → Add New), head down to the Featured Image box in the lower right corner of the screen. It can be easy to miss because of how small and buried it is, but this is what you’re looking for:
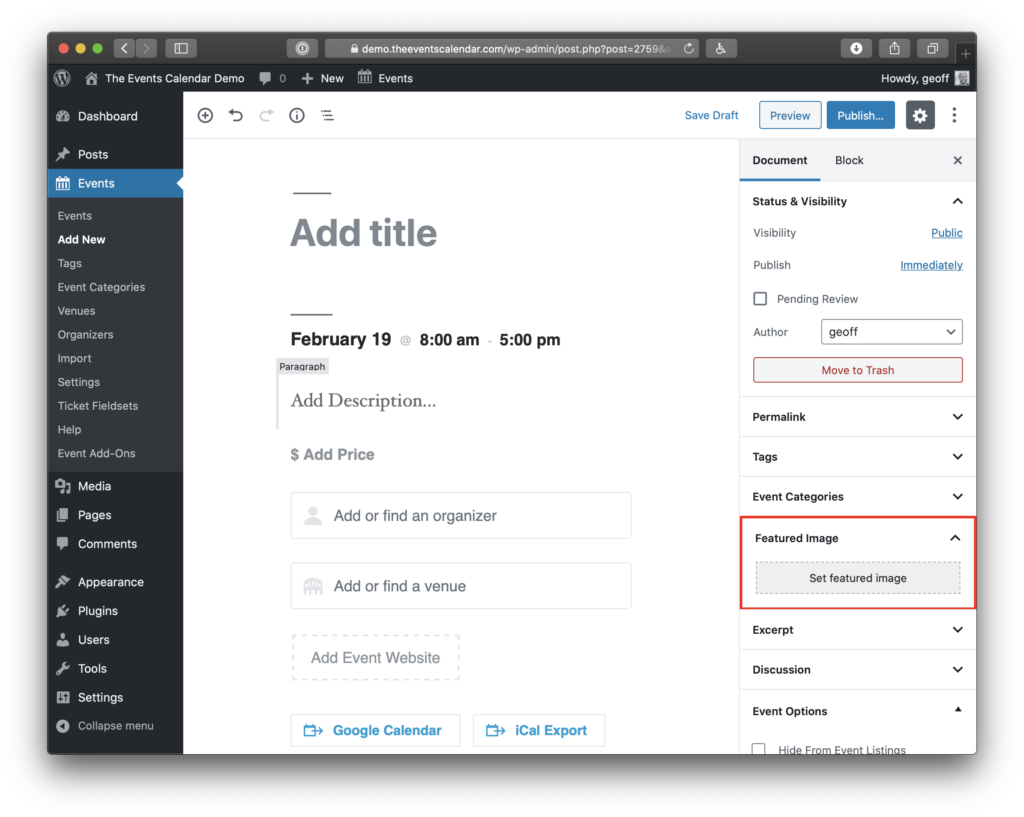
Go ahead and click the “Set featured image” link. It will open a dialogue box that allows you to either select and existing image from your Media Library or upload a new one. Select the image you would like to use as your featured image, click the “Set featured image” button in the dialogue box, then you will be taken back to the editing screen and see the featured image in the box.
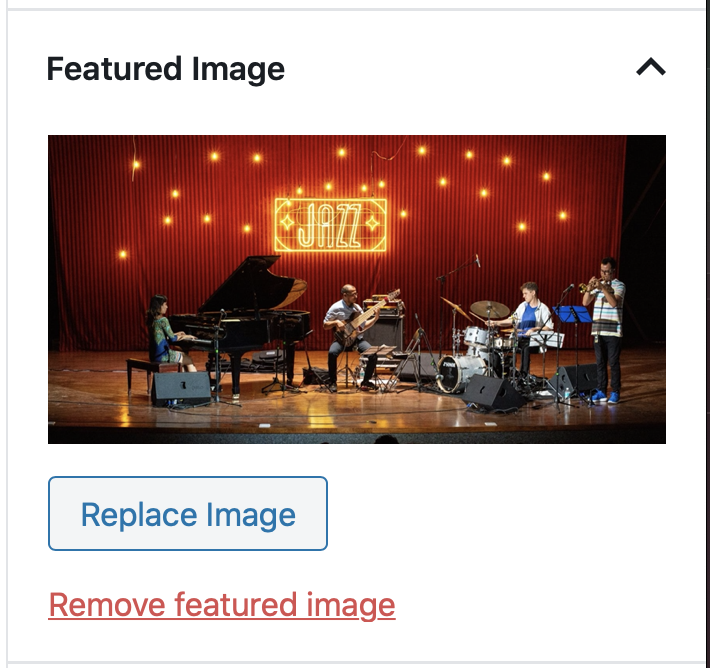
Need to remove the image and select a new one? Click the “Replace Image” button beneath the image and select a new one.
It’s worth noting that a featured image is not required for publishing an event. It’s an optional feature for dressing things up a little bit.
Where Featured Images are Displayed
Featured images pop up in a few different places. The first place is the calendar views. In list-style views like list, day, and map (Pro only), the image will show next to the event. In month view and Pro’s week view, the image will show in the mouseover tooltip for each event. If you really want to showcase your featured fmages, you’ll want to use Pro’s photo view which shows the photos prominently in a tiled view.
The other place you can expect to see a featured image is on a single event page. It will display at the top of the post, before the content.
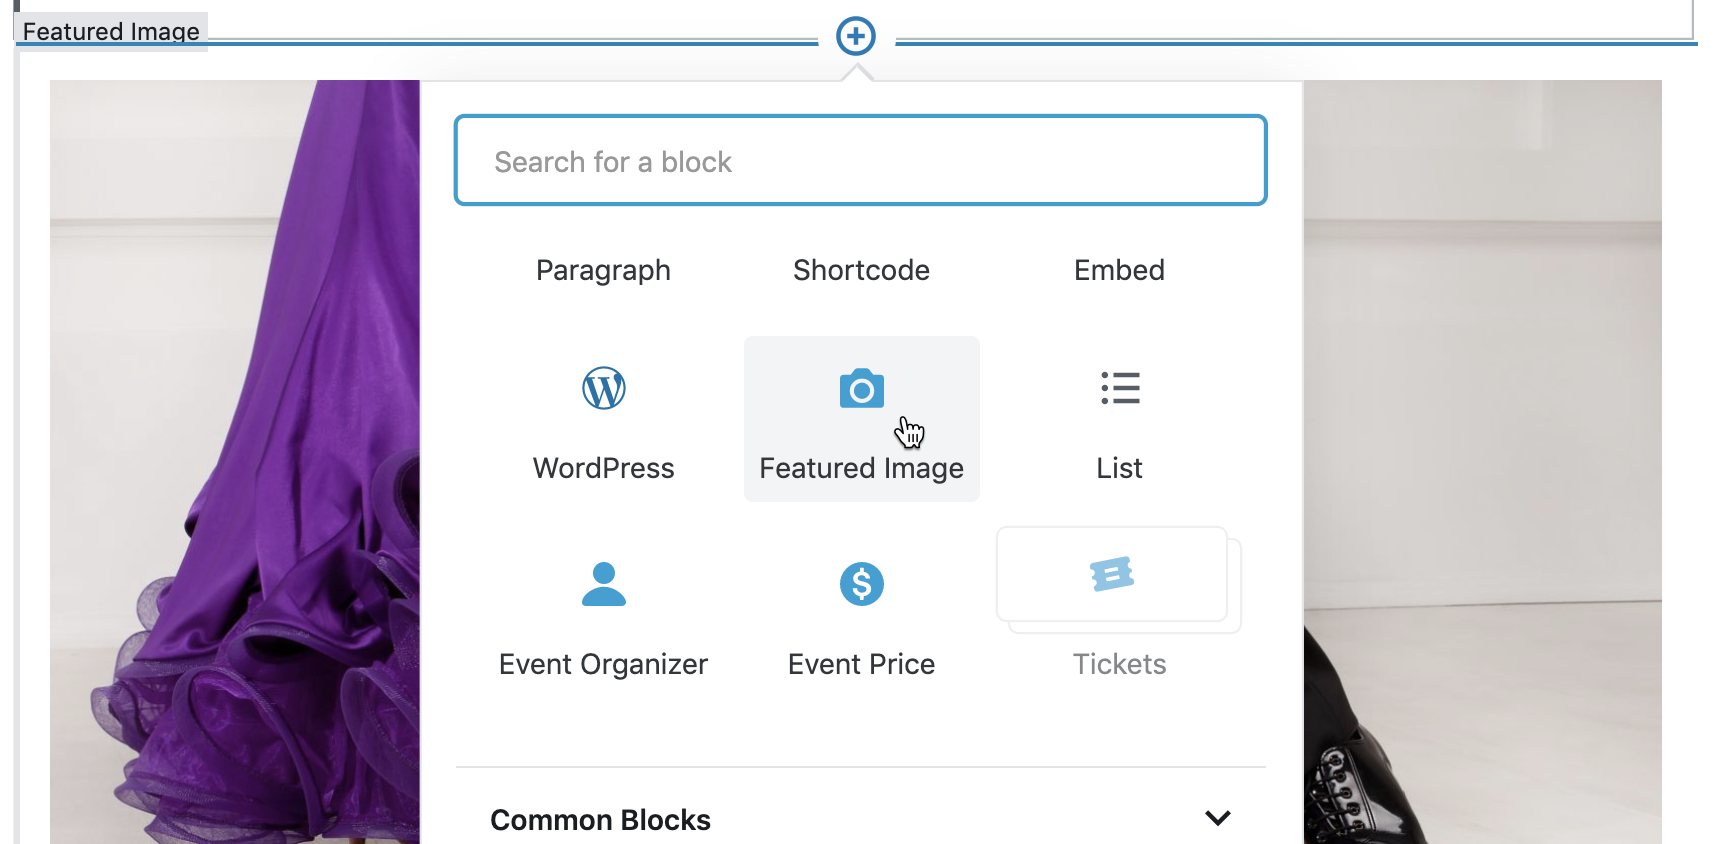
In the Block Editor, you can place a featured image block.
Styling a Featured Image with CSS
Let’s say you want to change the featured image so that it floats to the right instead of the left of an event in the calendar view. The Featured Image is always wrapped in the .tribe-events-event-image class, so we can use that to make the change in our CSS file.
.tribe-events-event-image {
  float: right;
}
Not bad, right? You can do the same thing to round the corners, add a border and increase the margins:
.tribe-events-event-image {
  border: 1px solid #333;
  border-radius: 5px;
  margin-right: 35px;
}
It’s even possible to hide the image completely from view. For example, this will hide the image from a single event page:
.single-tribe_events .tribe-events-event-image {
  display: none;
}
? Interested in knowing more about customizing calendar styles? Check out our CSS guide.
Customizing the Featured Image Size
One thing that comes up from time to time is how to change the size of the featured image. To do this, you will need to create a theme override of the template where the Featured Image you want to edit is displayed.
In that template, located where the featured image is called. It will look something like this:
the_post_thumbnail( 'medium' );
See the “medium” variable in there? That’s the size! If your theme follows uses the standard WordPress sizing conventions for images, you can change that to any of the following:
- thumbnail
- medium
- large
- full
If you’re looking to further customize how WordPress crops your thumbnails, we’d recommend using this third-party plugin to help you achieve that.
Need more sizes? Head over to the WordPress Codex for more info on how to register additional image sizing options.
Adding Thumbnail Support for Event Featured Images
By default, The Events Calendar enables featured images on all event custom post types. However, some themes remove this functionality by declaring thumbnail support for only specific custom post types. You can use the snippet below to add back support for our event custom post type.
Add the following to your child theme’s functions.php or via the Code Snippets plugin:
add_theme_support( 'post-thumbnails', [
  'post',
  'page',
  'tribe_events',
] );
We work hard to make our plugins compatible with as many themes as possible, but inevitably some theme’s need a bit of custom code (like this snippet) to work smoothly with our plugins. If your theme removes support for featured images on our events, you can always get in touch with your theme’s developer and recommend that they update to be more compatible with our custom post types.
Making Featured Images Appear When Sharing Event URLs
To control the data that appears on social sharing websites, we usually recommend using a SEO plugin like Yoast SEO or Rank Math SEO.
Those plugins include Open graph meta tags, which can be used to inform social media websites which title, image, and description they should use.
Out of the box, our plugins don’t have a built-in method for changing the pictures or the title. However, if you would like to manage social media sharing images without relying on third-party plugins you can do it with a PHP snippet below.
add_action('wp_head', function() {
    if (is_single() || is_page()) {
        ?>
        <meta property="og:title" content="<?php the_title(); ?>" />
        <meta property="og:description" content="<?php echo get_the_excerpt(); ?>" />
        <meta property="og:image" content="<?php echo get_the_post_thumbnail_url(); ?>" />
        <meta property="og:url" content="<?php the_permalink(); ?>" />
        <meta property="og:type" content="article" />
        <?php
    }
});