When managing tickets with Tickets Commerce, the situation may come up where you’d like to issue a refund to a customer. This requires logging in to the Stripe Dashboard, locating the order, and refunding the customer there. Then, you’ll want to return to your WordPress site to manually return the ticket. We’ll walk you through the steps here!
Refund an Order with Stripe
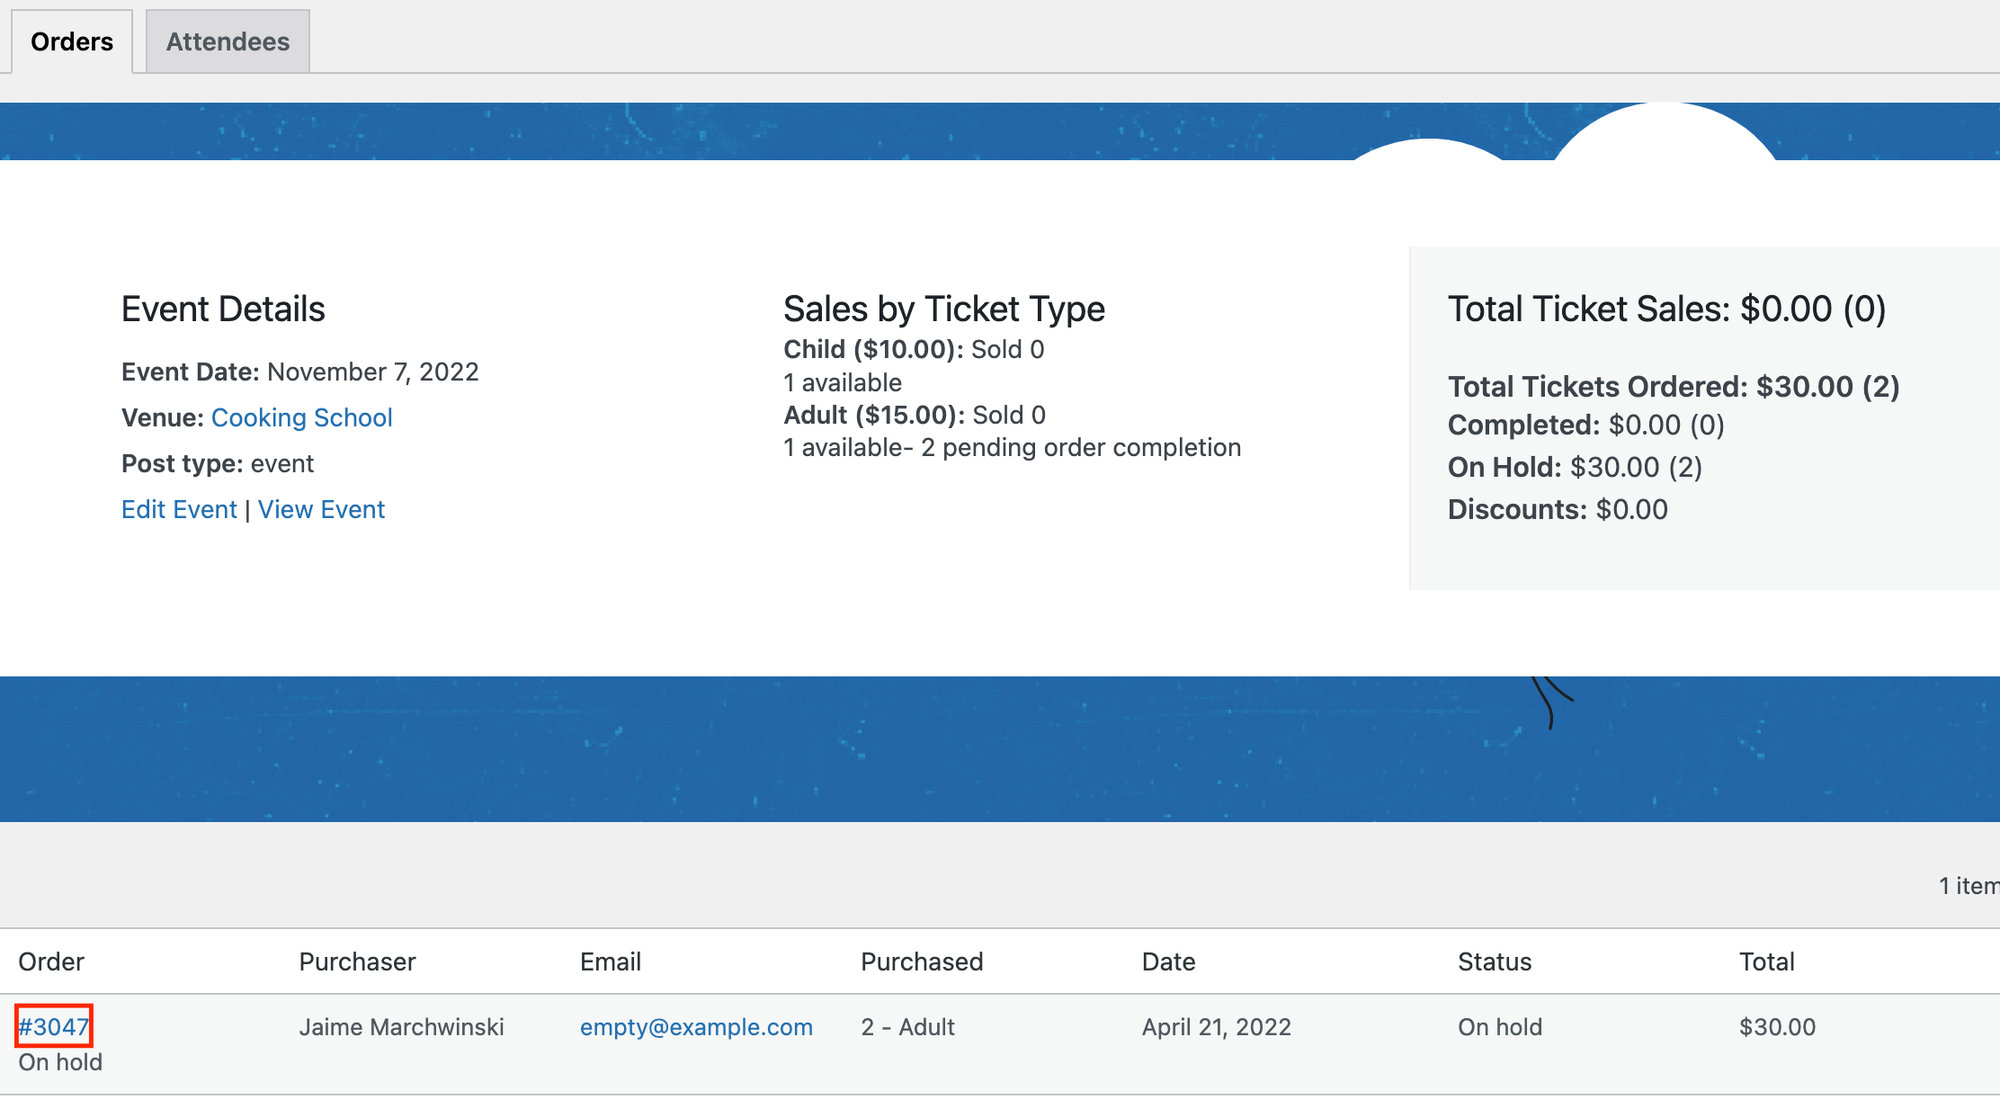
First off, you’ll want to locate the order number that you’d like to refund. You can find your Orders screen by going to your events, hovering over your event, and clicking on Orders. Then find the order number associated with the customer that you’d like to refund.
Next, head over to the Stripe Dashboard at https://dashboard.stripe.com/test/payments/{payment_intent_id}
Go to All Payments and locate the ticket you’d like to refund. The description field will correspond with order ID of the ticket (not the ticket number). Click on the order that you’d like to refund.
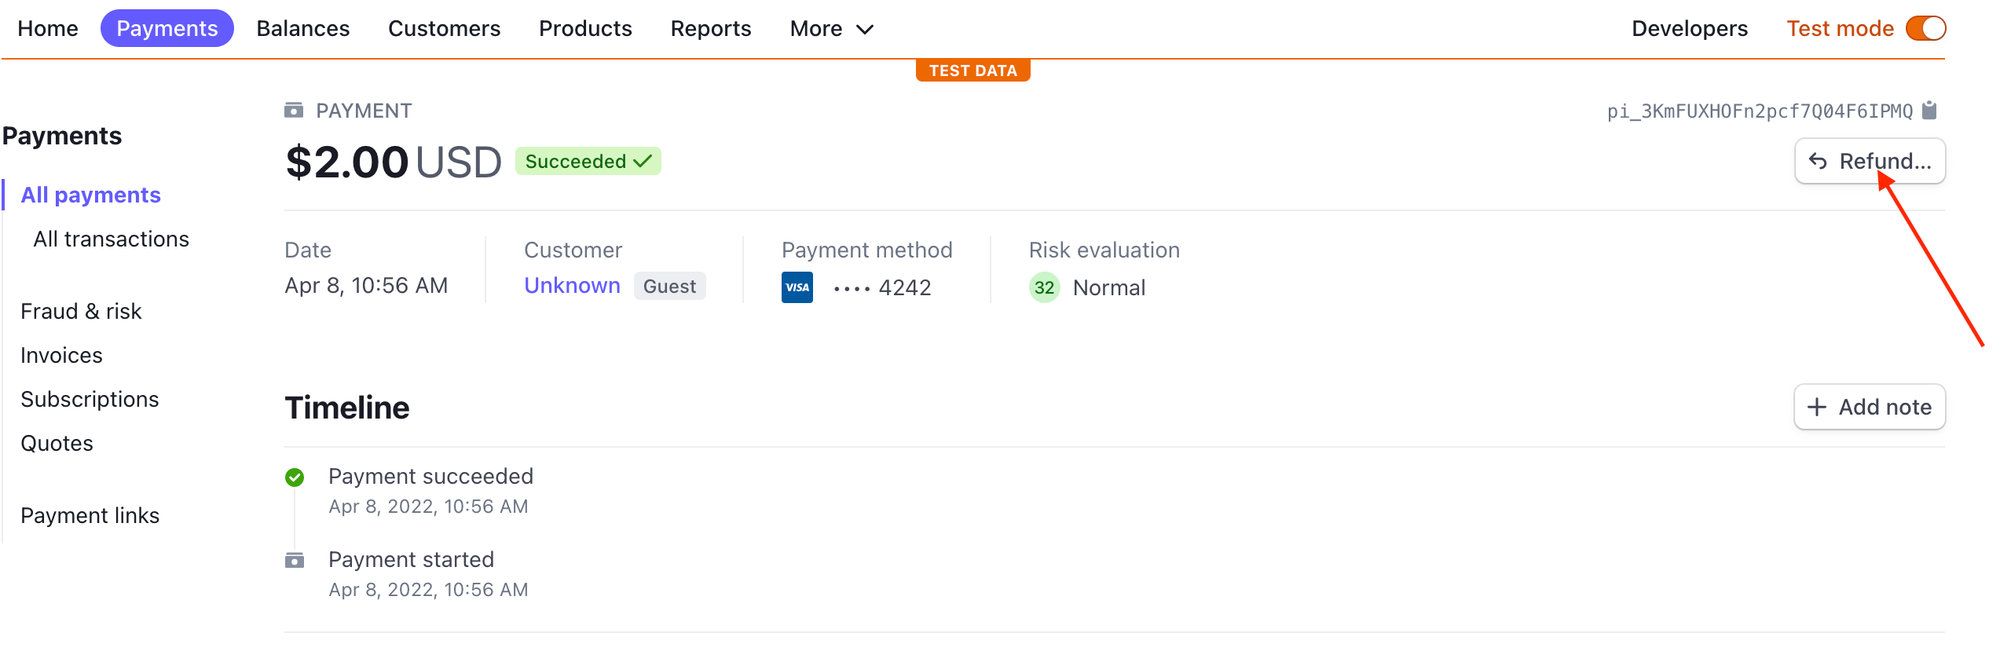
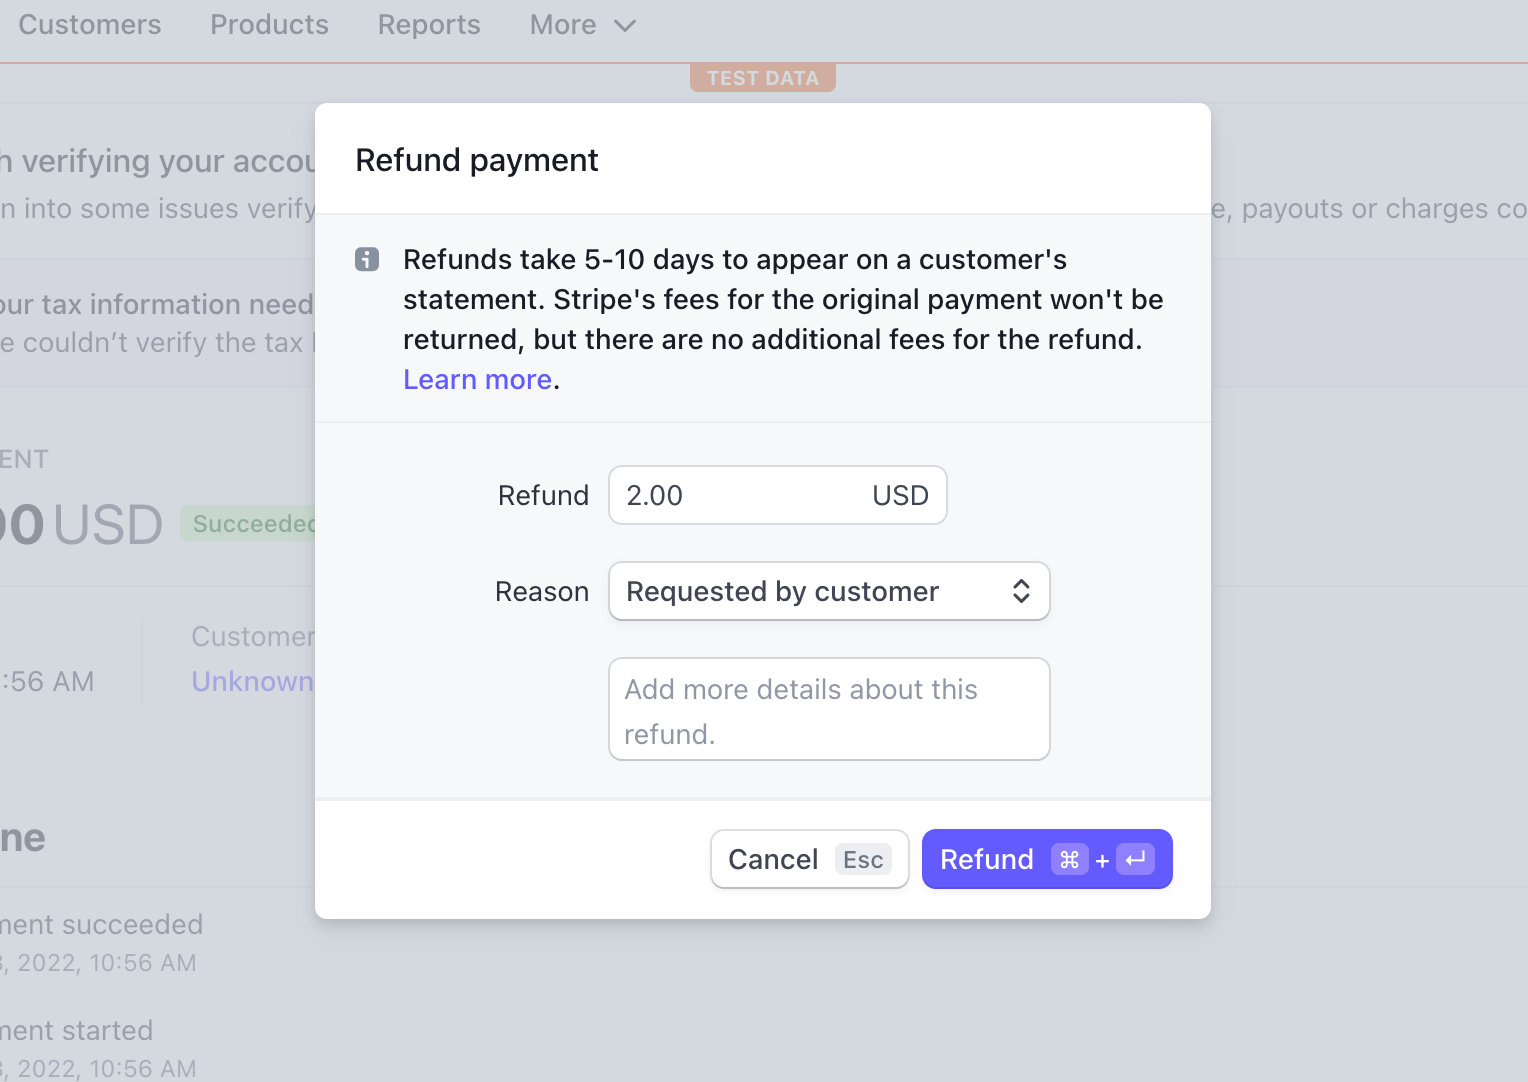
You’ll see a refund button in the top right-hand corner. Click on that button, confirm that you’d like to refund the order, and select a reason.
Handling Capacity
As long a Stripe Webhooks are set up correctly, Stripe will send a notification to the site and then update that Order based on the status. This will then update the capacity of the ticket. However, if webhooks are not set up, this change will not be sent over, and you’ll have to manually delete the attendee that you refunded (see below).
Refund an Order with PayPal
Start off by logging in to the PayPal Dashboard.
Once there, you’ll want to locate the ticket you’d like to refund. It’s important to note here that you’ll need to locate the PayPal transaction ID, and not the Order ID that is associated with the order in WordPress.
You can find this ID number by visiting https://your-site.com/tickets-order/?tc-order-id={GATEWAY_ID_FROM_LIST}.
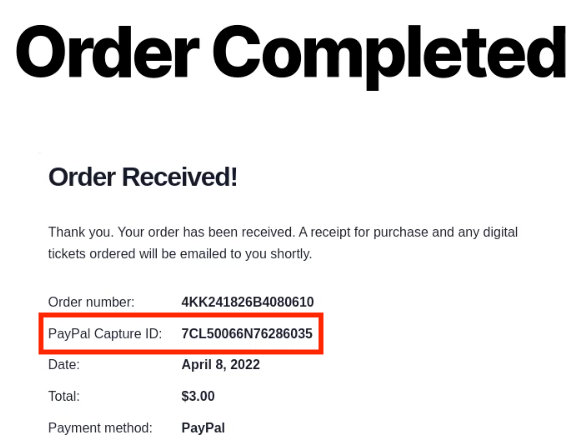
Once you find this number, you can easily issue a refund directly from the PayPal Dashboard.
Handling Capacity
PayPal doesn’t notify your site about that refund when you proceed right from its dashboard (and don’t provide a way to other services, like Tickets Commerce, to receive that information), so the ticket stock will not automatically increase. If you’d like to keep the original capacity, you’ll have to manually delete the attendee that you refunded (see below).
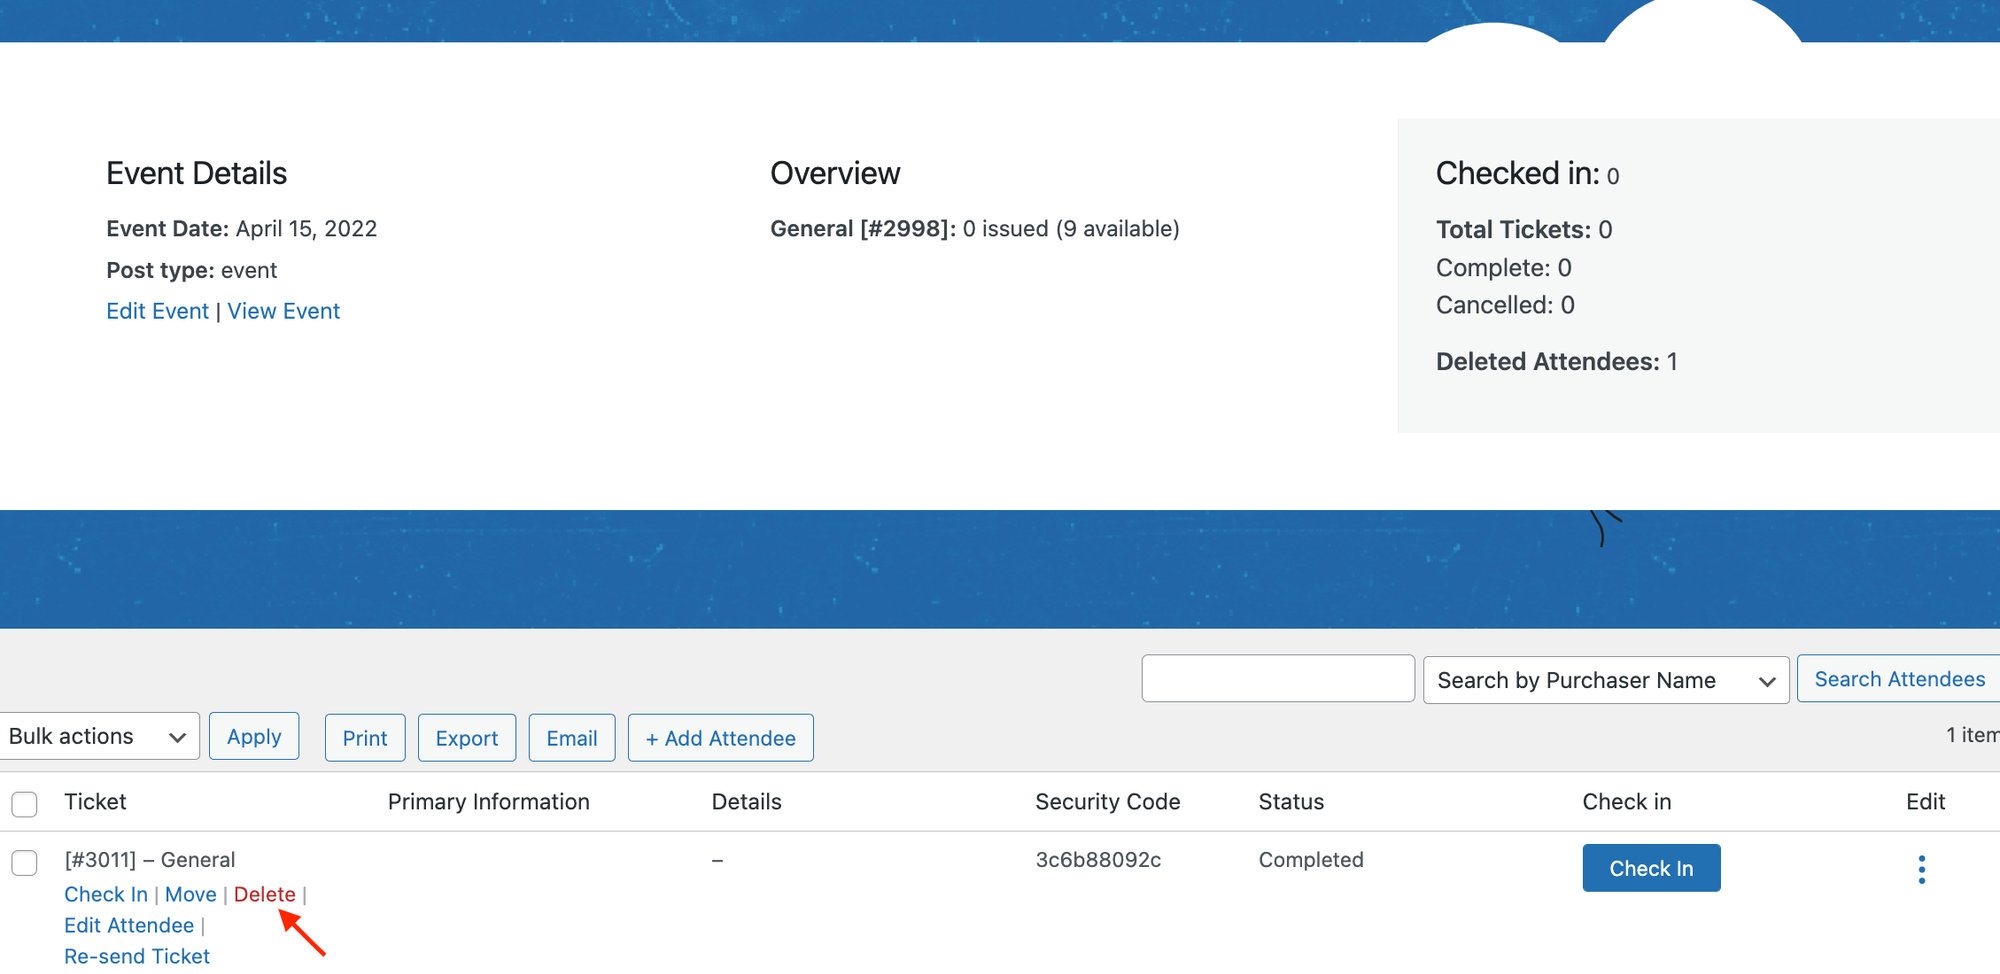
Manually Deleting Refunded Attendees
To do this, locate the event or page where your ticket is and click on Attendees.
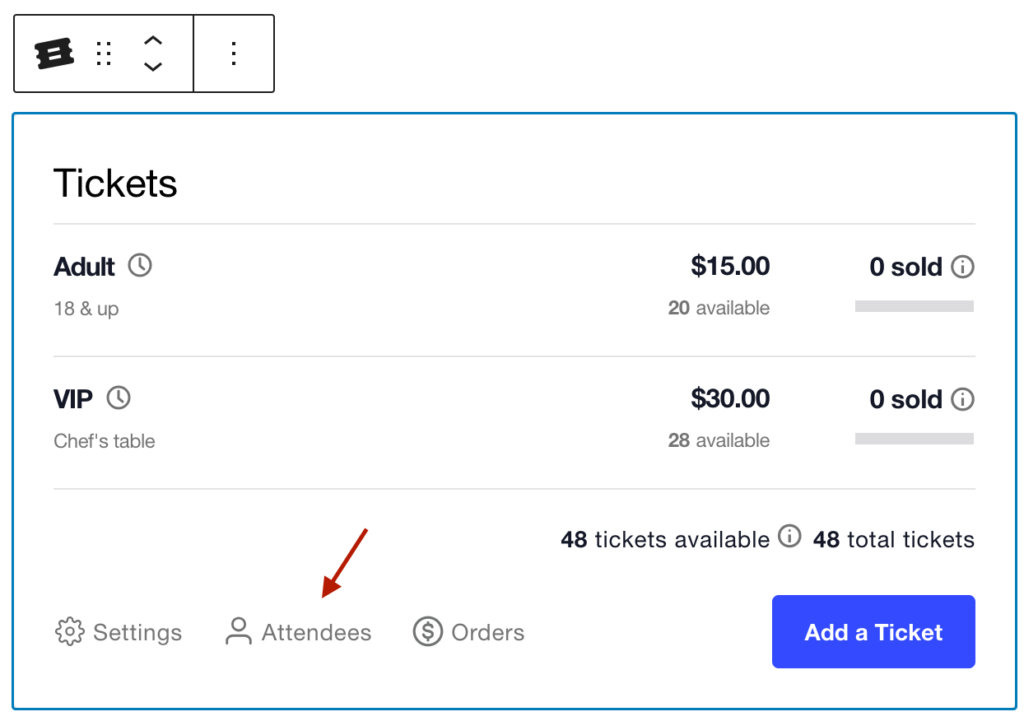
Hover over the ticket and click Delete. Now the ticket has been returned, and you’ll see that the available tickets have increased.