Note: This article discusses switching from our legacy Tribe Commerce e-commerce solution to WooCommerce. All new installs with Event Tickets 5.2.0 and above will see our new e-commerce solution, Tickets Commerce, instead. Tickets Commerce can be disabled under Tickets > Settings > Payments.
Tribe Commerce is the barebones PayPal solution that comes as part of the Event Tickets plugin. This solution is a bit limited in features and functionality in comparison to WooCommerce. You may run into these limitations after using Tribe Commerce for a little while and decide to make the move to WooCommerce. In this article, we’ll show you how to easily switch from Tribe Commerce to WooCommerce with the Event Tickets and Event Tickets Plus plugins.
To use WooCommerce for tickets, you must have both the Event Tickets and Event Tickets Plus plugins installed and active.
Tickets are specific to the ecommerce provider they were created for. Once a particular ecommerce solution is deactivated, any associated tickets will no longer be available. However, note that any existing attendees for those tickets will still show on the event’s attendees page.
Depending on your situation when switching between Tribe Commerce and WooCommerce, you will take one of two approaches.
If you have ongoing events with tickets that were created with Tribe Commerce but want to start using WooCommerce for new events and tickets, you can leave Tribe Commerce enabled until those events have finished ticket sales.
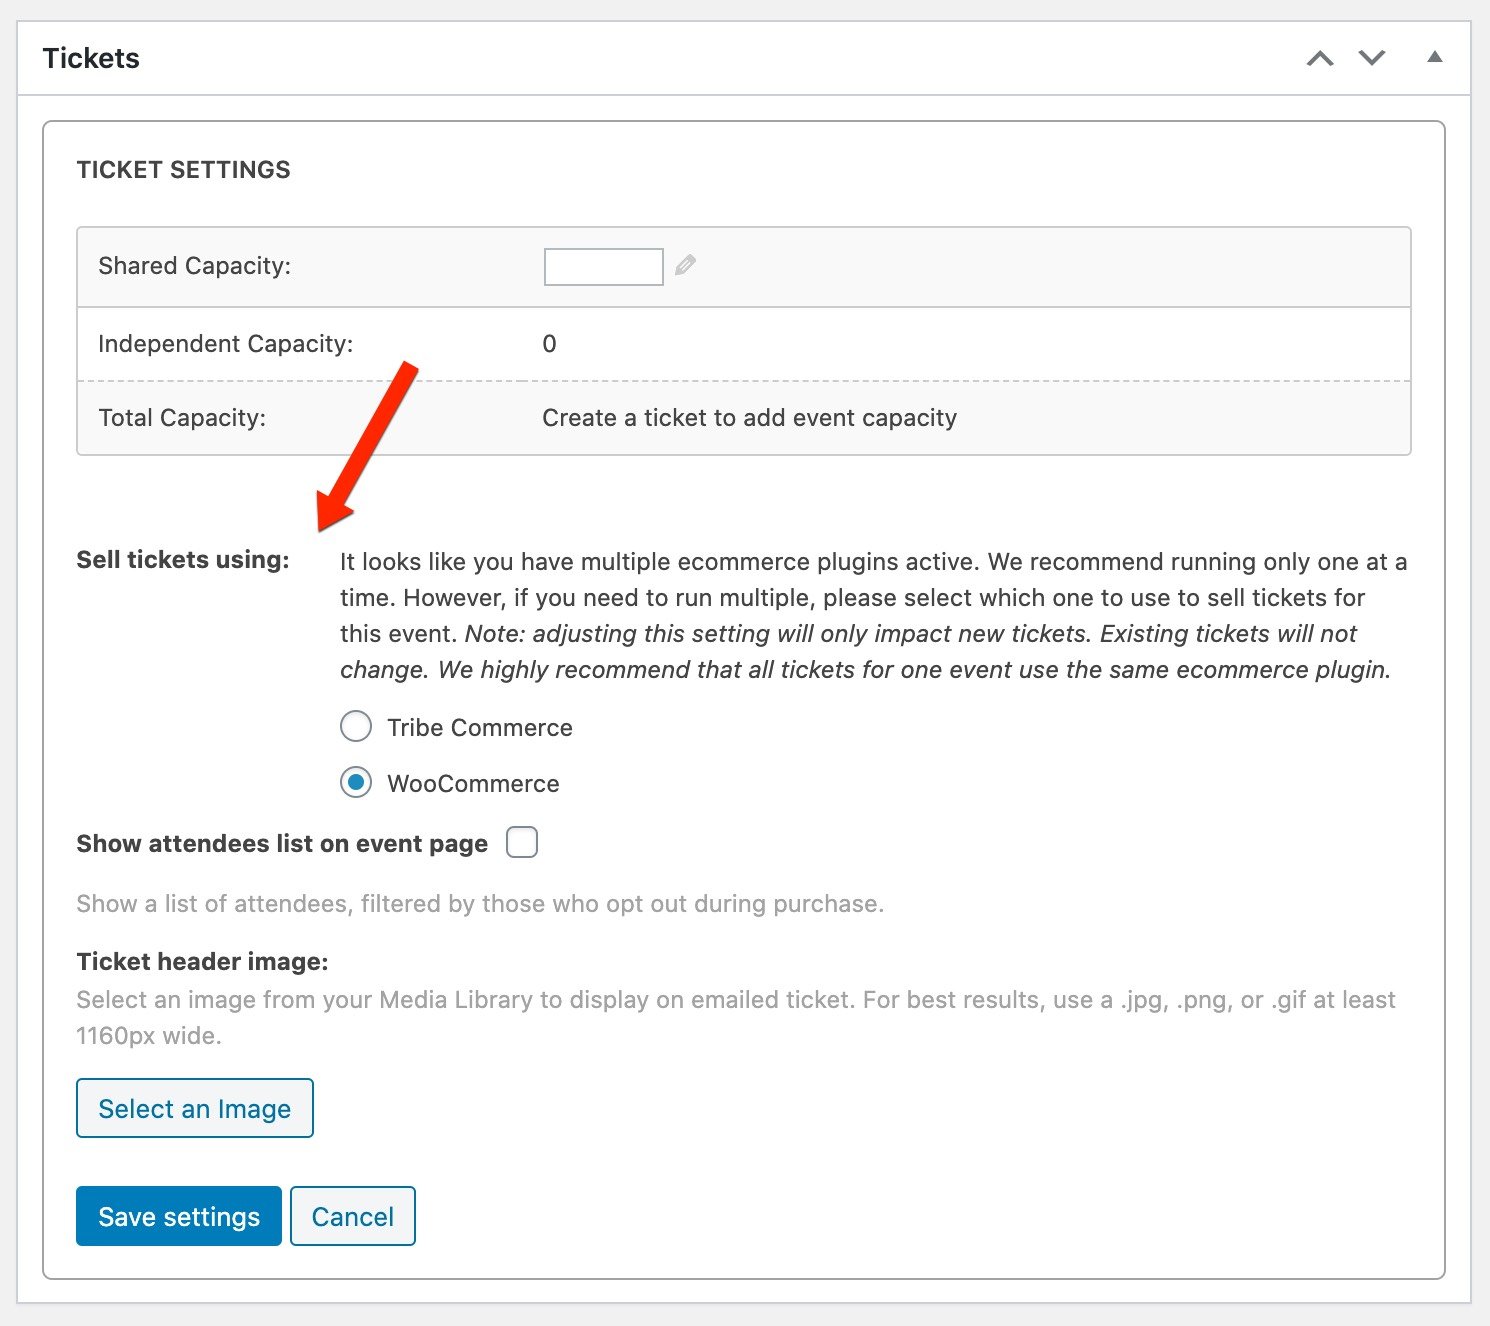
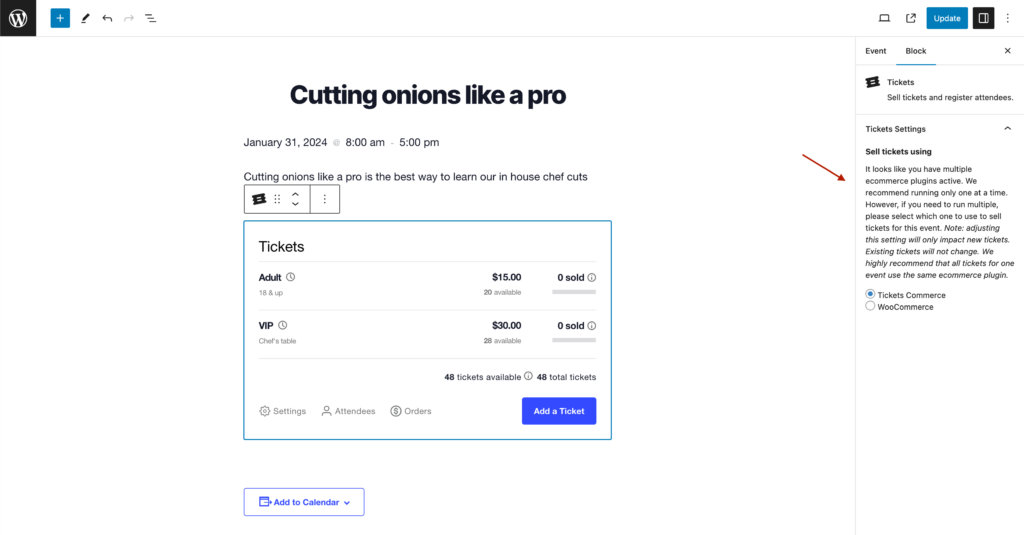
Any given event can only use one ecommerce provider at a time. You can set this independently for each event. You can find this setting in the “gear icon” settings of the tickets form when using the “classic” editor, and will show in the editor sidebar when the tickets block is selected when using the “block” editor.
For new events, make sure this is set to “WooCommerce” before creating new tickets.
Once all of the Tribe Commerce events are finished, you can disable Tribe Commerce under Tickets > Settings > General, and any new tickets will automatically be created as WooCommerce tickets.
Another approach would be to make the switch all at once. If you do not have any current tickets for sale with Tribe Commerce, you can simply enable WooCommerce and disable Tribe Commerce, and any new tickets will automatically use WooCommerce.
Note: When making the switch to WooCommerce, you will have to manually re-create tickets that were created while you were still using Tribe Commerce or Tickets Commerce.
What if I need to switch an existing event with tickets that are still for sale and already have attendees?
Say you have a Tribe Commerce ticket with a total capacity of 100 and have already sold 40 tickets. You want to sell the remaining tickets with WooCommerce.
- With Tribe Commerce still active, also activate and configure WooCommerce.
- In the single event admin page, click into the tickets block or metabox.
- Set the event to use WooCommerce instead of Tribe Commerce in the settings. This setting will be in the “gear icon” settings of the tickets form when using the “classic” editor, and will show in the editor sidebar when the tickets block is selected when using the “block” editor.
- Save the event and refresh the page.
- Create a new ticket with a total capacity of 60 tickets, or whatever remaining amount was left on the original ticket.
- You can now disable Tribe Commerce under Tickets > Settings > General.
You can also move the attendees from the original ticket to a new one if desired. See our Moving Tickets article for these steps.