There are a handful of utility JavaScript files that provide support for The Events Calendar plugin. One of these is the accordion functionality. In this article, we will walk through how to use the accordion within your own customization.
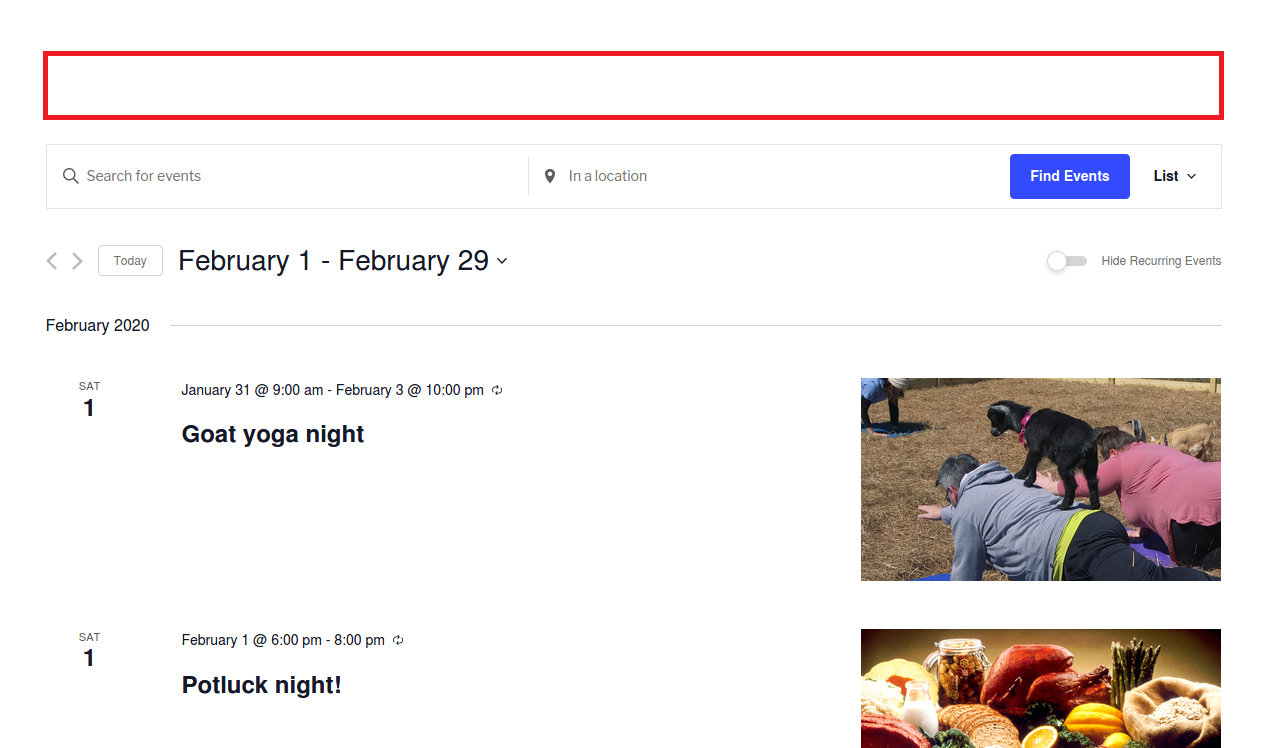
Let’s assume that you want to add a notice to the top of the list view and provide the users the option to toggle the notice. The notice will go in the red box seen below:
First, we are going to copy over the main list view template from the plugin into your theme. Find the file:
/wp-content/plugins/the-events-calendar/src/views/v2/list.php
…then copy it and place the copy in you there at:
[your-theme]/tribe/events/v2/list.php
Next, we’re going to make a small edit to add the notice above the calendar. Let’s edit the list.php file so it looks like this:
<?php
$header_classes = [ 'tribe-events-header' ];
if ( empty( $disable_event_search ) ) {
  $header_classes[] = 'tribe-events-header--has-event-search';
}
?>
<div
  <?php tribe_classes( $container_classes ); ?>
  data-js="tribe-events-view"
  data-view-rest-nonce="<?php echo esc_attr( $rest_nonce ); ?>"
  data-view-rest-url="<?php echo esc_url( $rest_url ); ?>"
  data-view-manage-url="<?php echo esc_attr( $should_manage_url ); ?>"
  <?php foreach ( $container_data as $key => $value ) : ?>
  data-view-<?php echo esc_attr( $key ) ?>="<?php echo esc_attr( $value ) ?>"
  <?php endforeach; ?>
  <?php if ( ! empty( $breakpoint_pointer ) ) : ?>
    data-view-breakpoint-pointer="<?php echo esc_attr( $breakpoint_pointer ); ?>"
  <?php endif; ?>
>

<div class="tribe-common-l-container tribe-events-l-container">
  <?php $this->template( 'components/loader', [ 'text' => __( 'Loading...', 'the-events-calendar' ) ] ); ?>
  <?php $this->template( 'components/data' ); ?>
  <?php $this->template( 'components/before' ); ?>
  <?php $this->template( 'list/notice' ); ?>

  <header <?php tribe_classes( $header_classes ); ?>>
    <?php $this->template( 'components/messages' ); ?>
    <?php $this->template( 'components/breadcrumbs' ); ?>
    <?php $this->template( 'components/events-bar' ); ?>
    <?php $this->template( 'list/top-bar' ); ?>
  </header>

  <?php $this->template( 'components/filter-bar' ); ?>

  <div class="tribe-events-calendar-list">
    <?php foreach ( $events as $event ) : ?>
      <?php $this->setup_postdata( $event ); ?>
      <?php $this->template( 'list/month-separator', [ 'event' => $event ] ); ?>
      <?php $this->template( 'list/event', [ 'event' => $event ] ); ?>
    <?php endforeach; ?>
  </div>

  <?php $this->template( 'list/nav' ); ?>
  <?php $this->template( 'components/ical-link' ); ?>
  <?php $this->template( 'components/after' ); ?>
  </div>
</div>

<?php $this->template( 'components/breakpoints' ); ?>
If you missed it, we added the 'list/notice' template to the list view template. Let’s add that to our template files. Create the file here in your theme:
[your-theme]/tribe/events/v2/list/notice.php
Open it up and let’s add the following to the file and save it:
<div class="tribe-events-list-notice__wrapper" data-js="tribe-events-list-notice-wrapper">
  <button
    class="tribe-events-list-notice__trigger tribe-common-c-btn-border"
    data-js="tribe-events-list-notice-trigger"
    aria-controls="tribe-events-list-notice"
		aria-expanded="true"
	>
		<?php esc_html_e( 'Hide notice', 'your-text-domain' ); ?>
	</button>
	<div
		class="tribe-events-list-notice__notice tribe-events-list-notice__notice--show"
		id="tribe-events-list-notice"
		aria-hidden="false"
	>
		<p class="tribe-events-list-notice__notice-text tribe-common-b1">
			<?php esc_html_e( 'This is the fantastic notice!', 'your-text-domain' ); ?>
		</p>
	</div>
</div>
You may have noticed some extra attributes in the HTML, especially the aria attributes. These are optional but highly recommended as it helps accessibility. The data-js attributes are also optional, but it helps us know which elements have JavaScript functionality associated with them. We also use them in our JavaScript files.
Let’s now add a few styles to help the notice fit into the view. Add the following to your styles.css file or any stylesheet that will be included on the list view:
.tribe-events .tribe-events-list-notice__wrapper {
  padding-bottom: 30px;
}

.tribe-common--breakpoint-medium.tribe-events .tribe-events-list-notice__wrapper {
  padding-bottom: 45px;
}

.tribe-events .tribe-events-list-notice__notice {
  display: none;
  padding-top: 15px;
}

.tribe-events .tribe-events-list-notice__notice--show {
  display: block;
}

.tribe-common--breakpoint-medium.tribe-events .tribe-events-list-notice__notice {
  padding-top: 20px;
}
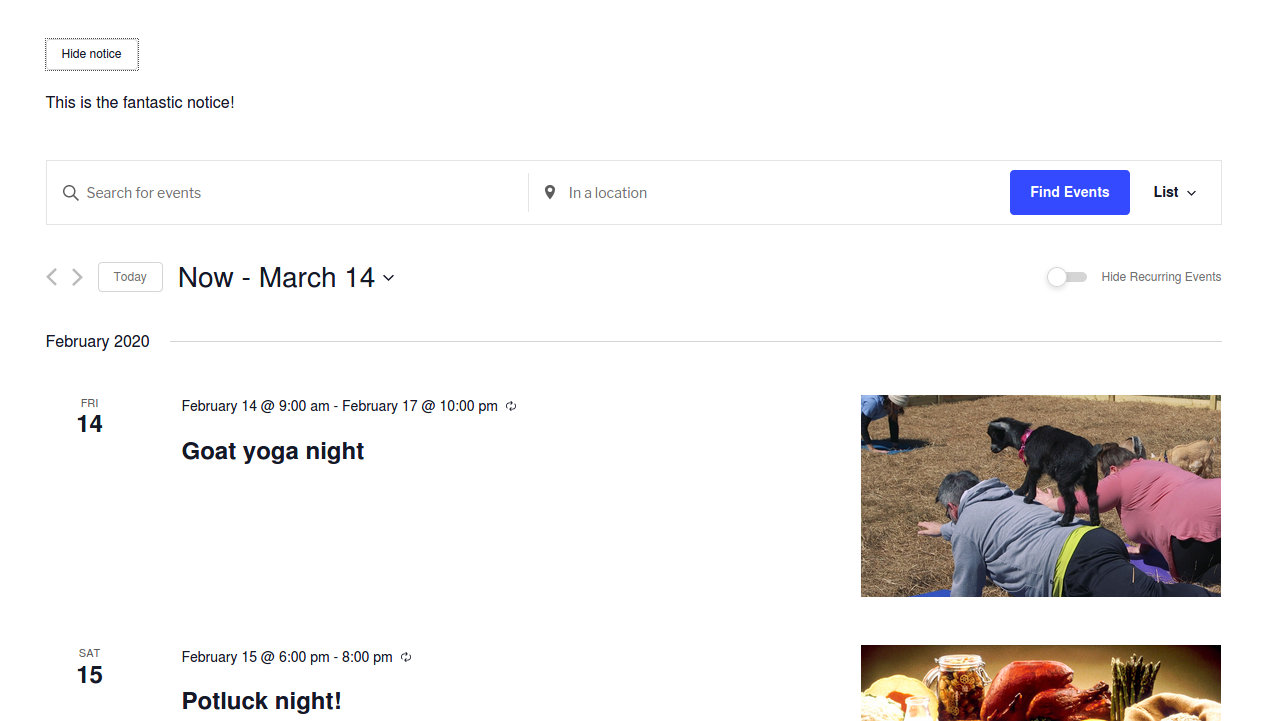
Perfect! We now have a notice on top of the search bar and a sweet button that toggles that notice.
Let’s create our JavaScript file to add in the functionality. I’m going to create mine in [your-theme]/assets/js/list-notice.js, but you can create yours anywhere you want. Edit your list-notice.js file to look like below:
var listNotice = {};

( function( $, obj, manager, accordion ) {
	'use strict';
	var $document = $( document );

	obj.selectors = {
		listNoticeWrapper: '[data-js="tribe-events-list-notice-wrapper"]',
		listNoticeTrigger: '[data-js="tribe-events-list-notice-trigger"]',
		listNoticeShowClass: '.tribe-events-list-notice__notice--show',
	};

	obj.handleClick = function( event ) {
		var $trigger = event.data.trigger;
		var open = $trigger.attr( 'aria-expanded' ) === 'true';

		var text = open ? 'Hide notice' : 'Show notice';
		$trigger.text( text );

		var $wrapper = $trigger.closest( obj.selectors.listNoticeWrapper );
		var $notice = $wrapper.find( '#' + $trigger.attr( 'aria-controls' ) );
		open
			? $notice.addClass( obj.selectors.listNoticeShowClass.className() )
			: $notice.removeClass( obj.selectors.listNoticeShowClass.className() );
	}

	obj.deinitTrigger = function( $container ) {
		var $trigger = $container.find( obj.selectors.listNoticeTrigger );
		accordion.deinitAccordion( 0, $trigger );
	};

	obj.initTrigger = function( $container, $trigger ) {
		accordion.initAccordion( $container )( 0, $trigger );
	};

	obj.bindEvents = function( $trigger ) {
		$trigger.on( 'click', { trigger: $trigger }, obj.handleClick );
	};

	obj.deinit = function( event, jqXHR, settings ) {
		var $container = event.data.container;
		obj.deinitTrigger( $container );
		$container.off( 'beforeAjaxSuccess.tribeEvents', obj.deinit );
	};

	obj.init = function( event, index, $container, data ) {
		var $trigger = $container.find( obj.selectors.listNoticeTrigger );

		if ( ! $trigger.length ) {
			return;
		}

		obj.initTrigger( $container, $trigger );
		obj.bindEvents( $trigger );
		$container.on( 'beforeAjaxSuccess.tribeEvents', { container: $container }, obj.deinit );
	};

	obj.ready = function( event ) {
manager = tribe.events.views.manager;
manager.$containers.each( function( index, container ) {
			var $container = $( container );
			obj.init( event, index, $container, manager.getContainerData( $container ) );
		} );
		$document.on( 'afterSetup.tribeEvents', manager.selectors.container, obj.init );
	};

	$document.ready( obj.ready );
} )( jQuery, listNotice, tribe.events.views.manager, tribe.events.views.accordion );
There’s a lot going on here! Let’s break it down.
First, we have the init() and deinit() functions to set up and clean up the JavaScript functionality. These hook into the manager JavaScript events. Next, we initialize the notice trigger in initTrigger(). You can see how we’re hooking into the accordion helper functions to set up the accordion functionality. Lastly, we’re binding an event listener to the trigger to handle customized actions such as changing the trigger text and adjusting classes.
The final thing we need to do is to add this JavaScript file to our website. Go to your functions.php file and add the following:
function add_list_notice_js() {
  wp_enqueue_script( 'custom-list-notice-js', get_stylesheet_directory_uri() . '/assets/js/list-notice.js', [ 'tribe-events-views-v2-accordion' ], false, true );
}
add_action( 'wp_enqueue_scripts', 'add_list_notice_js' );
Once you’ve done that, go visit the list view. There should be a functioning accordion to show and hide your list notice. Great work! You’ve just created some cool functionality using The Events Calendar’s built-in accordion JavaScript utility.