When processing ticket orders through WooCommerce, there may be times you need to manually add an attendee to an event.
You can follow the steps outlined in Adding and Editing Attendees for an event, but this method doesn’t allow attendees to pay for their ticket(s) online.
So how can you manually add an attendee to an event and allow them to conveniently pay online through WooCommerce? We’ll show you how!
Create a user account for the attendee
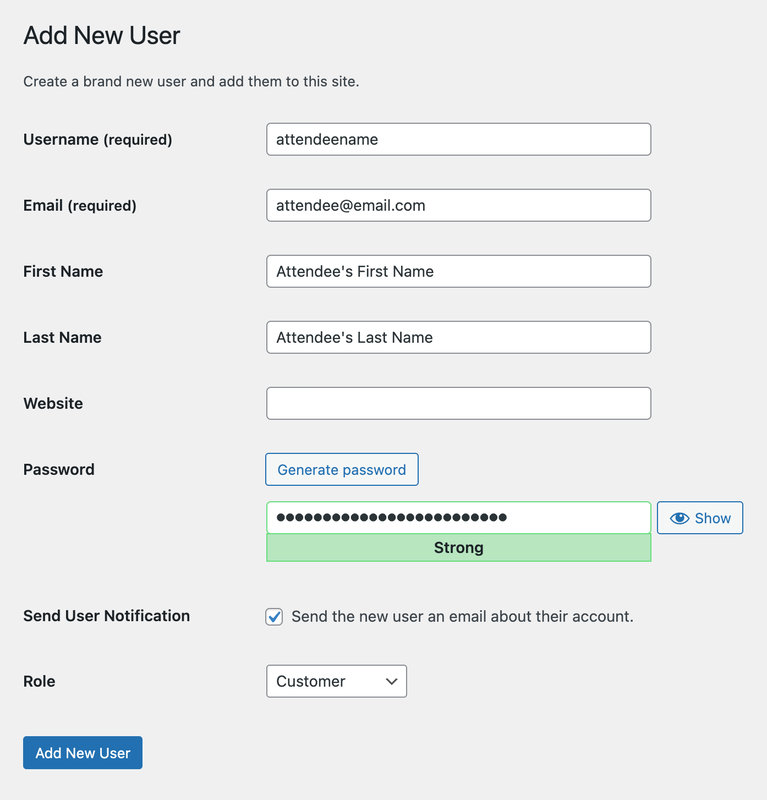
If the attendee does not yet have a user account on the website, the first step is to create one. To create a user account:
- Go to Users → Add New
- Complete the required fields
- Set the new user’s Role to Customer
👋 For additional information on this step, see Users Add New Screen on WordPress.org
Add the New Order in WooCommerce
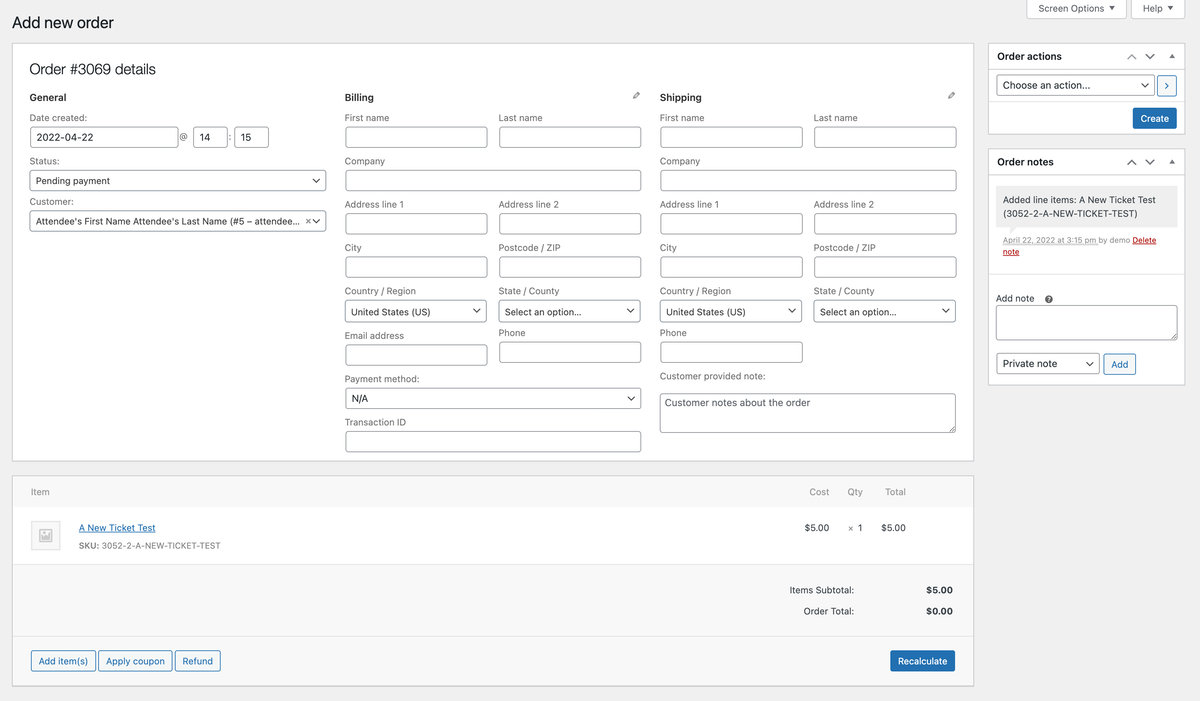
Next, you’ll add the new Order in WooCommerce:
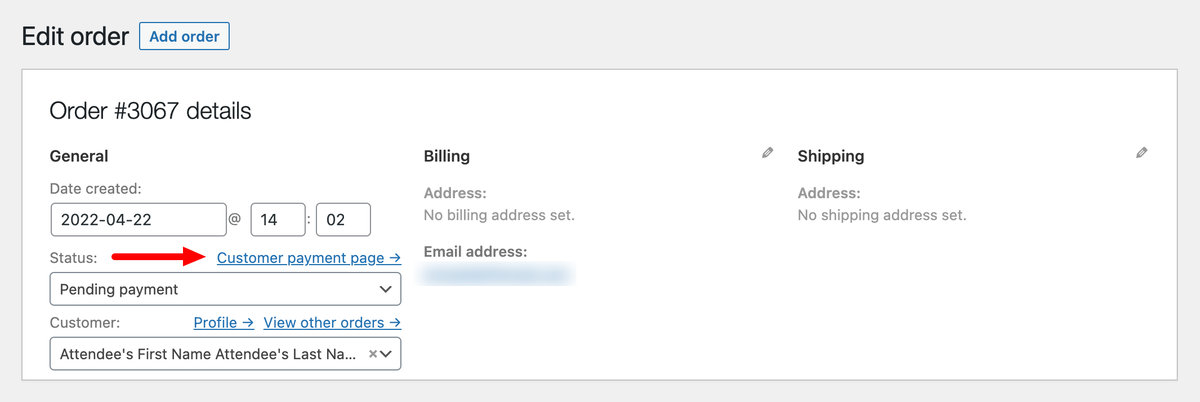
- Go to WooCommerce → Orders → Add New
- Ensure the Status is Pending payment
- Select the user’s account under Customer (Billing and Shipping information is optional)
- From Add item(s), search for and select the ticket by name or SKU
- Save the new order with the Create button
Ticket Tips
- When processing orders with WooCommerce, tickets created in Event Tickets Plus are automatically created as WooCommerce Products — there’s no need to manually create a WooCommerce Product!
- No tickets yet? Follow these steps to create a new ticket
- Unsure of an existing ticket’s name or SKU? You can locate it under Advanced Options → Ticket SKU of the ticket creation screen of the event, page, or post that contains the ticket
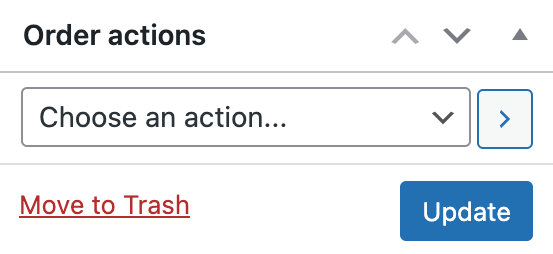
WooCommerce Order actions
The Order actions menu in the new WooCommerce order is where you can regenerate the attendee for the event, resend the tickets email, and send the email invoice and order details to the customer for online payment.
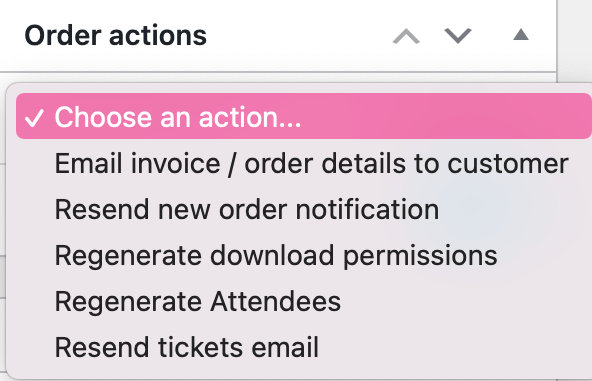
Select Regenerate attendees and click the Update button to sync the attendee to the Event. You will now see this attendee’s information within the Attendees screen.
Select Resend tickets email and click the Update button to trigger the ticket email from Event Tickets Plus.
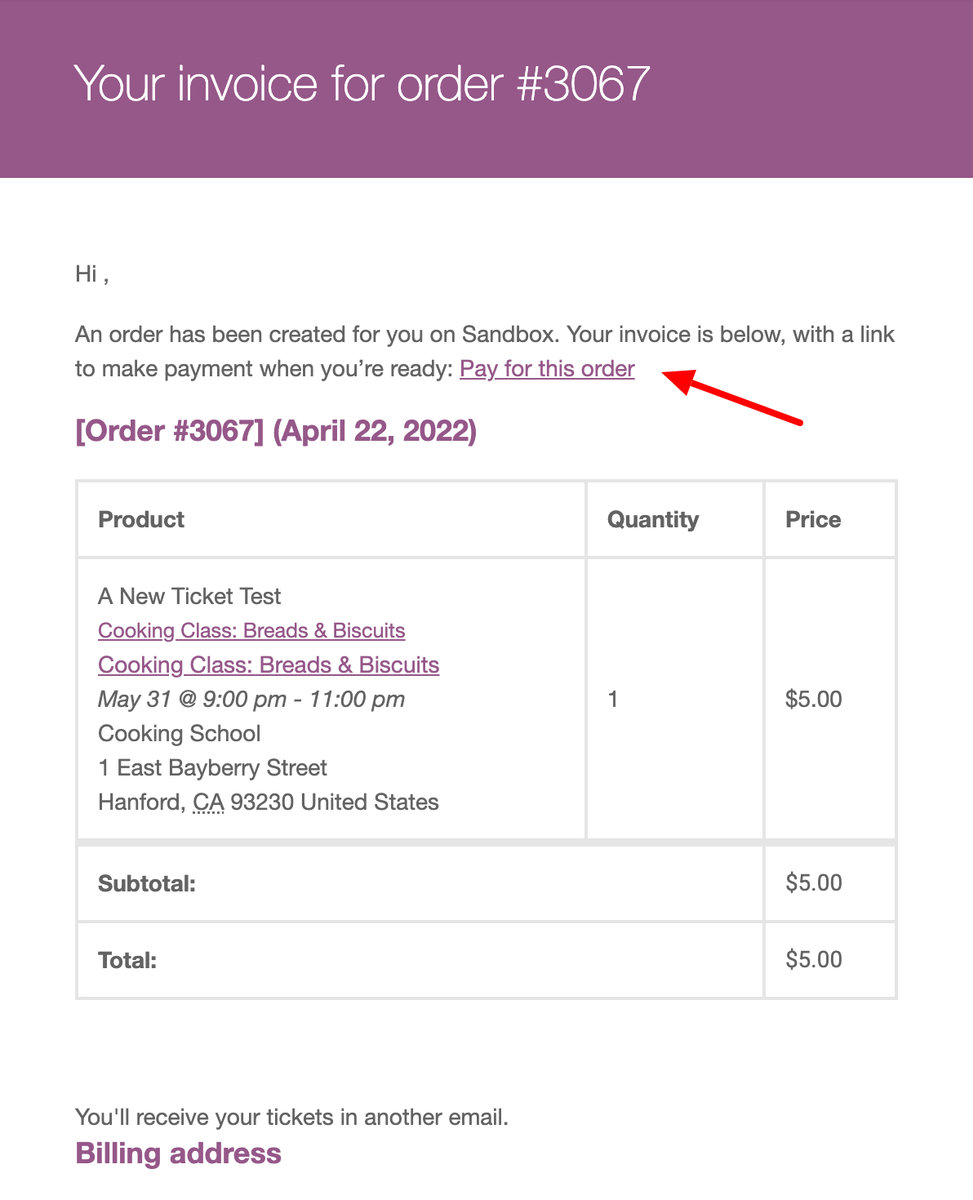
Select Email invoice / order details to customer and click the Update button. This will email the WooCommerce Order invoice to the customer, which contains a link to Pay for this order online through WooCommerce.
Your attendee is now registered for the event and can complete their ticket payment online, simplifying the process for both parties!