Many users have asked us how to display The Events Calendar’s events in a slider. The Events Calendar does not include a slider display format on its own, but our Extensions Library can help make a slider of events possible.
The Formatted Event Date Shortcode extension (or the [tribe_event_inline] shortcode, if preferred) can be used for many different things, including integrating The Events Calendar with the customizable displays available from ThemePunch’s popular Slider Revolution and Essential Grid products.
👋 ThemePunch is a third-party developer with no affiliation with The Events Calendar. We do not offer support for any ThemePunch products, nor do we have or advertise any “official” integration with them.
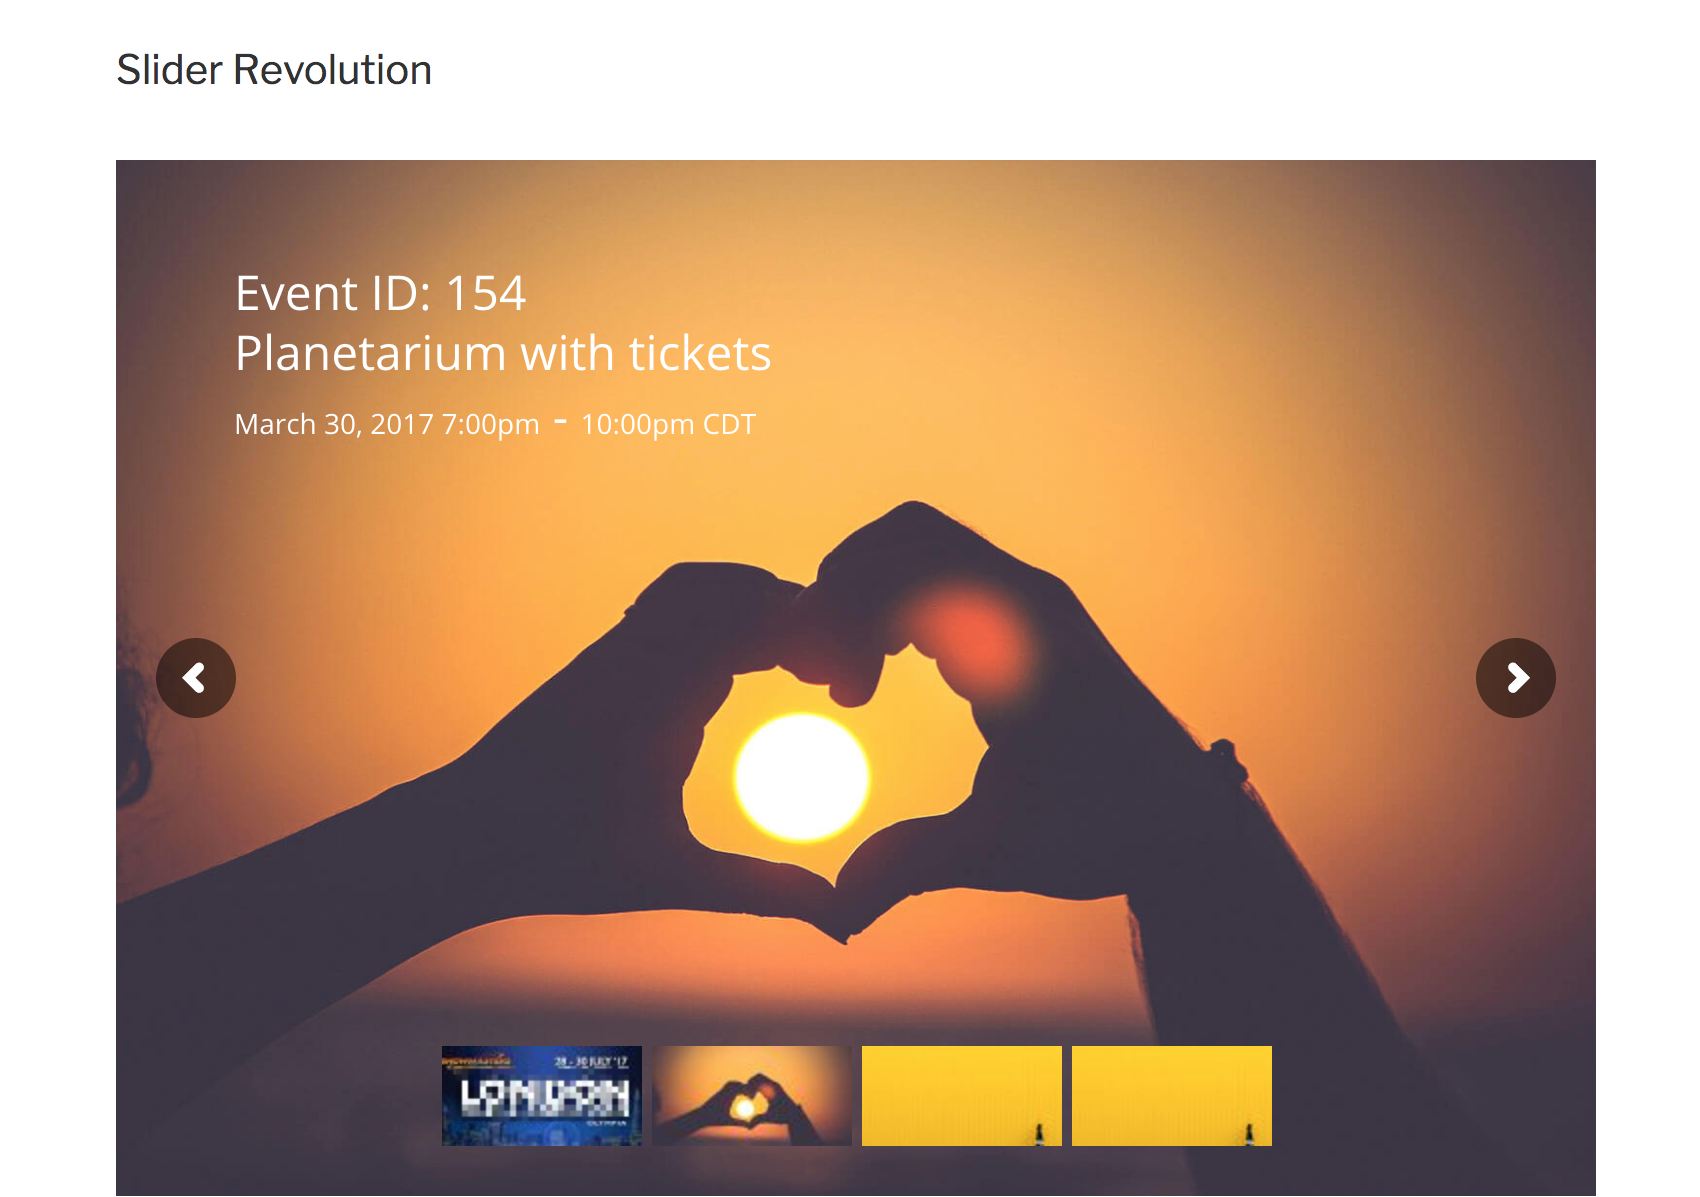
Slider Revolution
Whether you call it Slider Revolution, Revolution Slider, or RevSlider, it’s all the same thing. Here’s where we’ll walk you through a simple example to display some events in a slider.
You’ll need Slider Revolution version 5.3.0 or later (released October 21, 2016) because that is the version that added Post ID {{id}} into the Meta List.
The Formatted Event Date Shortcode, linked at the beginning of this article, is required because that’s how we’ll get the event’s start and/or end dates to appear accurately, from the event’s Post ID.
After having basic familiarity with Slider Revolution follow these steps:
- Create a new slider, whether a blank one, from a demo, or from their Template Library.
- Add a new Post-Based Slider
- Under Post Types, select Event
- Adjust the other settings as desired (e.g. select specific Event Categories). We’d also recommend paying attention to the “Max Posts Per Slider”. It defaults to 30 but a number closer to 3 or 5 is usually more appropriate.
- Save your settings and then go to “Slide Editor”
- Edit an existing Text/HTML layer or click “Add Layer” and then “Text/HTML”.
- Within the text box that gets added, click the Filter icon to bring up the “Insert Meta” dialog. Then select {{title}}, {{excerpt}}, or whatever else you want to display on this slide template. Here’s an example:
[tribe_formatted_event_date id={{id}} format="F j, Y g:ia"] - [tribe_formatted_event_date id={{id}} format="g:ia T" start_end="end"](Note that you are basically avoiding using {{date}}, unless you want to show when this event was published instead of when it will occur.)
- You’ll likely also want to hyperlink the entire slide or a layer to the event’s Permalink.
- Then insert this slider wherever you want throughout your site, via shortcode, widget, or Visual Composer.
Slider Revolution Custom Queries
If you’d like your slider to only display Featured Events that have a Featured Image, you can add this code snippet to your active child theme’s functions.php file or your own custom plugin (make sure to read the code’s comments).
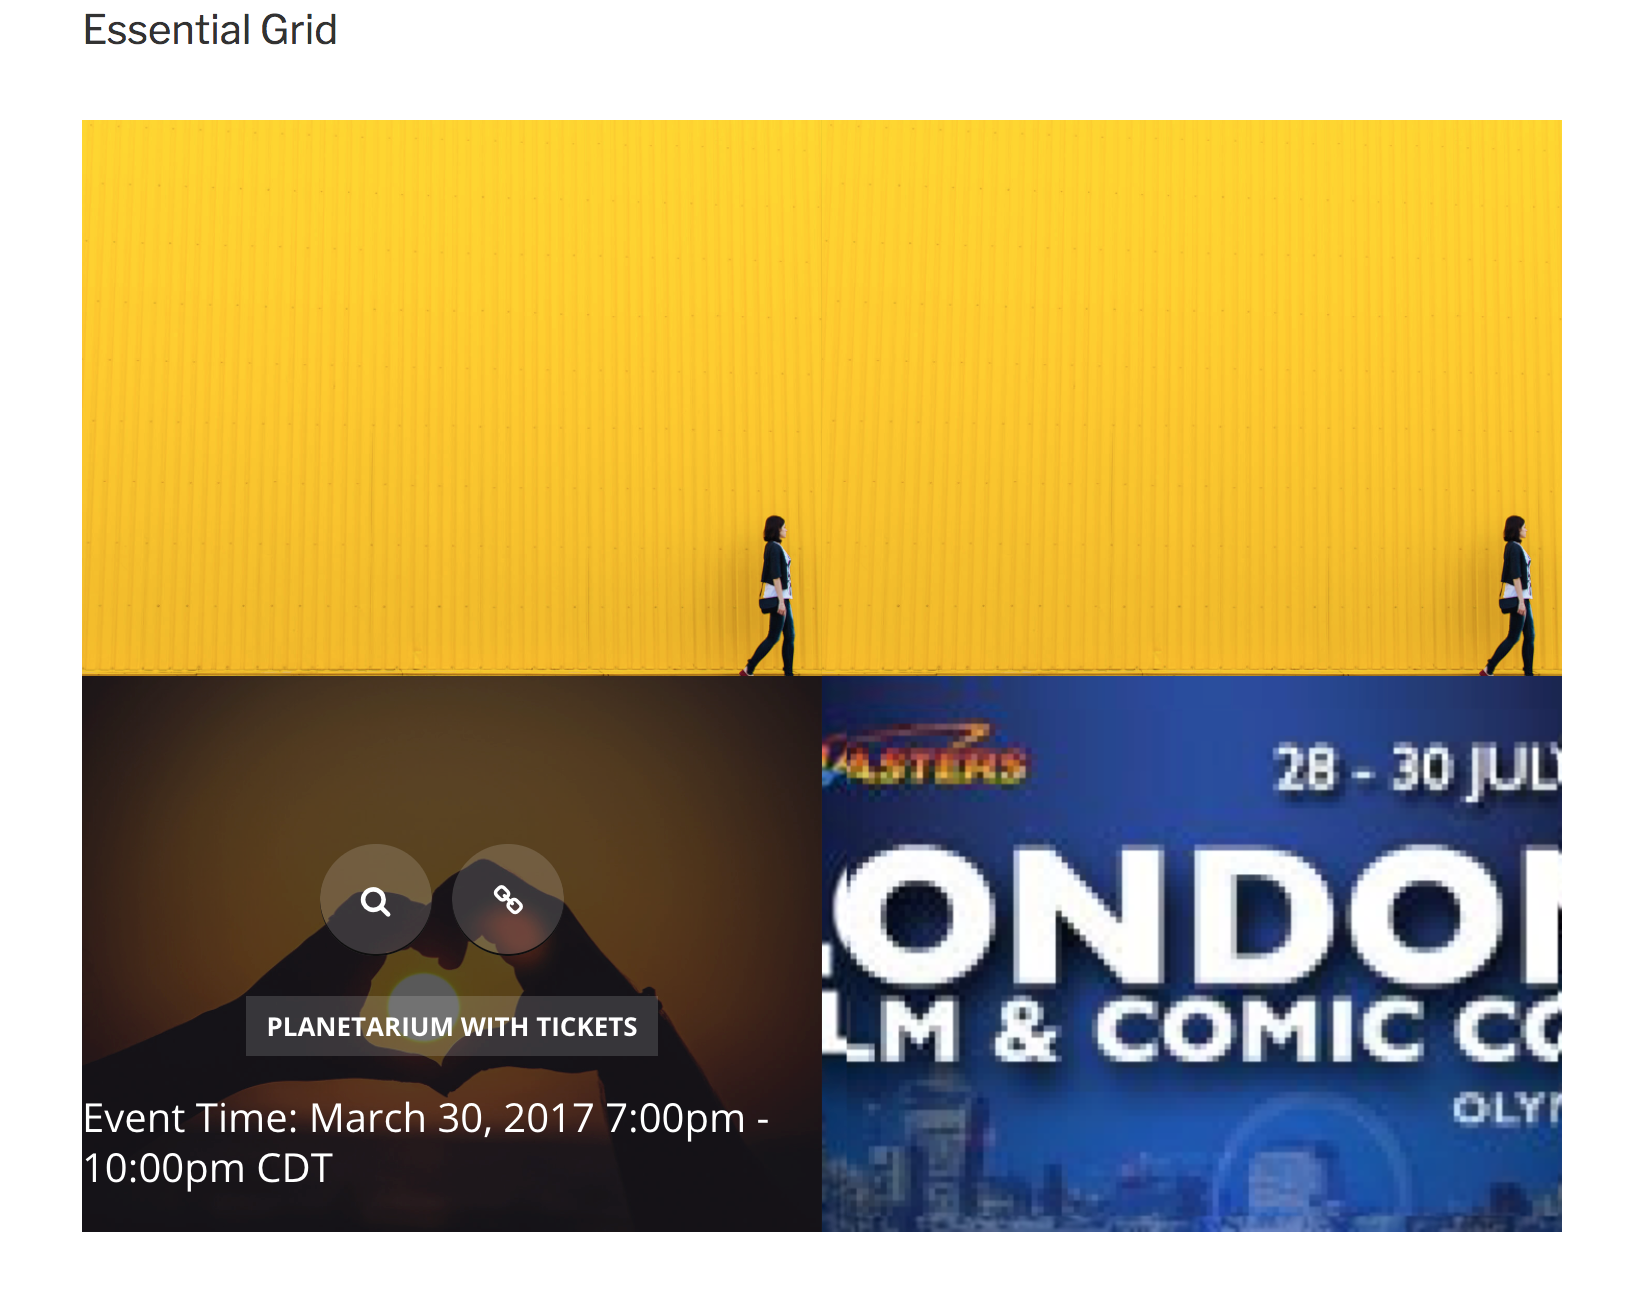
Essential Grid
Essential Grid is a completely separate plugin from Slider Revolution so the steps to integrate the Formatted Event Date Shortcode, linked at the beginning of this article, are different.
After having basic familiarity with Essential Grid, follow these steps:
- At wp-admin > Ess. Grid > Item Skin Editor, duplicate an existing Skin or otherwise create your own. Give it a name (e.g. Events Skin) and mark it as a Favorite. Click to edit this Skin.
- Under the Available Layers, click the Texts tab and drag one of those text styles in a DROP ZONE.
- Click the text to edit this layer’s settings. Set its Source to Text/HTML, and enter your Formatted Event Date Shortcode there, using the %post_id% Meta Handle. Here is an example:
Event Time: [tribe_formatted_event_date id=%post_id% format='F j, Y g:ia'] - [tribe_formatted_event_date id=%post_id% format='g:ia T' start_end='end']
(Note that some users reported that a space before the closing bracket is required for their Essential Grid shortcodes to render properly.)
- You’ll also likely want to link the grid item to the event’s Permalink.
- Once you have finished editing (and saved) the Skin’s other settings so it’s ready for use, create a new Essential Grid–a new Post-Based Grid
- Under the Source tab’s Post Types, select Event.
- Under the Skins tab, filter for your Favorites and click to select your Events Skin (or whatever you named it).
- Adjust the other settings as desired and save.
- Then insert this Essential Grid wherever you want throughout your site, via shortcode or widget.
Essential Grid Custom Queries
If you’d like your grid to only display Featured Events that have a Featured Image, you can add this code snippet to your active child theme’s functions.php file or your own custom plugin (make sure to read the code’s comments):
You might also want to reference ThemePunch’s snippet to exclude the current post from being included in the grid (useful for “Related Posts” grids).
Pro’s tribe_event_inline shortcode
All of the information above works without needing our Events Calendar Pro add-on.
If you are using our Pro add-on, you have another (and possibly easier) option available to you: the tribe_event_inline shortcode.
Using this shortcode, here’s an example of what you might enter onto a slide:
[tribe_event_inline id={{id}}]
Time: {start_date} @ {start_time} – {end_date} @ {end_time}
[/tribe_event_inline]
(For the example above, remember to replace {{id}} with %post_id% when using Essential Grid.)
The reasons this solution may be easier for you include:
- It does not require installing an extension
- The start_date, start_time, end_date, and end_time shortcode variables display in the date formats you have already set in your WordPress and calendar format options.
If you do not have Pro or want to display the date or time in a unique format, you will need to use the Formatted Event Date Shortcode extension.
Support
This article is for reference only. Neither The Events Calendar nor ThemePunch guarantees support for the others’ plugins, but it is reasonable to expect them to continue working nicely together for the foreseeable future.
If you need assistance with your slider or grid settings, you’ll need to contact ThemePunch’s support.