How to Set Up a Calendar for Virtual Events in WordPress

Creating virtual events on your WordPress site is easy. With the right tools in hand, you'll be set up in no time.
Planning virtual events can be time-consuming, especially with so many considerations, from figuring out which tools to use to deciding how to make money on online events. But once you have a game plan, setting up your calendar for virtual events in WordPress is easy — promise!
Below, we’ll walk through the steps for organizing your calendar to highlight and promote your online events.
Here are the tools you’ll need to make this workflow smooth on a WordPress site:
- The Events Calendar (Free)
- Event Tickets (Free)
- Zoom
- Virtual Events add-on for The Events Calendar (Premium)
- Promoter for The Events Calendar (Premium)
- YouTube

The foundation
Just to reiterate: We’re about to go through the calendaring workflow using WordPress plugins on a WordPress site, so you’ll want to be on WordPress as well.
First, we’re going to set up our calendar for virtual events using all the tools in the Virtual Event Marketing Bundle (if you’re looking to use all the tools in this setup, you can save quite a bit by purchasing a bundle instead of individual plugins).
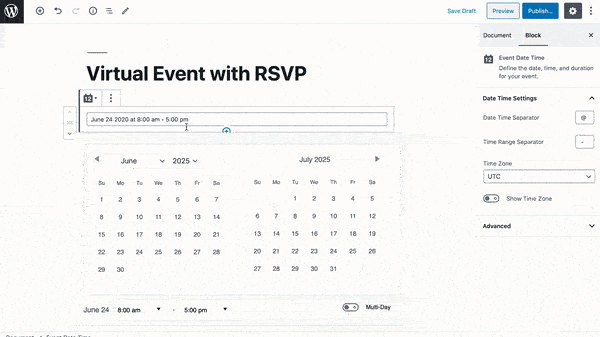
Upon installing The Events Calendar, you’ll be able to add events or use the importer tool to upload a .csv file of your existing events.
Since we’re using both Event Tickets and the Virtual Events add-on in our calendar setup, let’s take a look at how to set up ticketed virtual events.
Adding an RSVP to a virtual event
With the Event Tickets plugin, we can technically add an RSVP or ticket sales to any page on our site. But since we’re using Event Tickets in conjunction with The Events Calendar, we’re going to add tickets to our virtual event we’re creating on the calendar.
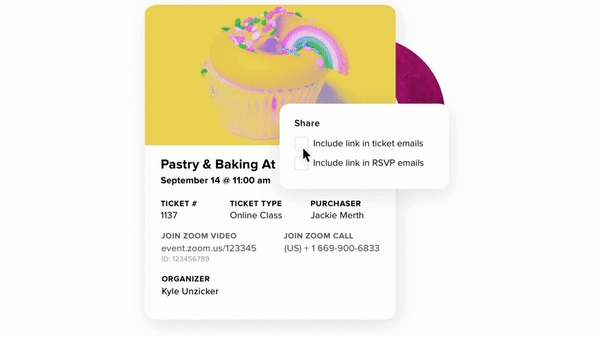
Using a protected link for livestream
Let’s say you don’t want to publish the link to your Zoom livestream publicly because of Zoom privacy issues. Let’s also assume that you’re hosting a free event but you want to gather email addresses to build your mailing list.
Using the Virtual Events add-on, you can authorize your Zoom account to automatically generate Zoom links right from your WordPress dashboard. After setting up the livestream link with one click, adjust your settings so that the Zoom link isn’t public. Your attendees will only receive the Zoom link via email sent automatically by the Event Tickets plugin.
Embedding a livestream in the event page
Alternatively, you could choose to host a scheduled livestream instead of a Zoom link. In order to keep your audience on your website throughout the livestream, the Virtual Events add-on allows you to embed a livestream link from YouTube, Facebook, and other sources. You also have the option to hide the embedded livestream on the event page until the event is scheduled to start.
Using Promoter for automated reminder and thank-you emails
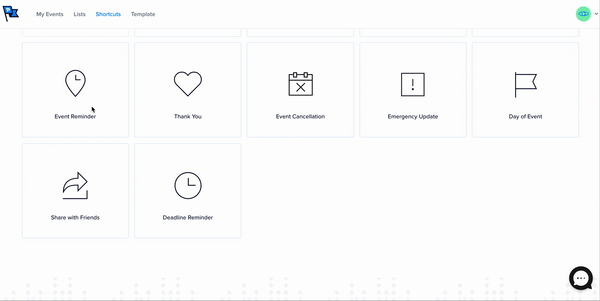
The reminder email is one of the most important emails in the lifecycle of virtual events. These days, people are more inundated than ever with virtual event invitations, so we recommend sending two reminders for virtual events: A reminder two days before and a last-minute reminder 30 minutes before the event.
Using Promoter shortcuts, you can schedule the emails to send automatically at the appropriate times.